

This article is a step by step guide on how to configure the VeridiumID server to use an HSM instance.
Instructions
-
Configure VeridiumID to use the private key in the HSM for signing CSR’s, resulting IdentityTokens for authentications:
-
Navigate to the Admin Dashboard → Settings → Configuration → config.json and set the following:
-
"certStore": { "signingKeystore": { "alias": "ca", "cert": "", "pwd": "" }, "ca": { "alias": "ca", "cert": "", "pwd": "" } } -
"pkcs11": { "propertiesFileContent": "PKCS11_CONTENT", "loginPin": "HSM_PASS" } where PKCS11_CONTENT is the content of pkcs11.cfg specific to the HSM used, can be found in the HSM documentation. Use '\n' instead of new lines, for example: "name = VeridiumID\nlibrary = /usr/lib64/pkcs11/libsofthsm2.so\nslot = -1" HSM_PASS is the password set for the HSM during the initialization step -
Click on Save
-
-
-
Configure the VeridiumID SAML IDP to use the HSM:
-
Navigate to the Admin Dashboard → Settings → SAML Configuration → Security & Keys and enable the HSM toggle:
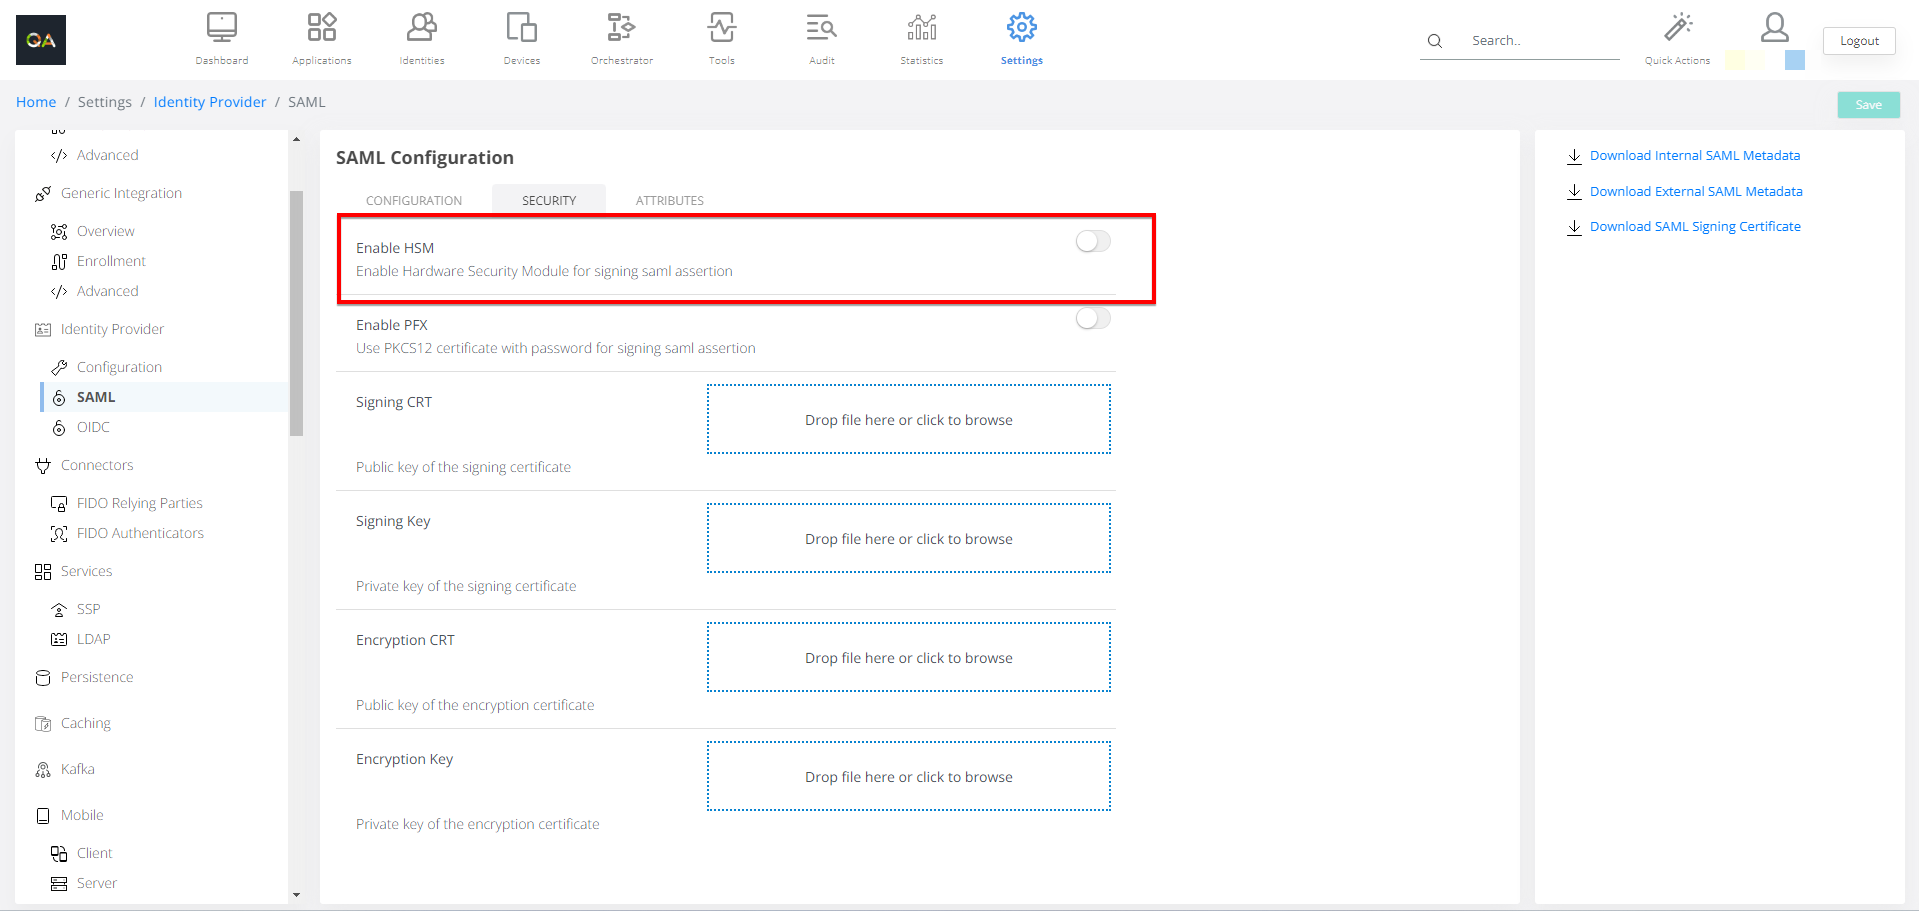
-
Fill in necessary fields and Save
-
On each frontend VeridiumID server, run the following commands:
service ver_tomcat restart; service ver_websecadmin restart
-