
Importing the OVA Image into vCenter/ESXi
Follow these steps to deploy the OVA image for the VeridiumID Server:
-
Open the Administration Console of your vCenter/ESXi environment.
-
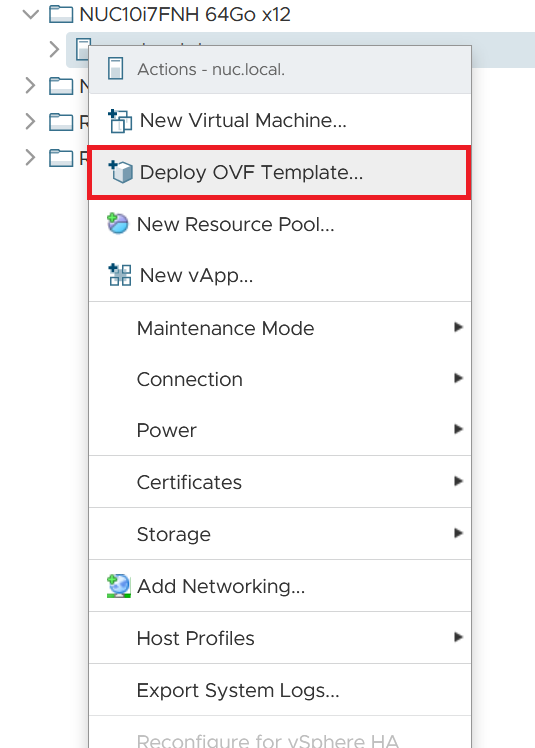
In the left-pane, right-click the host where you want to import the OVA file.
-
Select Deploy OVF Template.
-
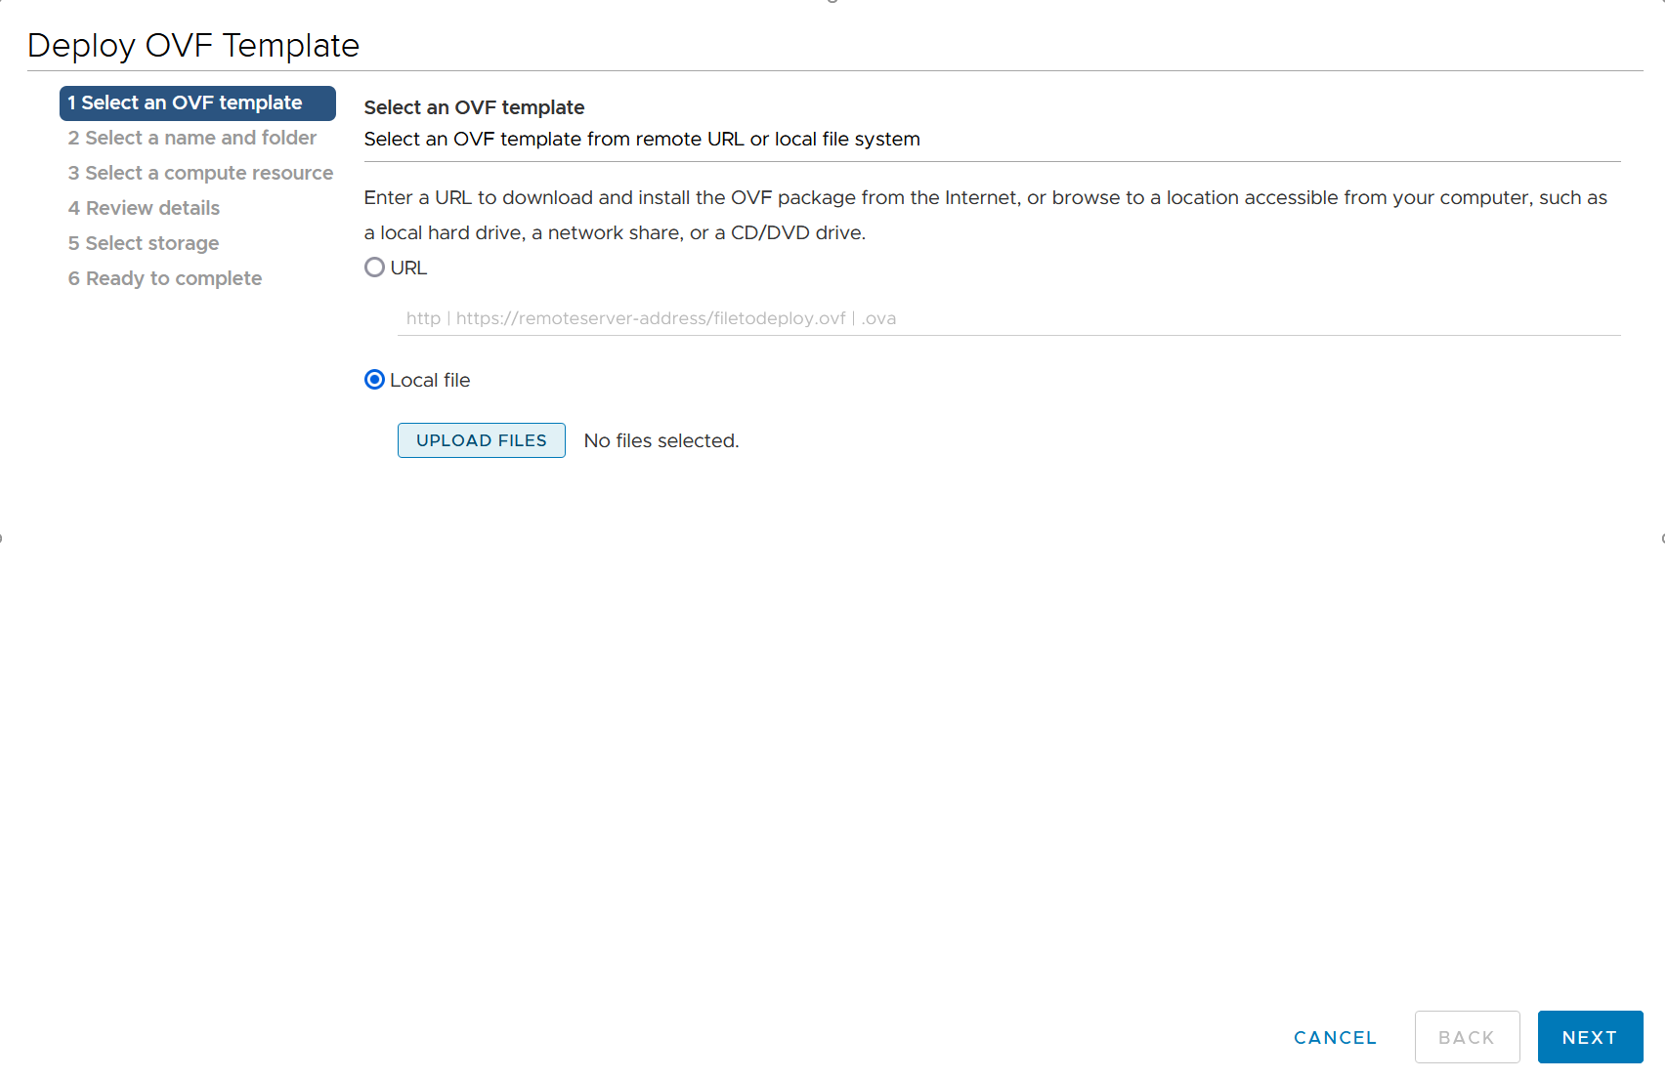
In the upload dialog, choose Local File and then click Upload Files.
-
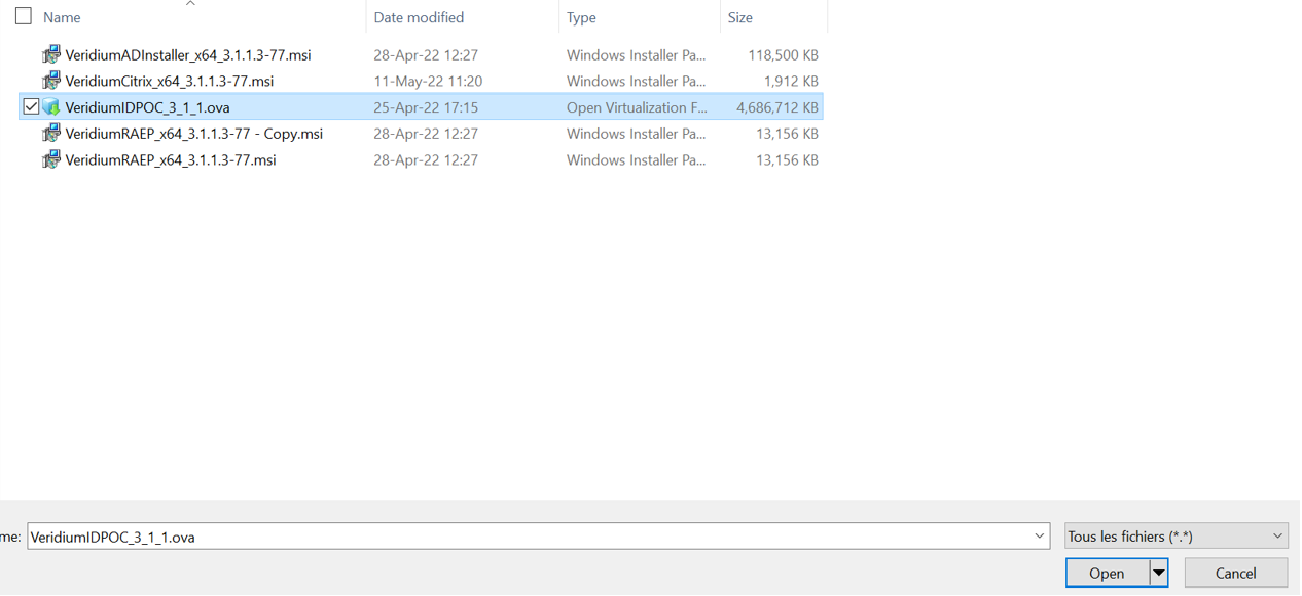
Navigate to and select the
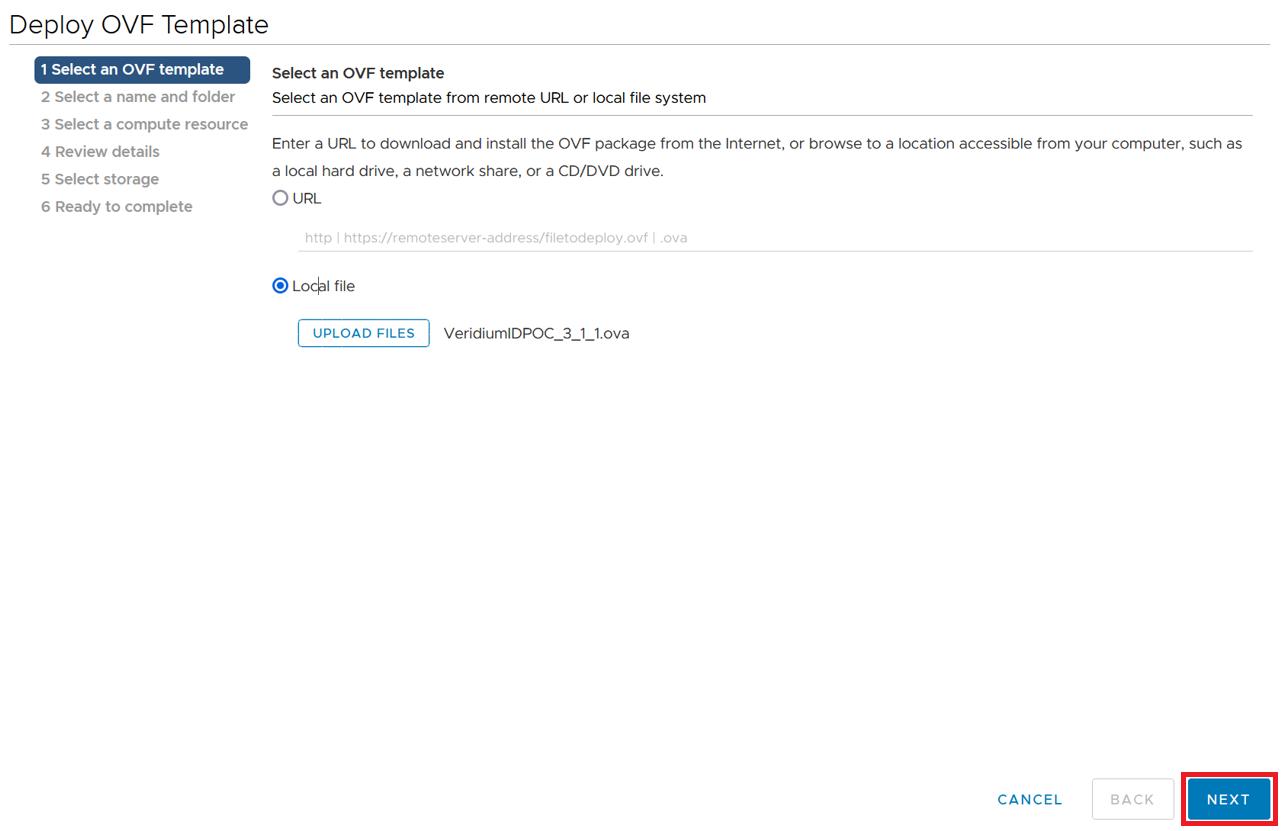
VID.ovafile, then click Open.
-
Click Next to proceed.
-
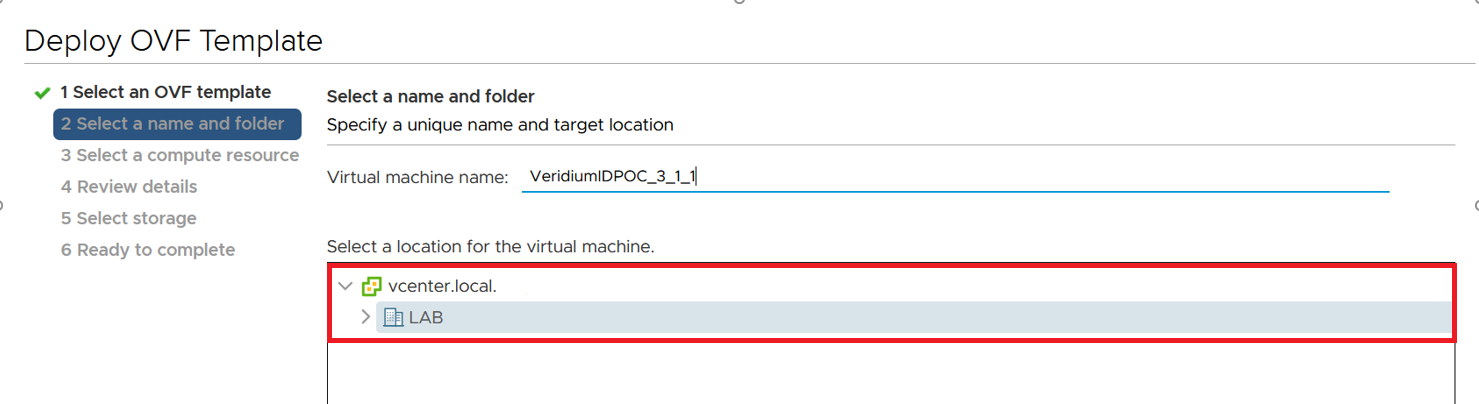
Update the virtual machine’s name if desired, and select the target location for the VM; then click Next.
-
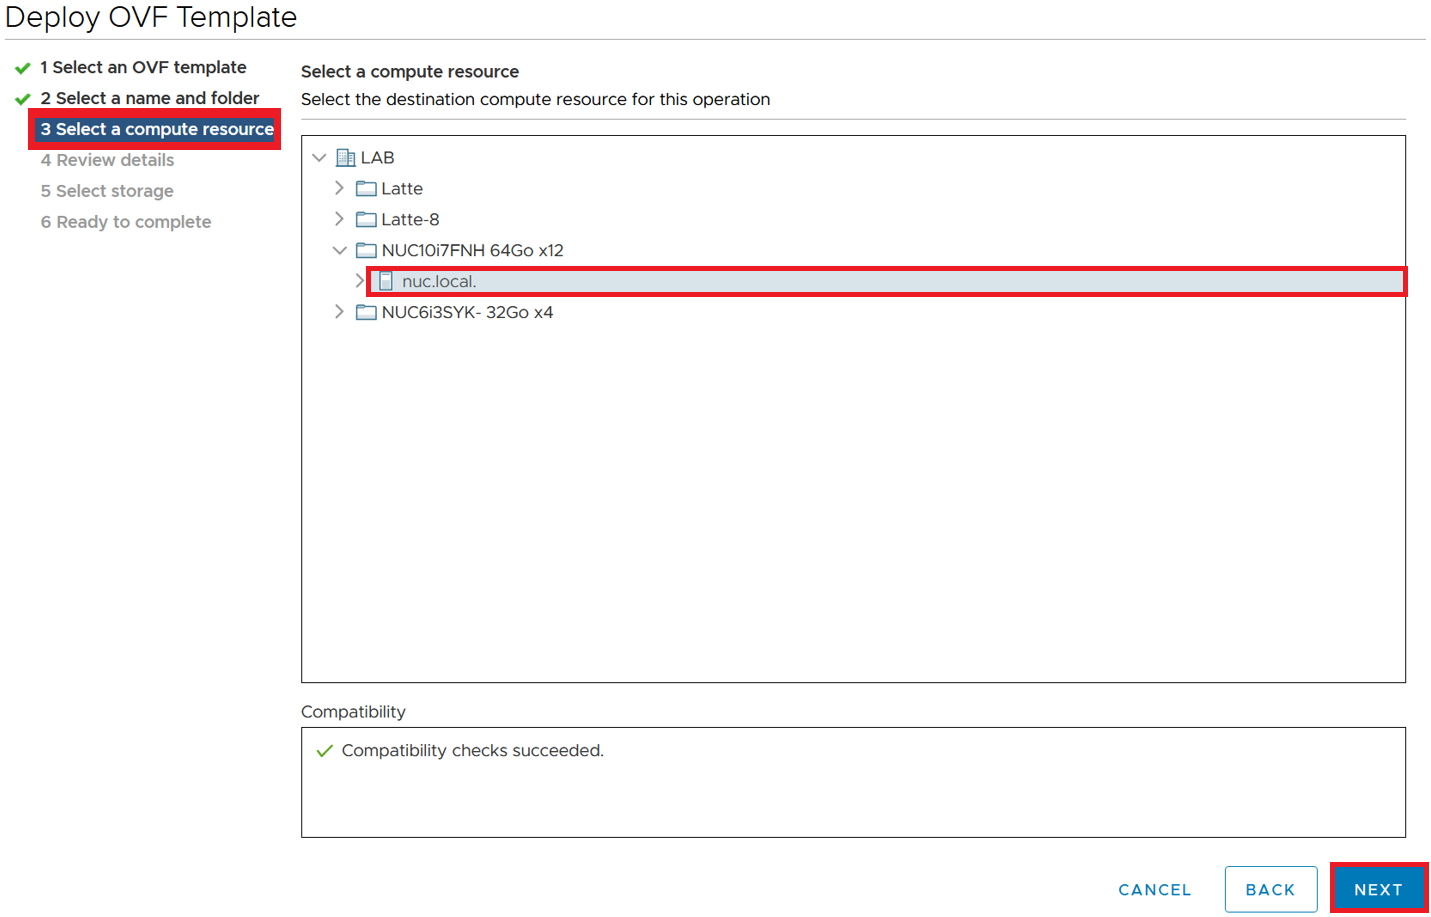
Choose the target resource pool or host (e.g.,
nuc.local) and click Next.
-
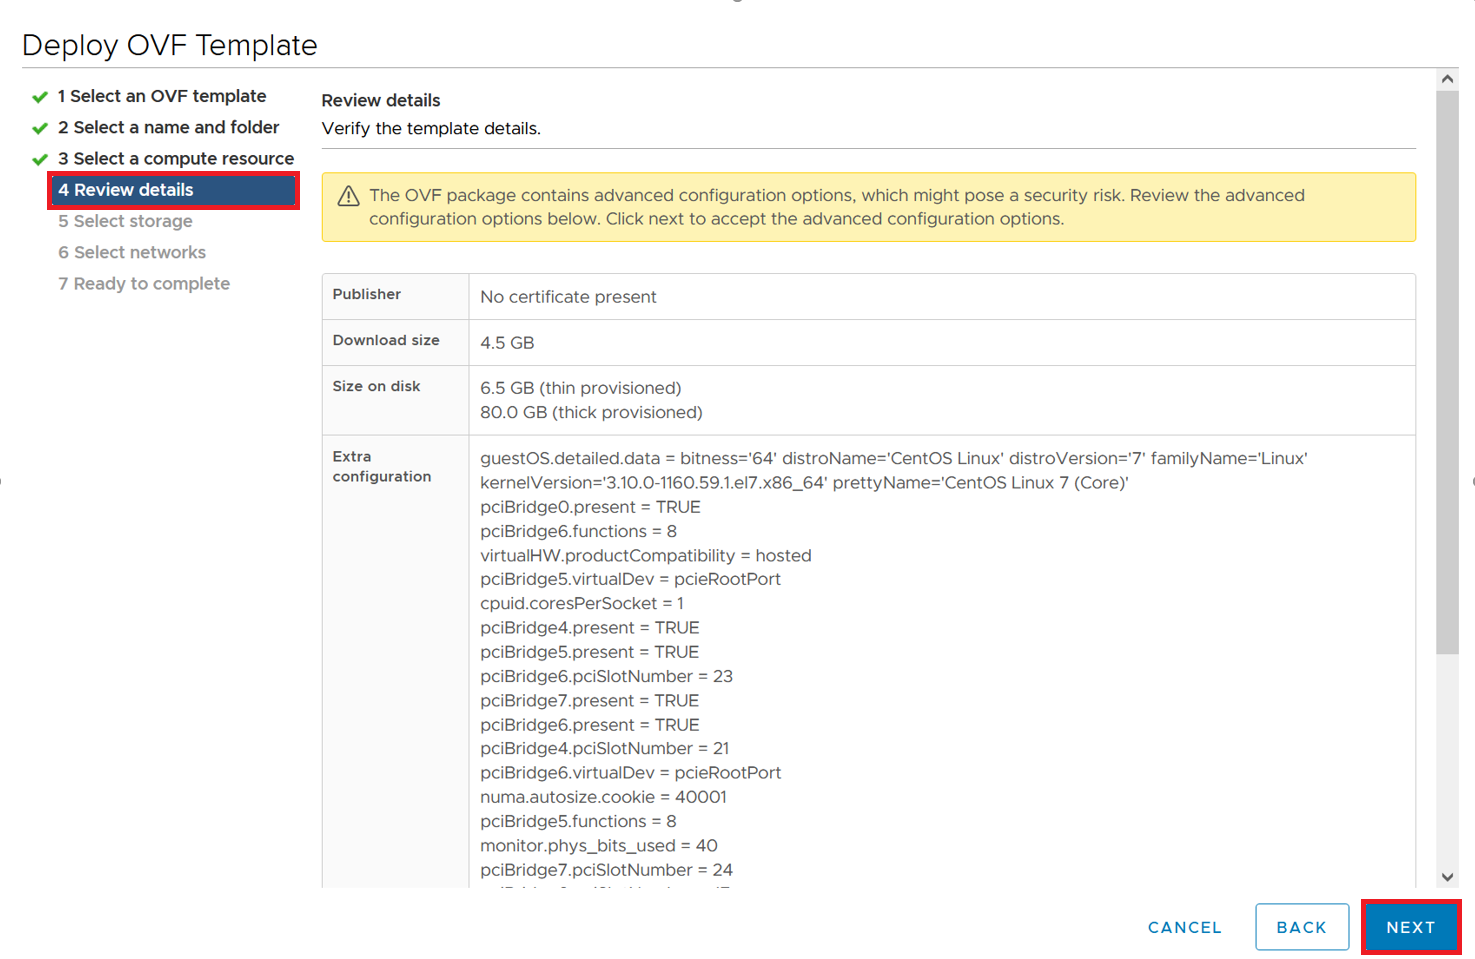
Review the details of the OVA import task, then click Next.
-
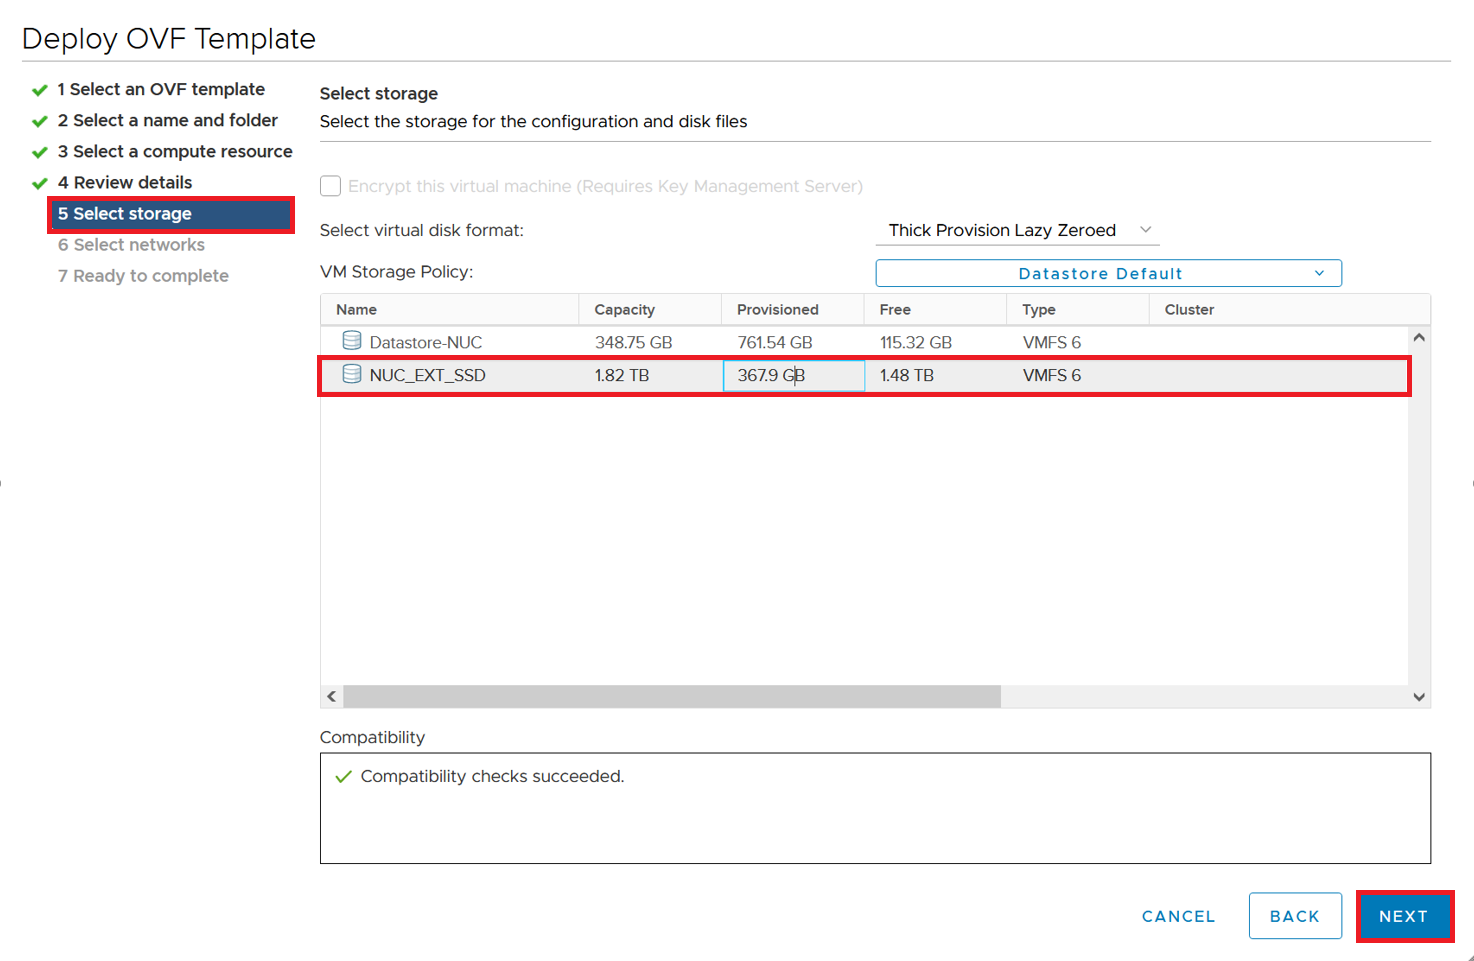
Select the storage location for the VM (e.g.,
NUC_SSD disk) then click Next.
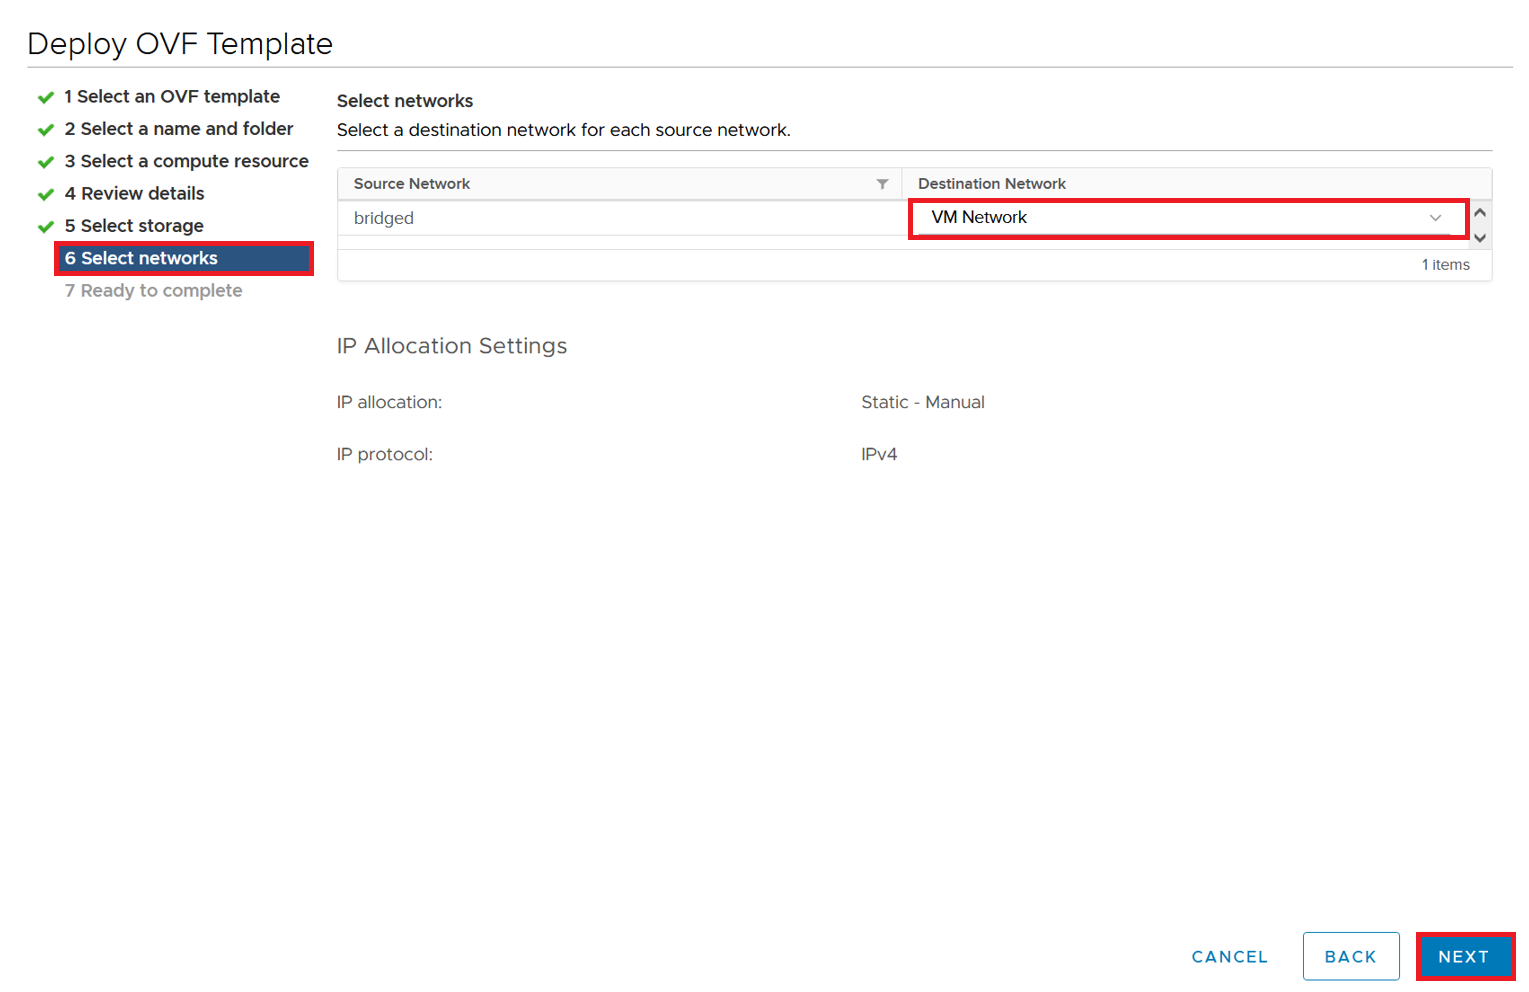
-
Choose the destination network matching your architecture (e.g.,
VM Network) and click Next.
-
Click Finish to begin the deployment.
-
The import task will now appear in the vCenter/ESXi task list.
-
Wait for the task to complete.
-
Once the import is finished, the VeridiumID OVA instance is ready to use—start the virtual machine.
IMPORTANT: The first boot of the OVA may take up to 10 minutes. Please do not reboot the machine during this period.
Additional Tips
-
Ensure your host has adequate CPU, memory, and storage resources before beginning the import.
-
Confirm the network segment and storage selected match your infrastructure and architecture plans.
-
Monitor the task list for any errors during import—if a failure occurs, inspect the error logs and re-attempt the import.
-
After the first boot, validate connectivity and configuration (e.g., network settings, hostname, IP address) before putting the VM into production.
-
Document the VM name, location, and configuration as part of your asset inventory for future reference.
-
The initial boot of the OVA may take up to 10 mins. Please do not attempt to reboot the machine during this period