

Overview
This article describes the procedure for renewing the IdP signing certificate (Shibboleth) used by Veridium, and explains the impact on configured Service Providers (SPs) such as Citrix NetScaler, Citrix StoreFront, or any other service using SAML authentication.
When the signing certificate is replaced in the Veridium IdP, Service Providers that still trust the old certificate will reject SAML assertions issued by Veridium. Because of this, Service Providers must also be updated to trust the new certificate.
Renewing the Signing Certificate
Once the new certificate is issued by the Enterprise PKI, it must be uploaded to Veridium through the Admin Management Console.
Navigate to:
Settings → Connectors → SAML
This section allows administrators to access and manage the SAML IdP configuration.
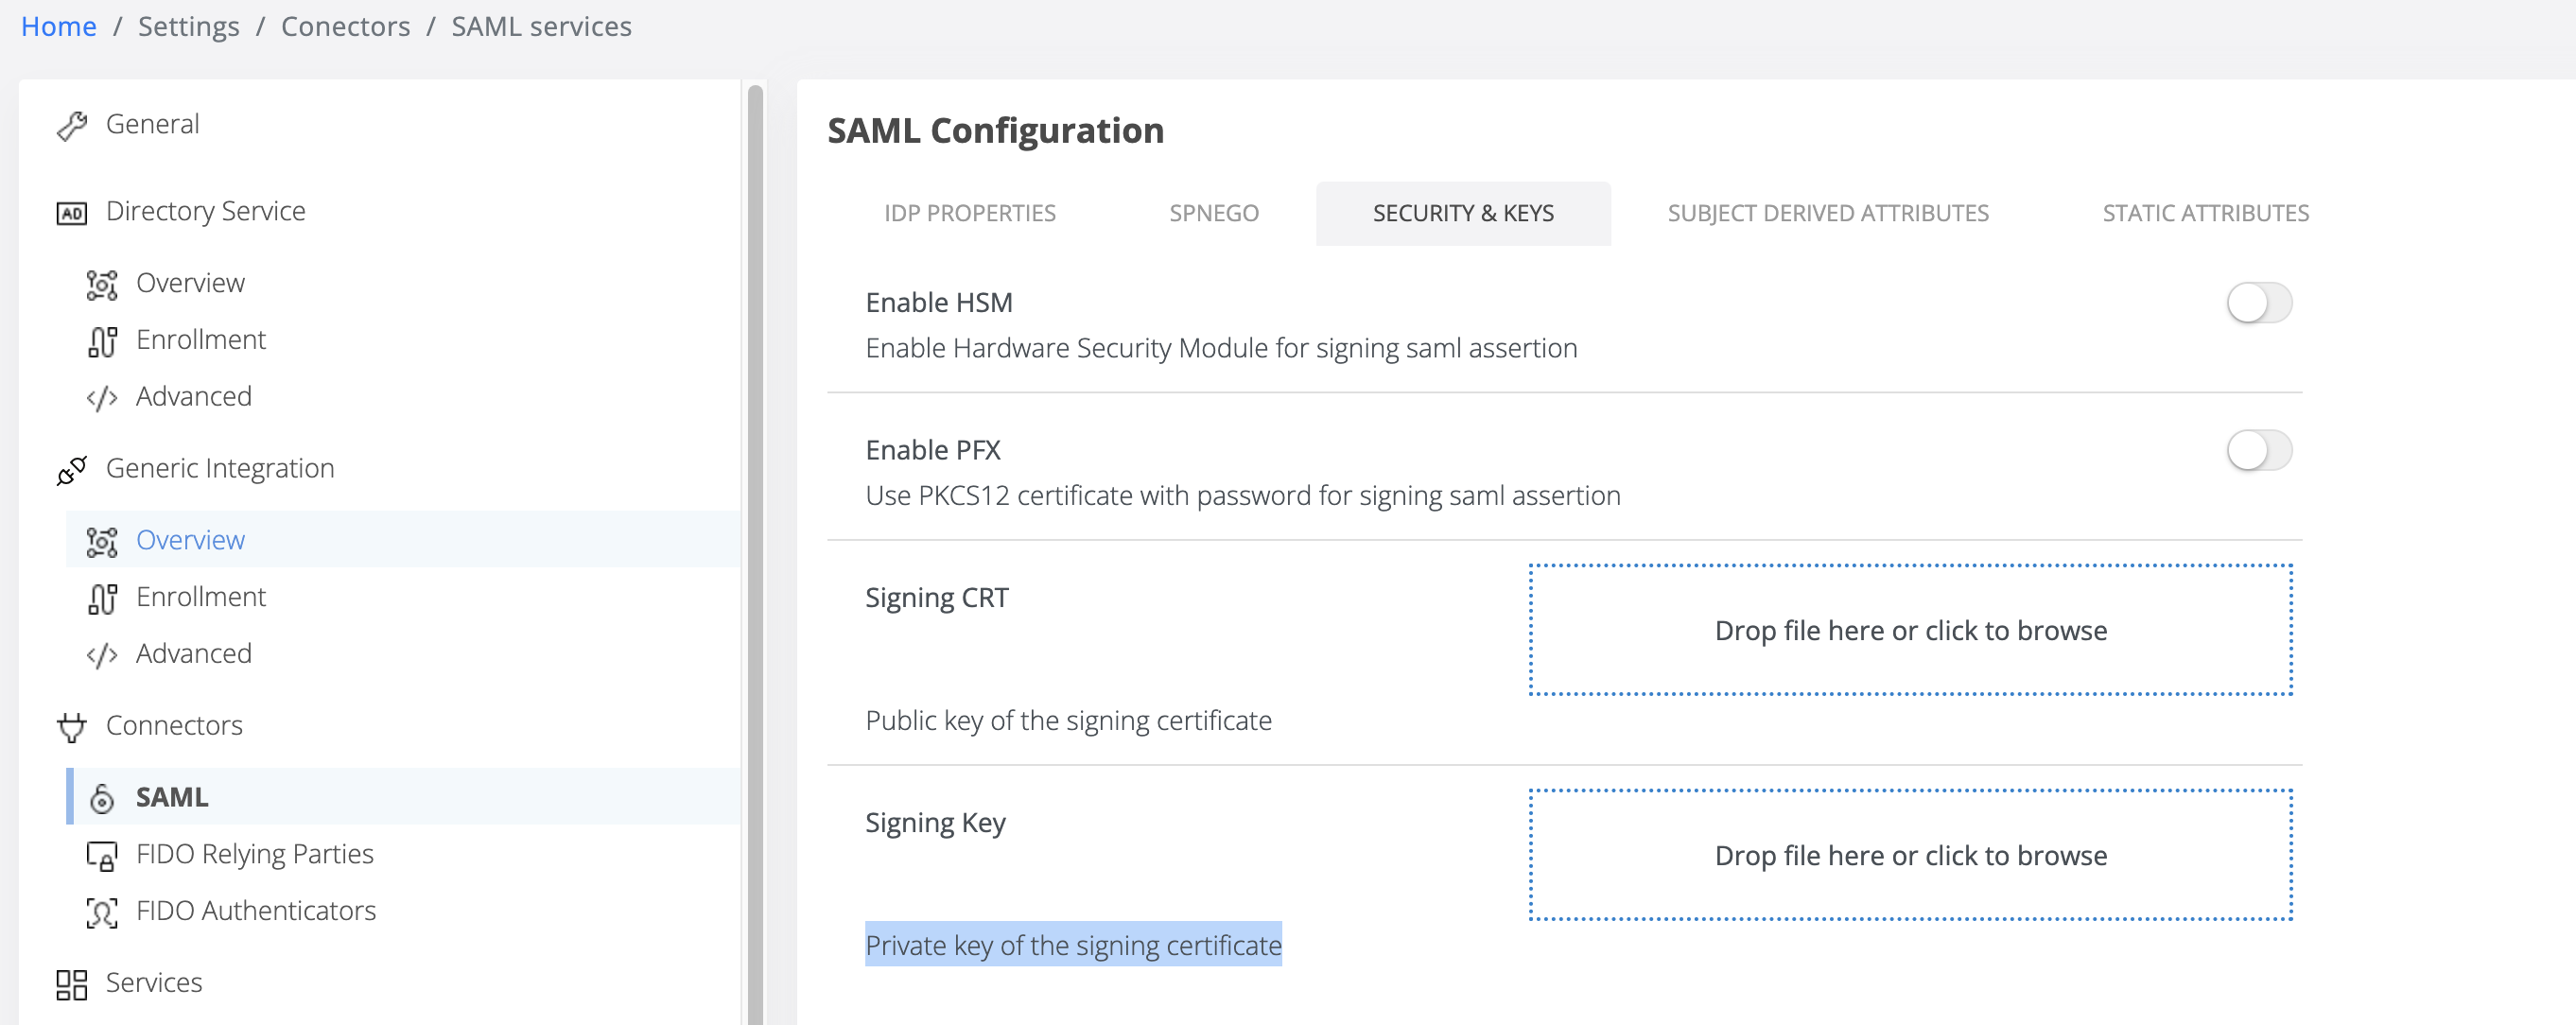
Two methods are available for uploading the new certificate.
Option 1 — Upload PKCS#12 (Recommended)
Best practice is to upload the certificate in PKCS#12 format.
PKCS#12 (also known as PFX or P12) is a binary format that stores:
-
the certificate
-
the certificate chain
-
the private key
in a single password-protected file.
To upload using this method:
-
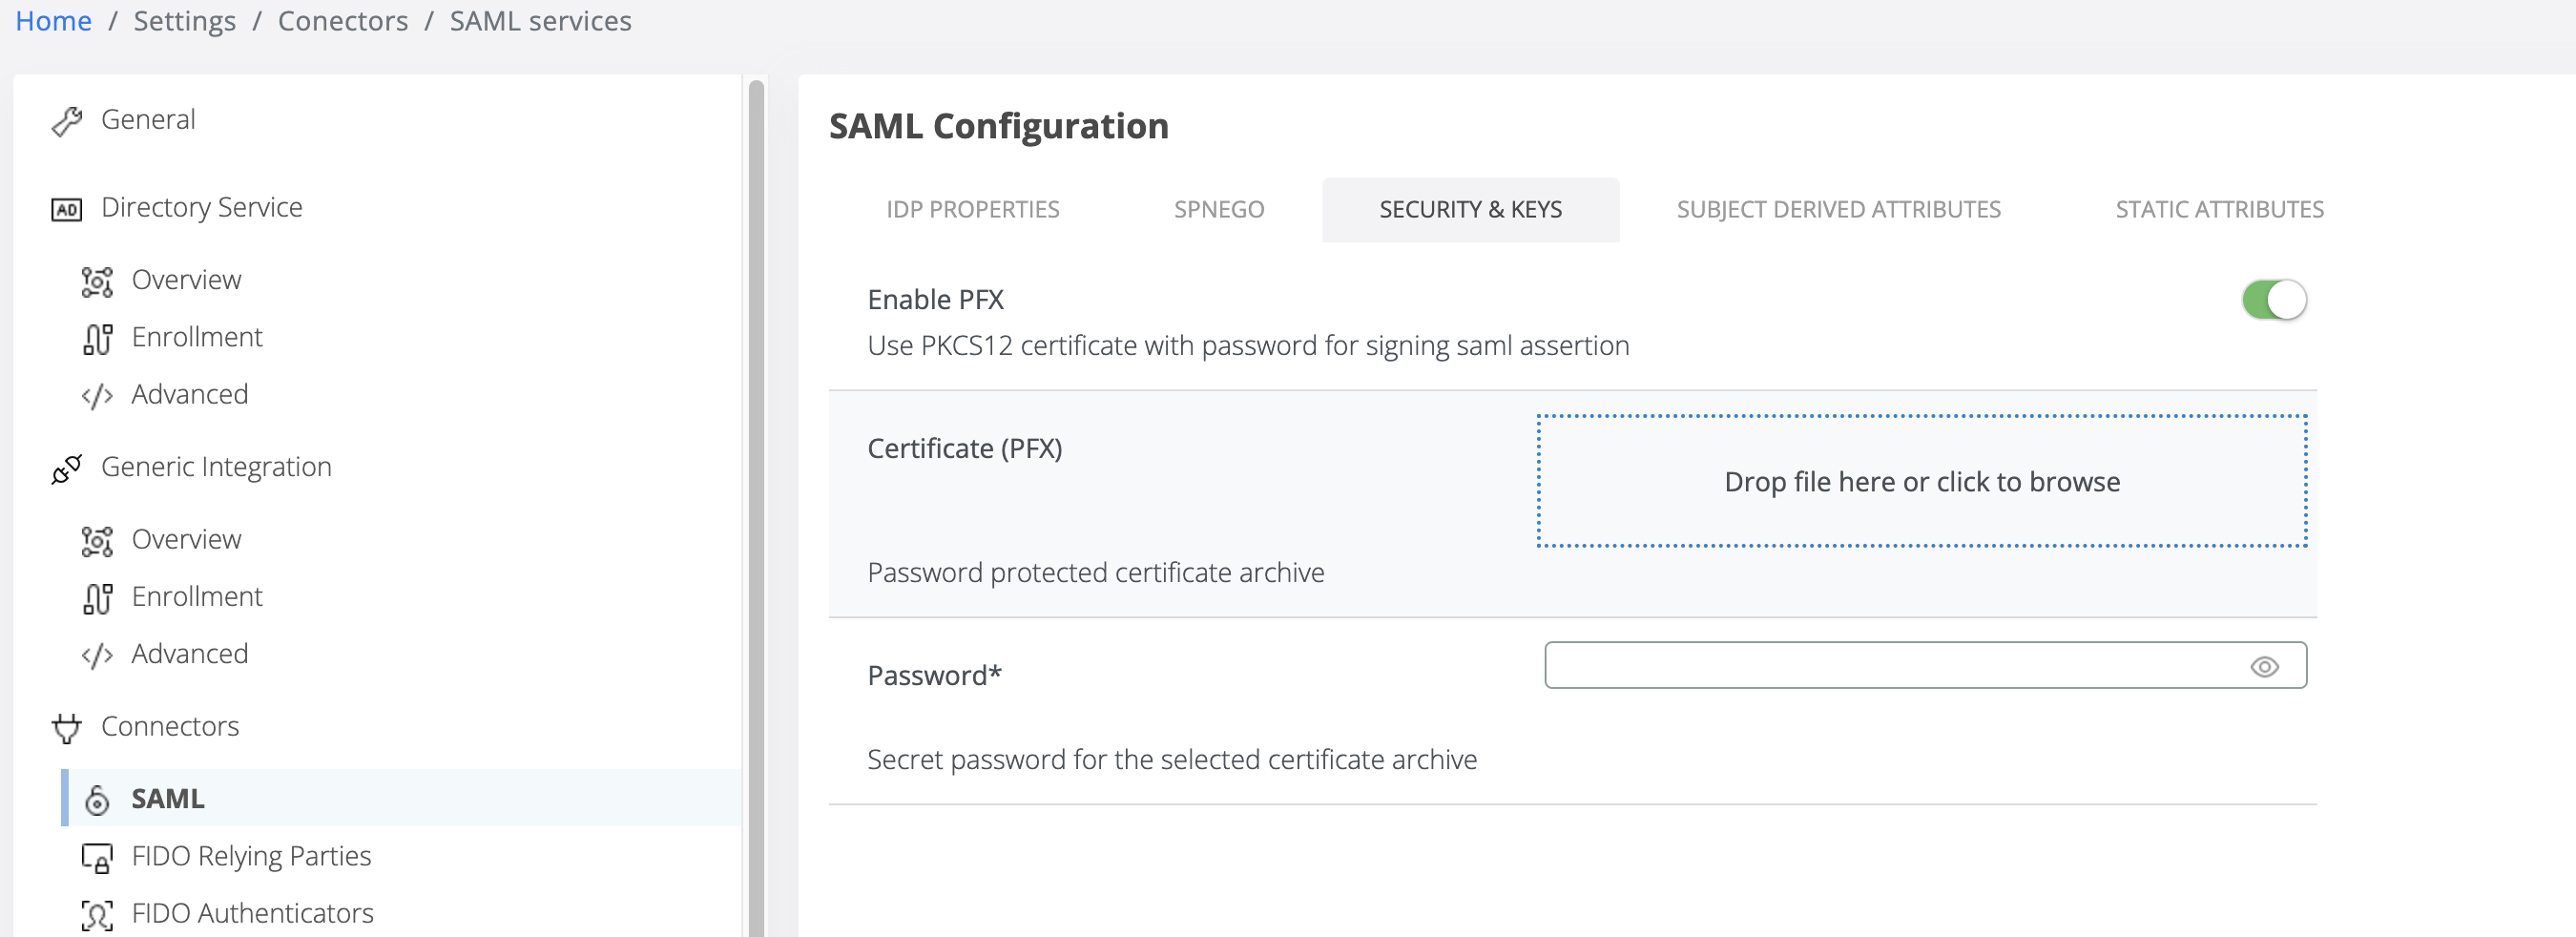
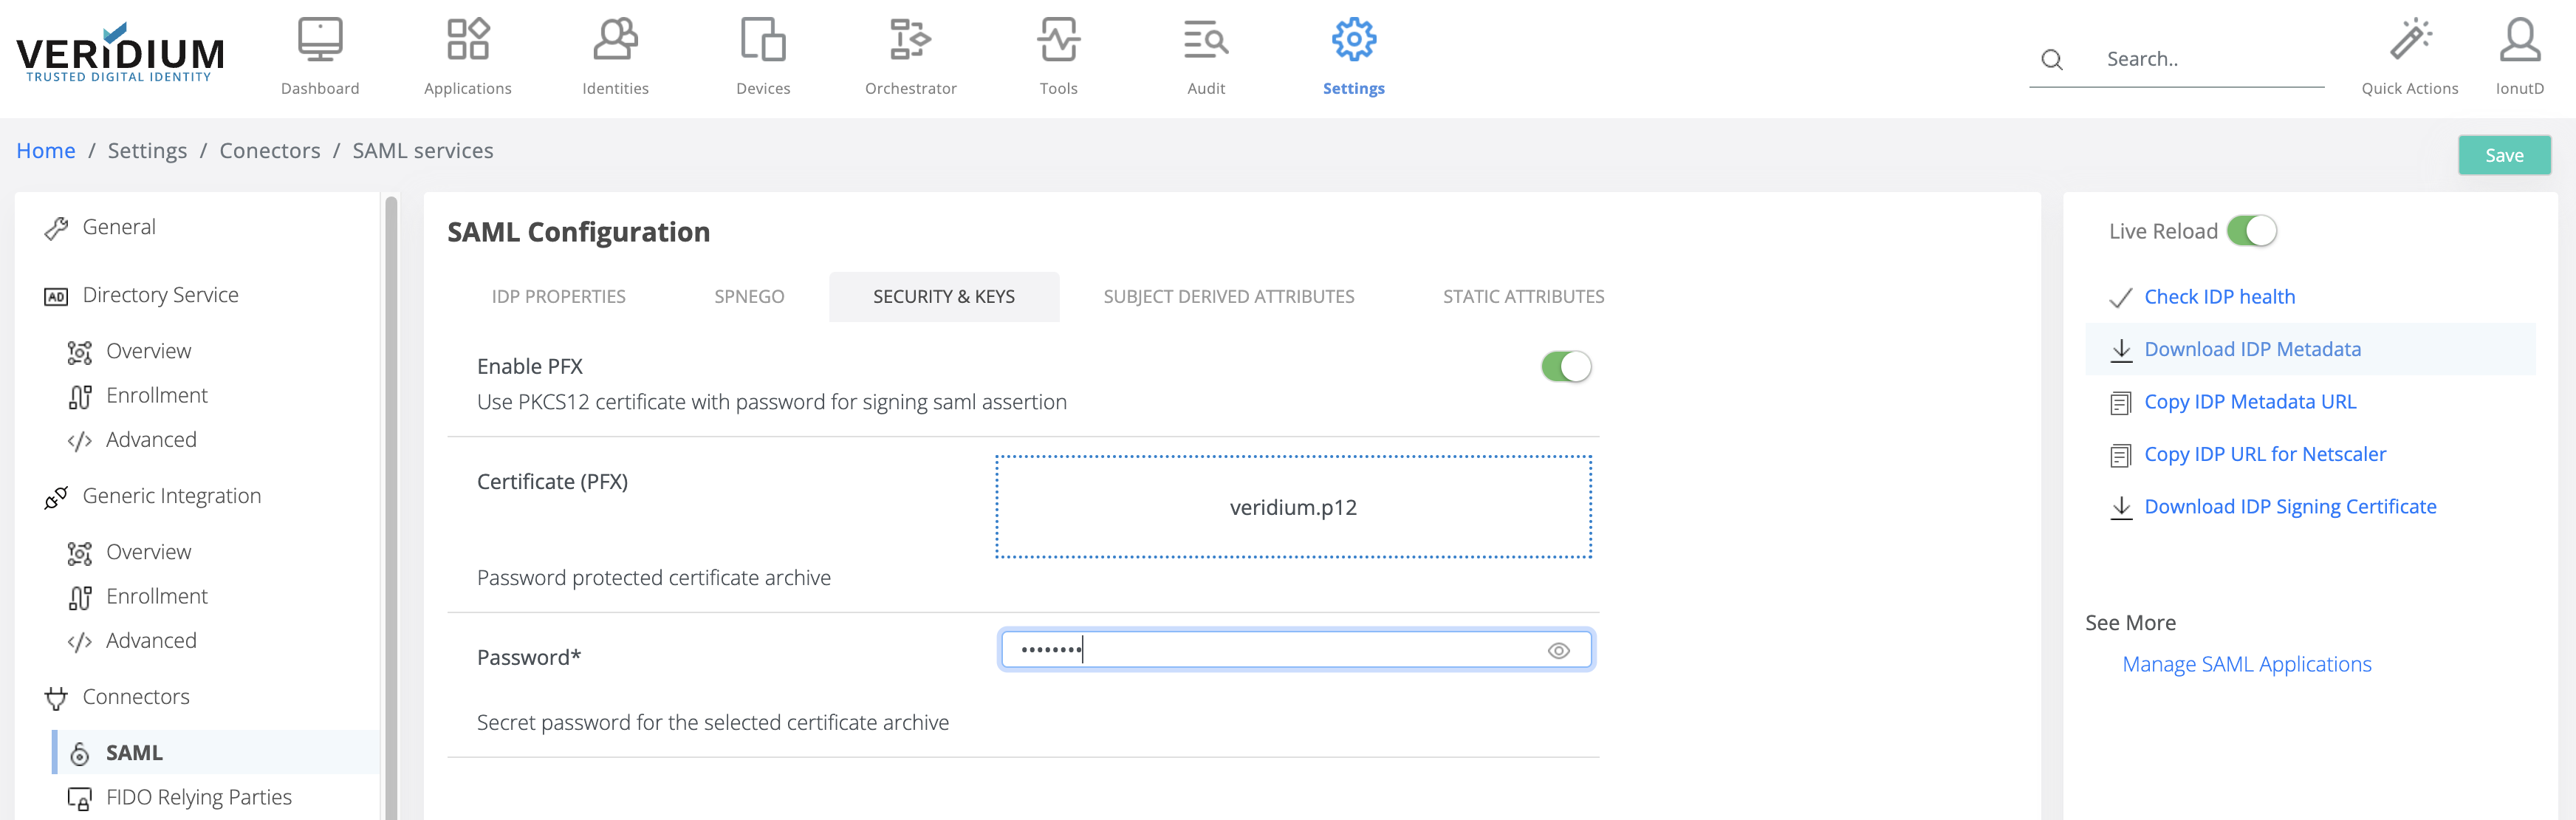
Enable the “Enable PFX” toggle.
-
Upload the .pfx or .p12 file.
-
Provide the password used to protect the file.
Enabling this option switches the interface to the PKCS#12 upload form.
Option 2 — Upload PEM Files
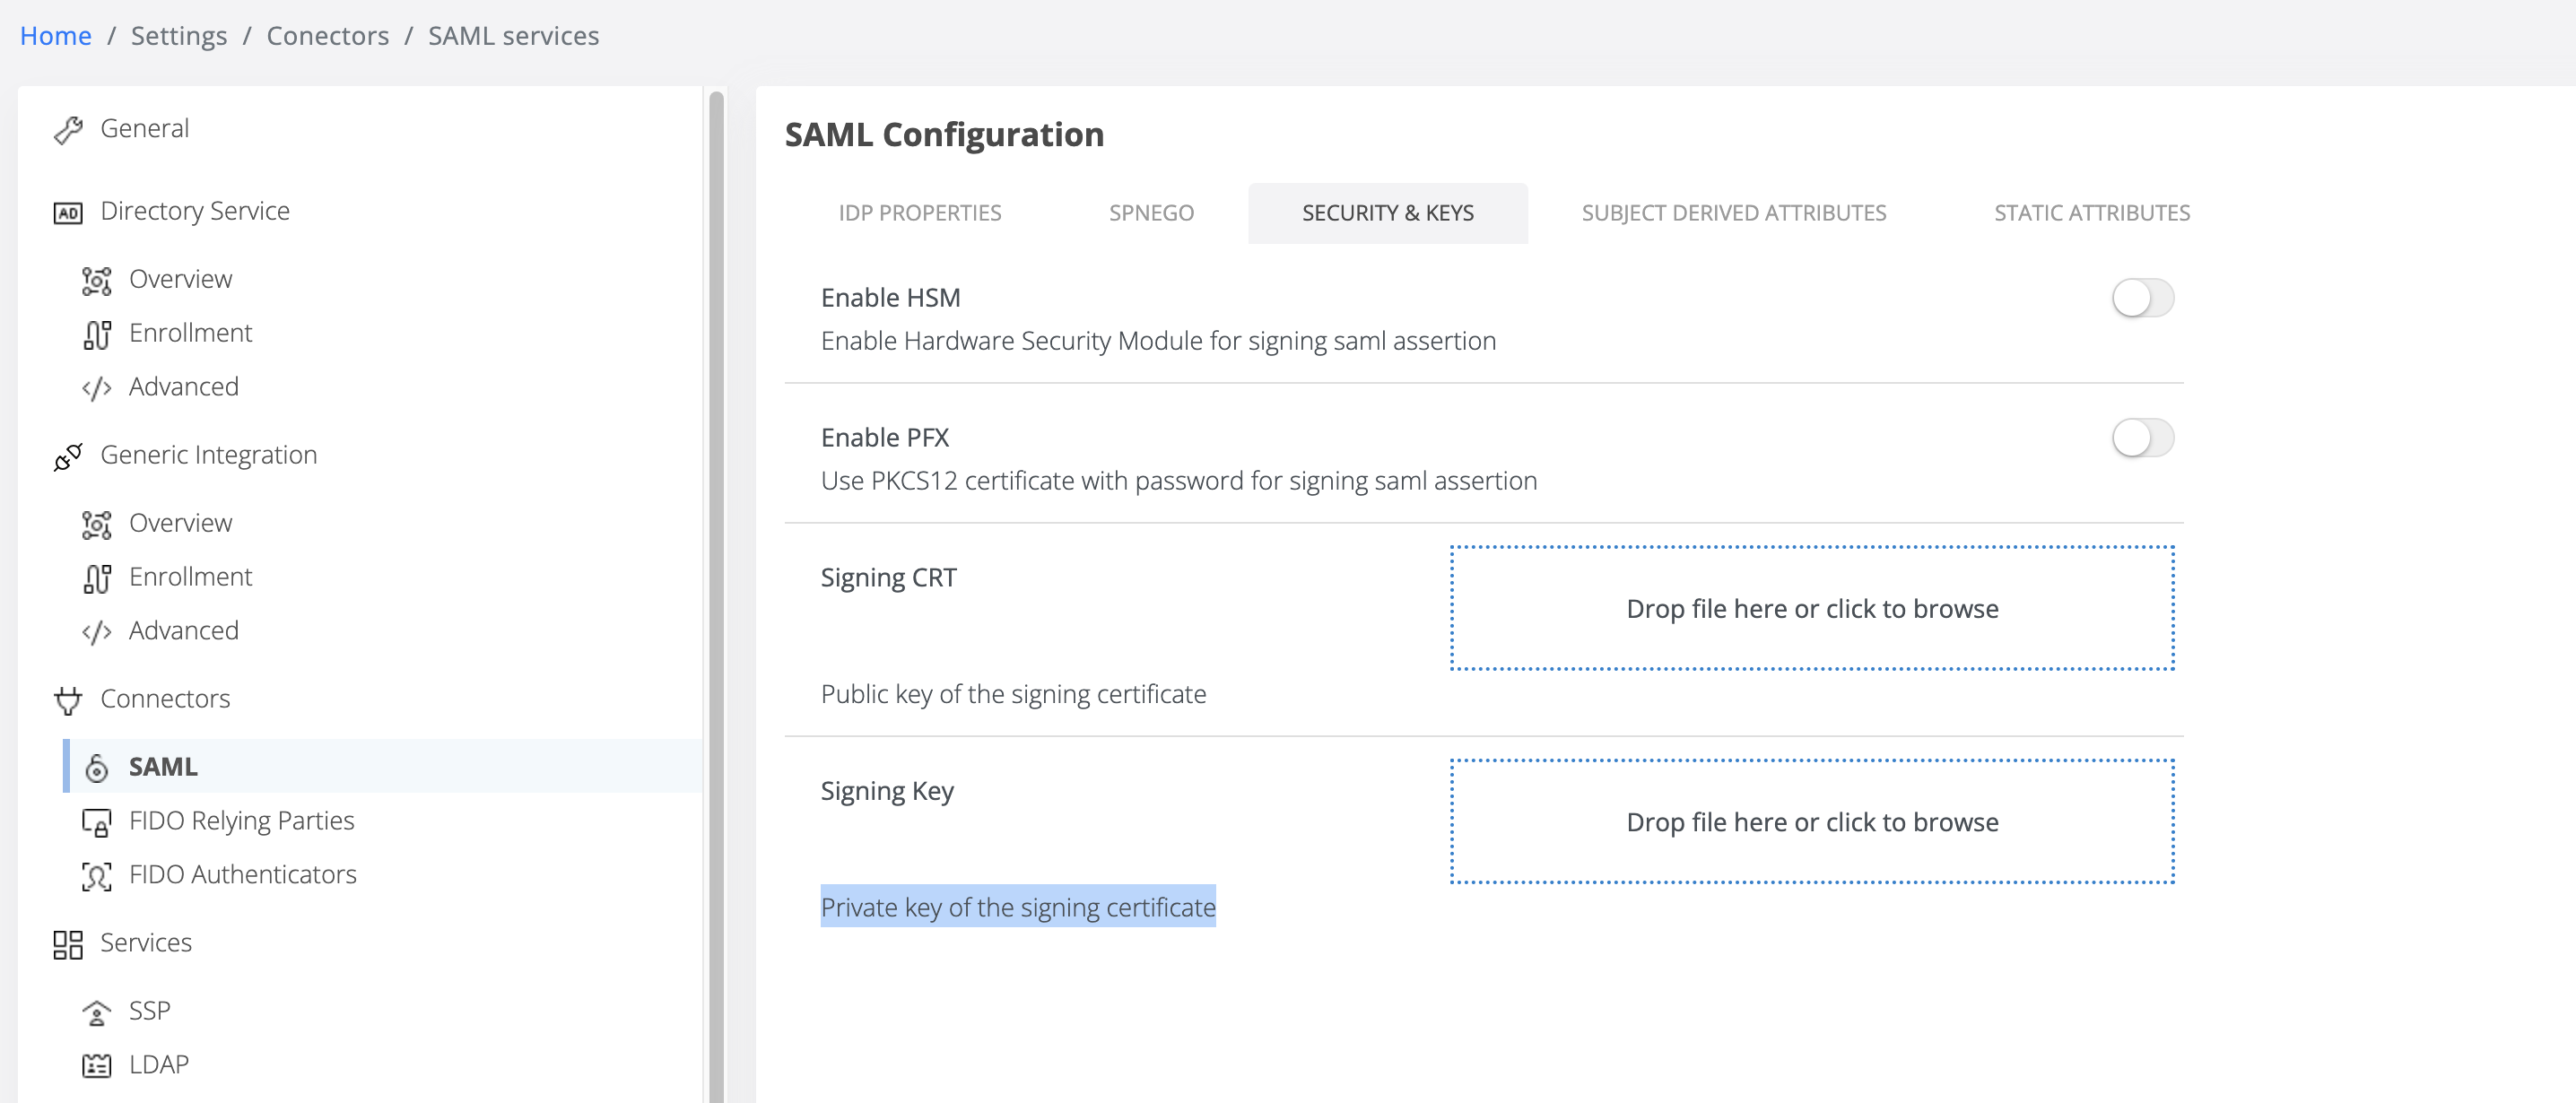
If the public certificate and private key are available separately, they can be uploaded in PEM format.
PEM (Privacy Enhanced Mail) is the most common format for:
-
X.509 certificates
-
certificate signing requests (CSRs)
-
cryptographic keys
A PEM file is a Base64-encoded text file containing blocks such as:
-----BEGIN CERTIFICATE-----
-----END CERTIFICATE-----
Upload the required PEM files using the interface shown below.
Save action will submit the new certificate and Veridium IdP will reload automatically to use the new certificate.
After saving the configuration, the new certificate is submitted and the Veridium IdP automatically reloads to start using it.
Updating the Service Providers
After renewing the IdP signing certificate, Service Providers must also trust the new certificate.
The required actions depend on how the Service Provider was configured.
Manual Update
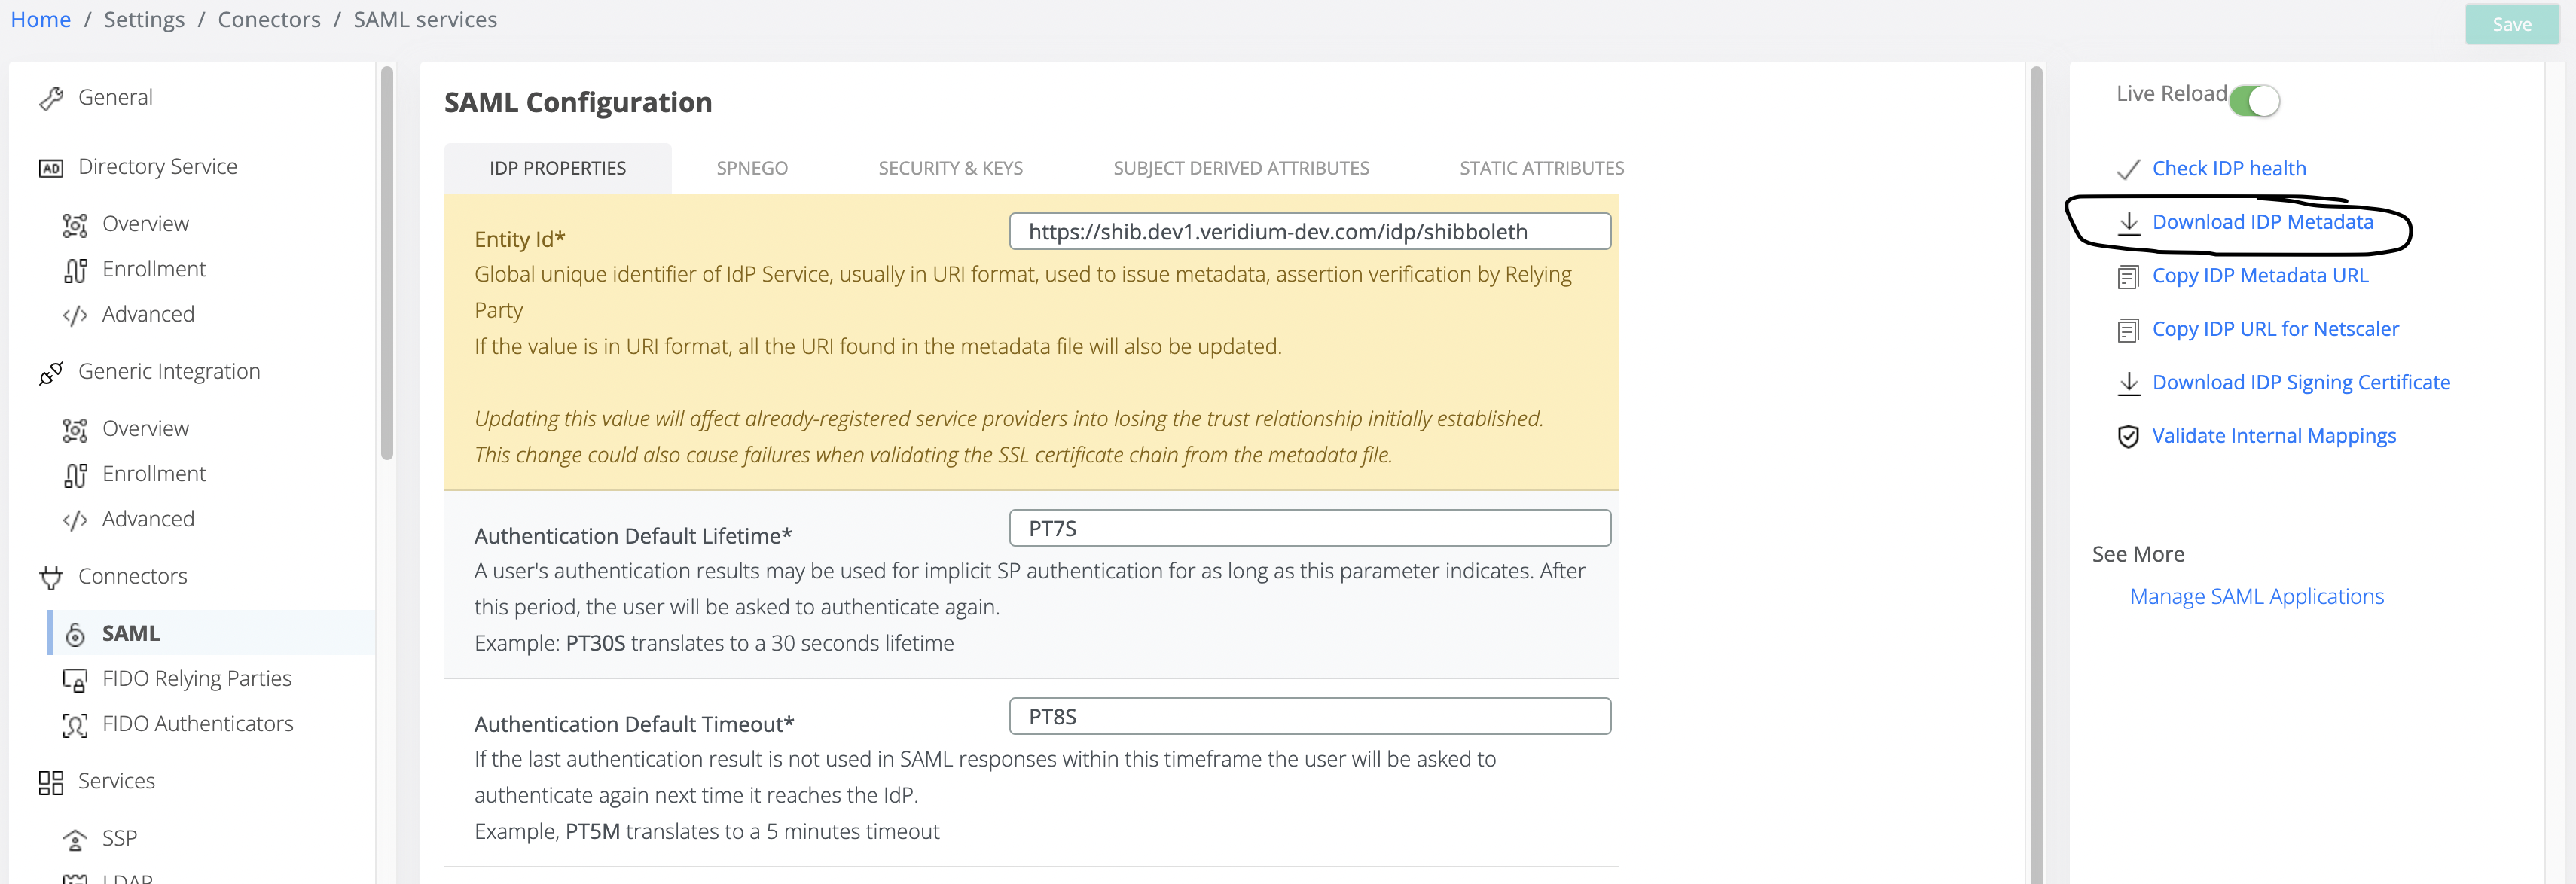
If the Service Provider was configured by uploading the idp_metadata.xml file, the metadata must be updated during the same maintenance window as the certificate renewal.
The Veridium administrator should:
-
Download the new IdP metadata file.
-
Distribute it to the administrators of the connected services.
-
Update the Service Provider configuration using the new metadata.
Automatic Update
If Service Provider was configured to automatically update the IdP Metadata, no further action is required. The metadata URL will publish immediately after Renew the certificate, the new information at
https://<idp service name>/idp/shibboleth
Citrix StoreFront Configuration
Citrix StoreFront allows multiple IdP signing certificates to be configured. This enables a smooth certificate rotation by allowing both the old and new certificates to be trusted simultaneously.
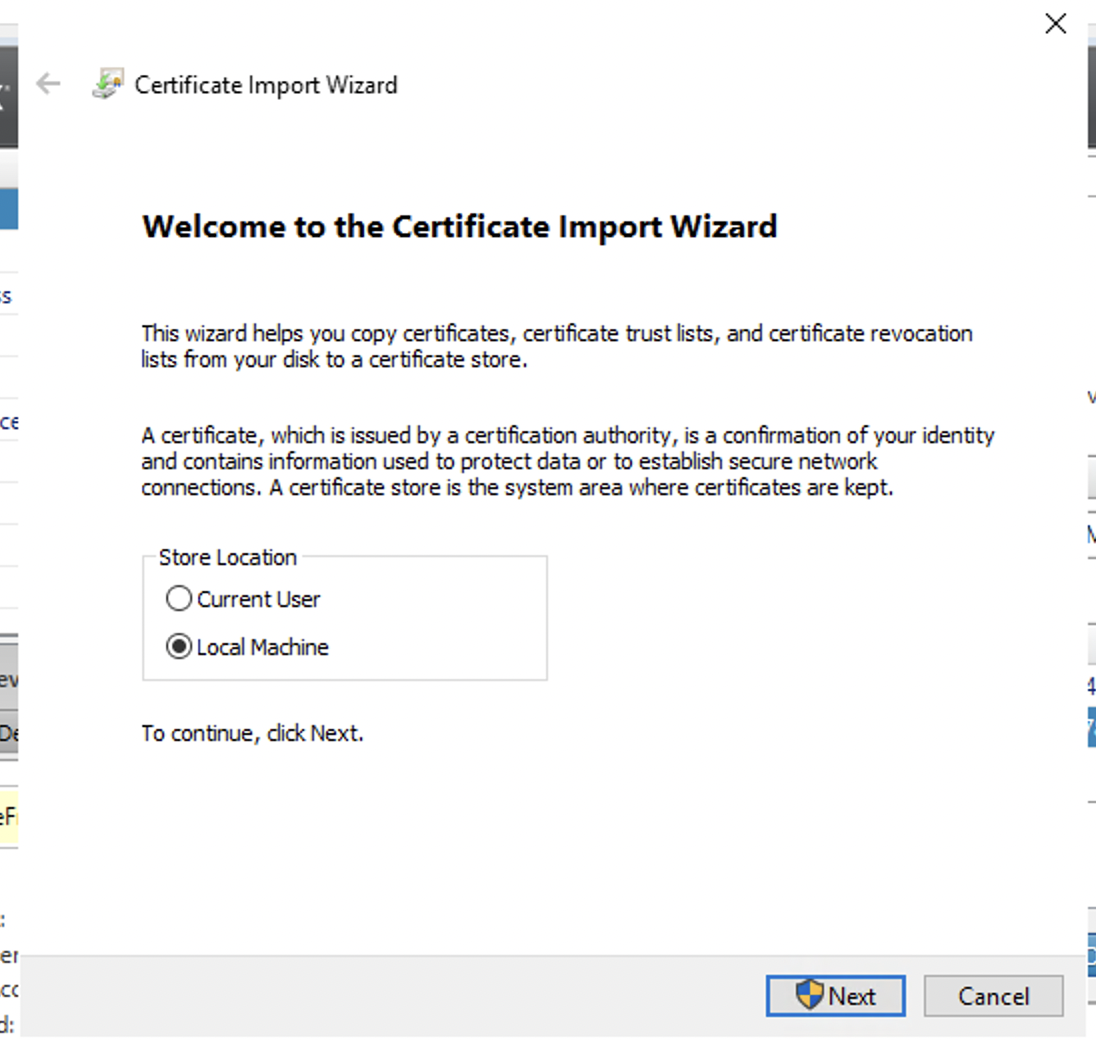
Step 1 — Import the New Public Certificate
Import the new certificate into the Machine Certificate Store.
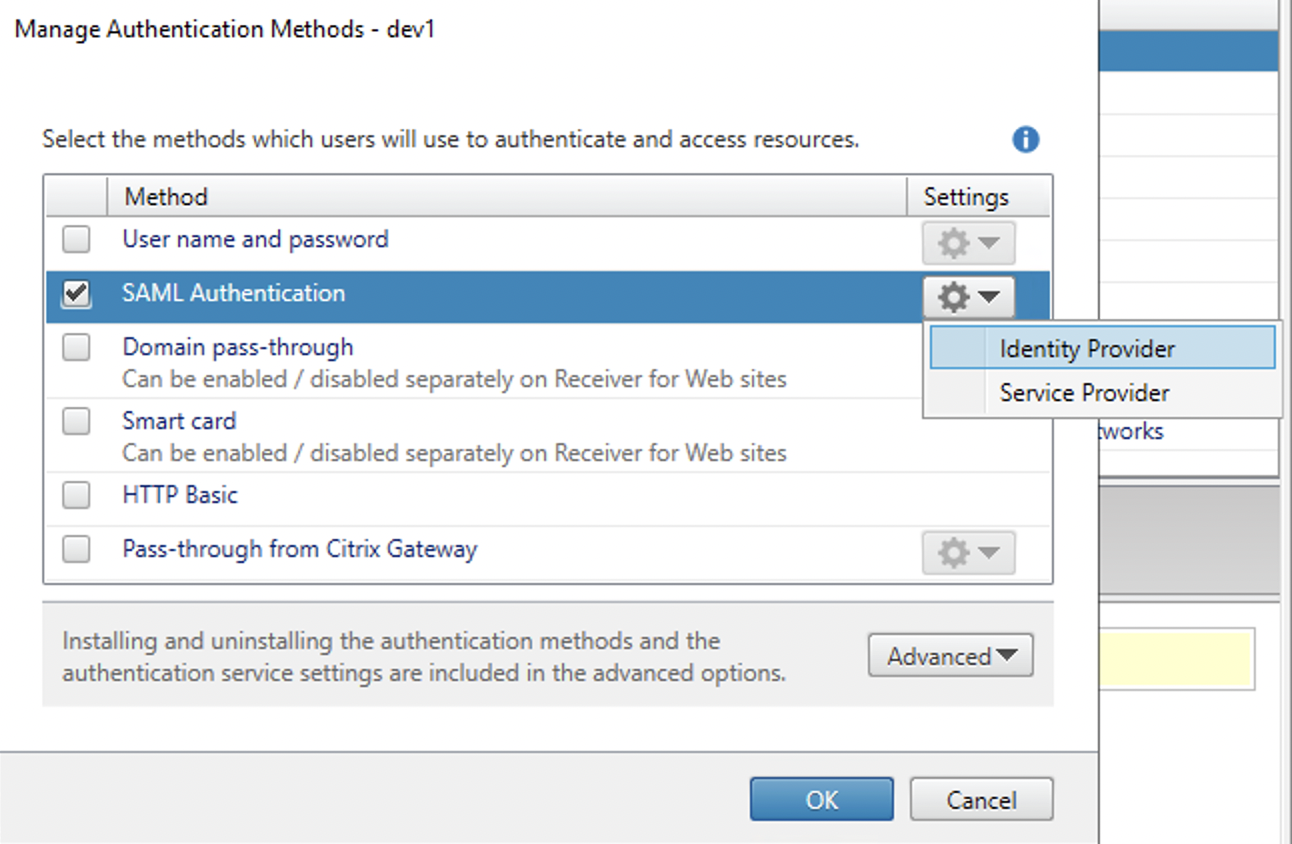
Step 2 — Edit the Identity Provider Configuration
Open the SAML configuration in Citrix StoreFront and edit the Identity Provider settings.
Step 3 — Add the New Certificate Thumbprint
Add the thumbprint of the new certificate to the configuration.
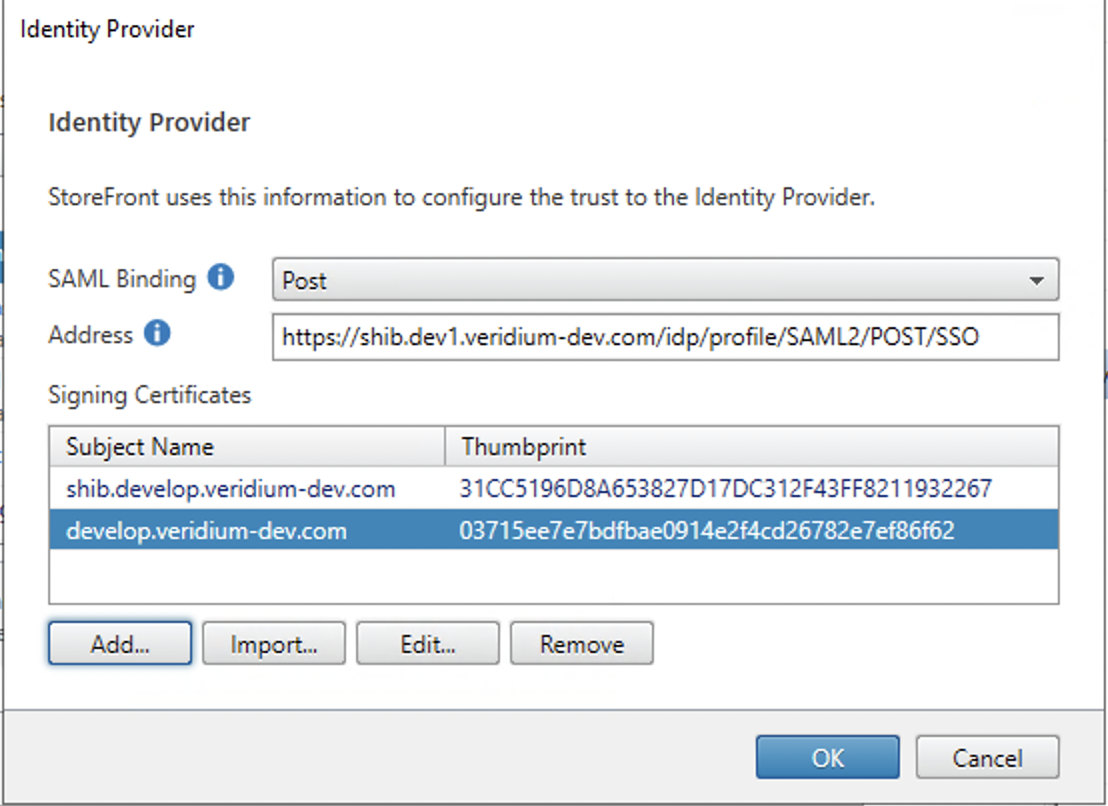
After this step, StoreFront will accept SAML assertions signed with either the old or the new certificate.
Once the new certificate is confirmed to be fully operational, the old certificate should be removed from the configuration as part of the cleanup process.