

The purpose of this document is to provide a procedure for configuring Netscaler as a layer 7 load balancer in front of two Veridium RAEP servers.
Layer7 SSL implementation:
|
Service |
incoming/outgoing port (based on client implementation) |
URL based |
SSL offload |
Assign Client CA / Add Headers |
Sticky session |
Exposure |
|---|---|---|---|---|---|---|
|
RAEP |
443 |
/BopsEnroll or /RaWebApp |
Y |
no |
no |
Intranet |
Define the RAEP servers
-
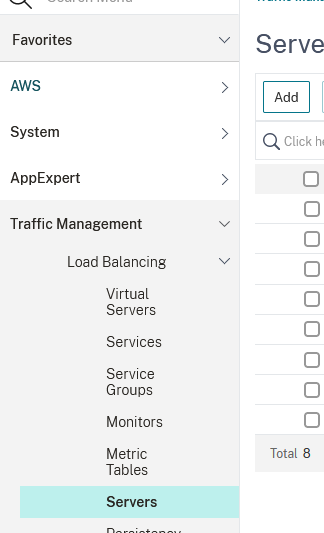
Go to Traffic Management → Load Balancing → Servers and click on Add:
-
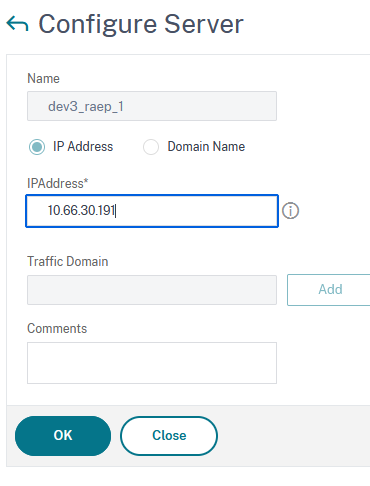
Type in a Name and an IPAddress and click OK to save:
-
Repeat the previous step for as many servers you want to add.
Define the services you want to add to the balancer
-
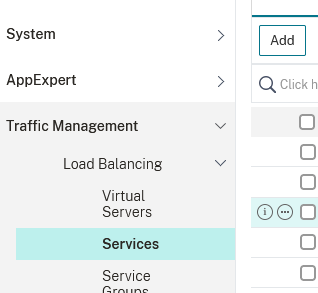
Go to Traffic Management → Load Balancing → Services and click on Add:
-
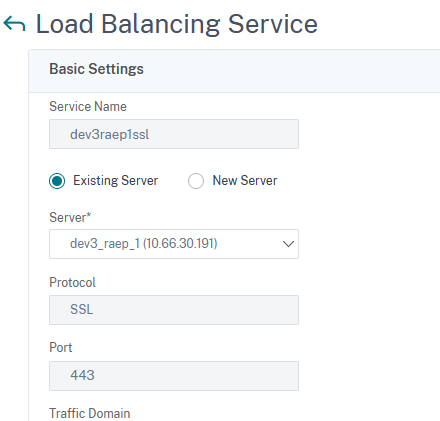
Type in a Service Name, select Existing Server and, from the drop-down list, select one of the servers you previously defined and click on OK:
-
In the following window click on Done.
-
Repeat steps 2 and 3 for as many servers you have previously defined.
Define the Load Balancing Virtual Server
-
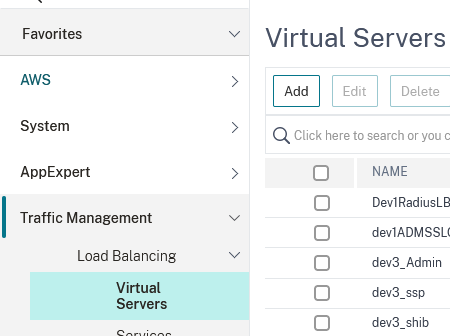
Go to Traffic Management → Load Balancing → Virtual Servers and click on Add:
-
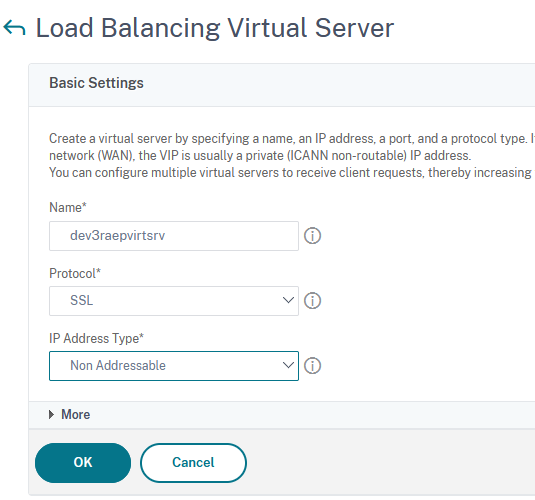
Type in a name, set the Protocol to SSL, and IP Address Type to Non Addressable and click on OK:
-
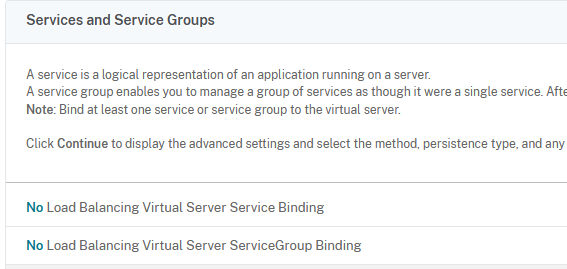
Next click on No Load Balancing Virtual Server Service Binding:
-
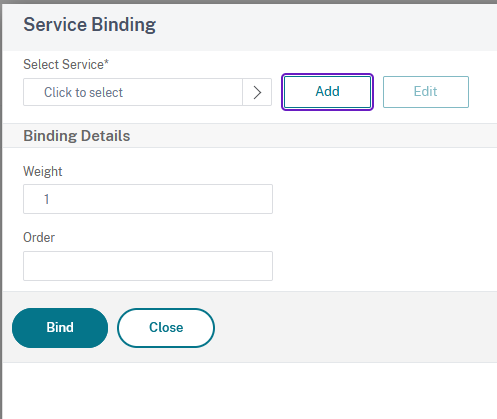
Click on Click to select:
-
Tick the boxes next to the services you previously defined and click on Select:
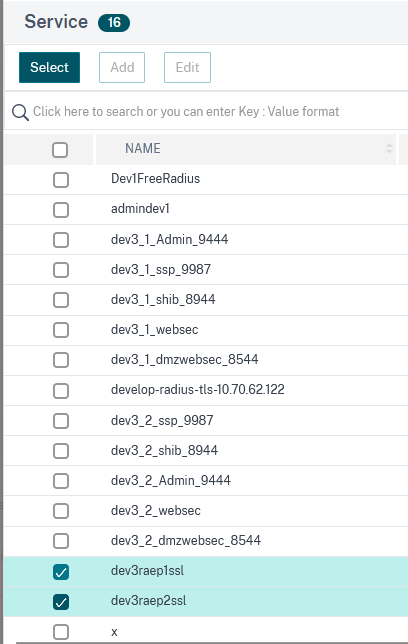
-
Click on Bind to bind the selected services to the virtual server:
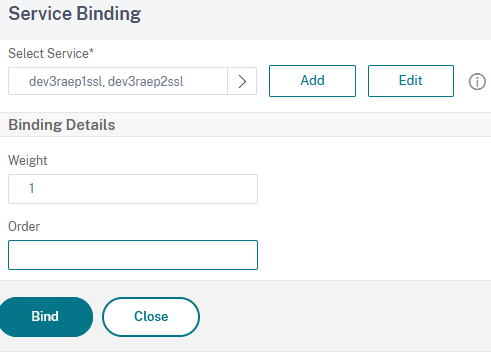
-
Click on Continue:
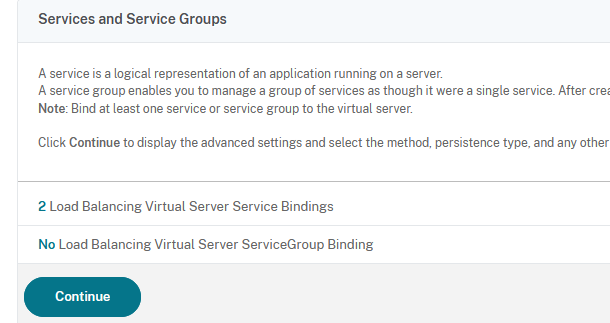
-
Next we need to bind a certificate to the server. Click on No Server Certificate:
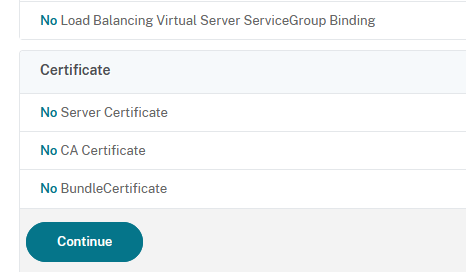
-
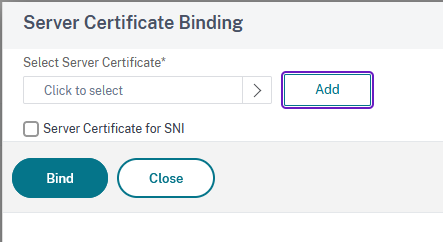
Next, you can either add a new certificate by cliccking on Add or select and existing one, which is what we’ll do, by clicking on Click to select:
-
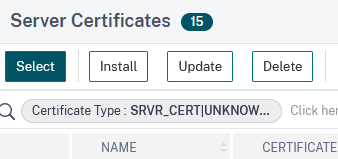
Tick the box next to the desired certificate then click on Select:
-
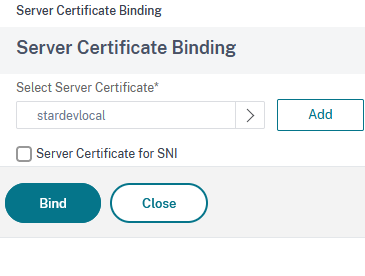
Click on Bind to finish binding the certificate:
-
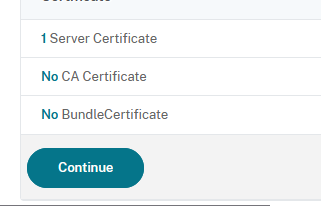
Click on Continue:
-
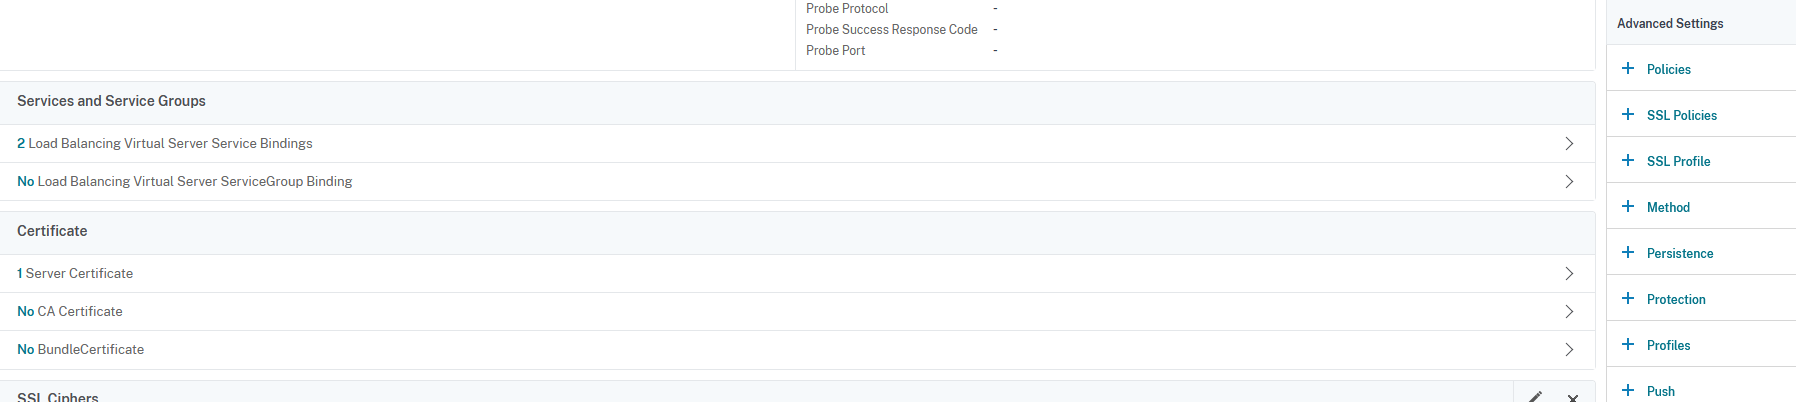
In the next window click on Method:
-
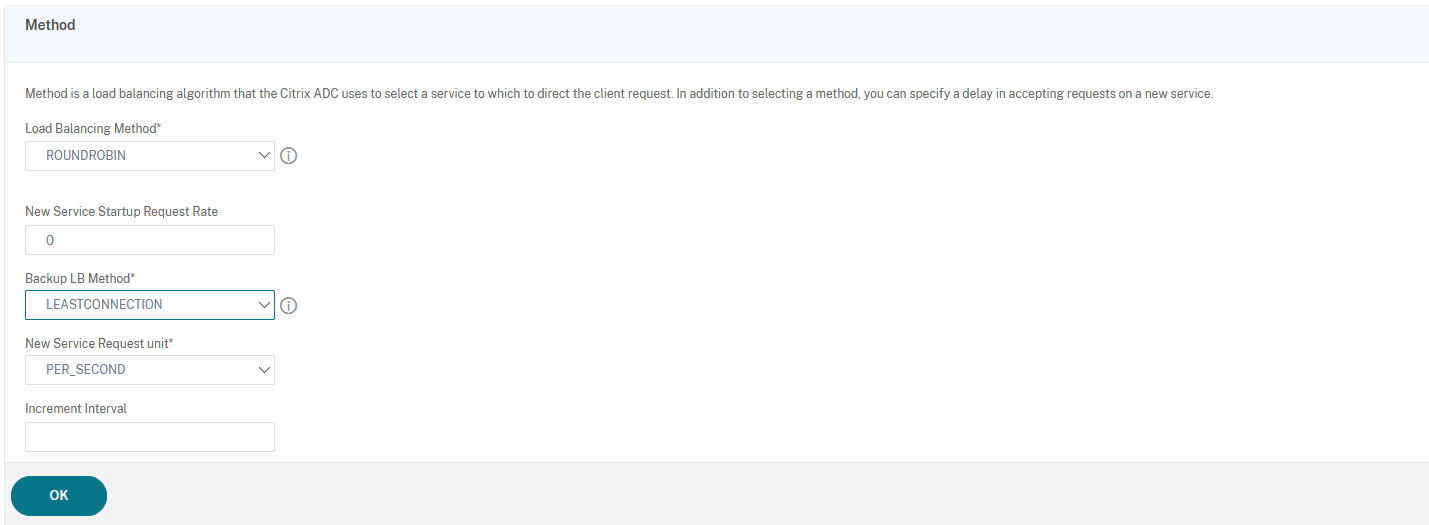
Select ROUNDROBIN as load balancing method and LEASTCONNECTION as backup load balancing method, then click on OK:
-
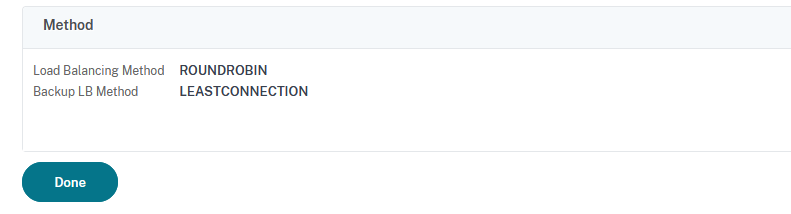
Click on Done to finish:
The Content Switching Part
Define the action for the content switching policy
-
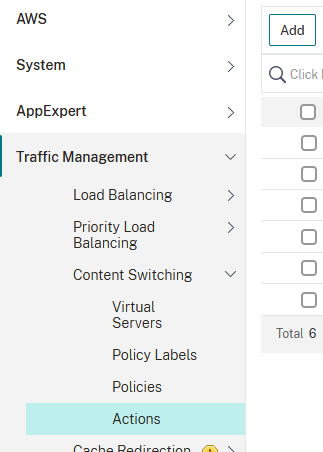
Go to Traffic Management → Content Switching → Actions and click on Add:
-
Type in a name, then click on Loadbalancing Virtual Server:
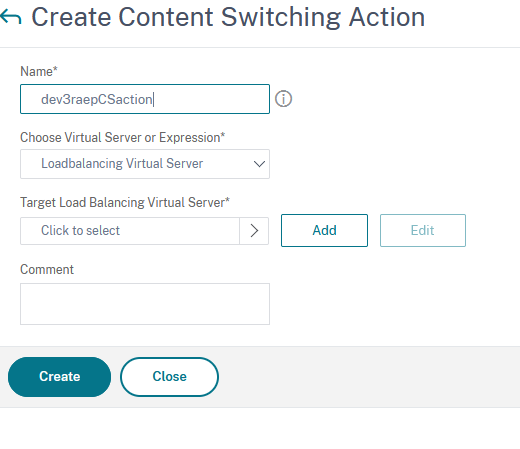
-
Tick the box next to the previously created virtual server and then click on Select:
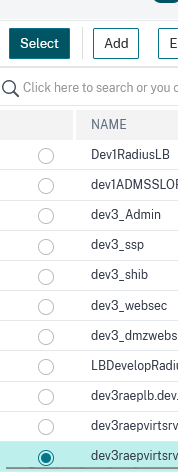
-
Click on Create to finish the creation process:
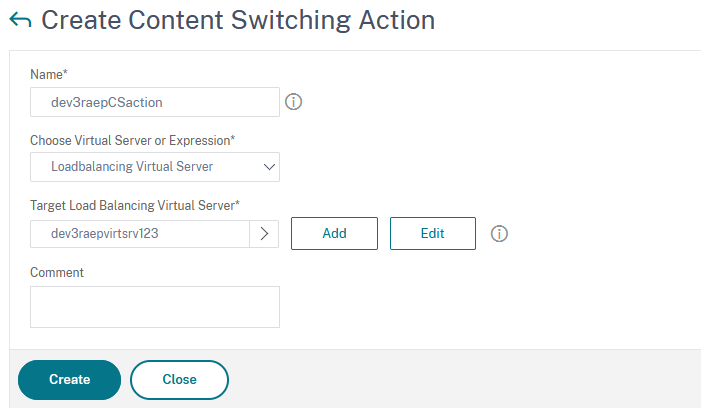
Define the content switching policy
-
Go to Traffic Management → Content switching → Policies and click on Add:
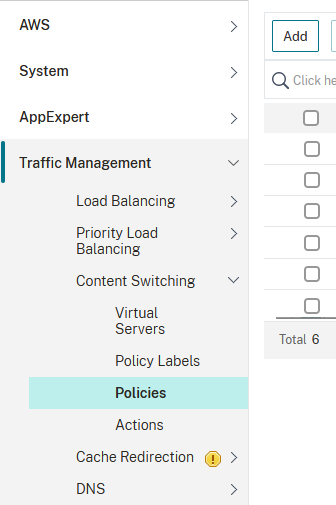
-
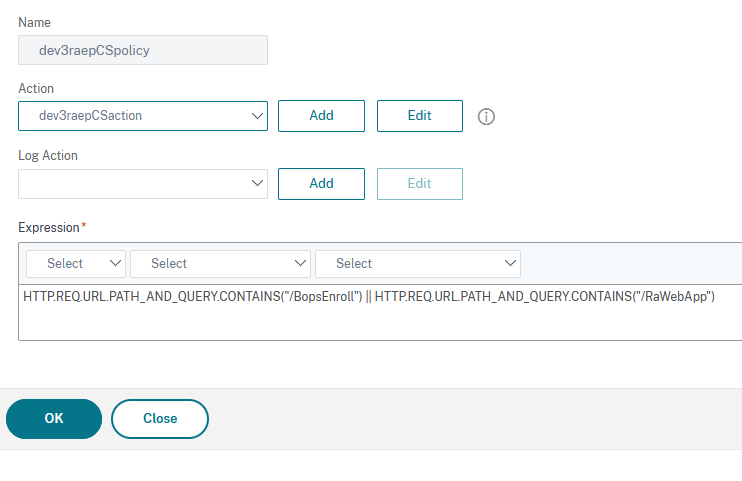
Type in a name, select the previously defined action from the drop-down list in the Action section and type HTTP.REQ.URL.PATH_AND_QUERY.CONTAINS("/BopsEnroll") || HTTP.REQ.URL.PATH_AND_QUERY.CONTAINS("/RaWebApp") in the Expression field:
-
Click on OK to finish.
Define the Content Switching Virtual Server
-
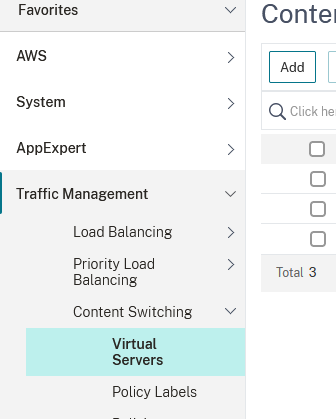
Go to Traffic Management → Content Switching-> Virtual Servers and click on Add:
-
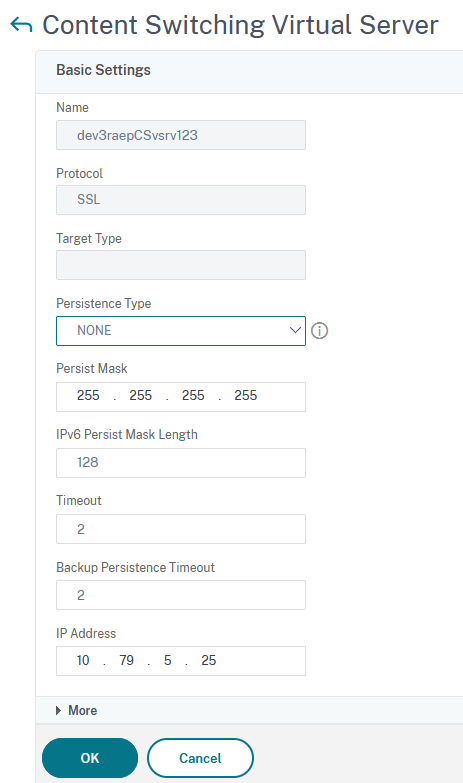
Type in a name, set the protocol to SSL, persistence type to NONE, IP Address Type to IP Address, fill in an ip address and set the port to 443:
-
Click on OK then to continue.
-
Next click on No Content Switching Policy Bound:

-
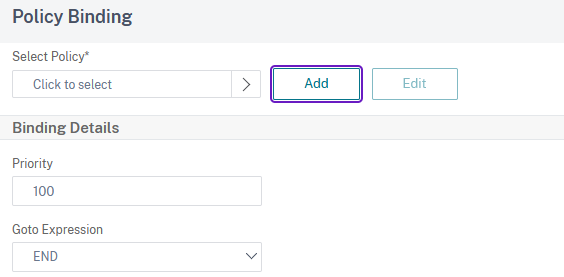
Click on Click to select:
-
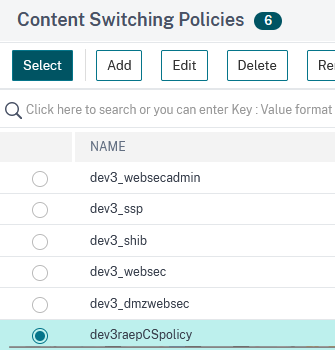
Tick the box next to the previously created content policy, then click on Select to choose it:
-
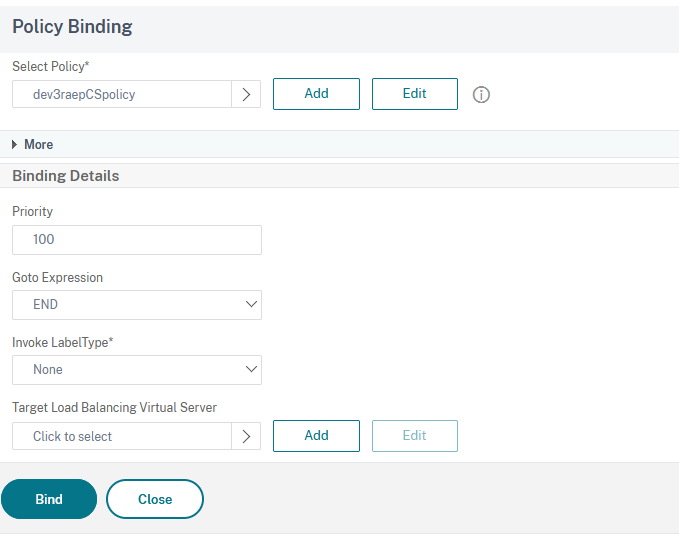
Click in Bind:
-
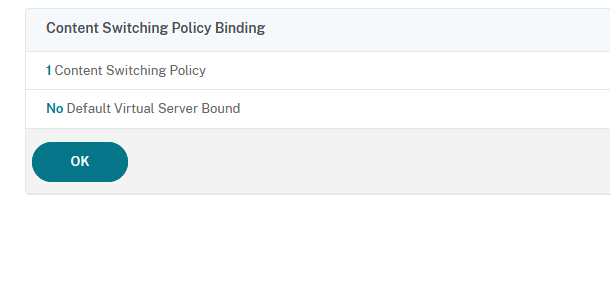
In the next window click on OK:
-
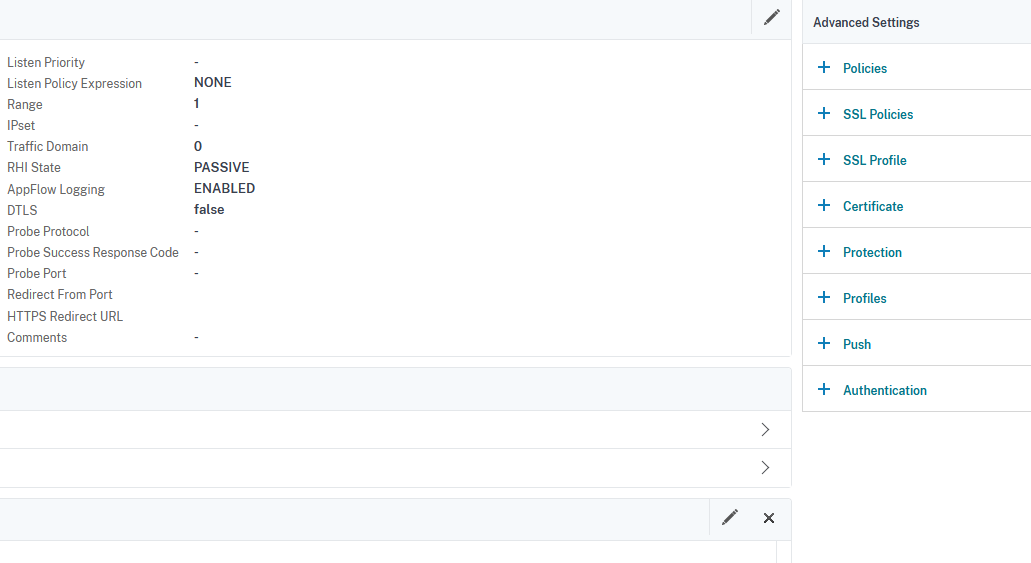
In the next window click on Certificate:
-
Click on No Server Certificate:
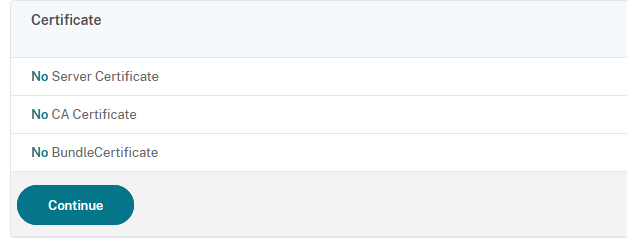
-
Tap on Click to select:
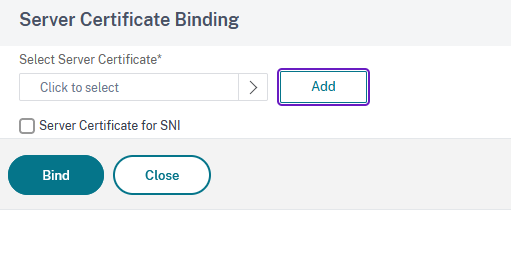
-
Choose the certificate you’ve used in the creation of Load balancing virtual server and then click on Select:
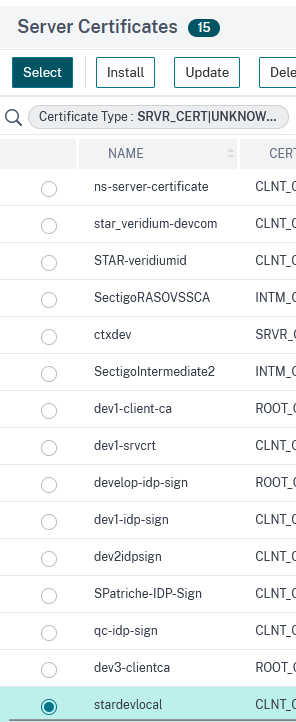
-
In the next window, click on Bind:
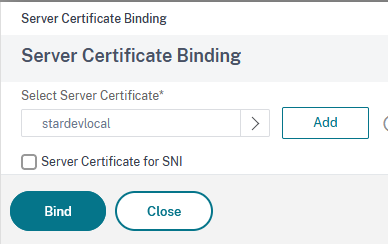
-
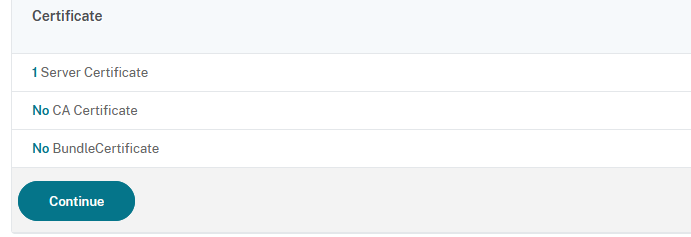
Next click on Continue:
-
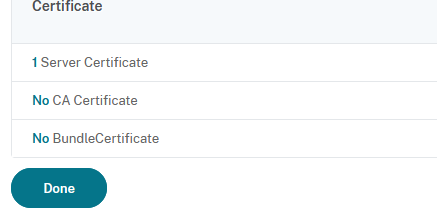
Finally, click on Done:
Create A record in DNS for the content switching virtual server, then modify the fqdn present in ENROLL_URL and RA_URL registry keys to match the fqdn of the content switching virtual server. Delete machine certificate and user certificate on the client machine, then restart the BopsLogon service.
Note: There is one limitation to this setup, that’s when the credential provider is on the RAEP server which is being chosen by the policy. In this case, the credential provider must be configured to point directly to a RAEP server.