

Sizing
A single Windows server supports a limited number of users. For larger production deployments use this table to determine how many Windows servers to deploy.
|
Solution Components |
Kit A |
Kit B |
Kit C |
|---|---|---|---|
|
Capacity |
Up to 30,000 users |
30,000--60,000 users |
60,000--120,000 users |
|
EP and RA Servers |
2 Servers - CPU 2 GHz or better, 4GB RAM, 40 GB HDD |
4 Servers - CPU 2 GHz or better, 4GB RAM, 40 GB HDD |
6 Servers - CPU 2 GHz or better, 4GB RAM, 40 GB HDD |
|
Operating System |
Windows Server 2012 R2 or newer with IIS and Application Server roles |
Windows Server 2012 R2 or newer with IIS and Application Server roles |
Windows Server 2012 R2 or newer with IIS and Application Server roles |
Install the VeridiumID RA & EP software
Procedure:
-
Login to Server as local administrator and copy VeridiumRAEPx64 version .msi for example VeridiumRAEP_x64_x.x.x.msi
-
Right-click VeridiumRAEP_x64_x.x.x.msi and choose Run as administrator.
-
Follow the installer instructions:
-
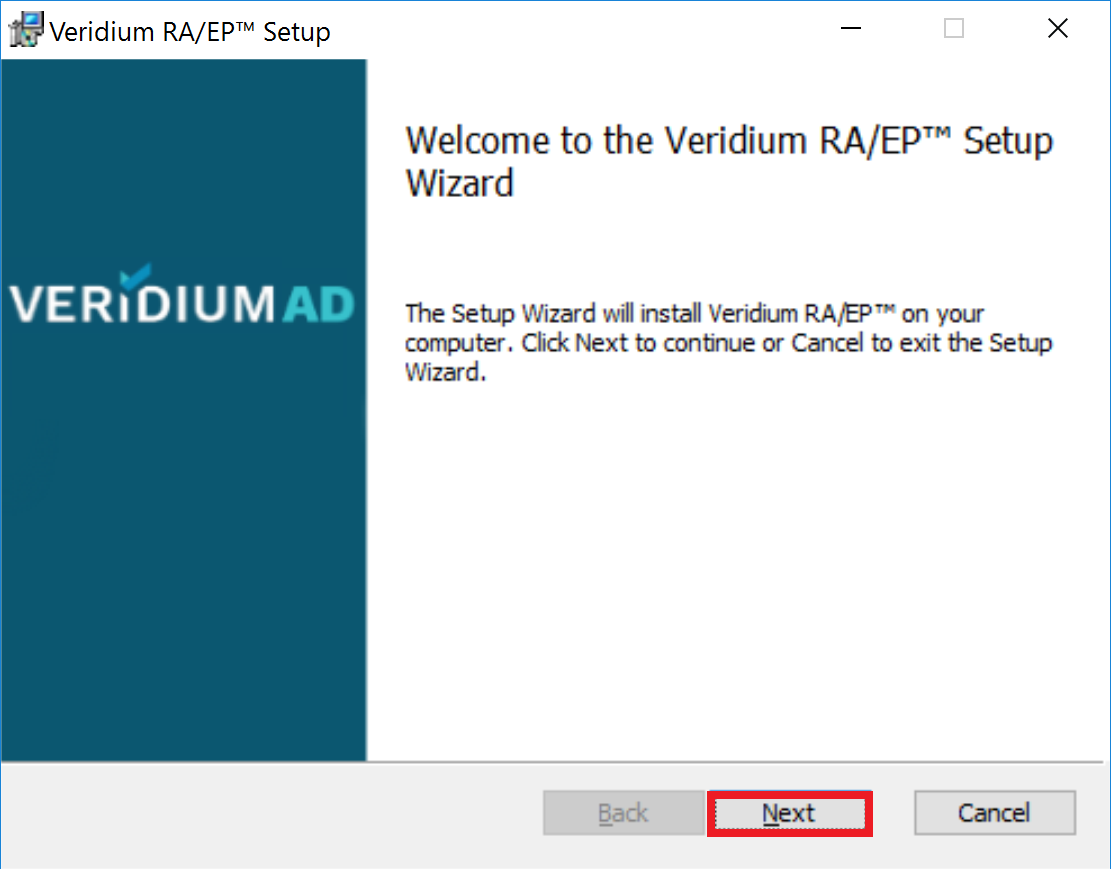
The welcome screen will appear, continue by pressing "Next" button.
-
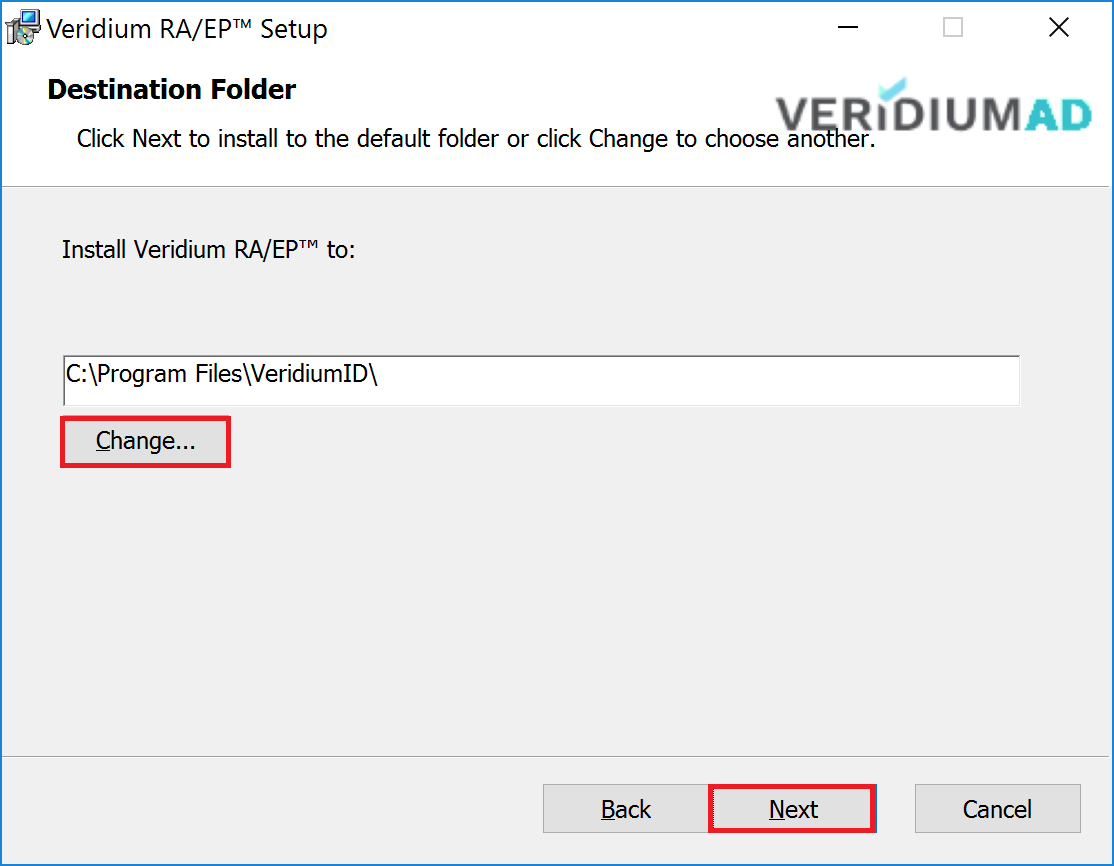
Click “Next” if you prefer to install RAEP on disk C. If you want to choose a different location, click the “Change” button."
-
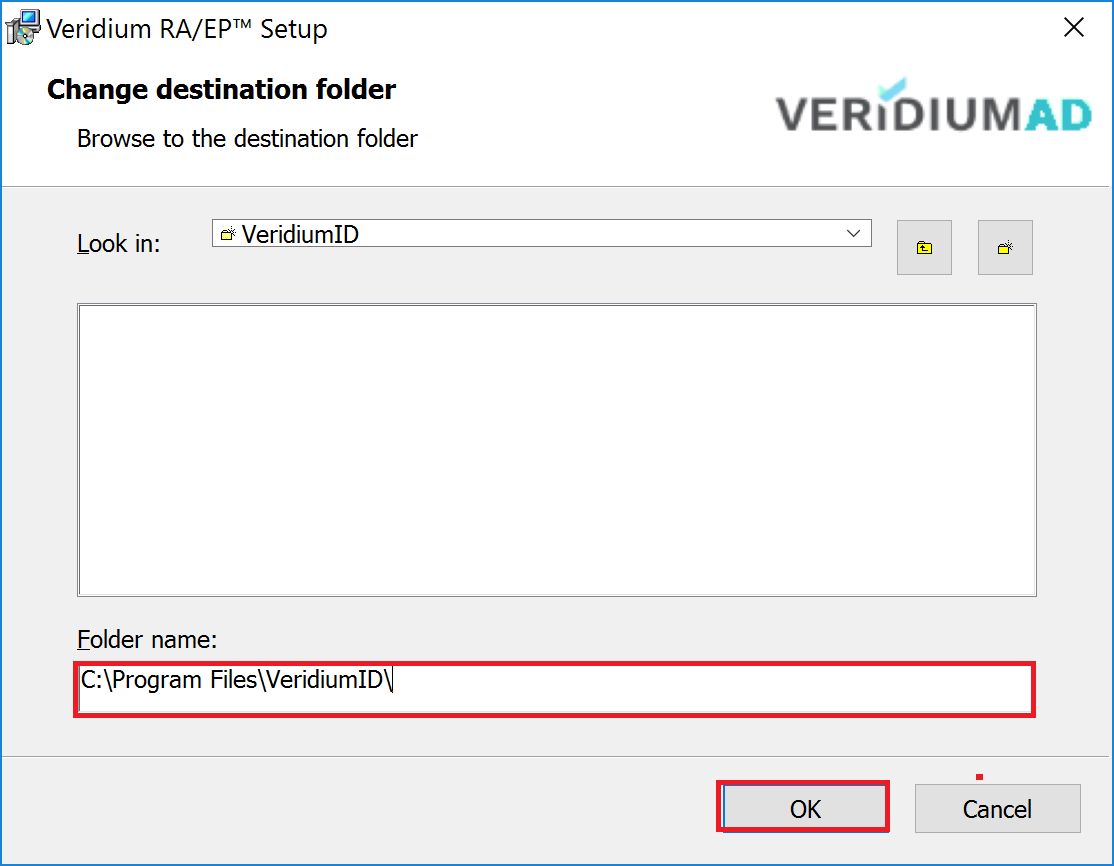
If you want to install RAEP on another disk, enter the desired folder name and then click “Next”.
-
-
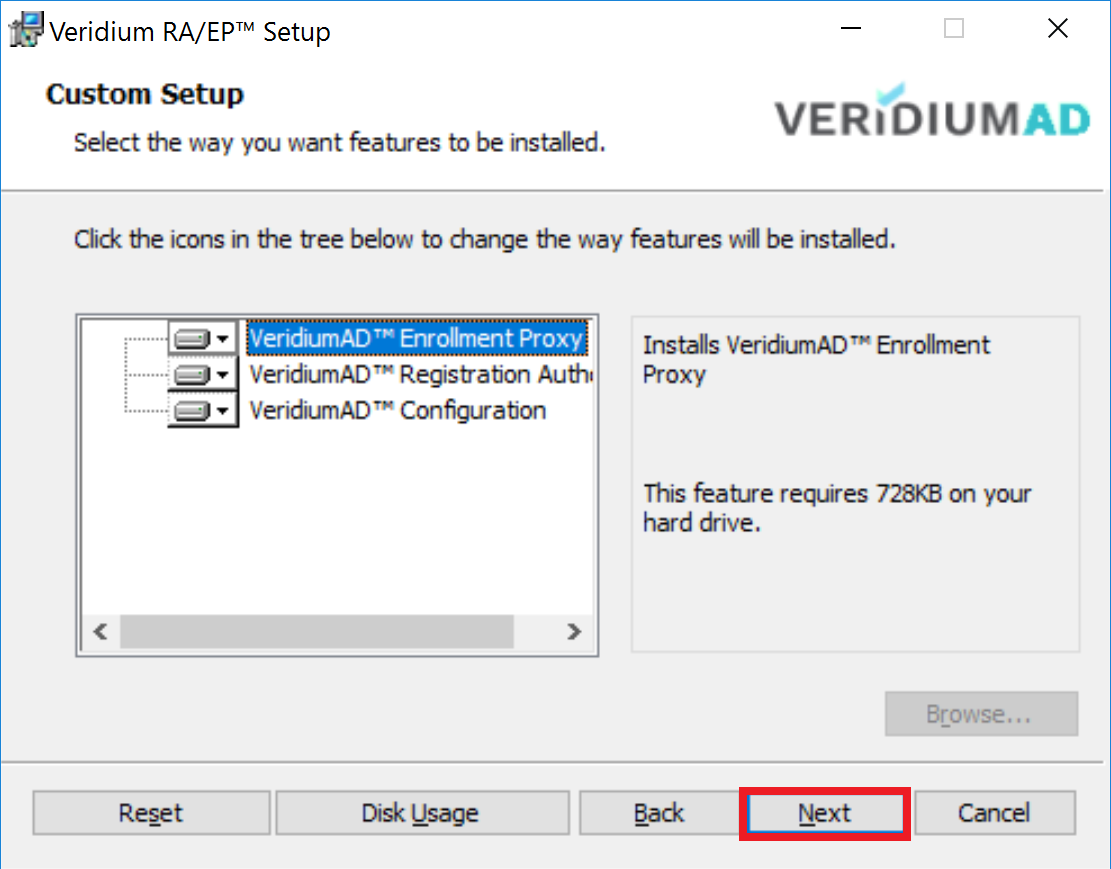
Click the Next button to continue.
-
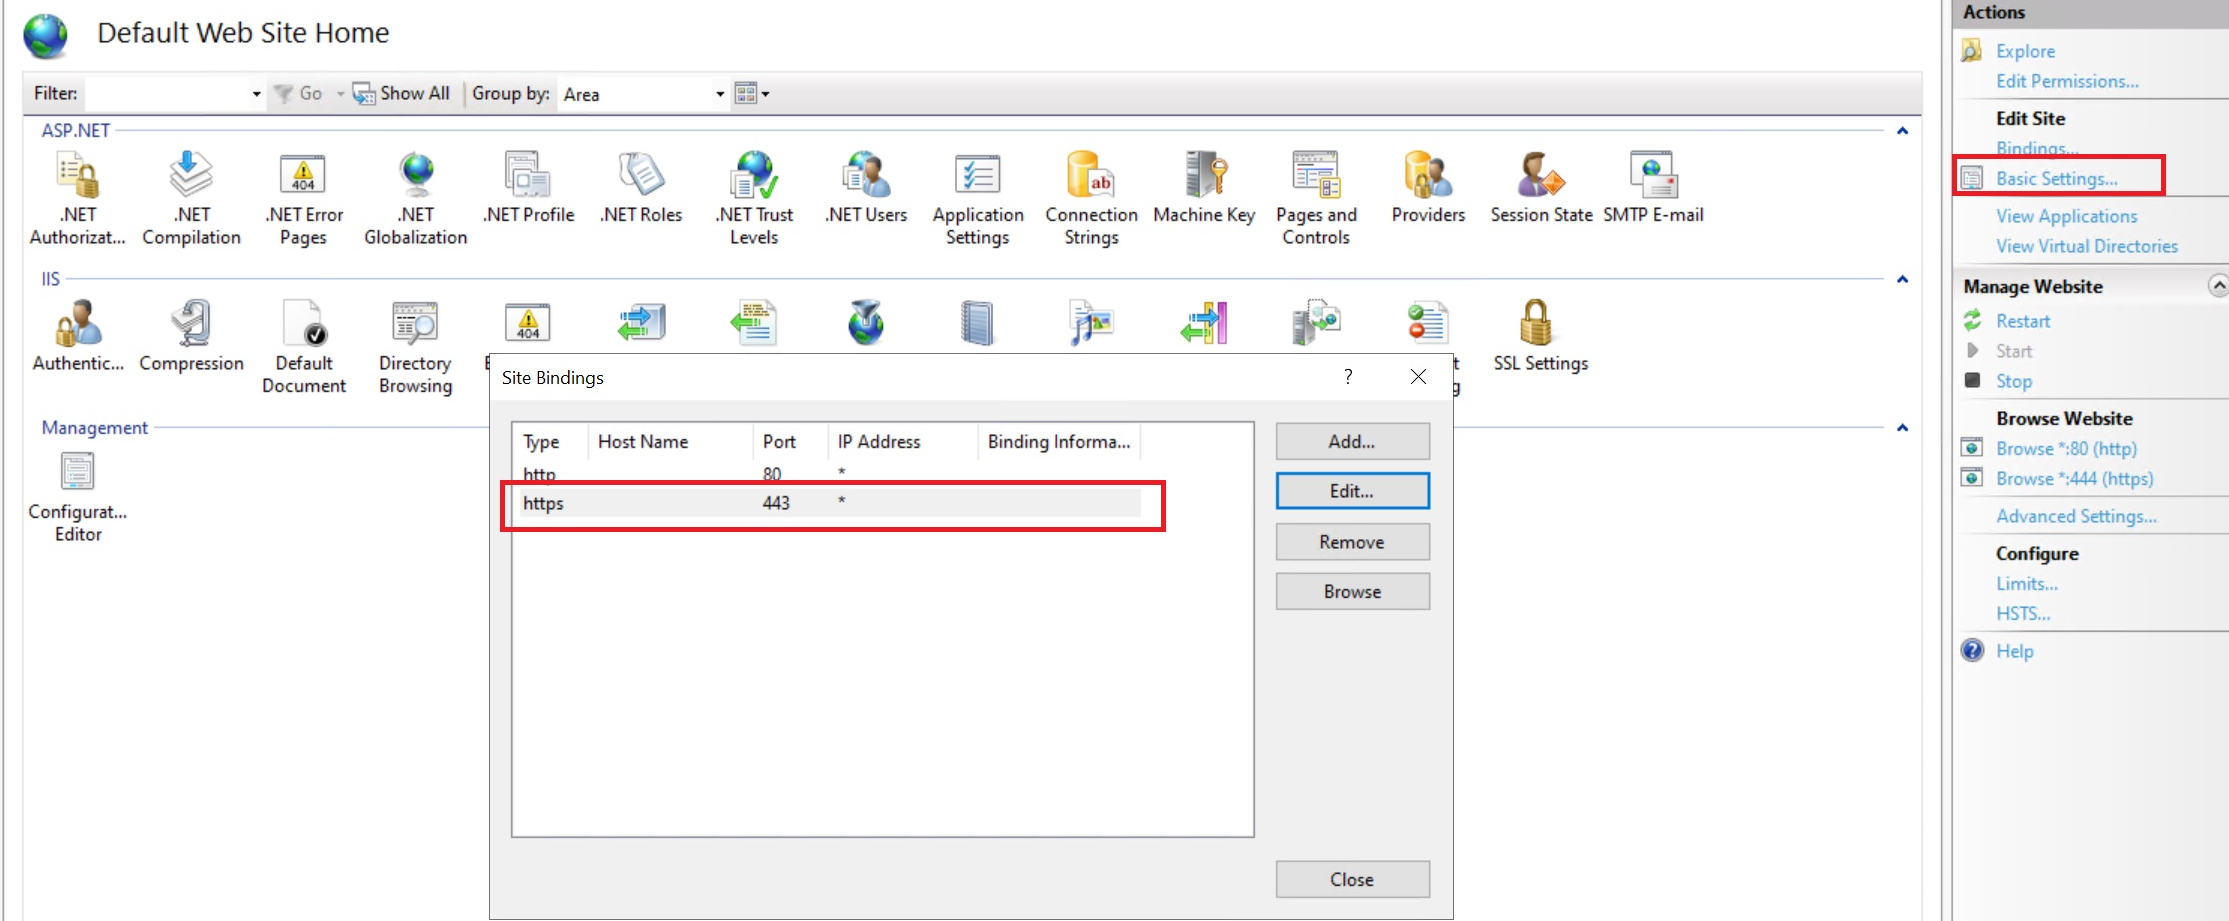
Before continue with the following step, you need to open IIS > Default Web Site > Bindings and make sure you have binding for port 443:
-
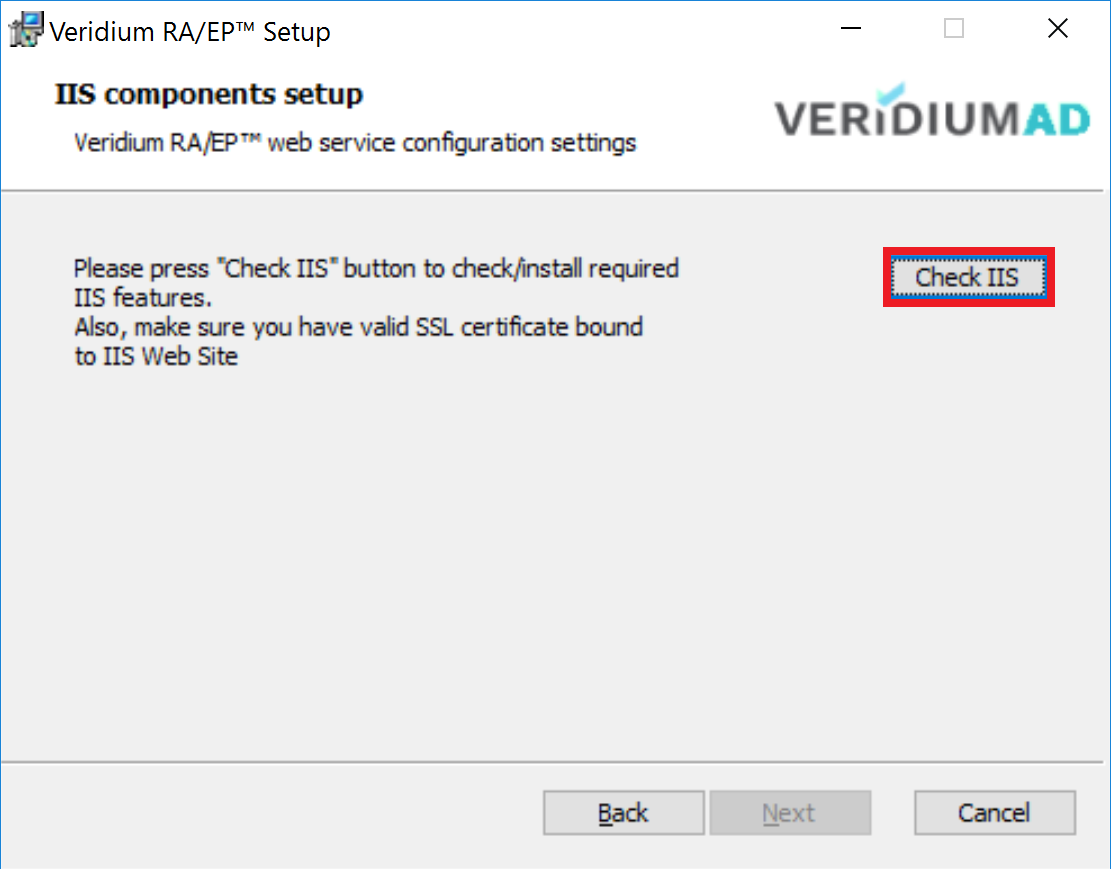
Press "Check IIS" button.
-
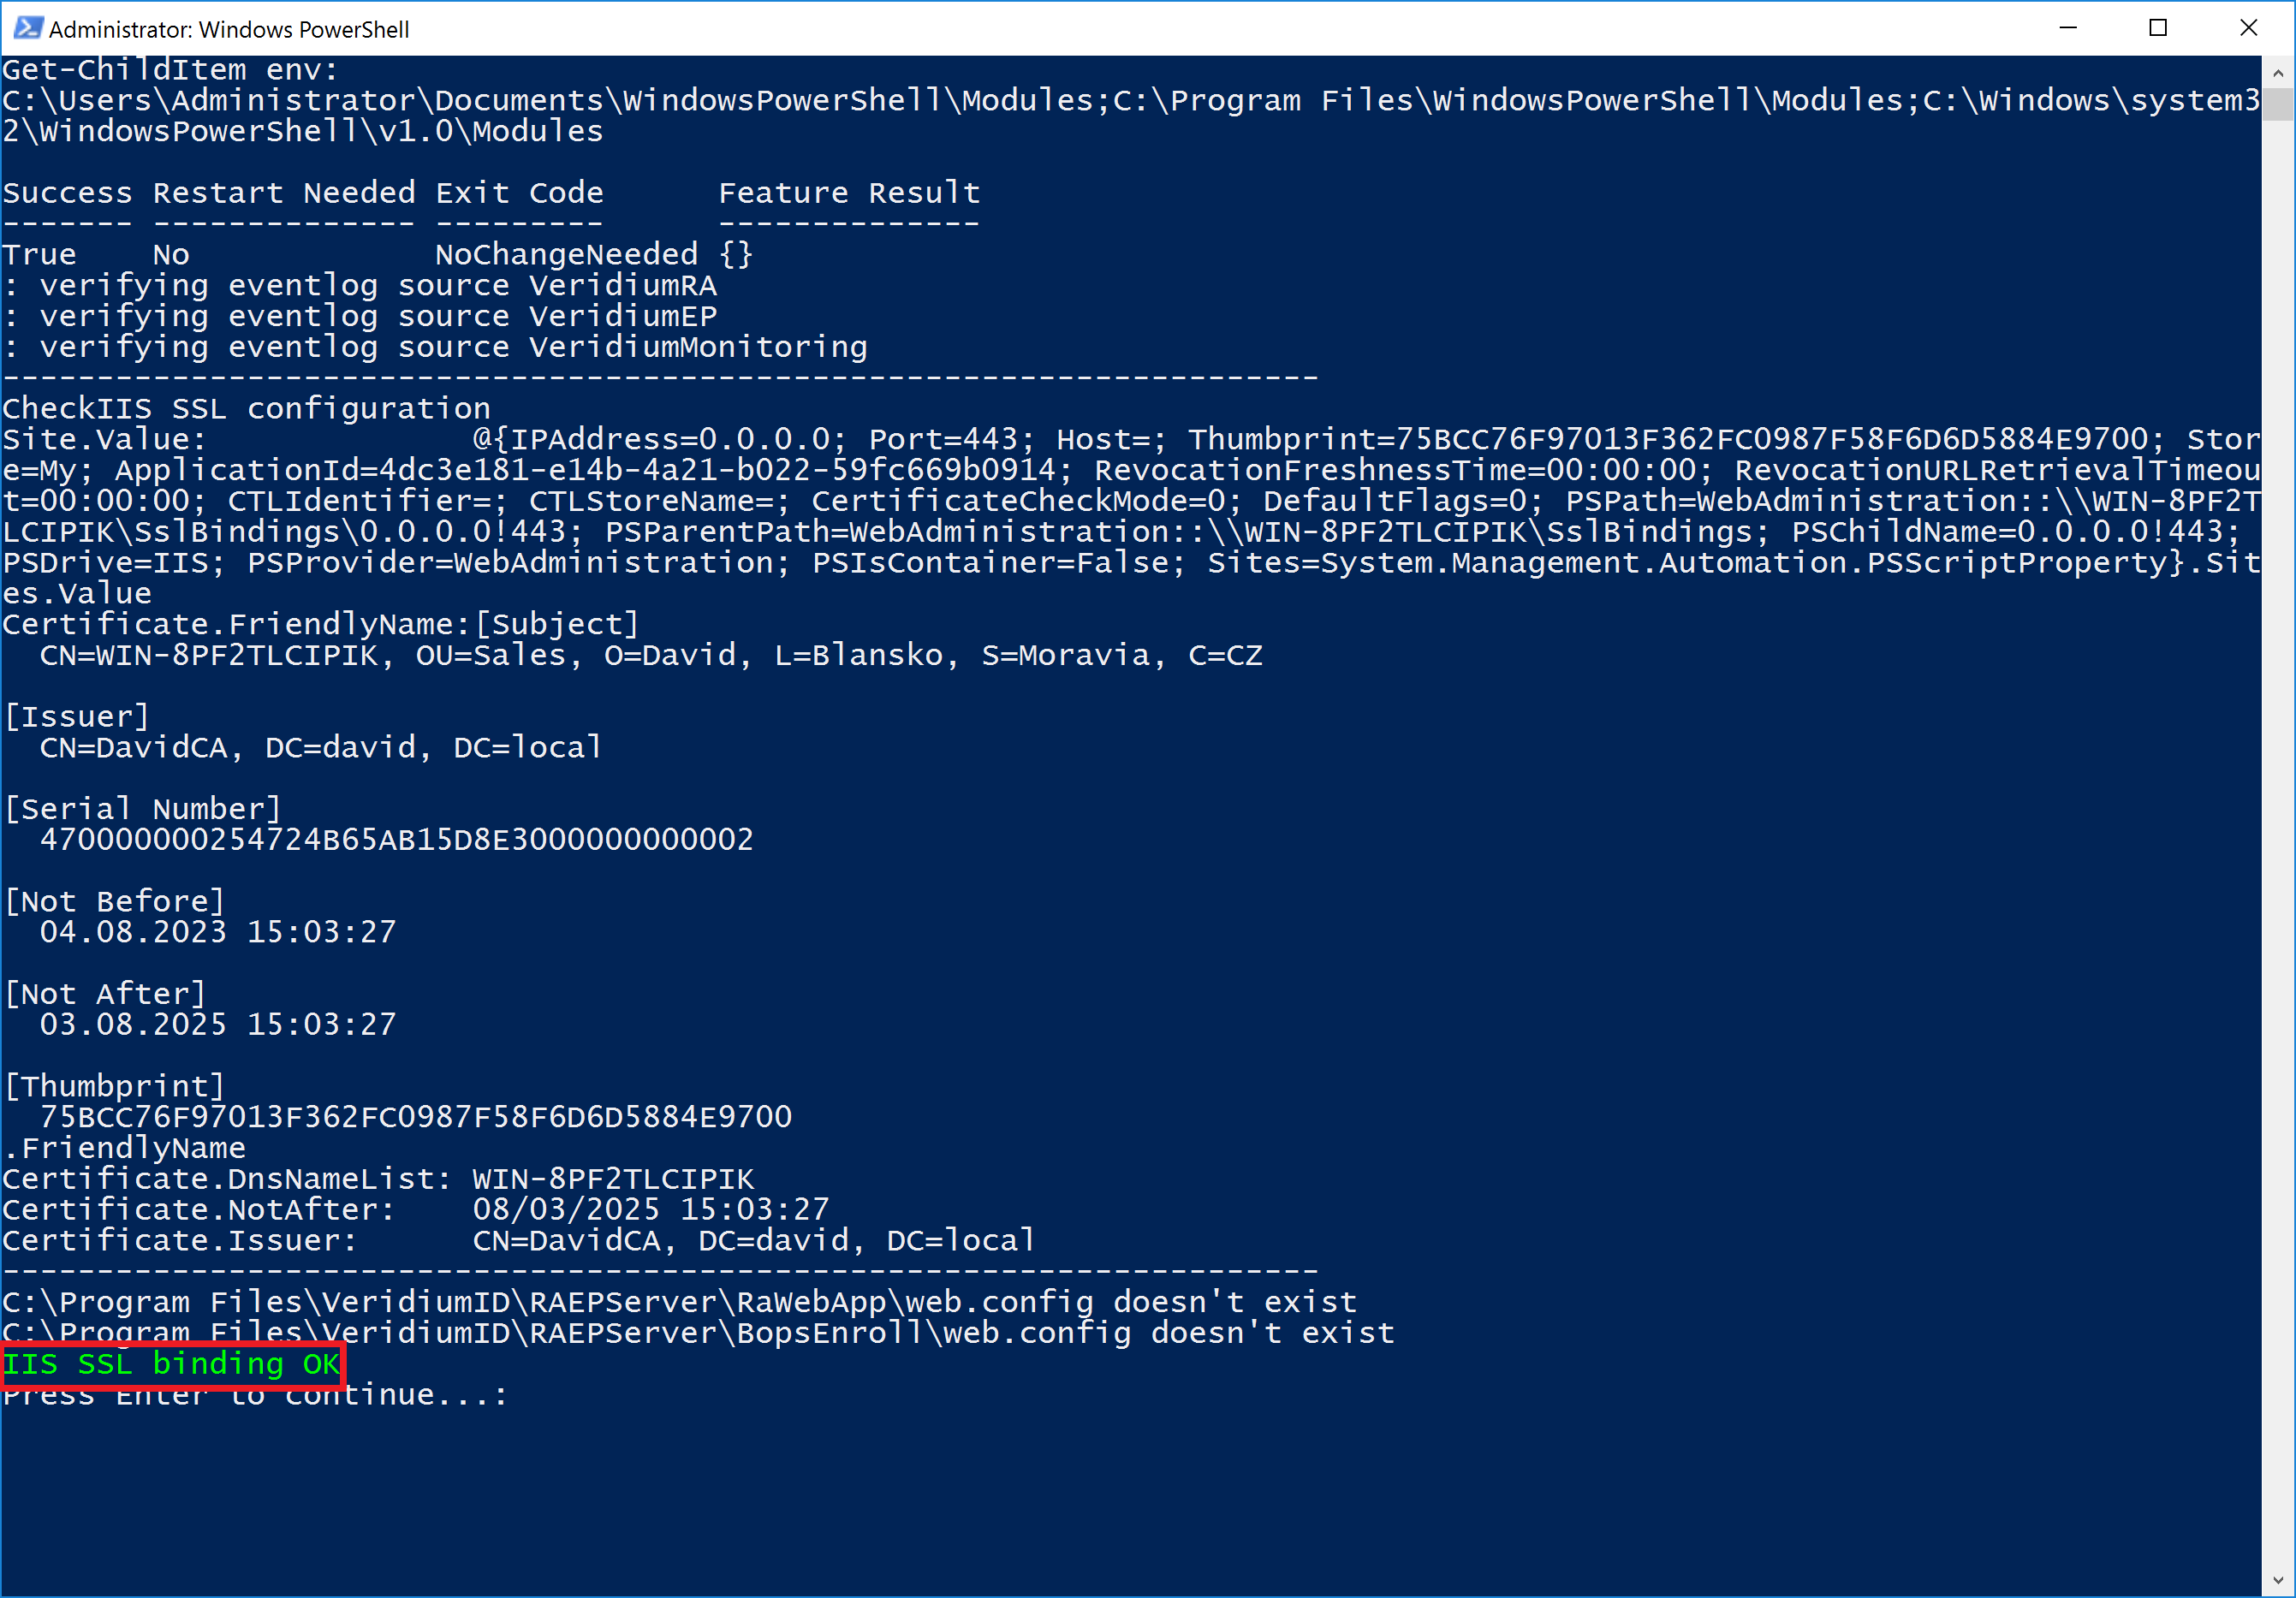
The following PowerShell window will appear. PowerShell script checks and install missing Windows components and check IIS certificate. Press any key to close the PowerShell window and continue.
-
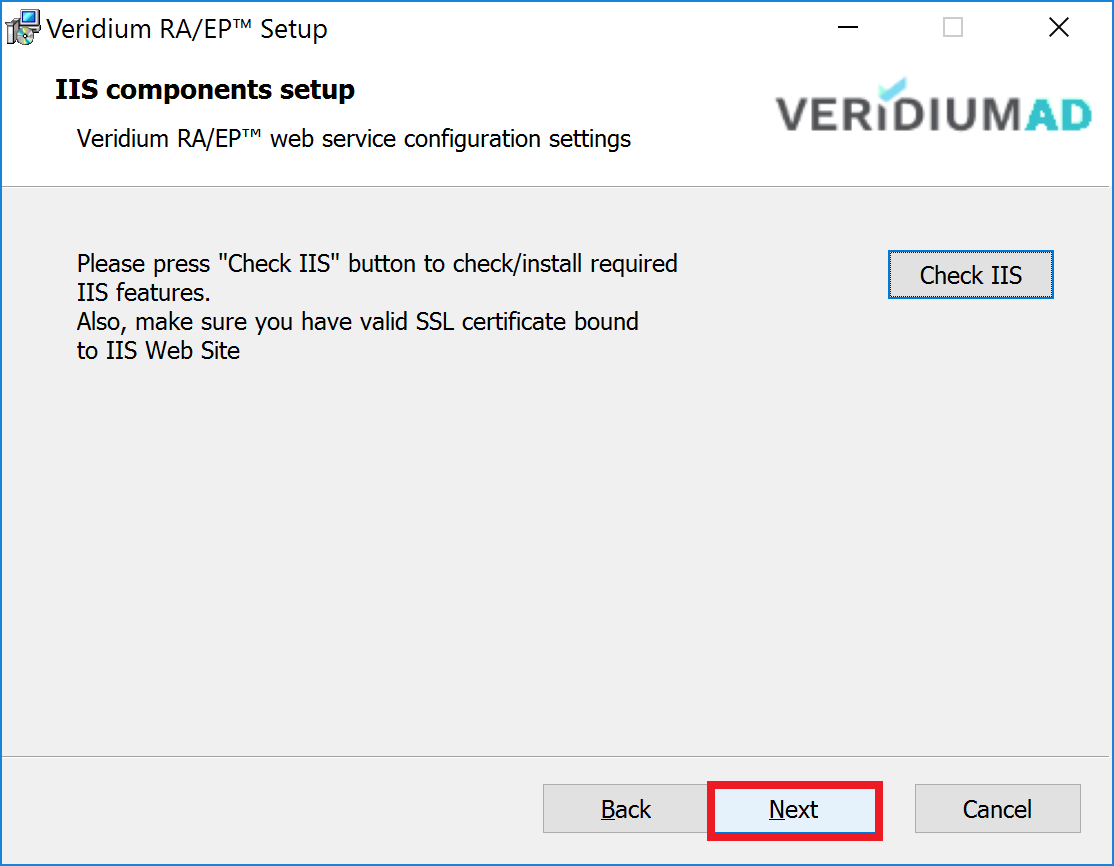
Press "Next" buttoncsc to continue.
-
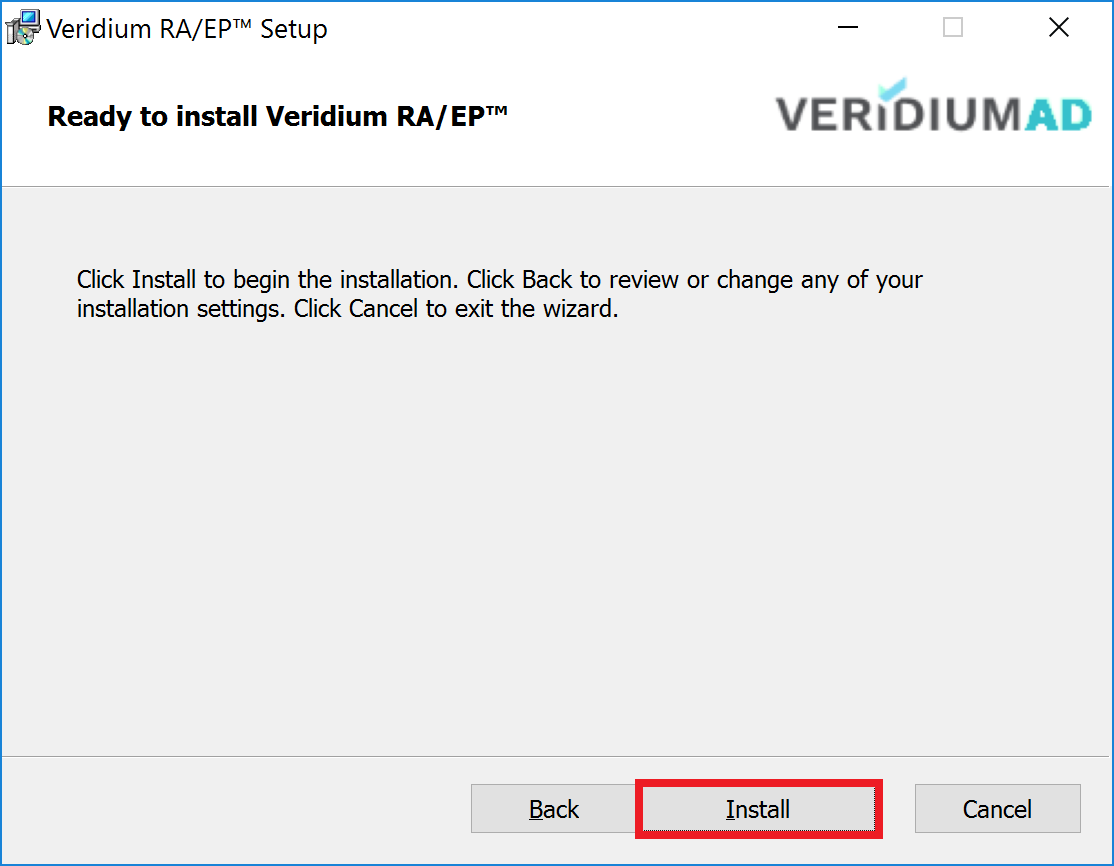
Press "Install" button to continue.
-
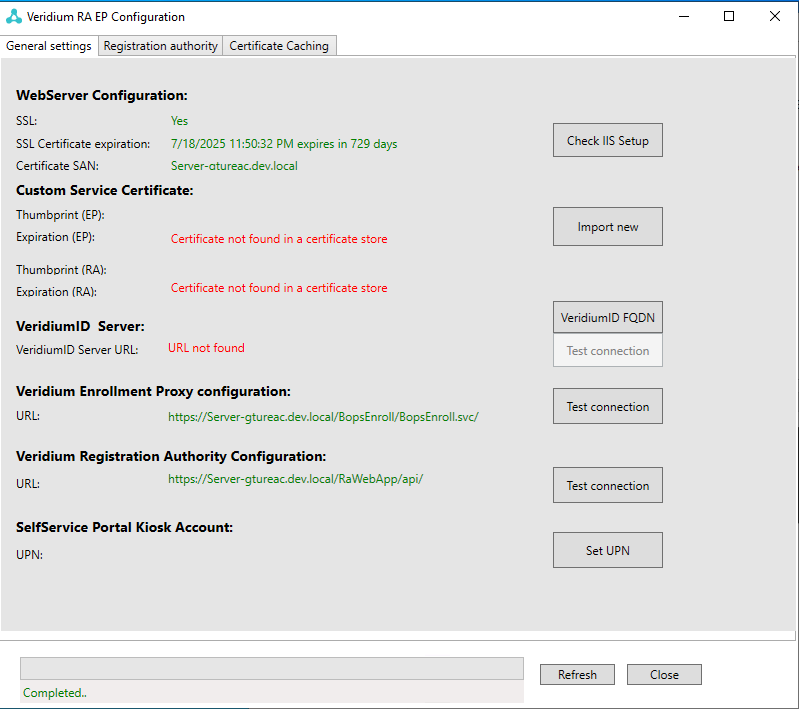
At the end of the install process the RAEP Configuration tool is opened.
-
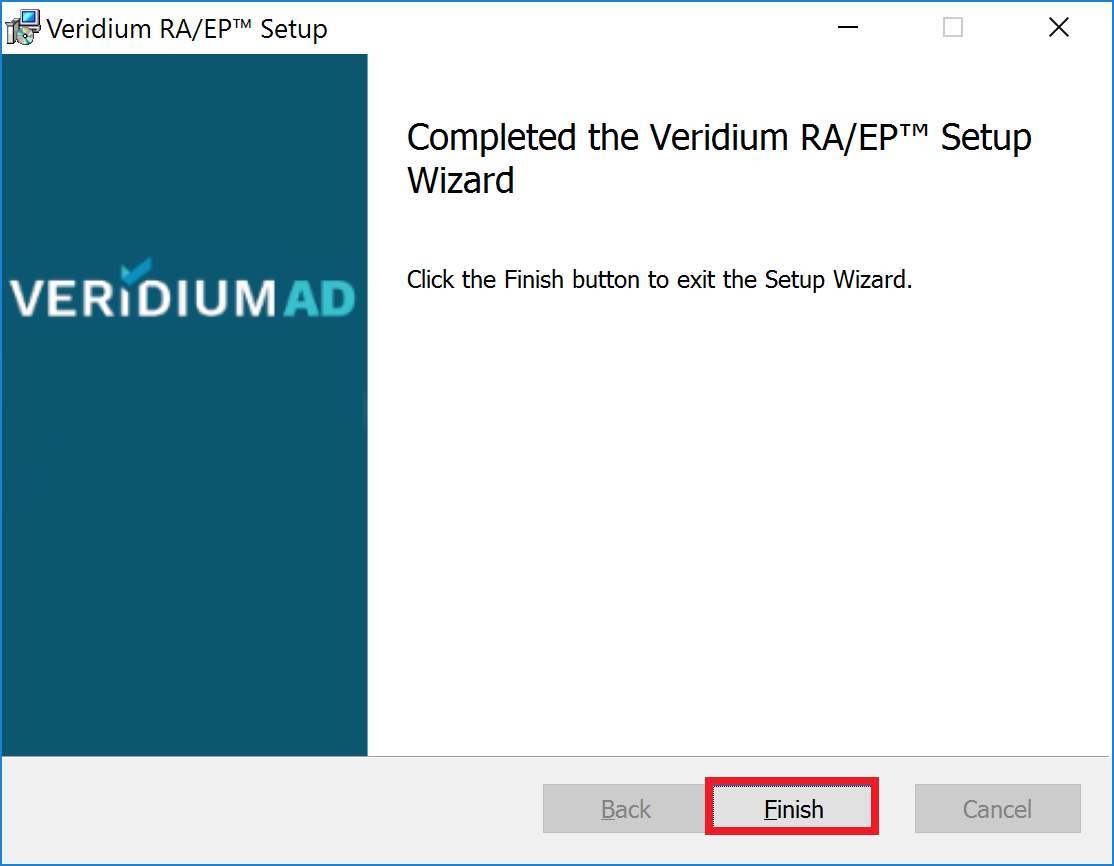
In order to learn how to complete the RAEP Configuration tool, please check https://veridiumid.atlassian.net/wiki/spaces/VD/pages/3215169736/General+configuration , once it is done, Click “Finish“.
-