

1. Backup the Current Configuration
-
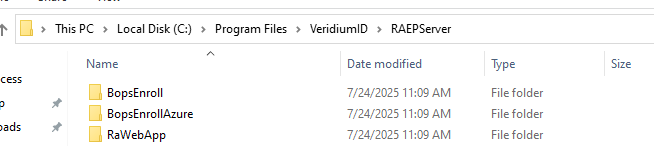
Navigate to the default RAEP installation path:
%ProgramFiles%\VeridiumID\RAEPServer -
You will see two folders:
-
BopsEnroll
-
RaWebApp
-
-
From BopsEnroll:
-
Copy
Web.configto a safe backup location.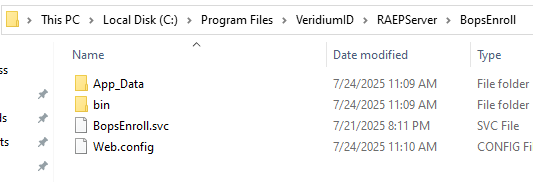
-
-
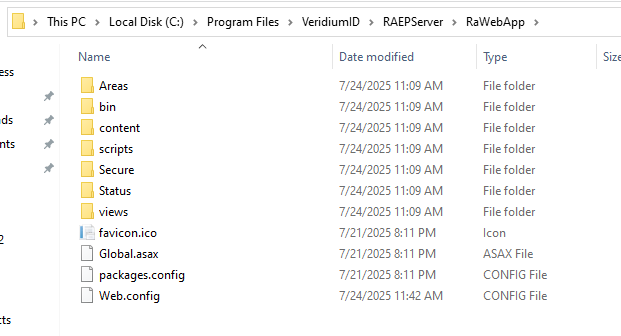
From RaWebApp:
-
Copy
Web.configto a safe backup location.
-
2. Uninstall the Current RAEP Version
-
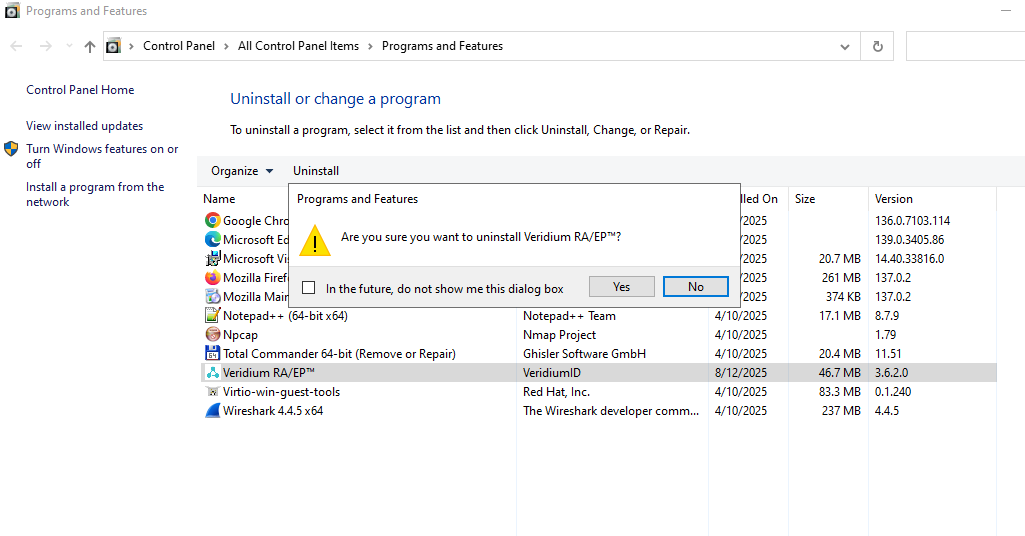
Remove the existing RAEP installation via Control Panel or Programs and Features.
3. Install the New RAEP Version
-
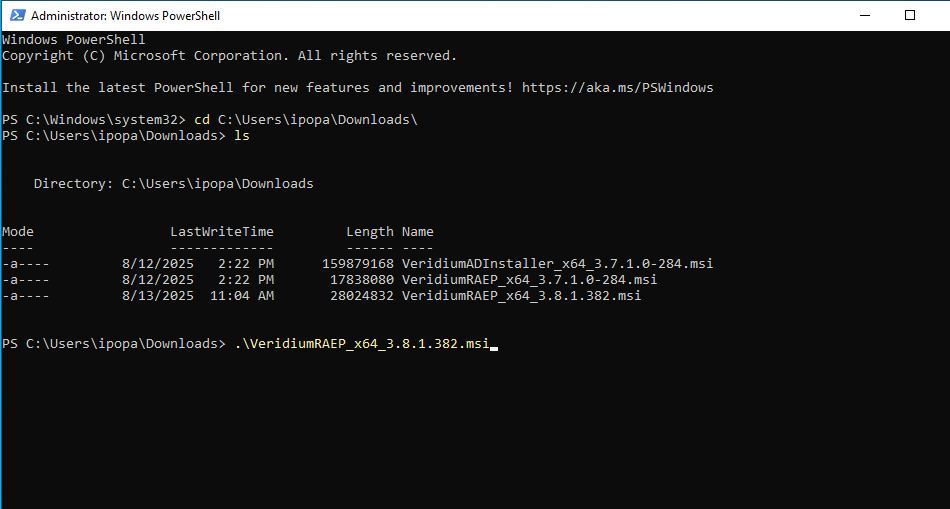
Launch PowerShell as Administrator.
-
Navigate to the folder where the new RAEP installer is located.
-
Execute the installer.
-
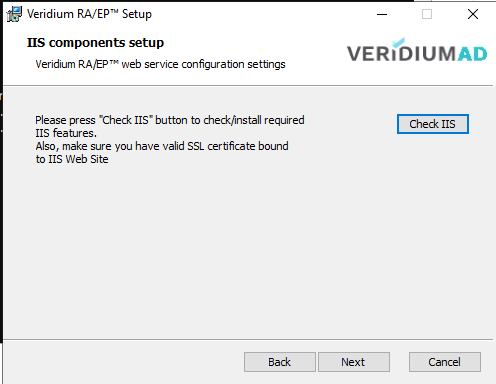
Follow the on-screen instructions and click Check IIS when prompted.
4. Restore and Update Configuration Files
-
Go back to the RAEP installation path:
%ProgramFiles%\VeridiumID\RAEPServer
-
BopsEnroll folder:
-
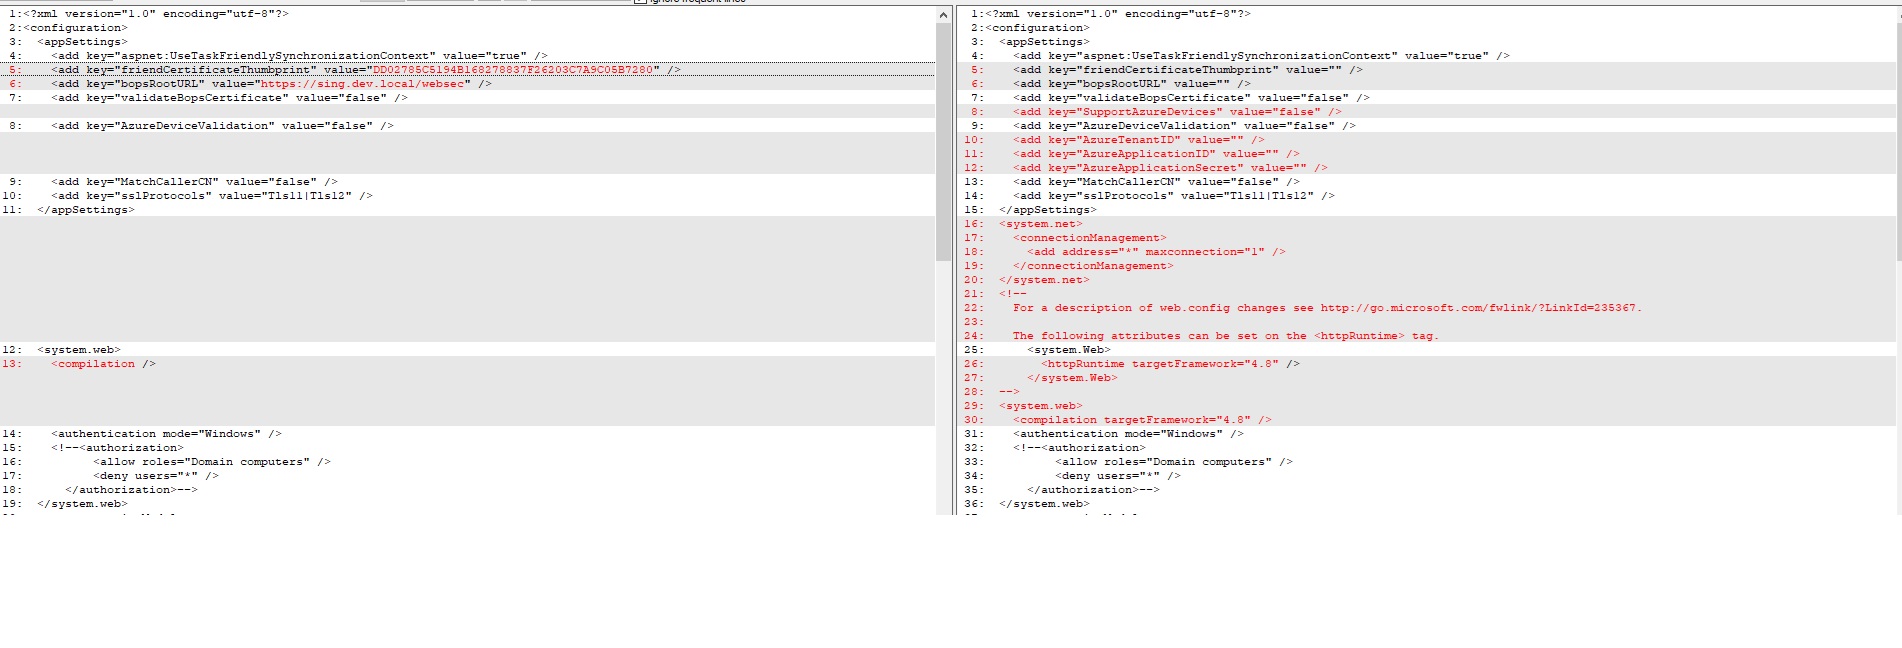
Compare the new
Web.configwith your backup from step 1. -
Copy the values for:
-
friendCertificateThumbprint -
bopsRootURL
from the backup file into the new file; -
also check if other parameters were configured for your environment.
-
-
Save the updated file.
-
-
RaWebApp folder:
-
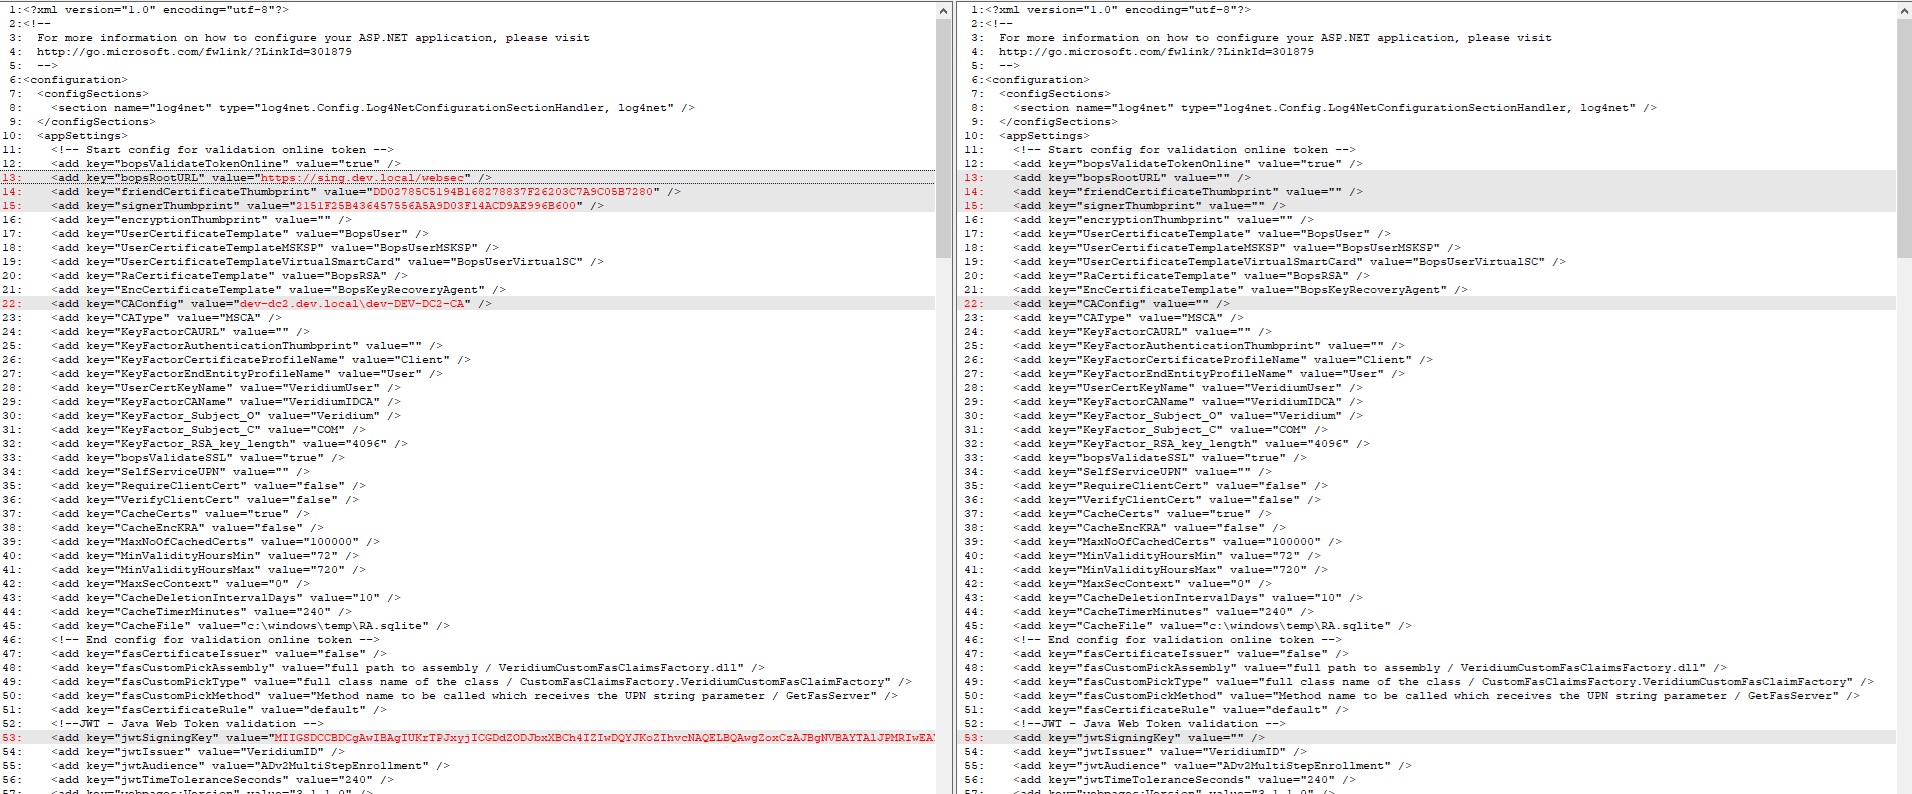
Compare the new
Web.configwith your backup from step 1. -
Copy the values for:
-
friendCertificateThumbprint -
bopsRootURL -
signerThumbprint -
CAConfig -
jwtSigningKey -
cacheCerts
from the backup file into the new file; -
also check if other parameters were configured for your environment.
-
-
Save the updated file.
-
5. Verify Functionality
-
Perform a test authentication on a client machine.
6. Rollback Procedure (if needed)
If you encounter issues:
-
Uninstall the new RAEP version.
-
Reinstall the previous version.
-
Restore your backed-up configuration files to their original locations.