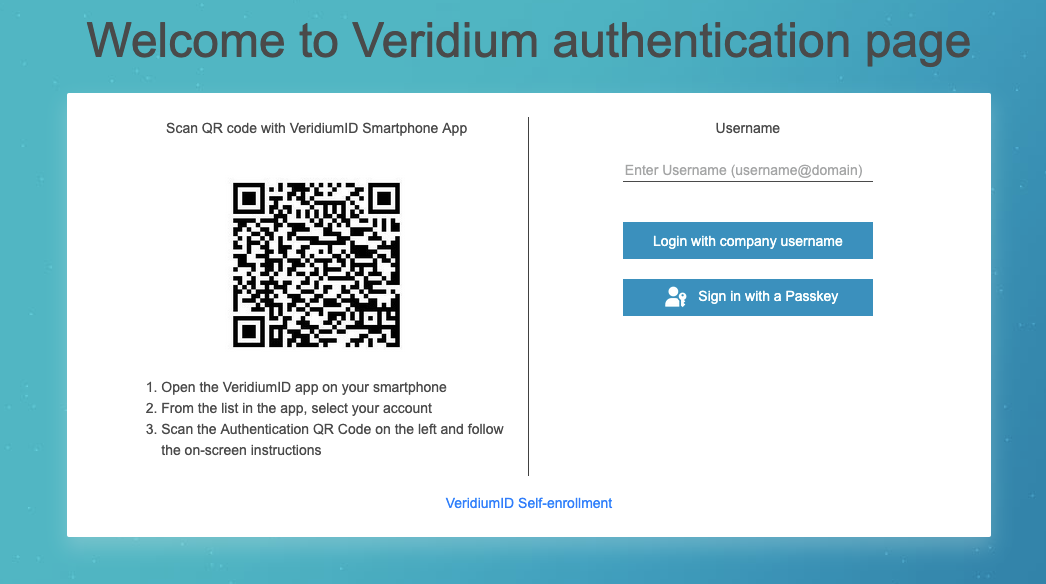

When the Veridium Server product is installed, and a user tries to authenticate the following layout is displayed.
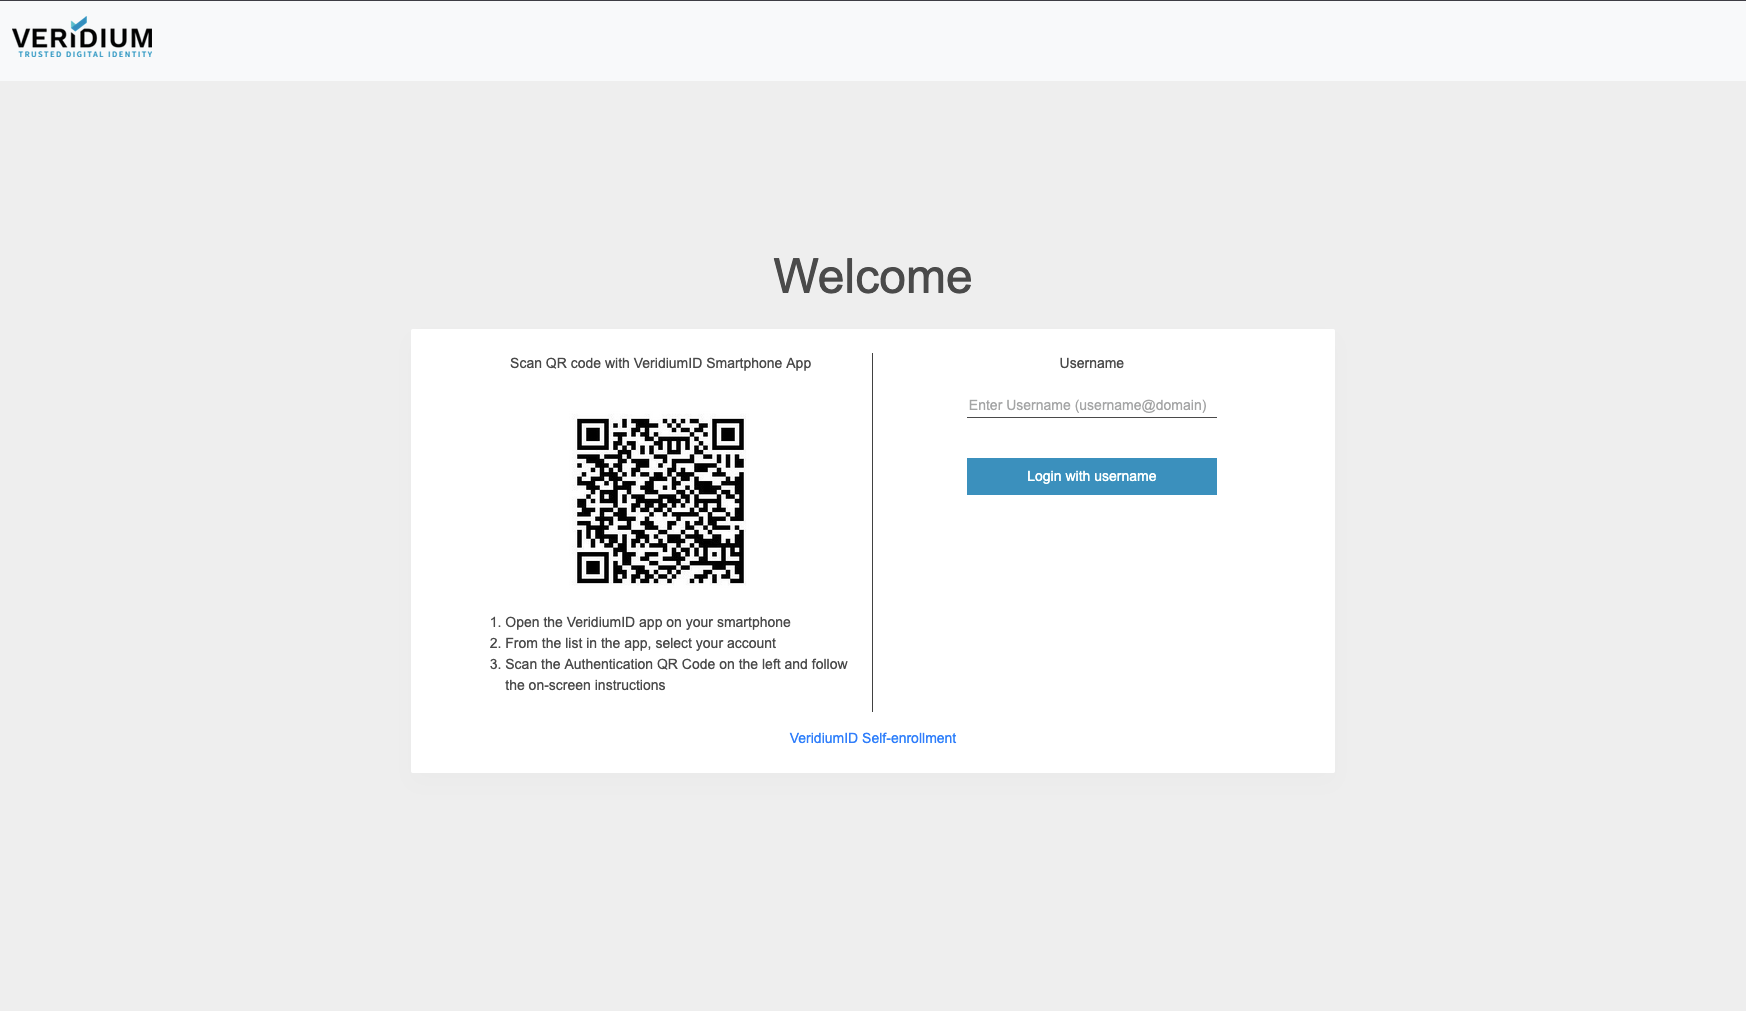
The design of this page can be changed by overwriting the CSS using the Shibboleth’s dedicated CSS file found in Admin / Settings / Advanced / shibboleth / shibboleth.css.
Also the text for different labels in the page can be changed from the Admin / Settings / Internationalization page.
Here are a few examples of the most common changes that can be done in the Shibboleth authentication page:
Changing the logo
-
Convert the desired logo image to base64 using the following method
For Mac/Linux###in case of jpg image base64 -i input.jpg | tr -d '\n' | sed 's/^/data:image\/jpeg;base64,/' > output.txt ###in case of png image base64 -i input.png | tr -d '\n' | sed 's/^/data:image\/png;base64,/' > output.txt ###in case of svg image base64 -i input.svg | tr -d '\n' | sed 's/^/data:image\/svg+xml;base64,/' > output.txtFor Windows PowerShell
###in case of jpg image $bytes = [System.IO.File]::ReadAllBytes("input.jpg") $b64 = [Convert]::ToBase64String($bytes) "data:image/jpeg;base64,$b64" | Set-Content -NoNewline output.txt ###in case of png image $bytes = [System.IO.File]::ReadAllBytes("image.png") $b64 = [Convert]::ToBase64String($bytes) "data:image/png;base64,$b64" | Set-Content -NoNewline output.txt ###in case of svg image $bytes = [System.IO.File]::ReadAllBytes("image.svg") $b64 = [Convert]::ToBase64String($bytes) "data:image/svg+xml;base64,$b64" | Set-Content -NoNewline output.txt -
Go to Admin / Settings / Advanced / shibboleth / shibboleth.css
-
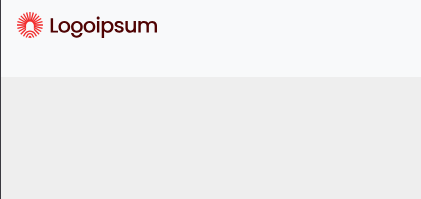
Change the existing style for the .logo class by adding the content of the output obtained at the first step as background image
.logo {
  background-image:url("content_of_output.txt") !important;
}
Example:
Changing the background
-
Convert the desired background image to base64 using the following method. SVG images are recommended.
For Mac/Linux###in case of jpg image base64 -i input.jpg | tr -d '\n' | sed 's/^/data:image\/jpeg;base64,/' > output.txt ###in case of png image base64 -i input.png | tr -d '\n' | sed 's/^/data:image\/png;base64,/' > output.txt ###in case of svg image base64 -i input.svg | tr -d '\n' | sed 's/^/data:image\/svg+xml;base64,/' > output.txtFor Windows PowerShell
###in case of jpg image $bytes = [System.IO.File]::ReadAllBytes("input.jpg") $b64 = [Convert]::ToBase64String($bytes) "data:image/jpeg;base64,$b64" | Set-Content -NoNewline output.txt ###in case of png image $bytes = [System.IO.File]::ReadAllBytes("image.png") $b64 = [Convert]::ToBase64String($bytes) "data:image/png;base64,$b64" | Set-Content -NoNewline output.txt ###in case of svg image $bytes = [System.IO.File]::ReadAllBytes("image.svg") $b64 = [Convert]::ToBase64String($bytes) "data:image/svg+xml;base64,$b64" | Set-Content -NoNewline output.txt -
Go to Admin / Settings / Advanced / shibboleth / shibboleth.css
-
Add the .
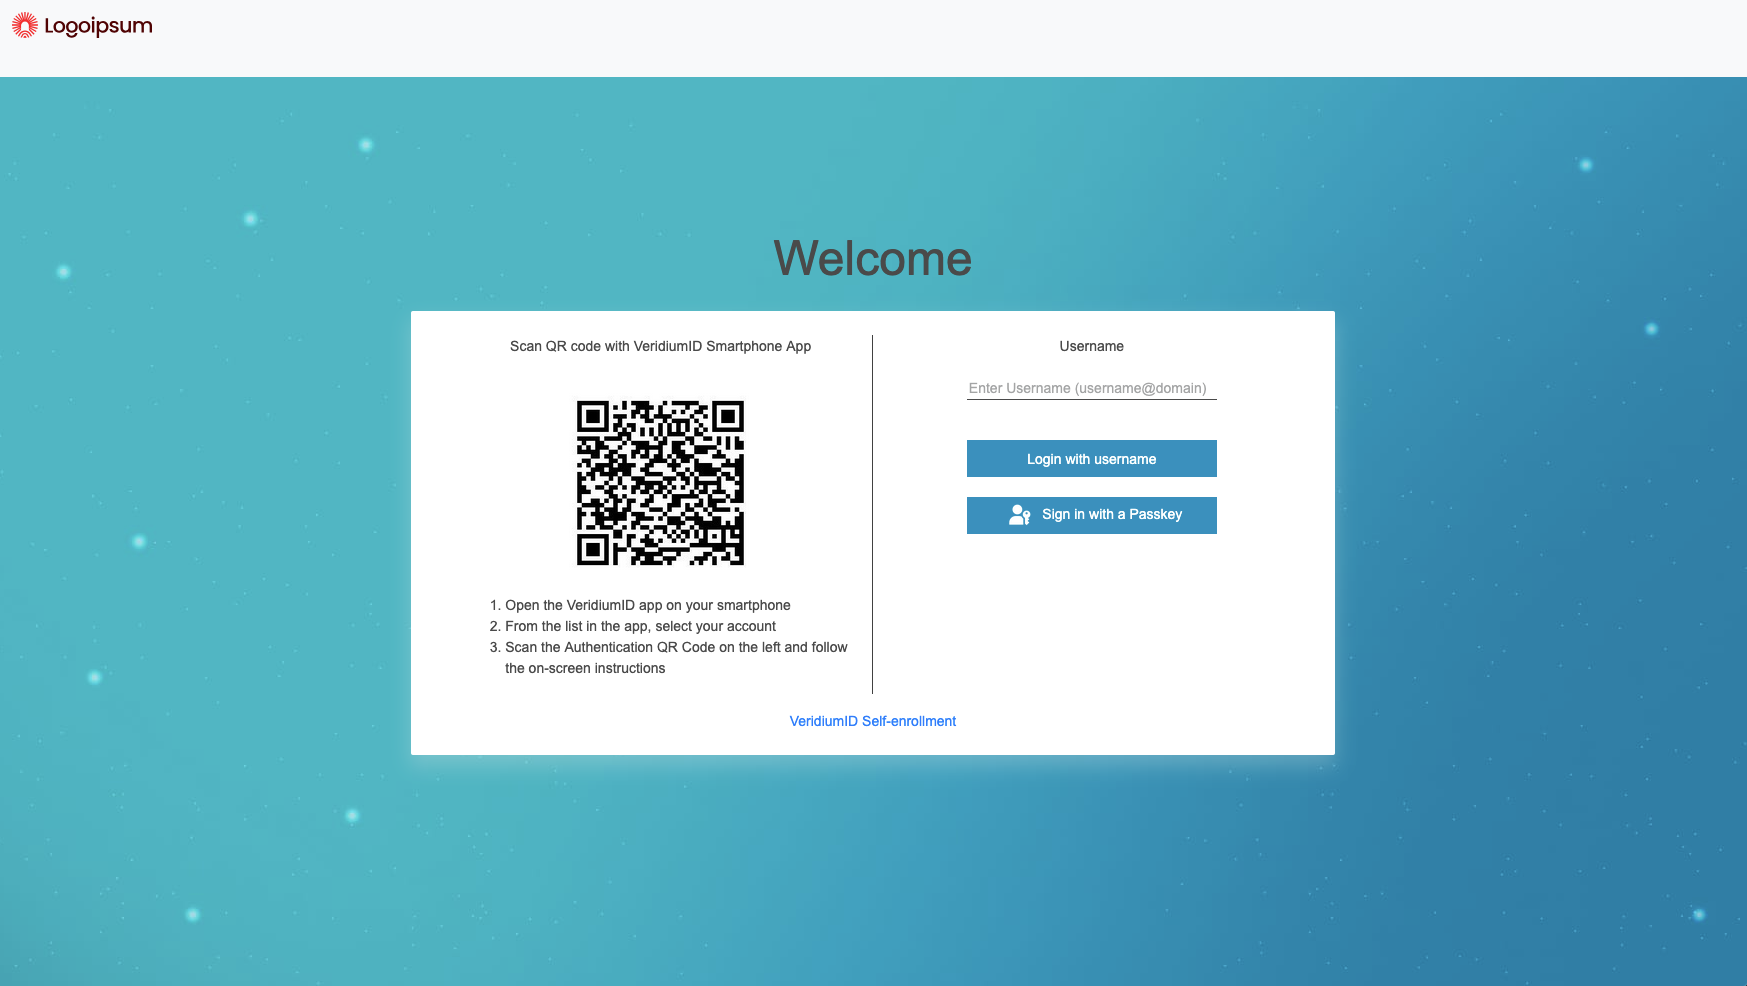
main-containerclass and set the background-image property with the content of the output obtained at the first step and add the transparent background for the journey-section element id..main-container { background-image:url("content_of_output.txt") !important; } #journey-section{ background-color: transparent !important; }
Example:
Changing the navigation color
-
Go to Admin / Settings / Advanced / shibboleth / shibboleth.css
-
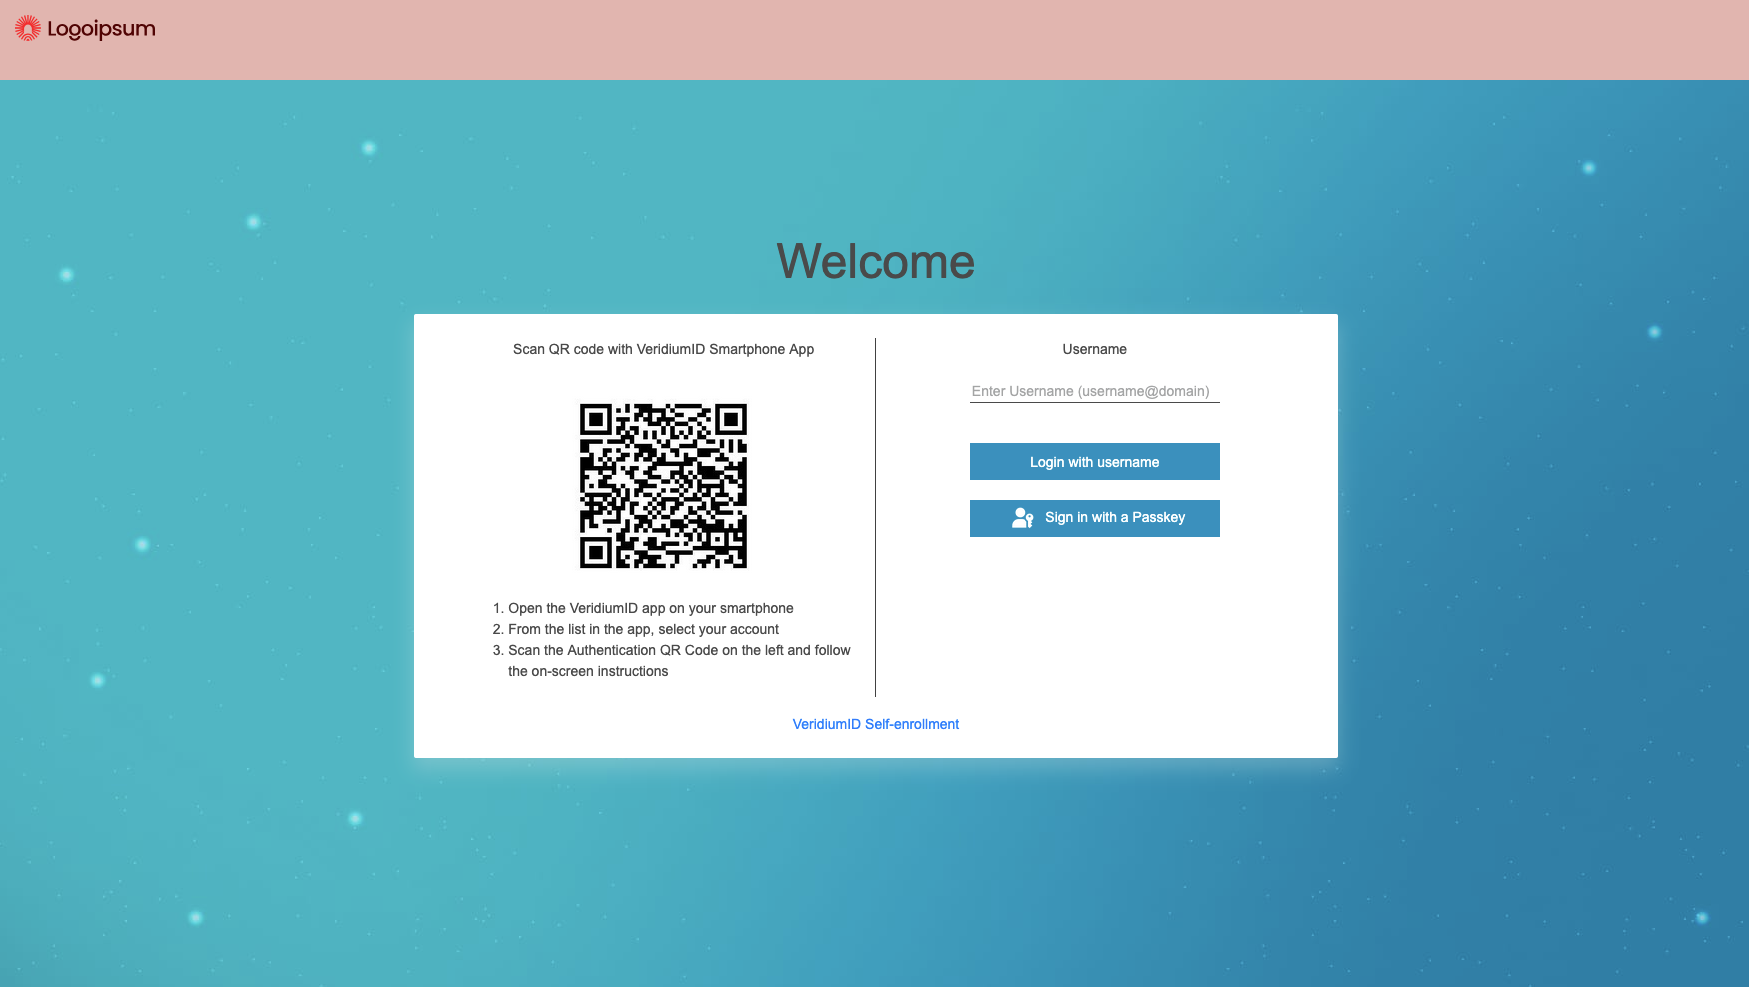
Add the .
navbarclass and set the background-color property with the desired color value in HEX..navbar { background-color: #e6b4ae !important; }
Example
Change the buttons color
-
Go to Admin / Settings / Advanced / shibboleth / shibboleth.css
-
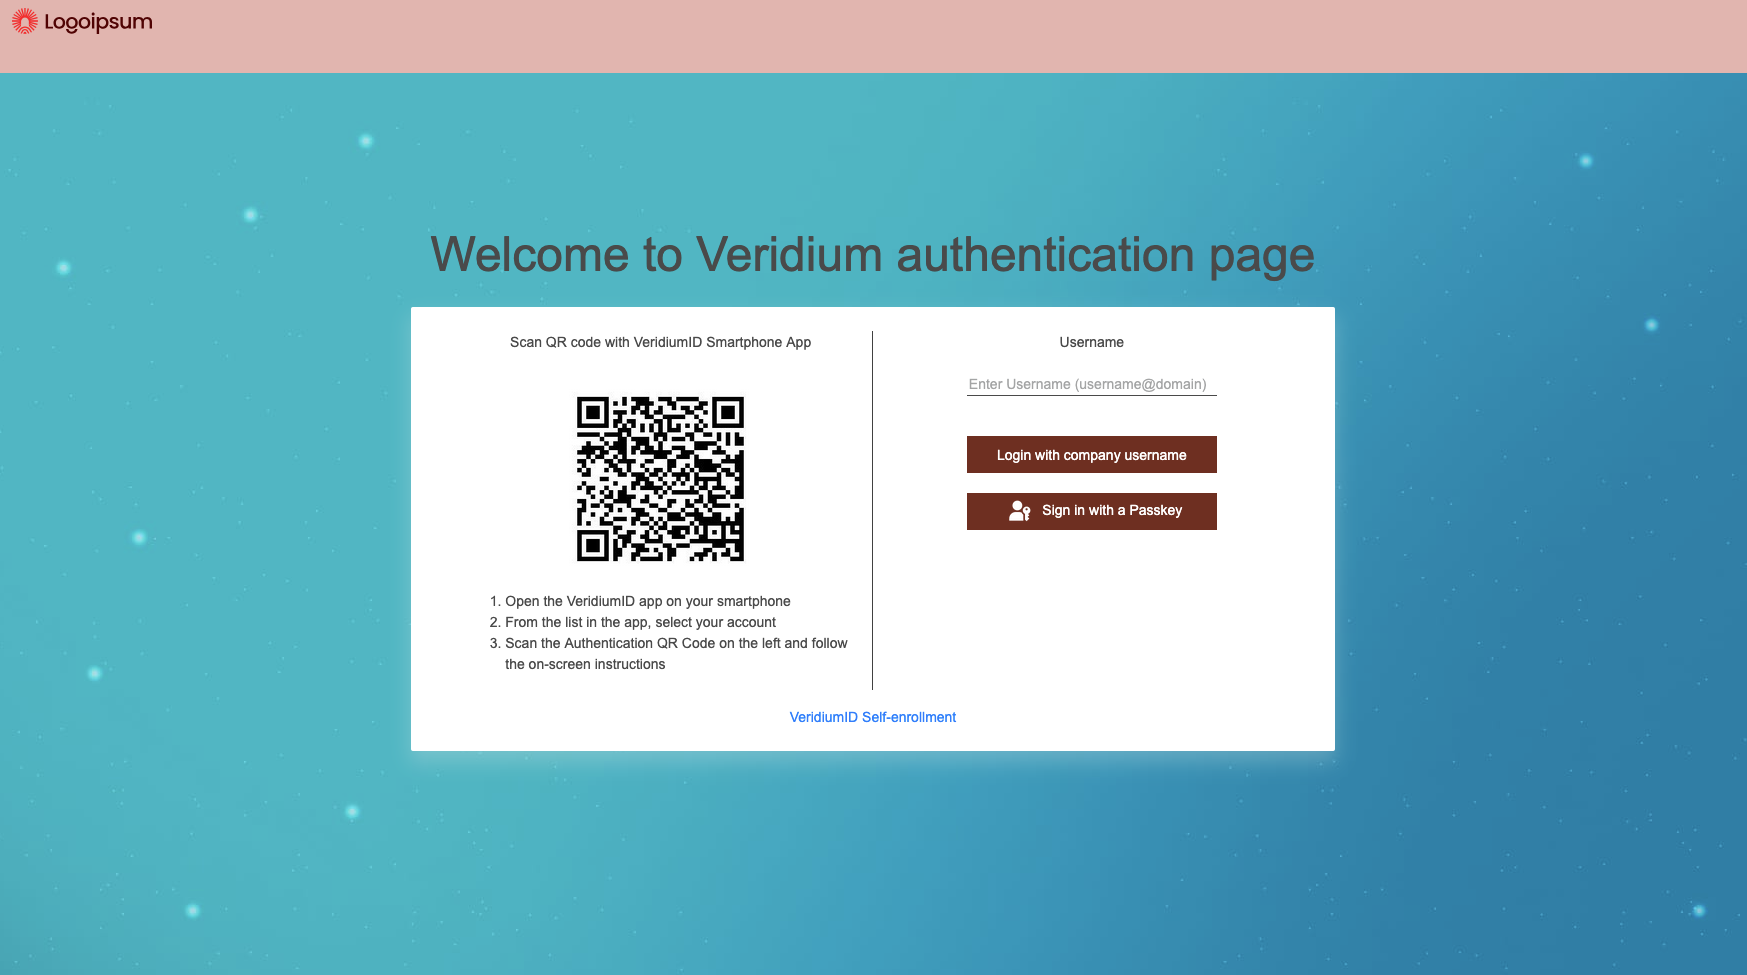
Add the .
buttonand.vid-button-passkeyclasses and set the background-color property with the desired color value in HEX..button{ background-color: #732D1E; } .vid-button-passkey{ background-color: #732D1E; }
Example
Changing the text labels
Changing the title
-
Go to Admin / Settings / Advanced / i18n.json
-
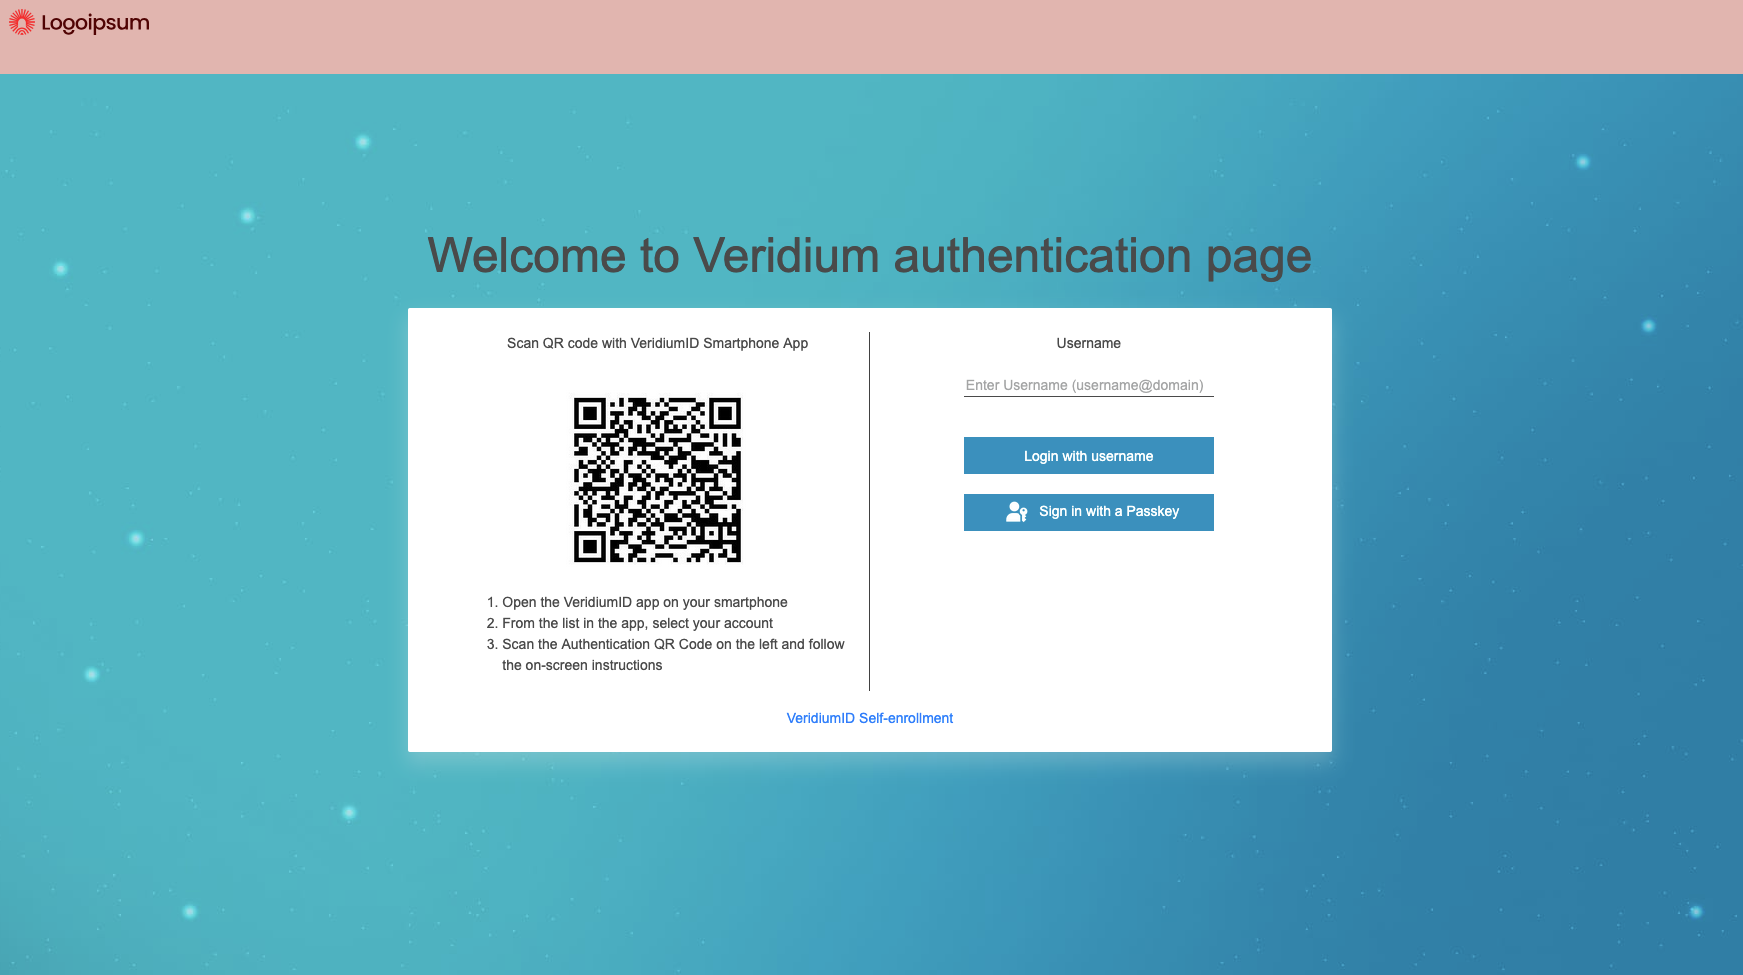
Add the following value in the dictionary and save the file.
{
            "key": "idp.veridium.landing.title",
            "translations": {
                "en": "Welcome to Veridium authentication page",
                "de": "German translation",
                "it": "Italian translation",
                "es": "Spanish translation"
            }
        }
Example
Changing the Login button text
-
Go to Admin / Settings / Internationalization
-
Search for idp.veridium.serversdk.auth.options.choose key and edit it
-
Change the text as needed and click save.
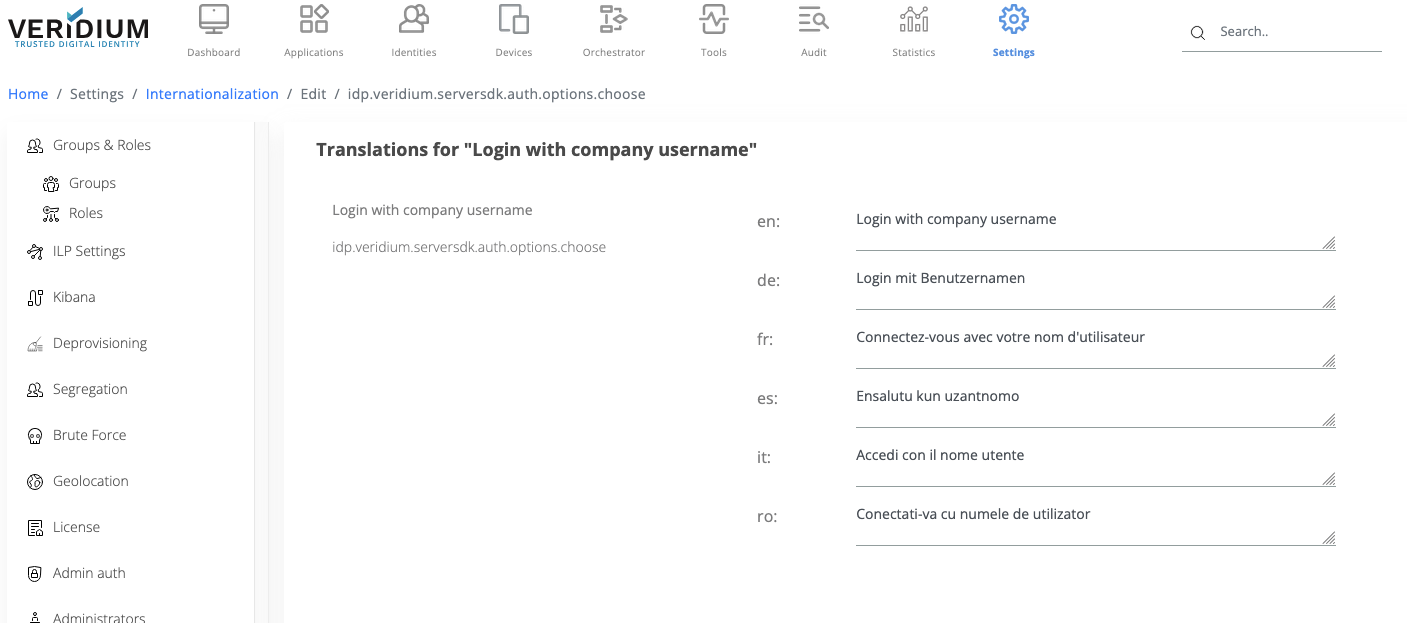
Example