The purpose of this document is to provide a step-by-step procedure for using ADFS as IDP for authenticating in Veridium Manager over OIDC protocol. This process consists of three major parts:
-
ADFS configuration - define an application group for Veridium Manager
-
Veridium Manager configuration - define a Veridium internal group, assign it an admin role, map it to an AD group and configuring it in the Admin auth section under general, then add the idp information
-
Testing
-
Troubleshooting
1. ADFS configuration
In order to integrate Veridium Manager, you must perform the following configuration steps:
a. Open Veridium Manager and navigate to Settings->Admin auth->OIDC AUTH. Scroll down and copy the value from the Redirect URI field:

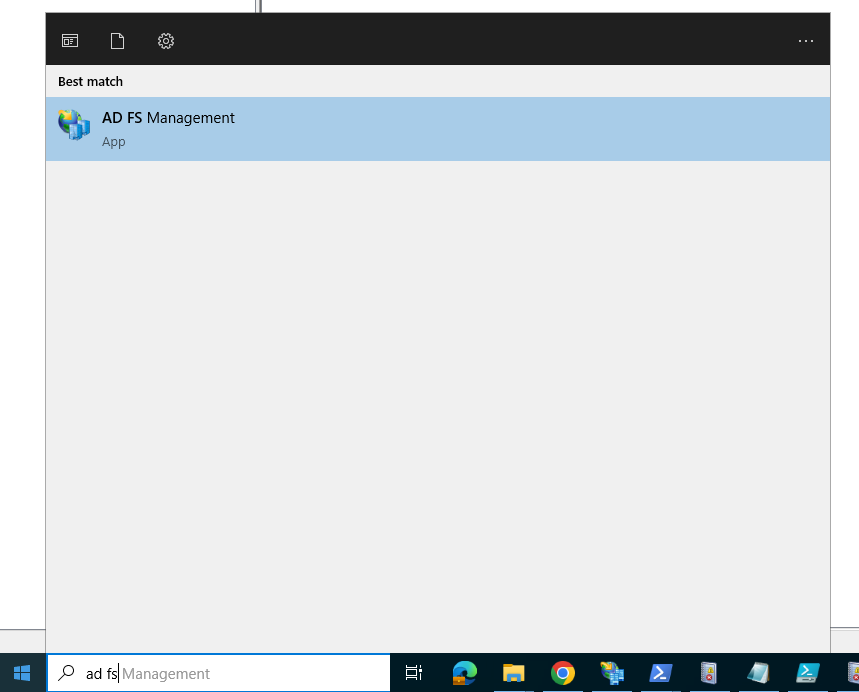
b. Open the ADFS admin interface by clicking on Start, then type ad fs and select AD FS Management:
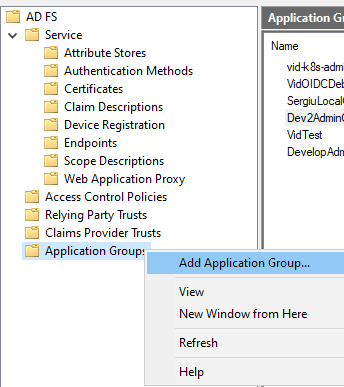
c. In the ADFS Management window right-click on Application Groups and click on Add Application Group:
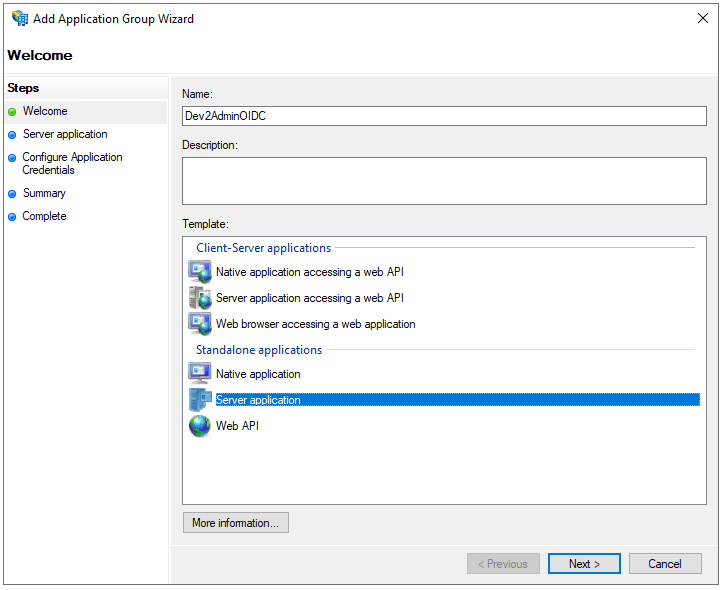
d. In the Add Application Group Wizard window type a name for the application group in the Name field, then select Server application and click Next:
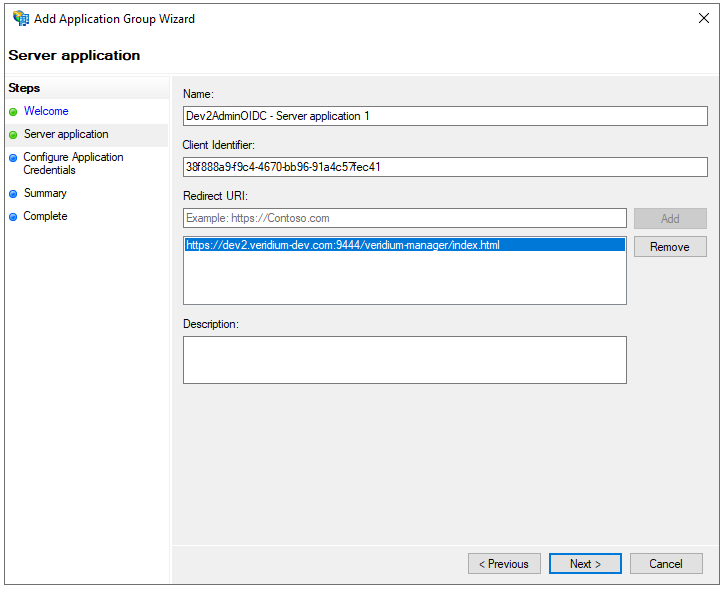
e. In the next window you can adjust the Server application name in the Name field. Write down the value in the Client identifier field as you will need it for the Veridium Manager configuration. In the Redirect URI field type the value obtained in step a, the click on Add and Next:
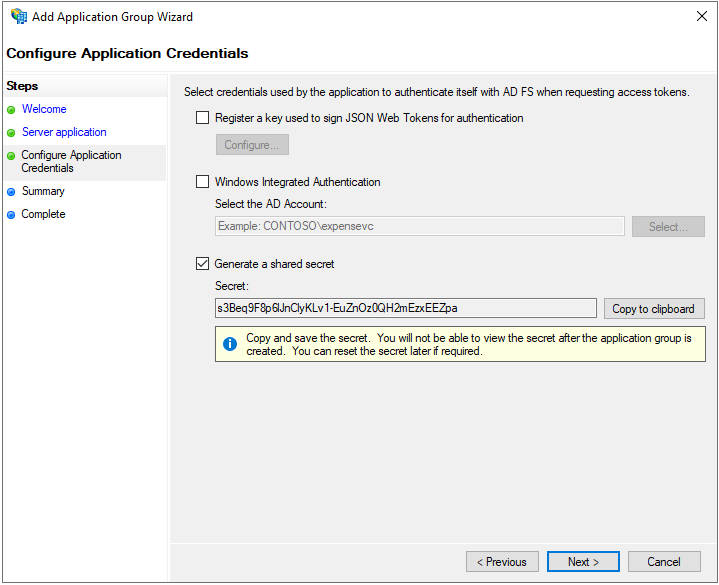
f. In the Configure Application Credentials window, select Generate a shared secret and write down the value as you it will be required in the Veridium Manager configuration. To continue, click Next:
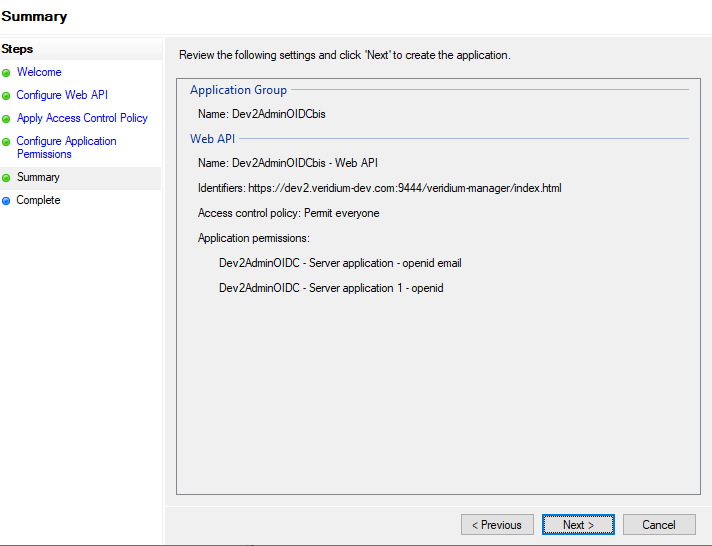
g. Review the settings and click Next to complete:

h. Click on Close to finish the server application creation process:
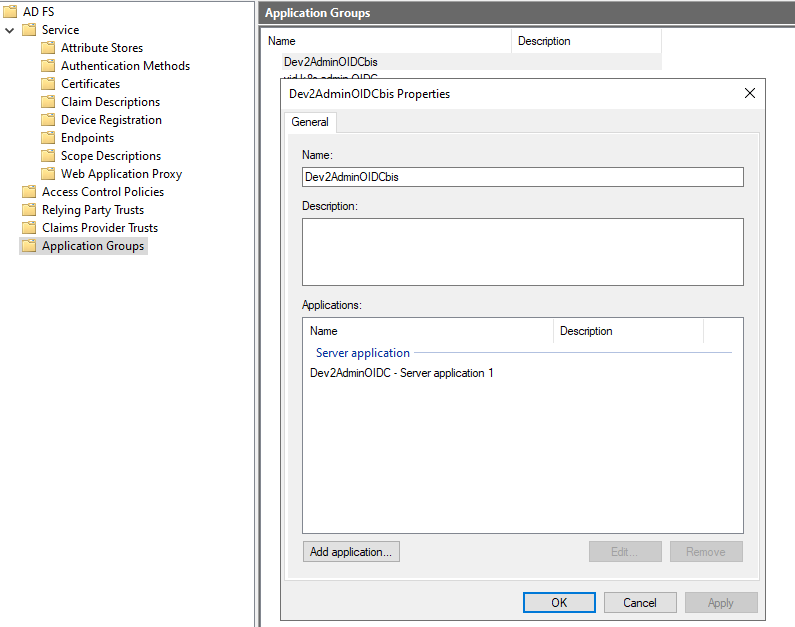
i. Next we need to create the Web API part of the application group. For this double click on the previously created application group and select Add application:
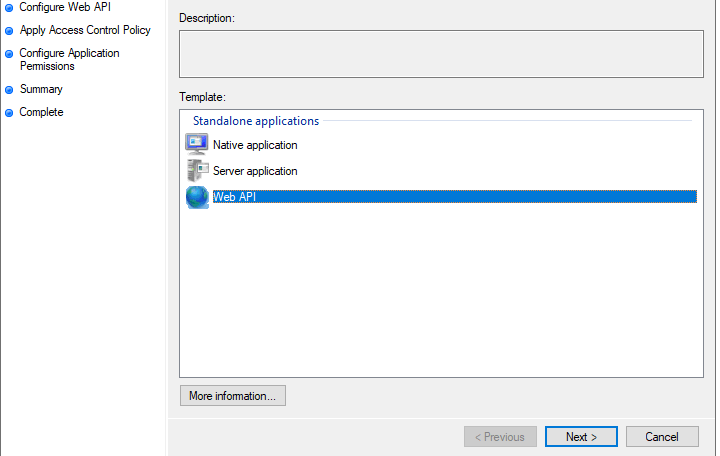
j. In the following window select Web API and click on Next:
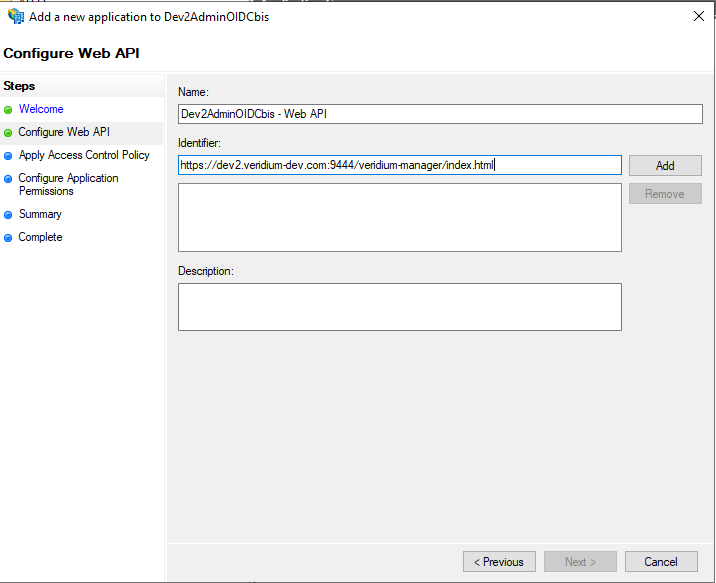
k. In the next window, type the value from step a. in the Identifier field, then click on Add and Next:
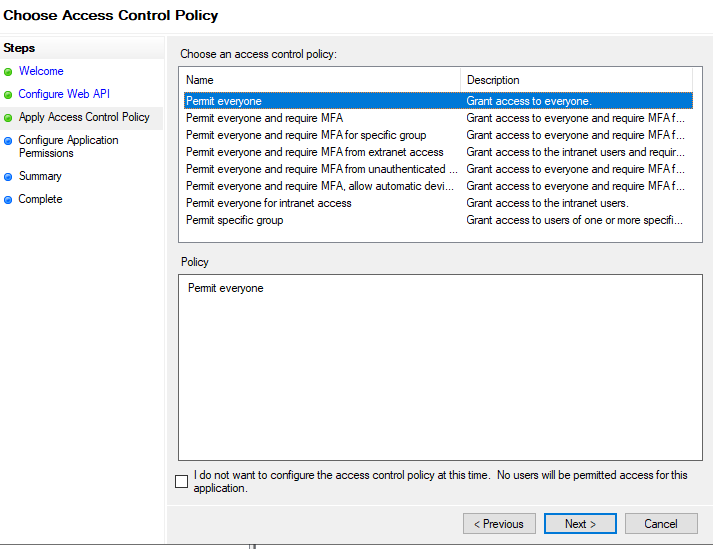
l. In the Choose Access Control Policy window select Permit everyone, then click on Next:
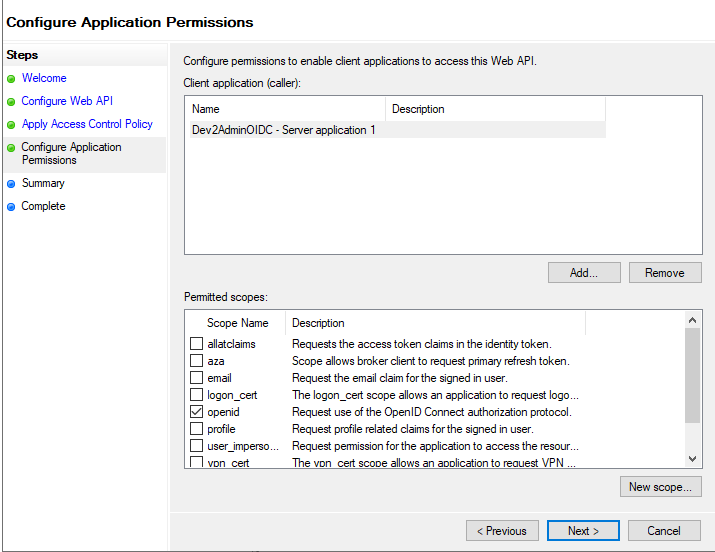
j. In the Configure Application Permissions page, select openid in the Permitted scopes section and click on Next:
k. On the Summary page click Next:
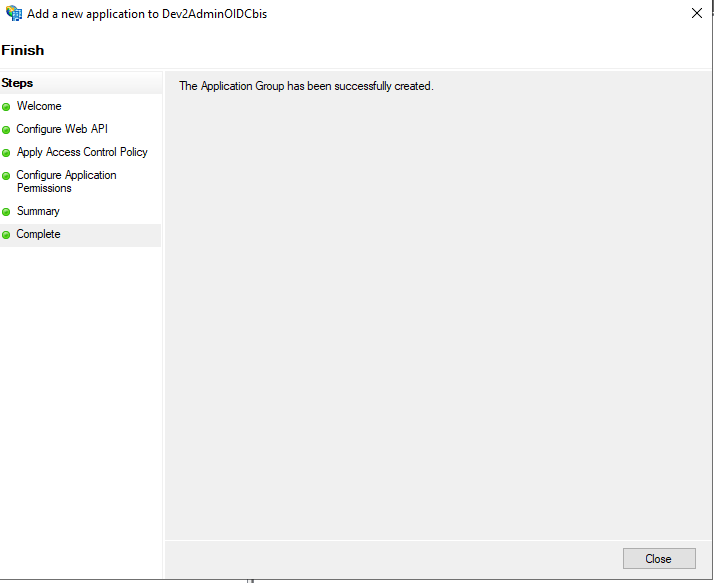
l. In the next window click on Close to finish:
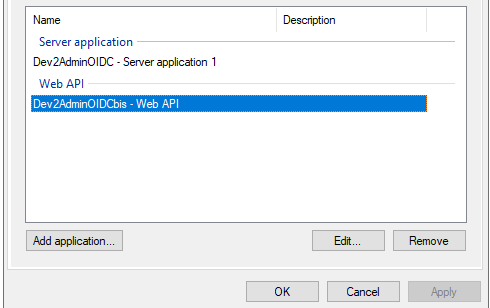
m. Double click again on the Web API application:
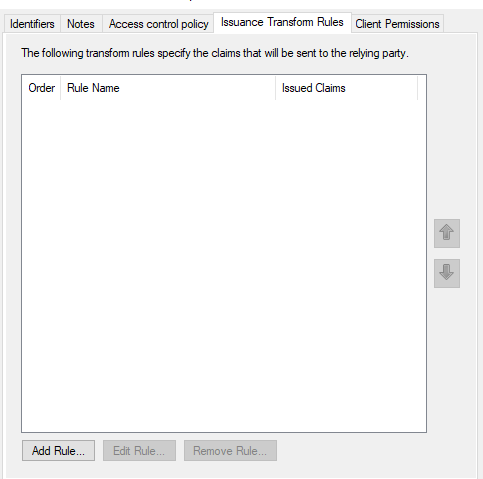
n. In the next window, click on Issuance Transform Rules, then on Add:
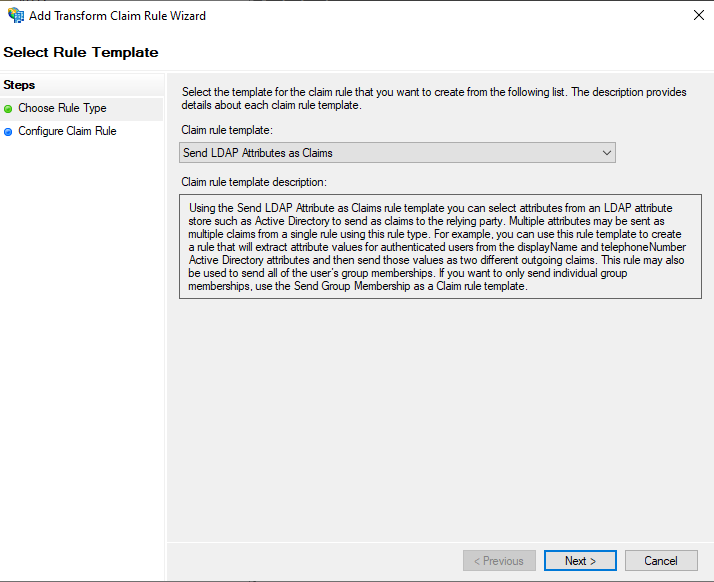
o. In the Add Transform Claim Rule Wizard window, select Send LDAP Attributes as Claims in the Claim rule template section, then click on Next:
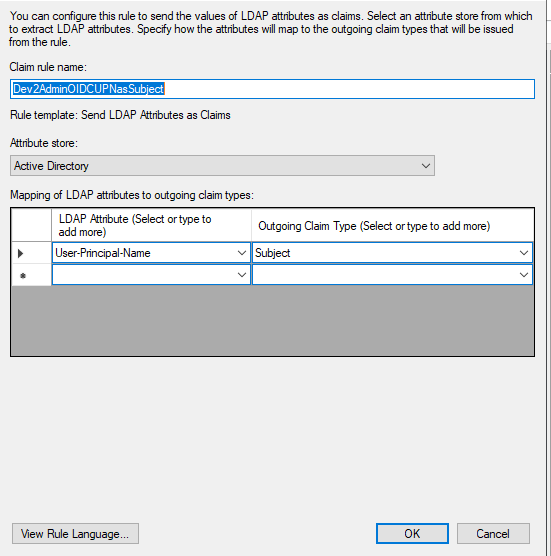
p. In the next window, type a name in the Claim rule name field, select Active Directory from the Attribute store drop-down list. In the Mapping of LDAP attributes to outgoing claim types section, configure User-Principal-Name to be sent as Subject, then click Finish:
2. Veridium Manager Configuration
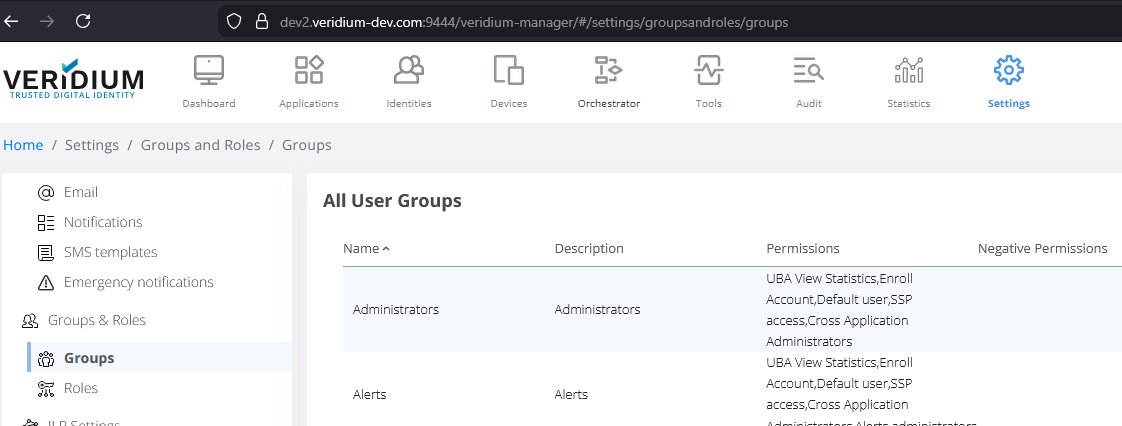
a. In order to configure OIDC authentication for Veridium Manager, you must first create an Active Directory group or use an existing one. This group has to contain the desired admin users. Then you have to create a Veridium internal group which will be assigned the admin role. This internal group will then be mapped to the previously created Active Directory group. For this access Veridium Manager and go to Settings->Groups & Roles->Groups:
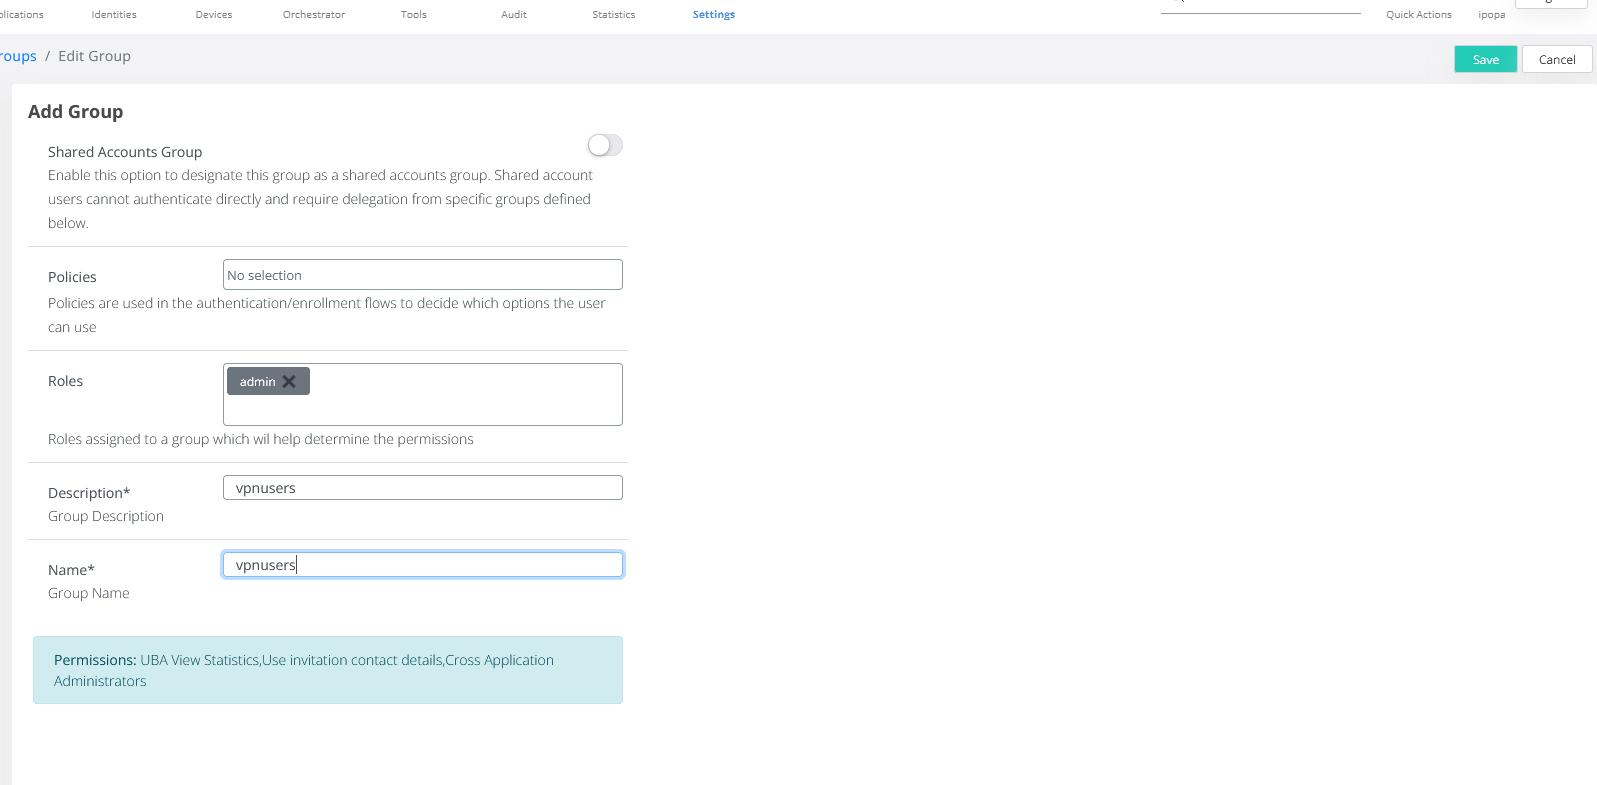
b. Click on Add Group:
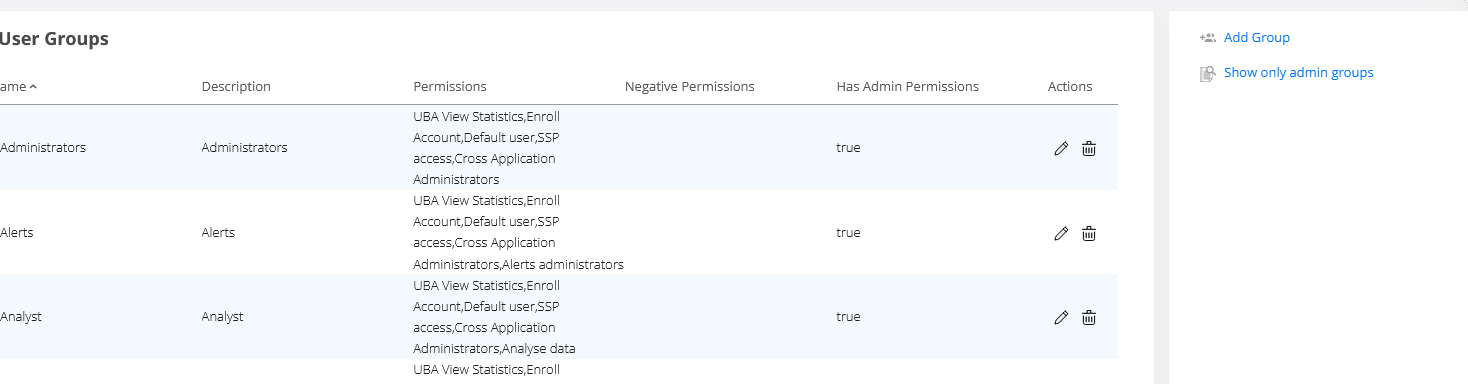
c. Clear the default role, then select the admin role, type in a description and a name for the group, then click on Save:
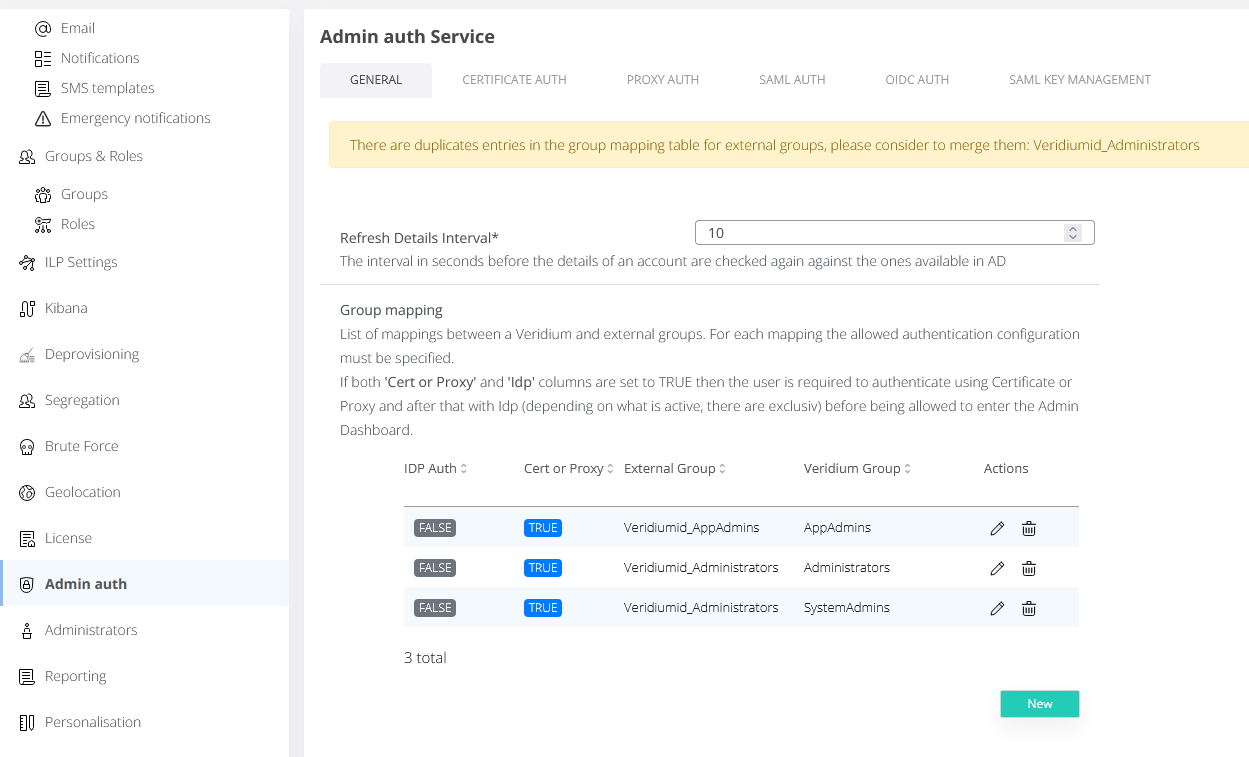
d. In Veridium Manager, access Admin auth, then, in the General tab, click on New:
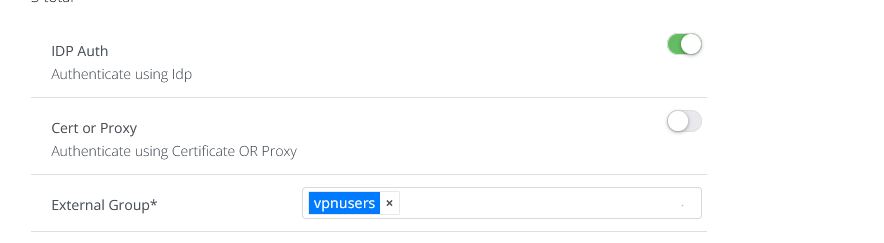
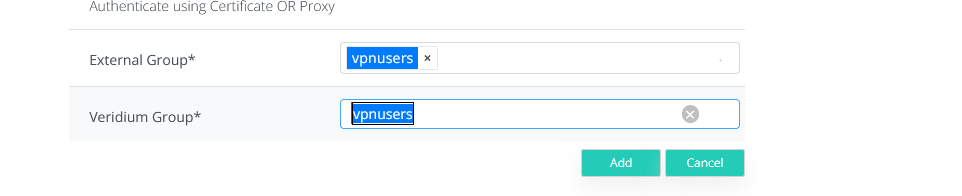
e. Enable IDP Auth, then in the External Group field type the name of the Active Directory group:
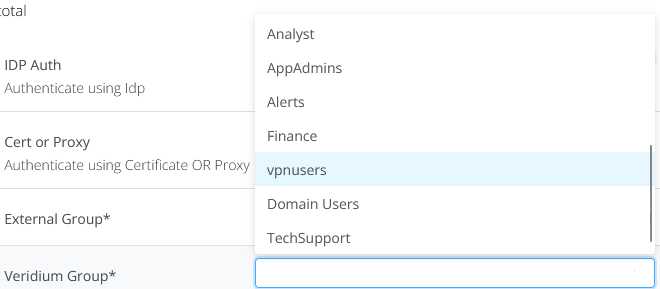
f. In the Veridium Group field, select the Veridium group previously created:
g. Click on Add, then Save to finish:
h. In the Admin auth menu, click on the OIDC AUTH tab then on the Enable OIDC toggle button to activate OIDC authentication:
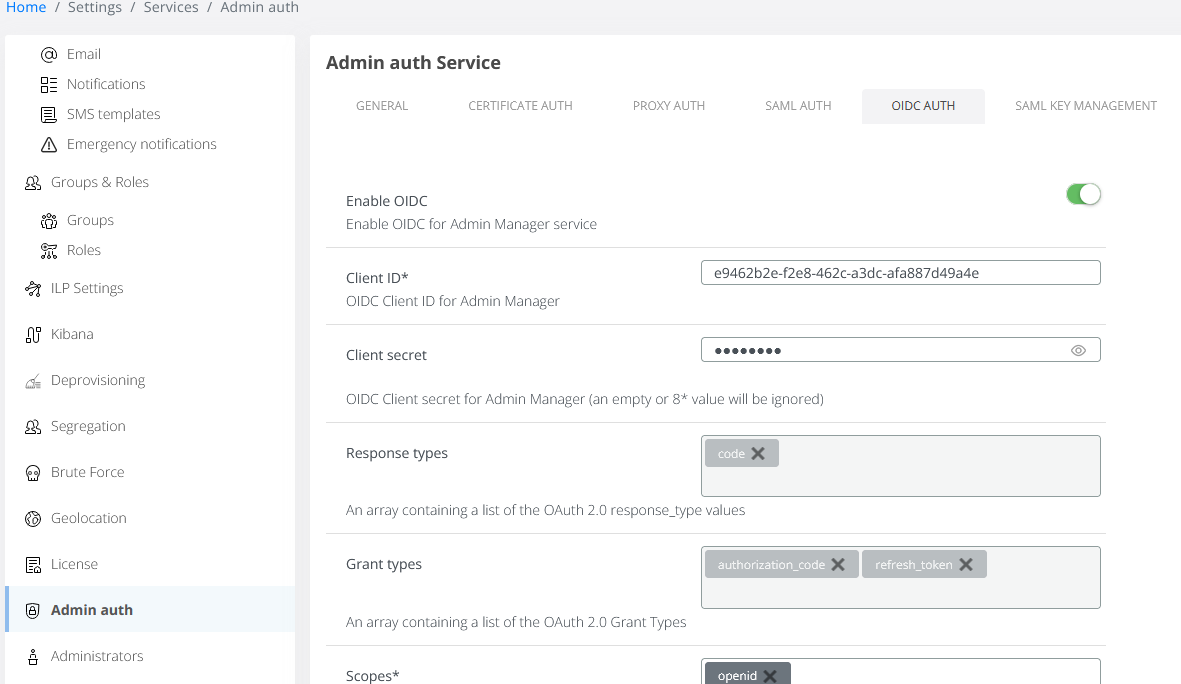
i. In the Client ID and Client secret fields type the values created in 1.e and 1.f steps.
j. Scroll down and set the Subject type to pairwise, then set User ID claim name to sid
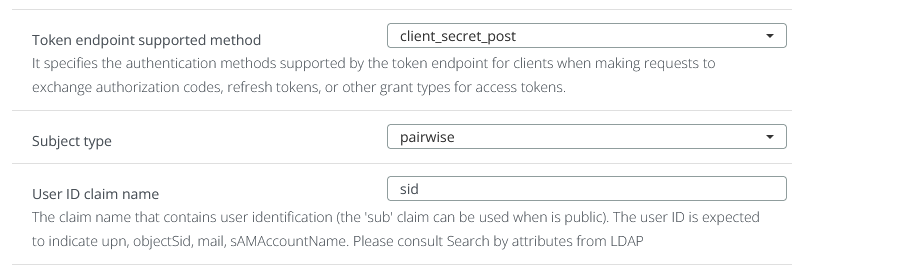
k. Set User ID claim source to ID_TOKEN:

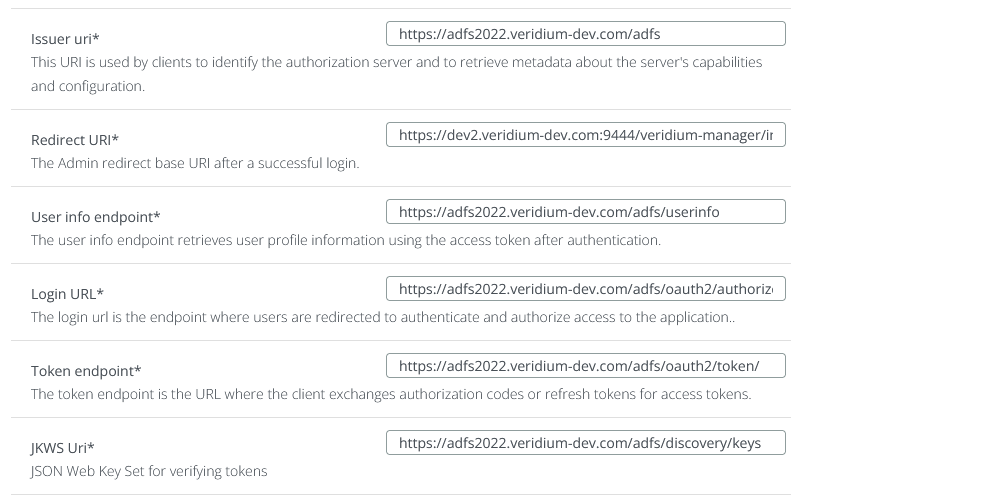
l. Next you have to configure the idp details, in this case ADFS. You can obtain these details by accessing the configuration endpoit available at <https://<ADFShostname>>/adfs/.well-known/openid-configuration. From here you must extract Issuer uri, User info endpoint, Login URL, Token endpoint, JKWS Uri and fill in the appropriate fields in OIDC AUTH page:
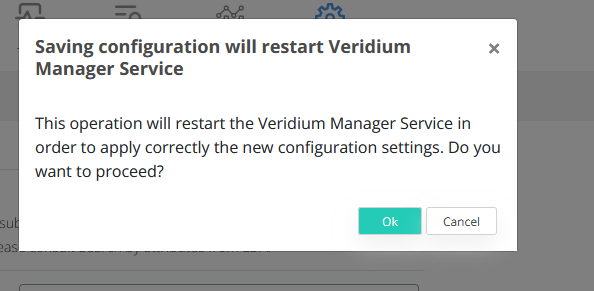
m. Click on Save to apply the configuration.
n. In the next window click on OK to consent to saving the configuration and restarting the Veridium Manager Service:
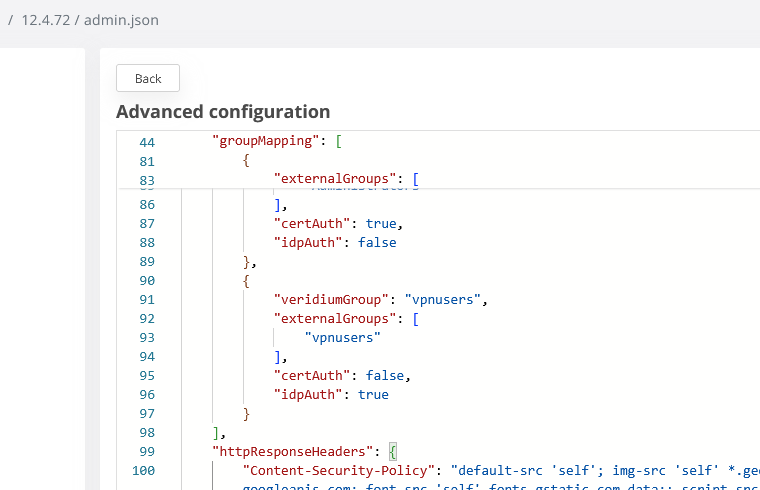
o. A very important step in configuring the integration is adjusting the connect-src directive to include the IDP fqdn. For this you have to access Veridium Manager, then go to Settings->Advanced->admin.json. Locate the httpResponseHeaders section and then the Content-Security-Policy header:
p. Locate the connect-src directive and, after ‘self’ add a blank spce, type the adfs fqdn then add another blank space:
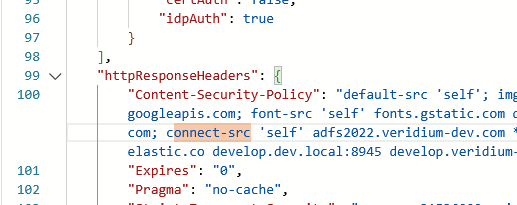
q. Click on Save to apply the settings.
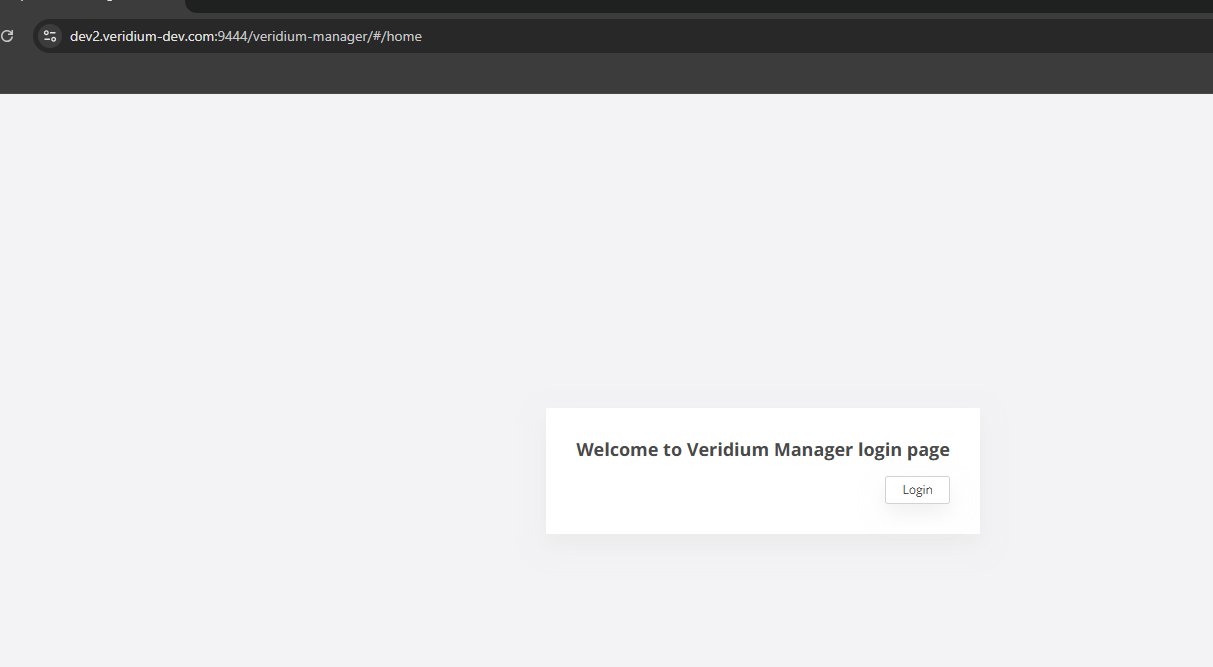
Testing
Access Veridium Manager. If you have a client certificate, click on Cancel to skip and then on Login
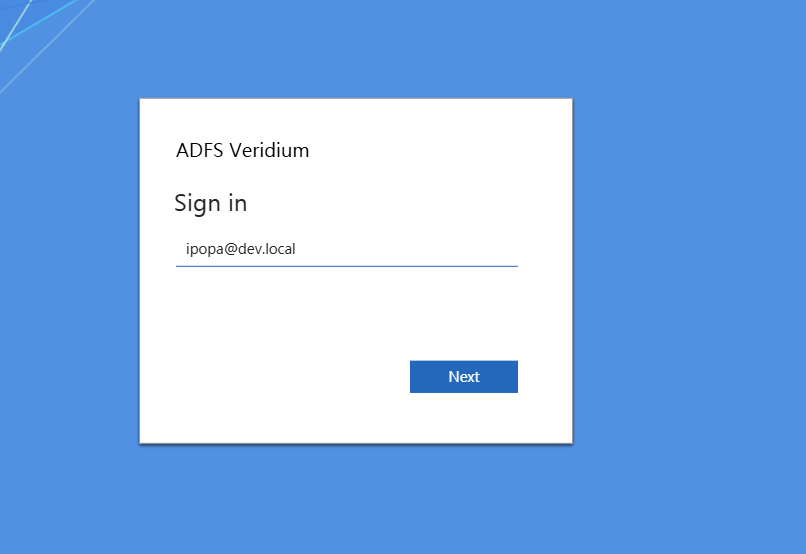
You should be redirected to ADFS login page

Enter your username in either Domain\username or username@domain_fqdn format, then click on Next:
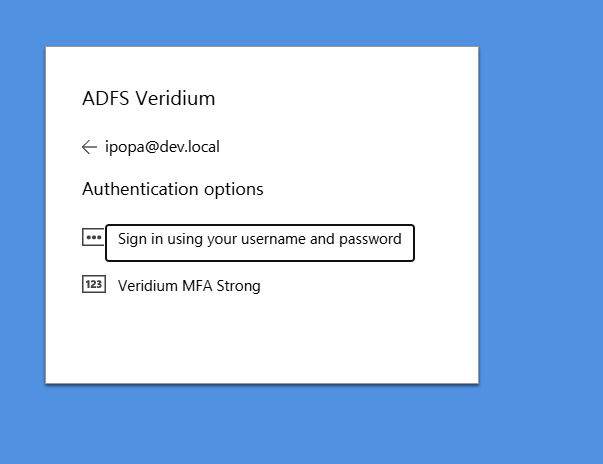
Choose between username and password, or, if the environment is integrated with the ADFS plugin, the Veridium authentication:
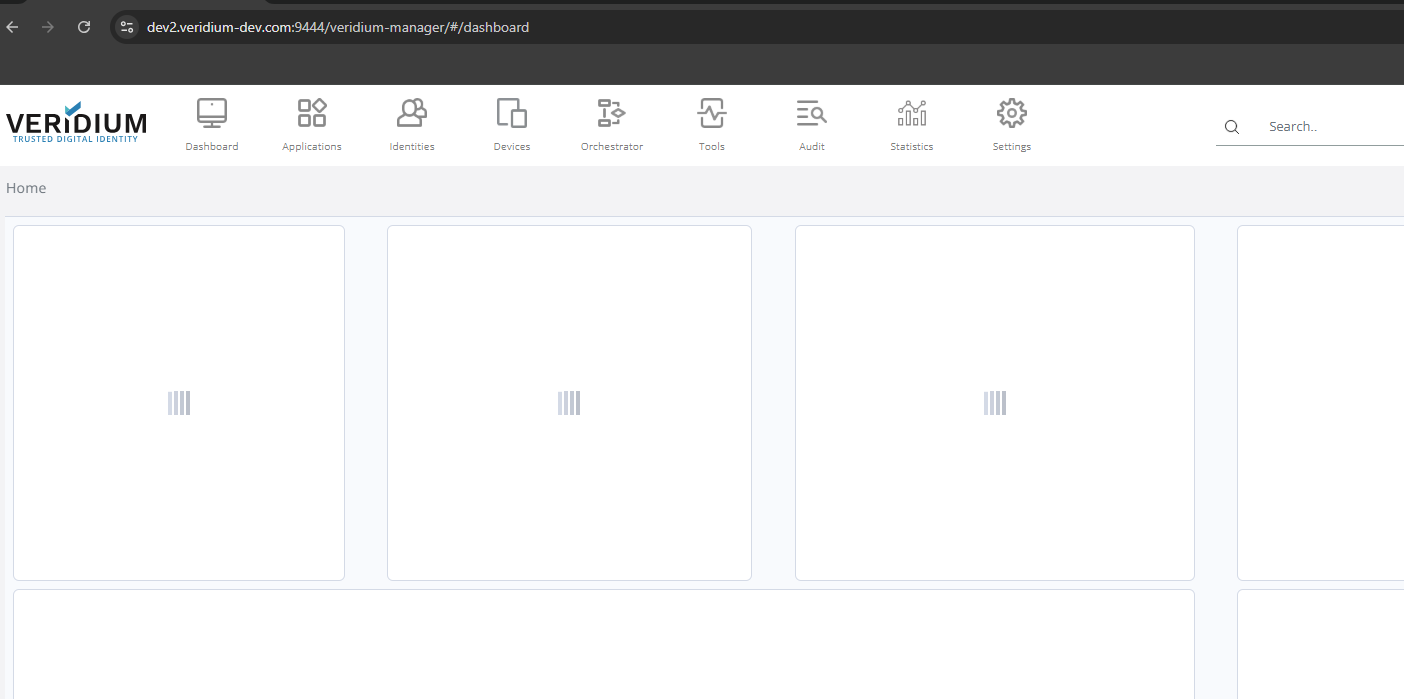
Upon successful authentication you should be redirected to Veridium Manager home page:
Troubleshooting:
-On ADFS side: Start Event Viewer and navigate to Applications and Services Logs->ADFS->Admin:
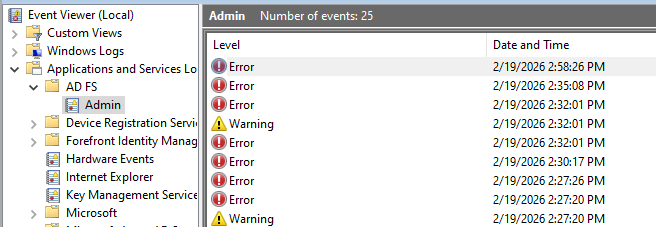
You will find here alle the ADFS related messages.
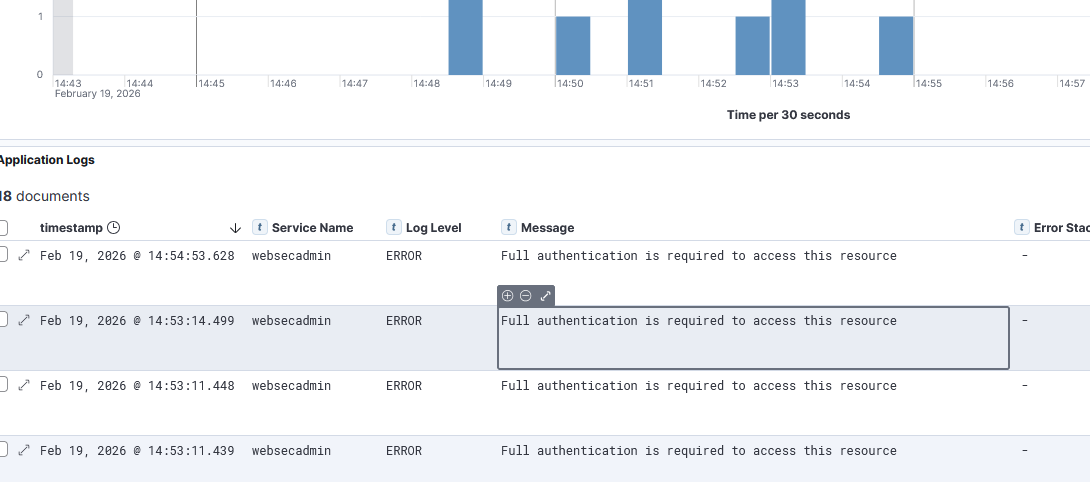
-On Veridium side: In Veridium Manager access Tools->Application Logs, then select websecadmin as the Service Name and ERROR for the Log Level:
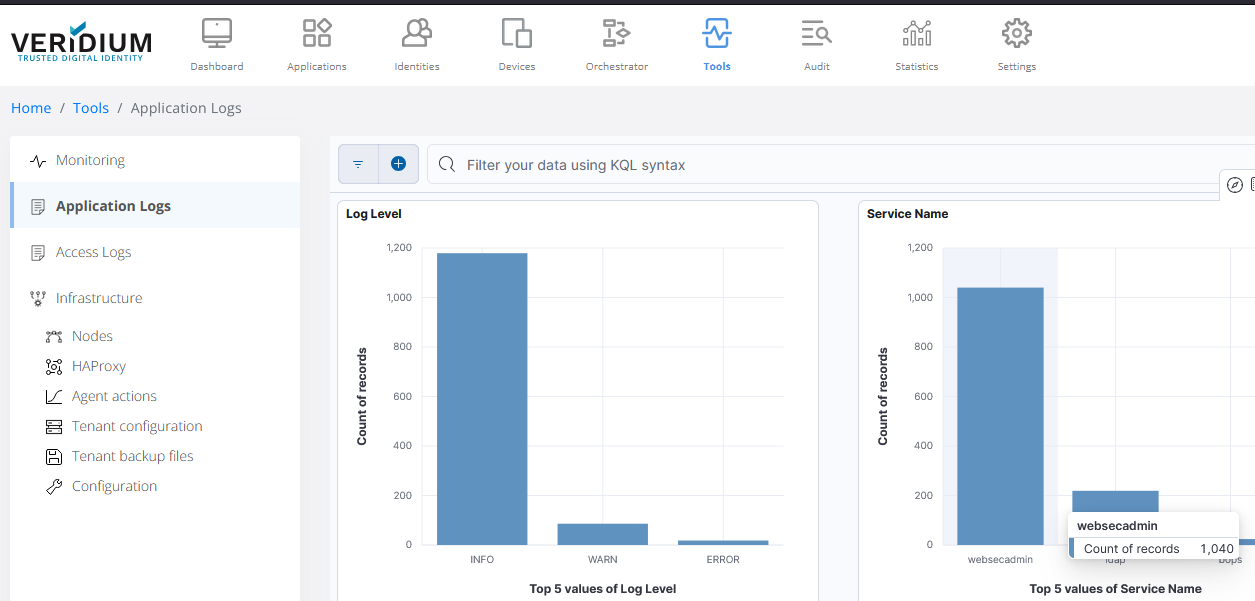
Inspect the displayed error messages: