Advanced mode
Execute command
CODE./veridium-installer.sh
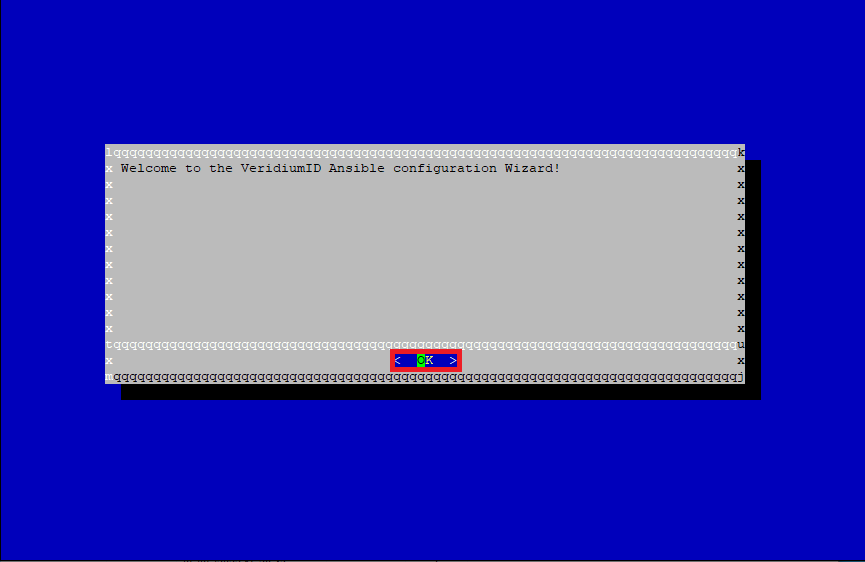
This GUI will appear, press Enter or click OK.
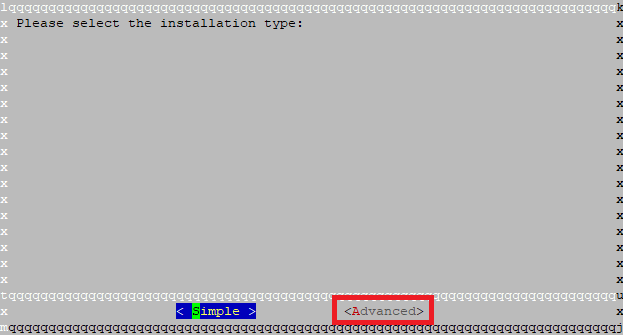
Click on Advanced.
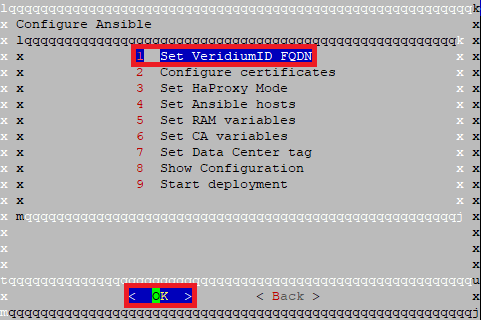
Click on Set VeridiumID FQDN and click OK.
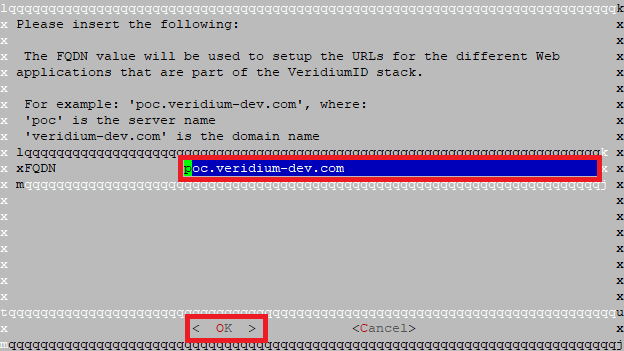
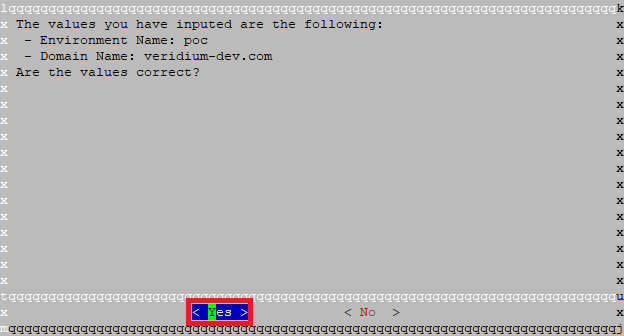
Enter alias used to access VeridiumID server, like: poc.veridium.com and click OK.
Confirm correct values by clicking on Yes.
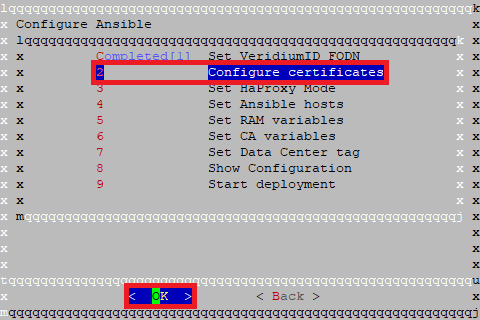
Click on Configure certificates and click OK.
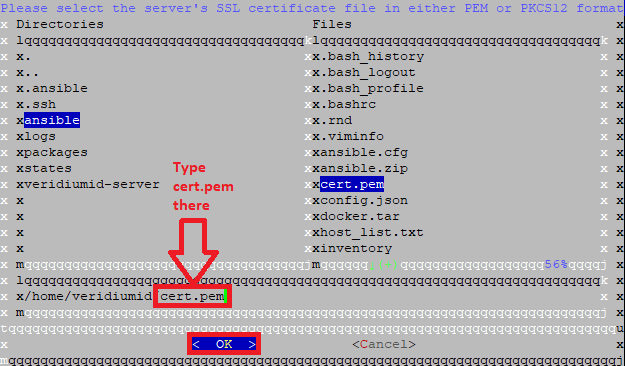
Select uploaded SSL certificate by typing certificate file name cert.pem to the selected area and click OK.
Select uploaded SSL Certificate private key by typing the file name key.pem to the selected area and Click OK.

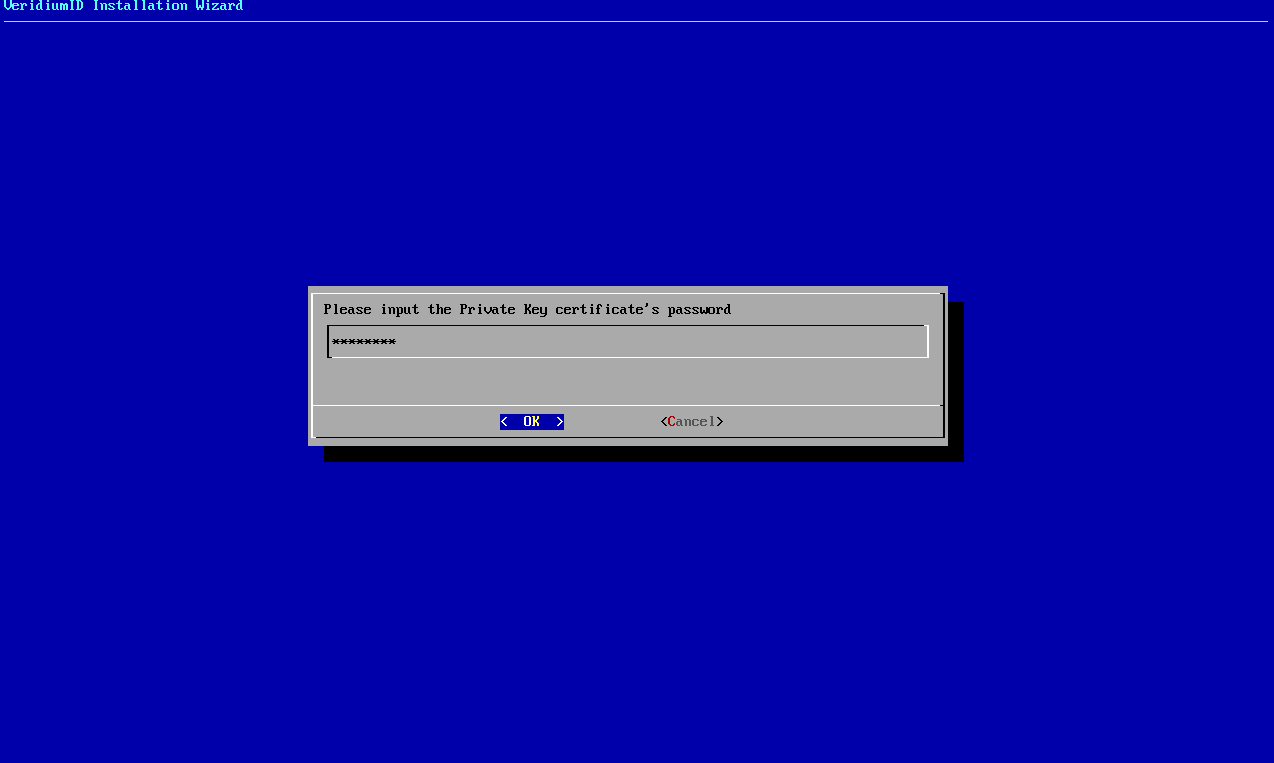
Please input Private Key certificate's password. (optional)
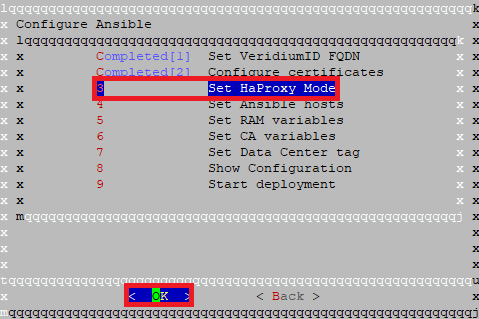
Click on Set HaProxz Mode and click OK.
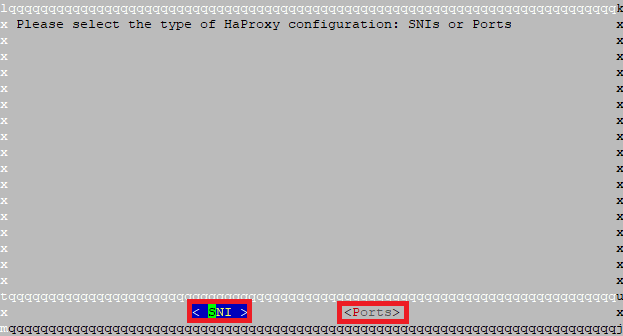
Select if you are using SNI or Ports in HaProxy mode.
SNI → using different FQDNs for each webapp component and using port 443 for access
Ports → using a single FQDN for all webapp components and setting different access ports
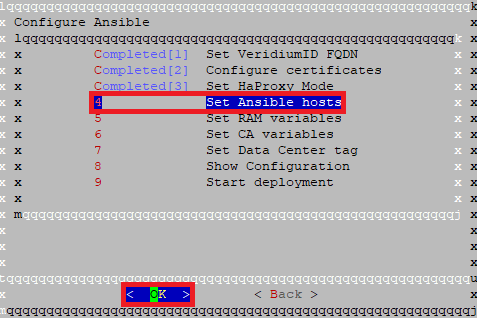
Click on the Set Ansible hosts and click OK.
Provide the IP addresses for Ansible hosts and click OK.
WebApp nodes → on which the VeridiumID webapps will be deployed
Persistence nodes → on which the persistence layer (database layer) will be deployed

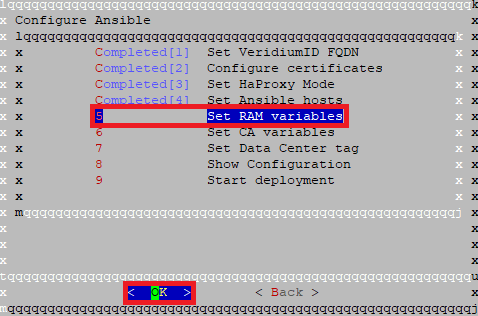
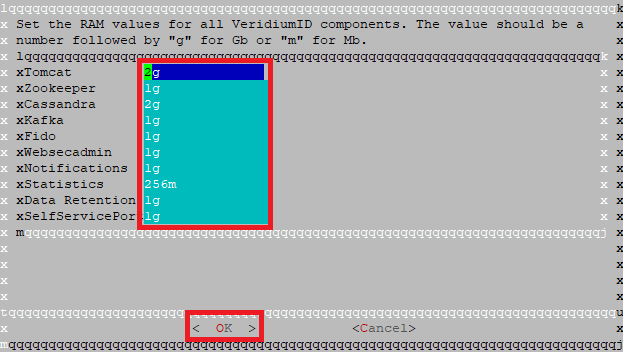
Click on the Set Ram variables and click OK. This is not a mandatory step and in case of skipping it default values will be used.
In this step the user can configure the RAM usage of each VeridiumID service. The values must be defined like this:
A integer value followed by “g“ for Gb or “m“ for Mb
For example: 1g or 256m
Click OK.
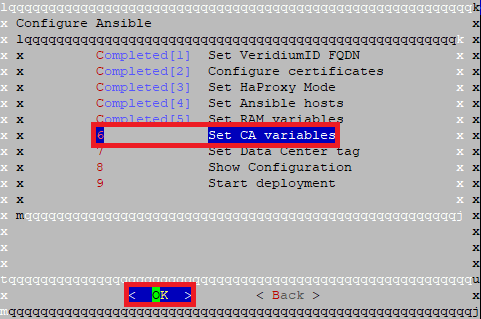
Click on the Set CA variables and click OK. This is not a mandatory step and in case of skipping it default values will be used. Some values will be extracted from the domain certificate (if available).
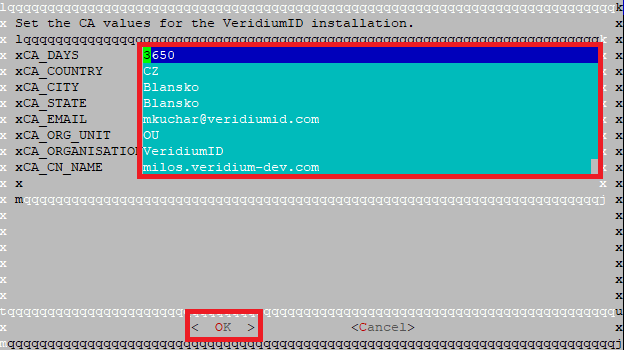
Provide values of the CA certificate, click OK.
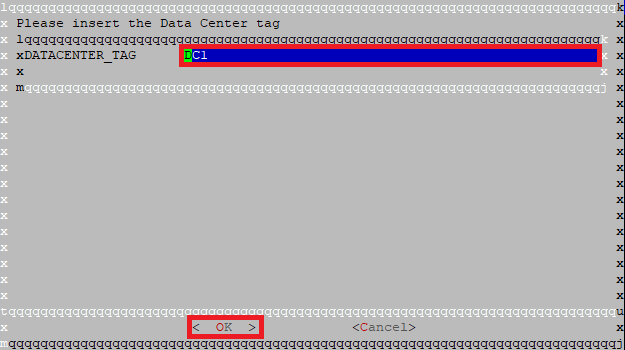
Click on the Set Data Center tag and click OK. This is not a mandatory step and in case of skipping it default values will be used.
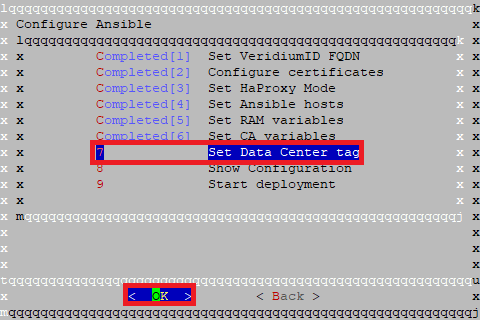
Set the Data Center’s tag value (used for identifying the deployment in case of a Cross Data Center deployment), Click OK.
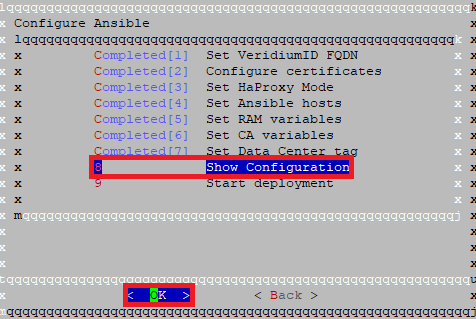
Click on the Show Configuration tag and click OK.
Check if all values are correct, To scroll up and down please use the arrow keys.
and click EXIT.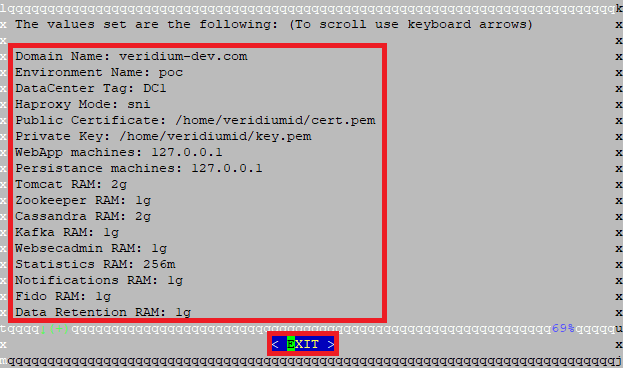
Click on the Start deployment tag and click OK.
By selecting this option, the environment’s deployment will start.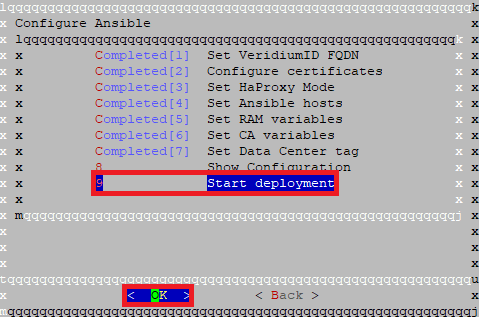
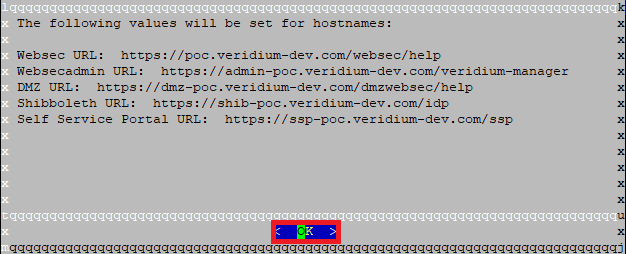
The wizard script provides a list of URLs for each VeridiumID web application, click OK.
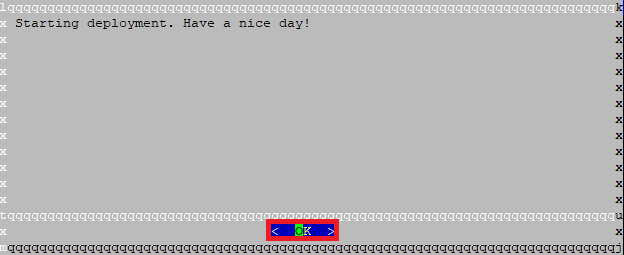
Starting deployment have a nice day!, Click OK.
See the progress in the selected area.
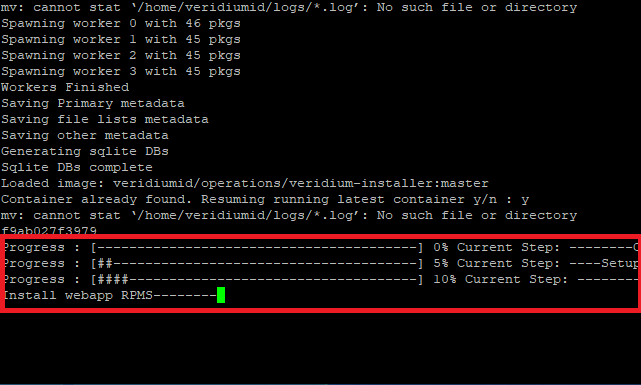
Deployment has been done.