

Starting with VeridiumID 3.9.1, FreeRADIUS clients can be configured centrally from Veridium Manager, removing the need to manually maintain client definitions on individual FreeRADIUS servers.
Administrators can define the RADIUS client, its network address and shared secret, configure the permitted authentication methods, and then propagate the configuration to the applicable nodes.
Configure a RADIUS Client
Navigate to: Veridium Manager → Settings → Radius Clients
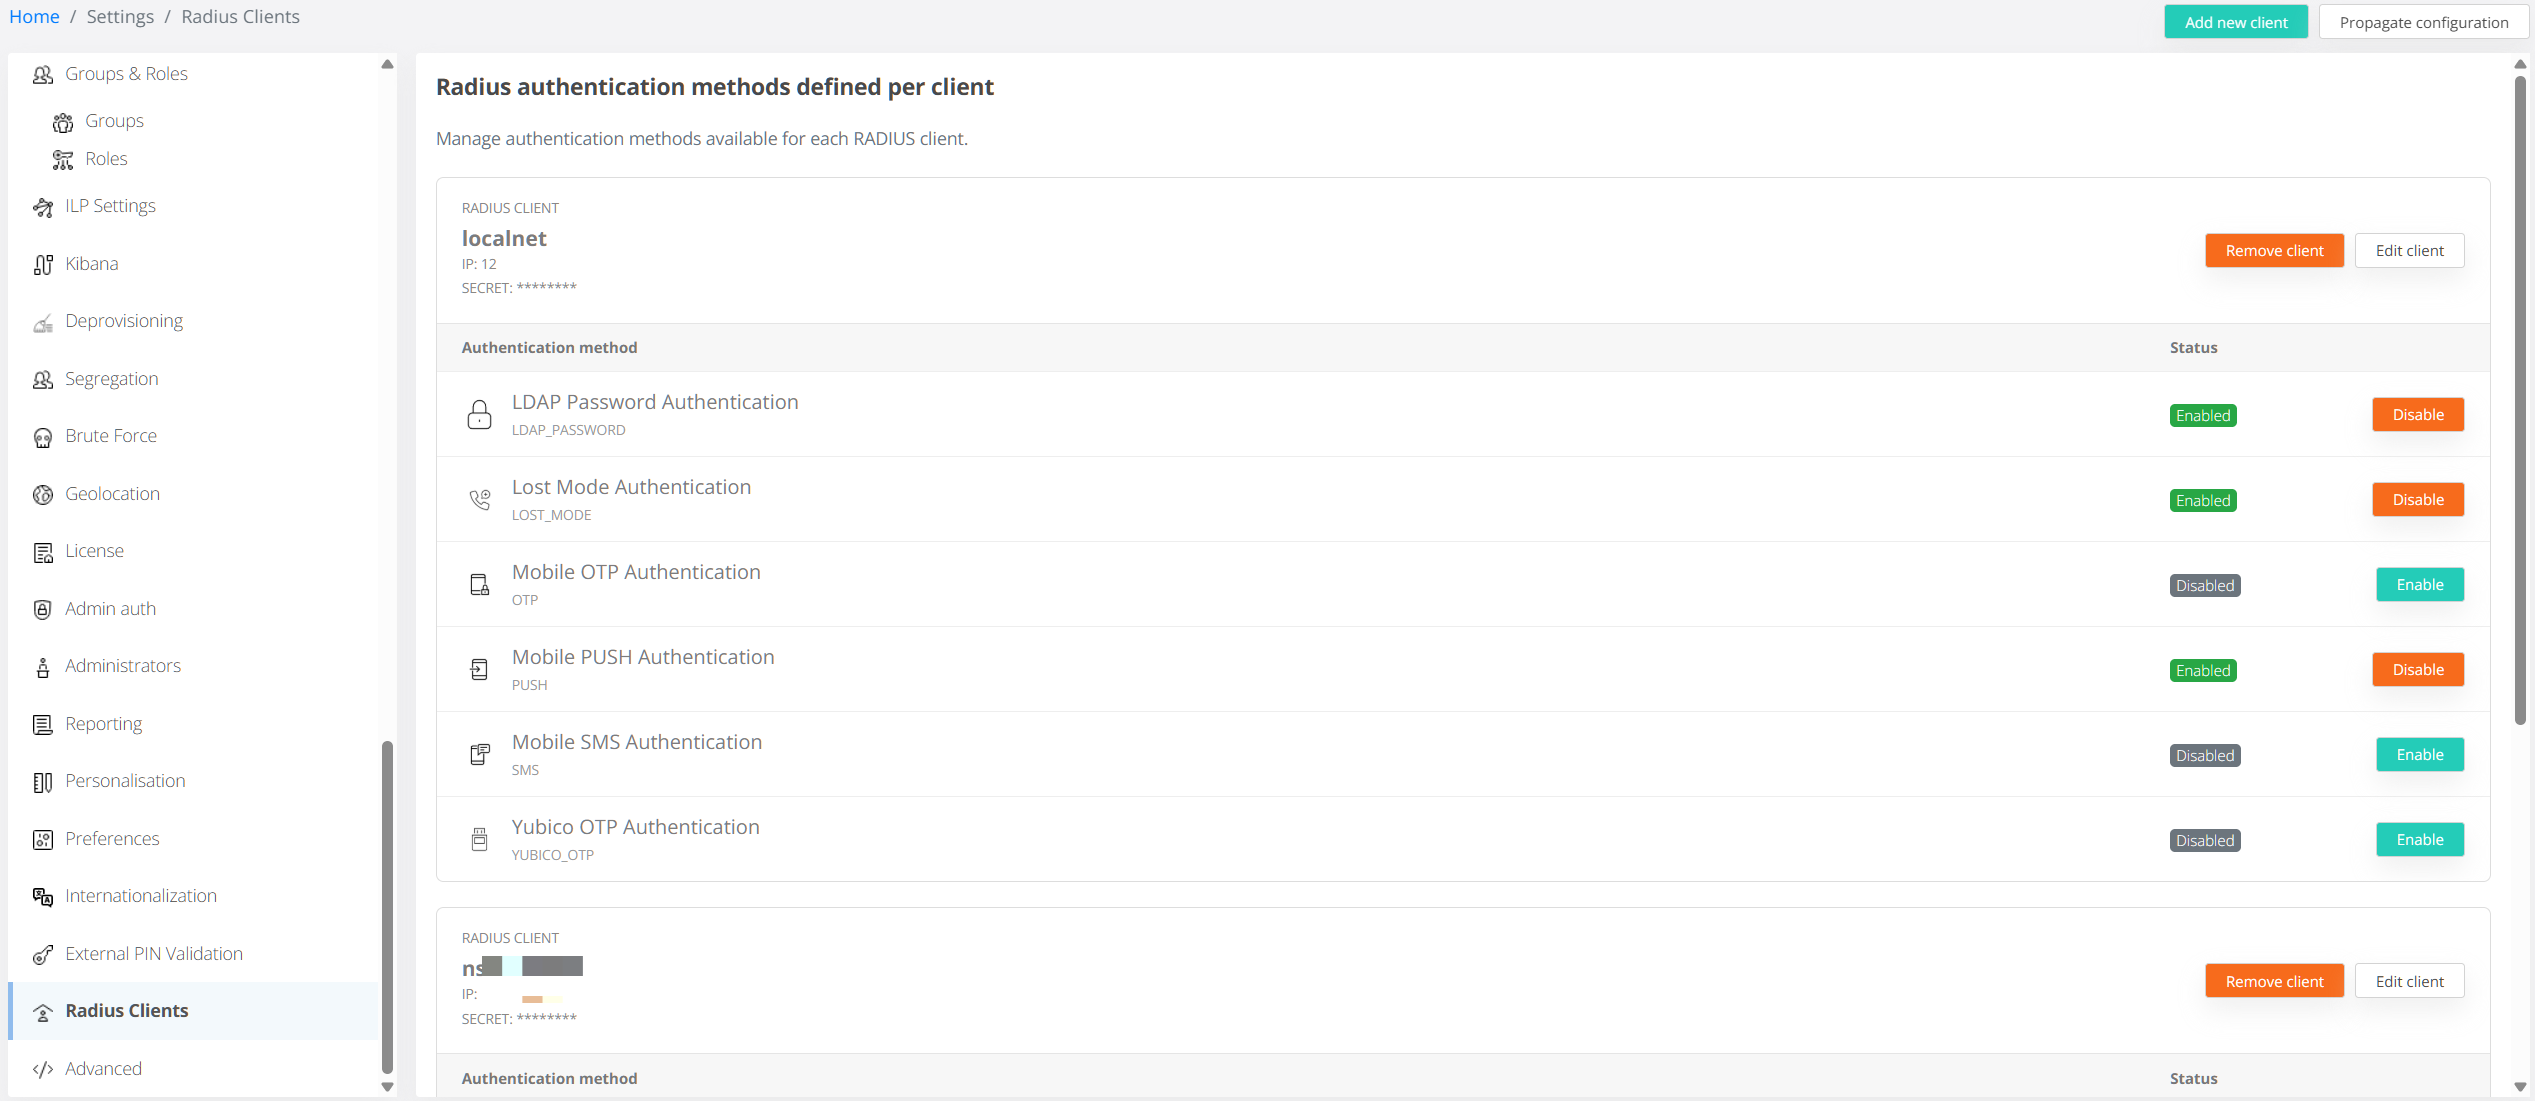
To configure a client:
-
Add a new RADIUS client.
-
Configure the client name, IP address or range, and shared secret.
-
Enable the authentication methods that the client is allowed to use.
-
Save the configuration.
-
Use Propagate configuration to apply the updated configuration to the required nodes.
-
Verify the propagation status under Tools → Nodes
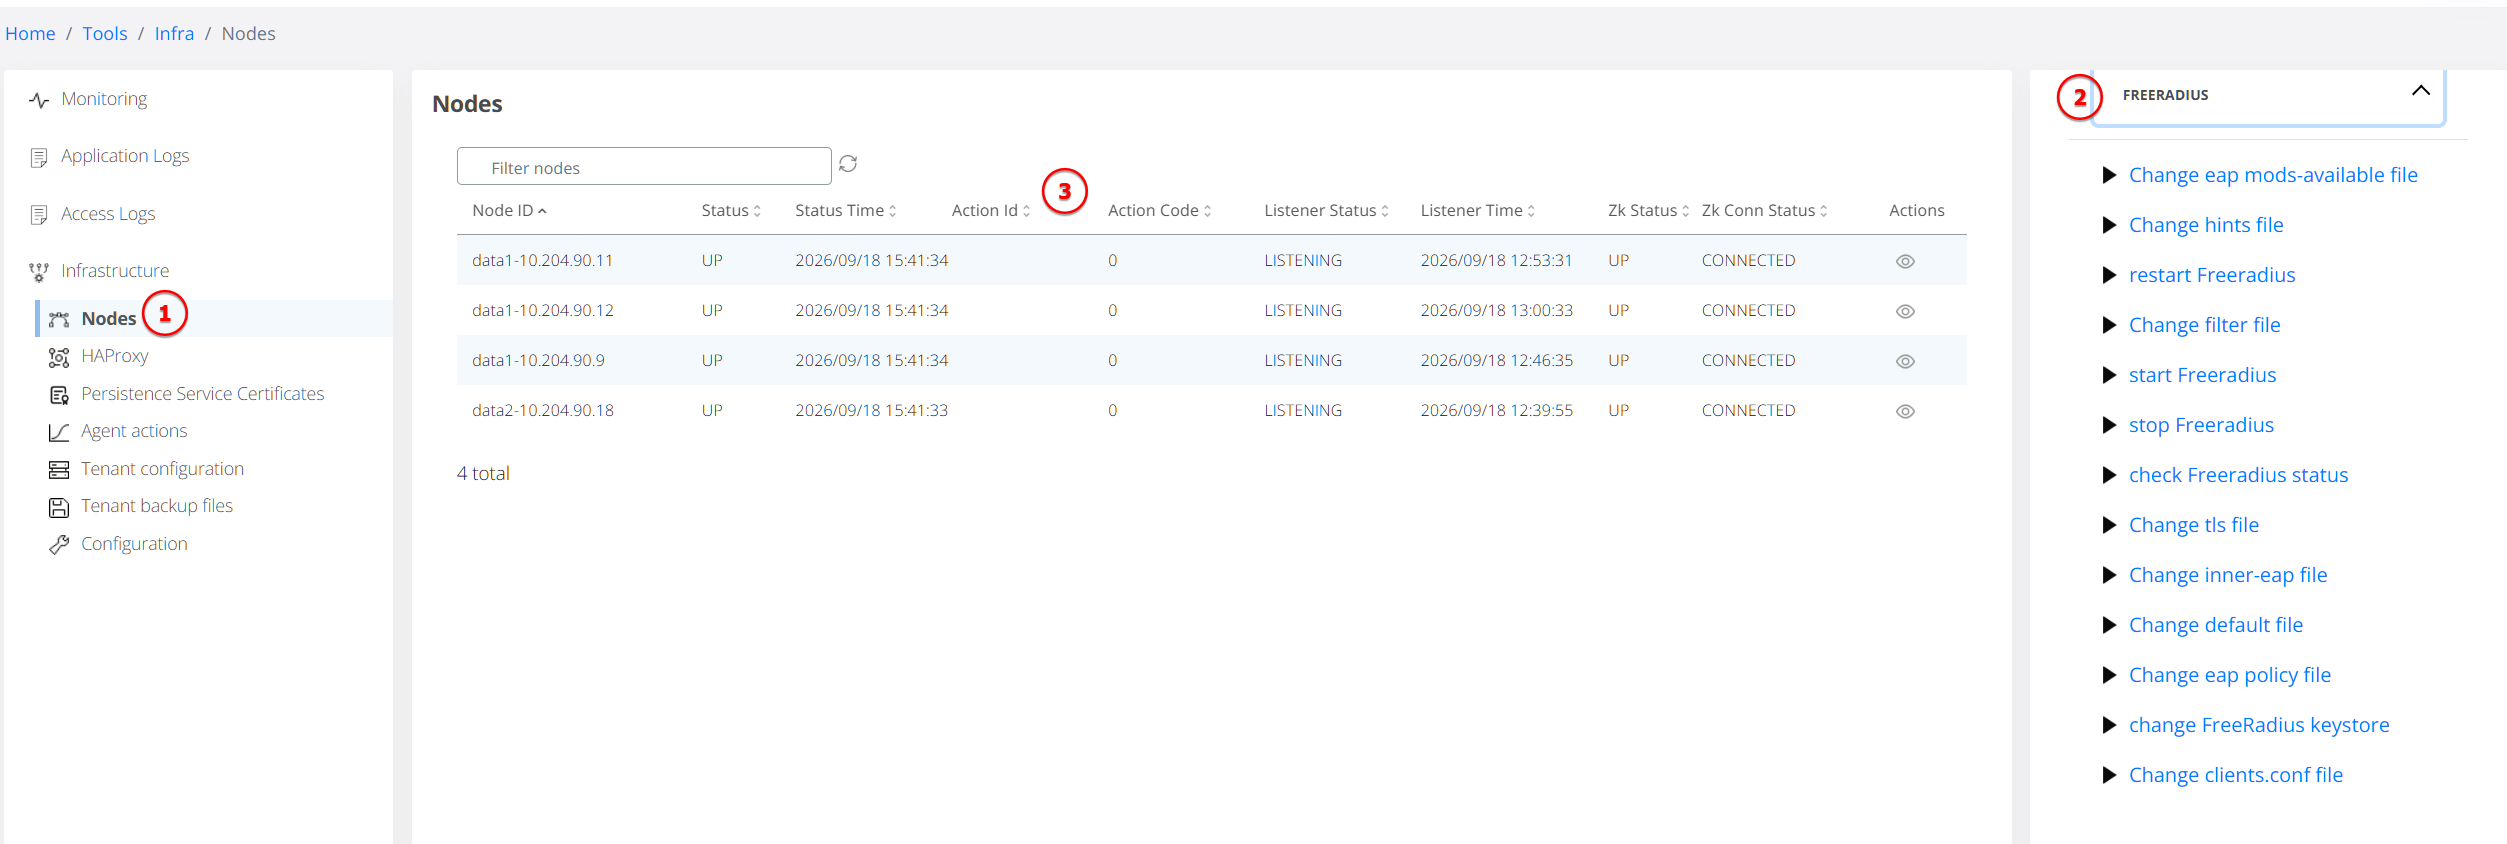
This provides a single administrative workflow for both the RADIUS client's network configuration and its allowed VeridiumID authentication methods.
Centralized Configuration
In previous versions, part of the RADIUS client configuration had to be maintained directly in the FreeRADIUS clients.conf file.
With VeridiumID 3.9.1, FreeRADIUS client configuration is managed centrally. The VeridiumID configuration stored in freeradius.json becomes the authoritative source for managed RADIUS client entries.
Client operations performed from Veridium Manager are synchronized with the FreeRADIUS configuration, including:
|
Operation |
Result |
|---|---|
|
Add client |
A corresponding FreeRADIUS client definition is created. |
|
Update client |
The client name, IP address, and shared secret are updated. |
|
Delete client |
The corresponding FreeRADIUS client definition is removed. |
Existing RADIUS Clients
VeridiumID 3.9.1 includes migration support for existing environments.
When the Radius Clients page is accessed after the upgrade, existing client definitions can be migrated from clients.conf when the centrally managed configuration does not yet contain the required IP address information.
The migration preserves:
-
the client IP address;
-
the RADIUS shared secret.
The migrated values then become available through the centralized Radius Clients configuration.
This allows existing RADIUS deployments to move to centralized management without requiring administrators to recreate their existing client configuration manually.
Do Not Edit clients.conf Directly
After migration, administrators should make all RADIUS client changes through: Veridium Manager → Settings → Radius Clients
or, when required, through the corresponding centrally managed VeridiumID UI configuration.
Manual changes to RADIUS client entries in clients.conf are not preserved.
During synchronization:
-
clients manually added only to
clients.confcan be removed; -
manually changed clients can be overwritten with the centrally managed configuration;
-
entries using an IP address already associated with a managed client are synchronized with the managed client definition.
Important: Do not manually add, modify, or remove managed RADIUS client entries in clients.conf.
Scope of Synchronization
The centralized synchronization applies specifically to FreeRADIUS client definitions.
Other configuration sections within clients.conf are outside the scope of this synchronization and are not managed by the Radius Clients feature.
Upgrade Considerations
After upgrading to VeridiumID 3.9.1:
-
Open Settings → Radius Clients and verify that the existing RADIUS clients have been migrated correctly.
-
Confirm the client names, IP addresses/ranges, shared secrets, and permitted authentication methods.
-
Propagate the configuration to the applicable FreeRADIUS nodes.
-
Verify the propagation status under Tools → Nodes.
-
From this point forward, manage RADIUS client entries from Veridium Manager rather than editing
clients.confdirectly.