

Import of the OVA file
To deploy the OVA image to Vcenter / Vsphere, perform the following steps:
-
Open Administration console
-
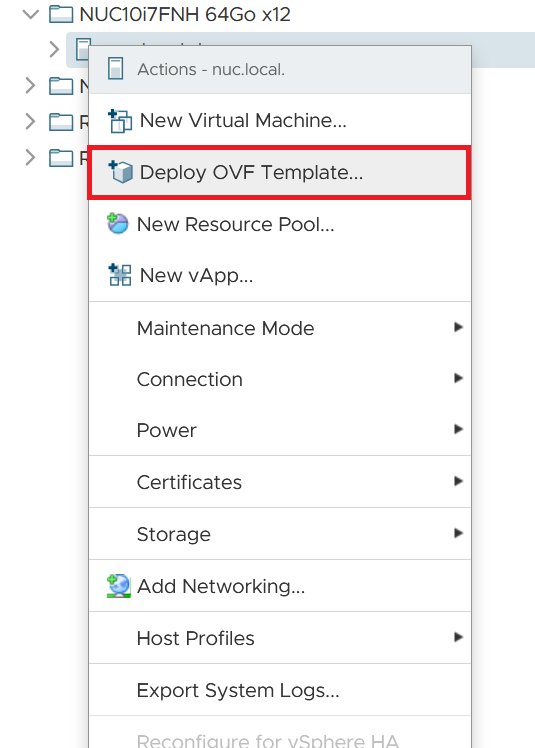
Right click on the host to import to.
-
Click on the "Deploy OVF Template".
-
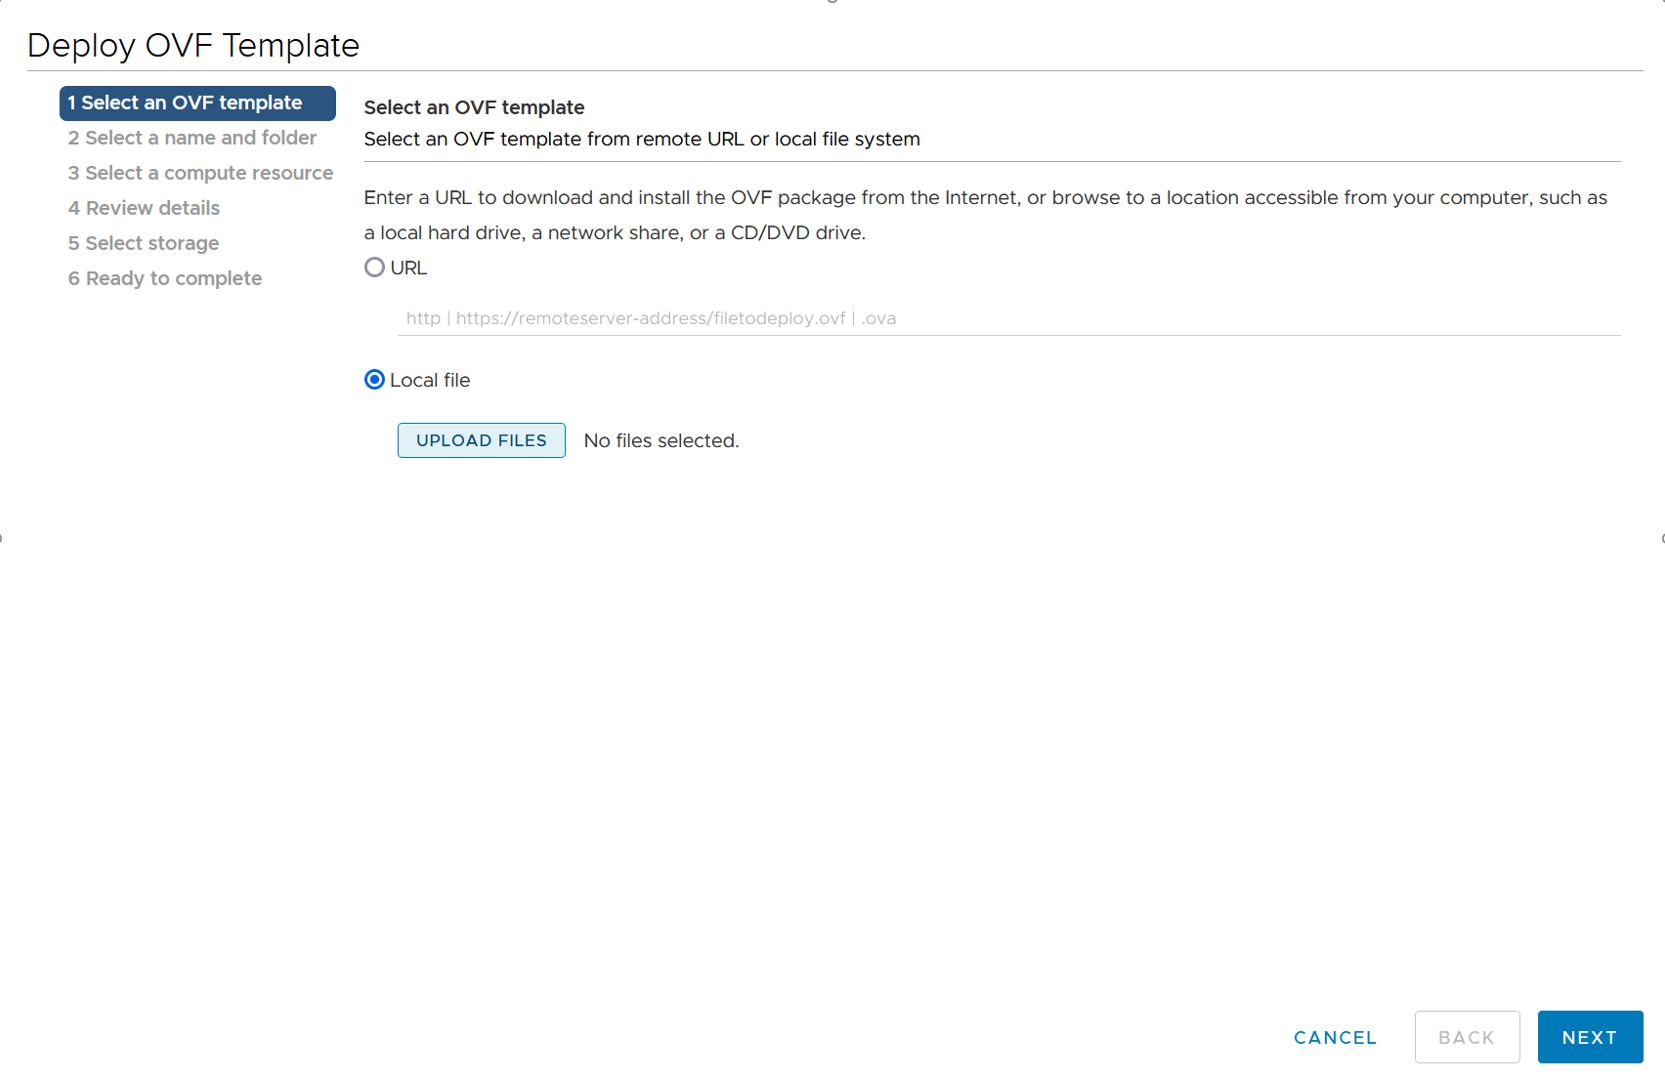
New window will appear.
-
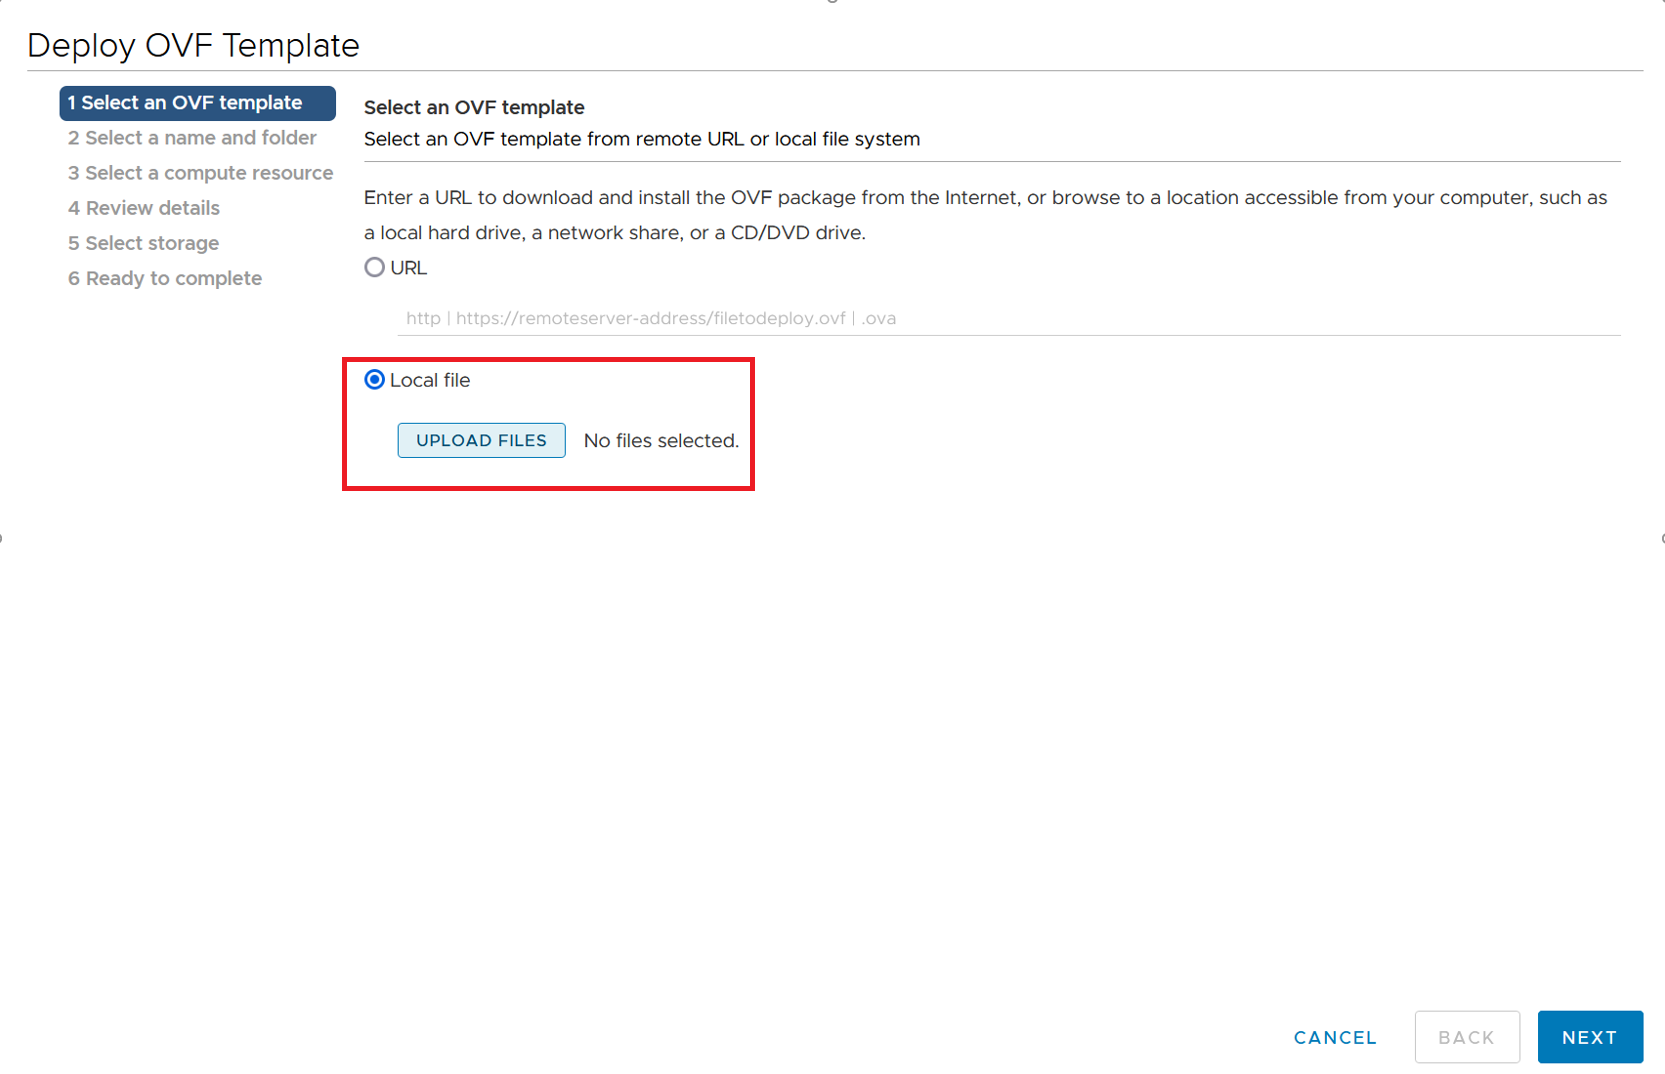
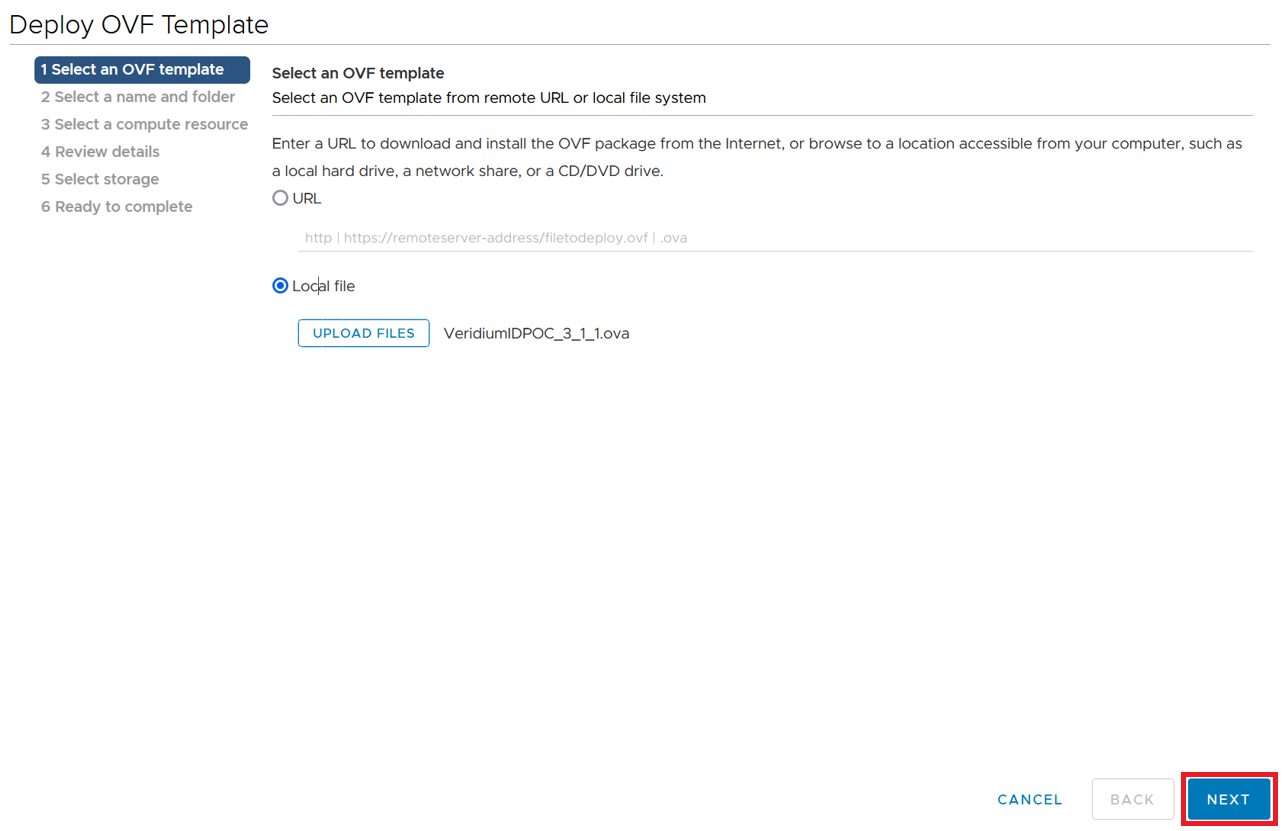
Select local file and click on UPLOAD FILES.
-
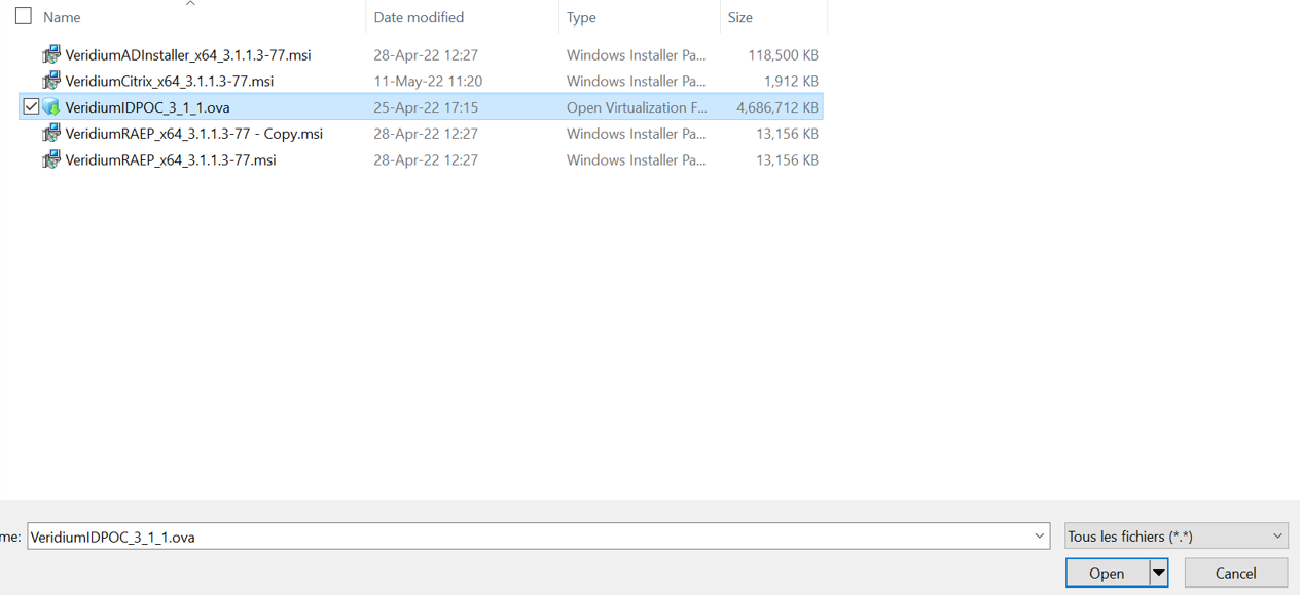
Navigate to VID OVA to select it then click "Open".
-
Click Next.
-
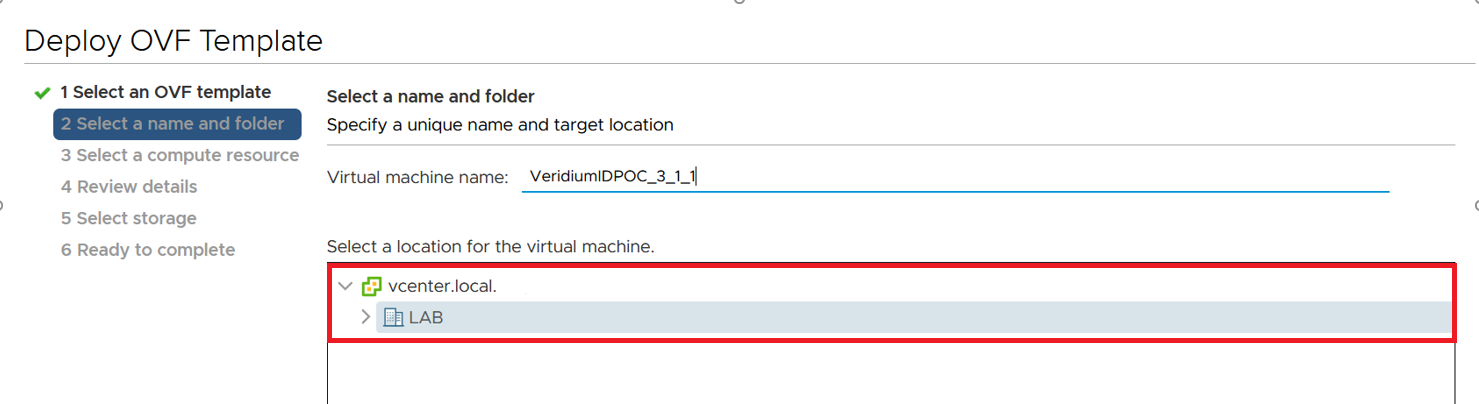
Update VM Name if needed and select location for the Machine.Click Next.
-
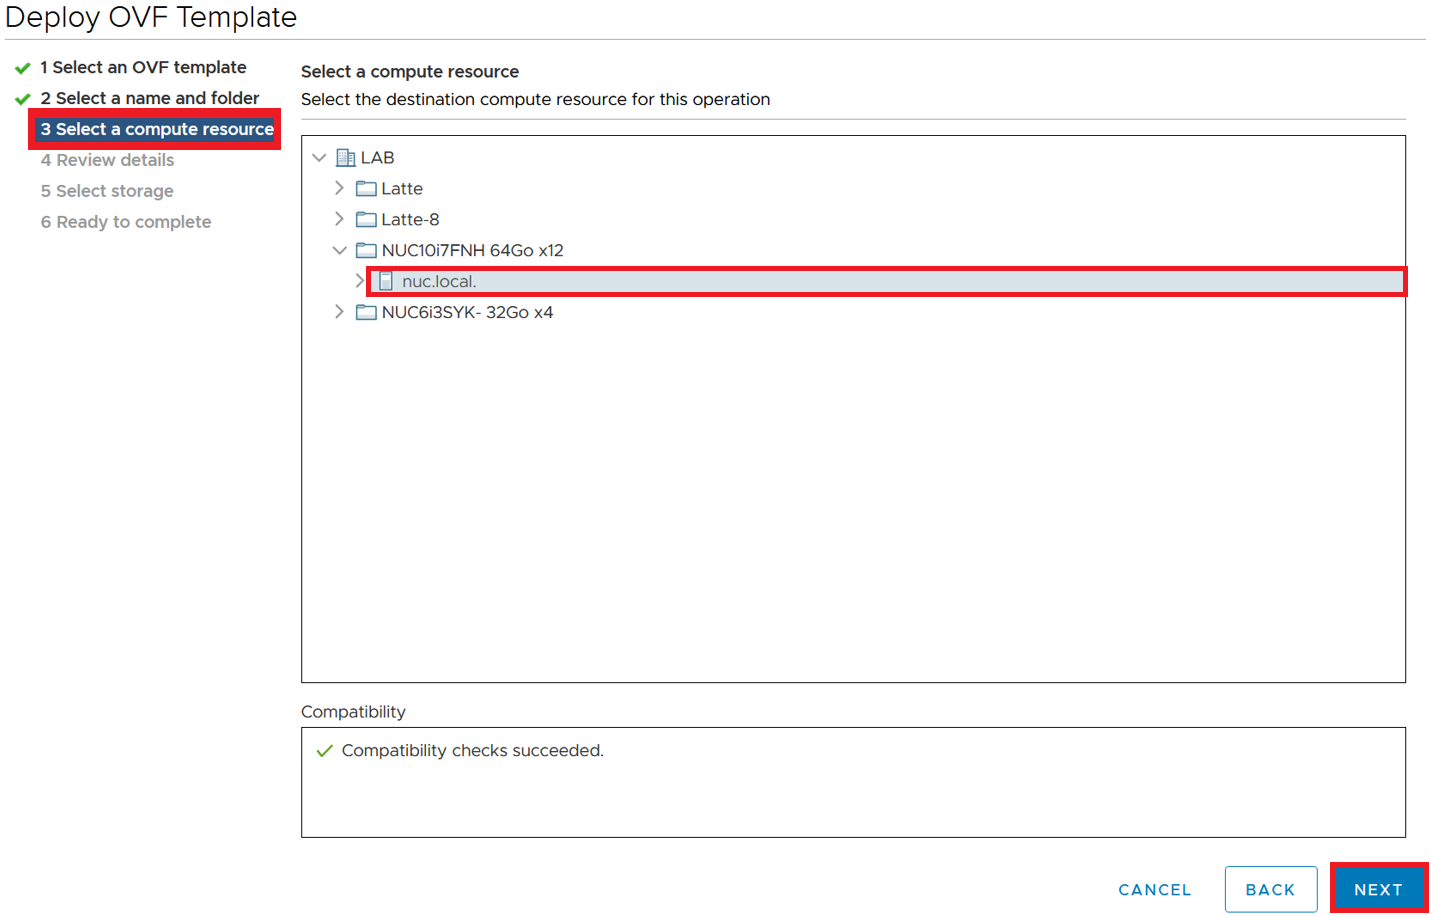
Select the resources to import to ( here : nuc.local ) and Click Next.
-
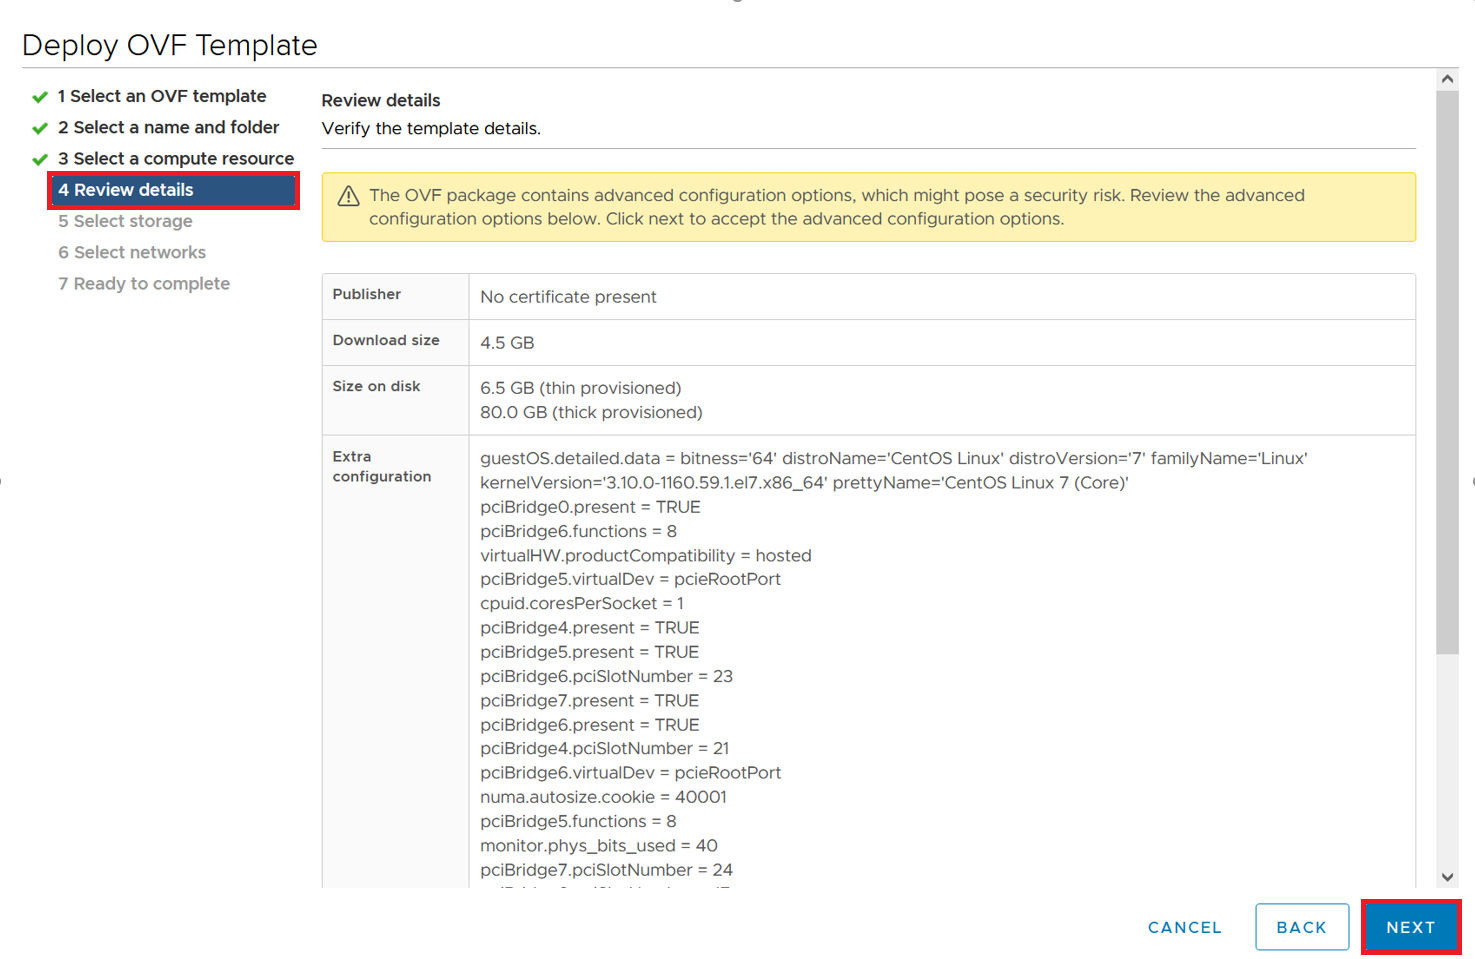
Review details, click Next.
-
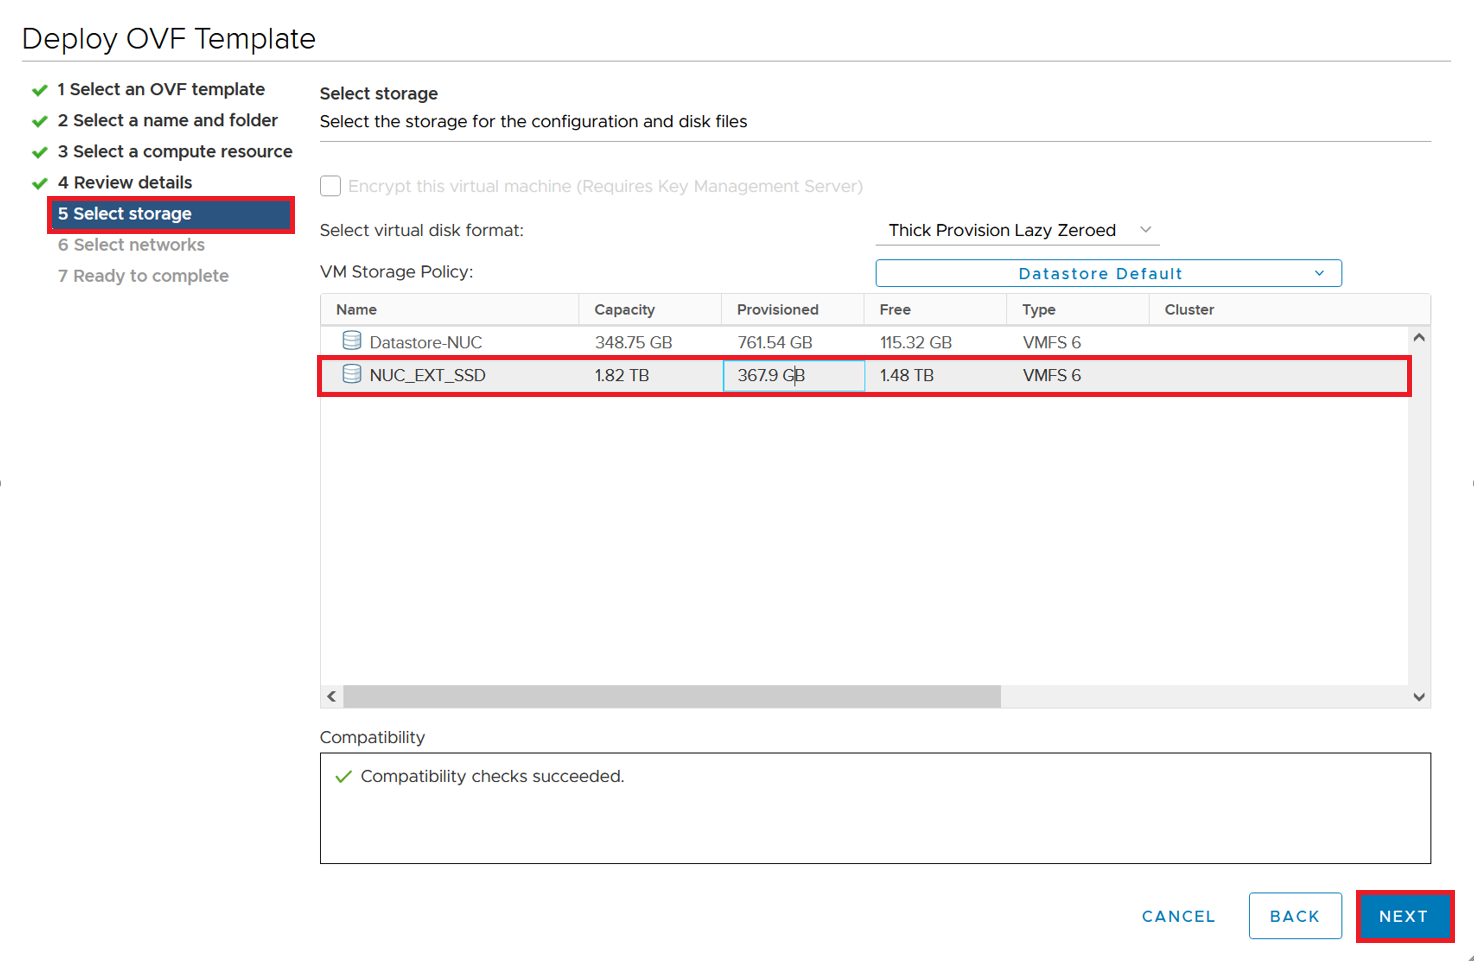
Select storage ( Here : NUC_SSD disk ) then click Next.
-
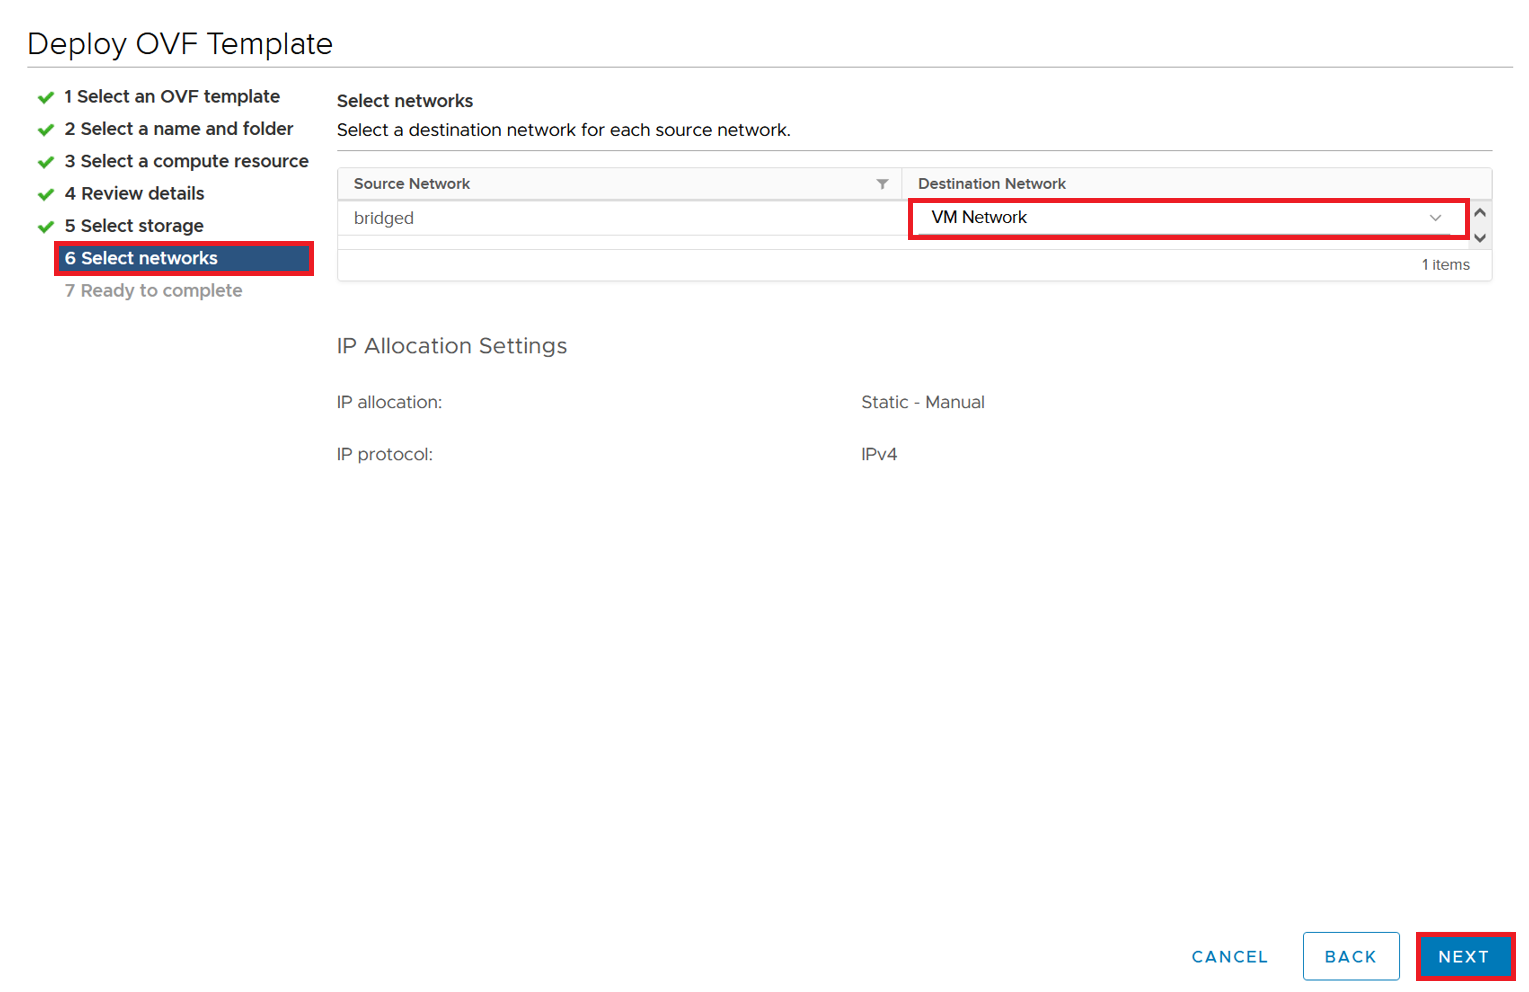
Select Destination to match your architecture ( Here : VM Network). Click Next.
-
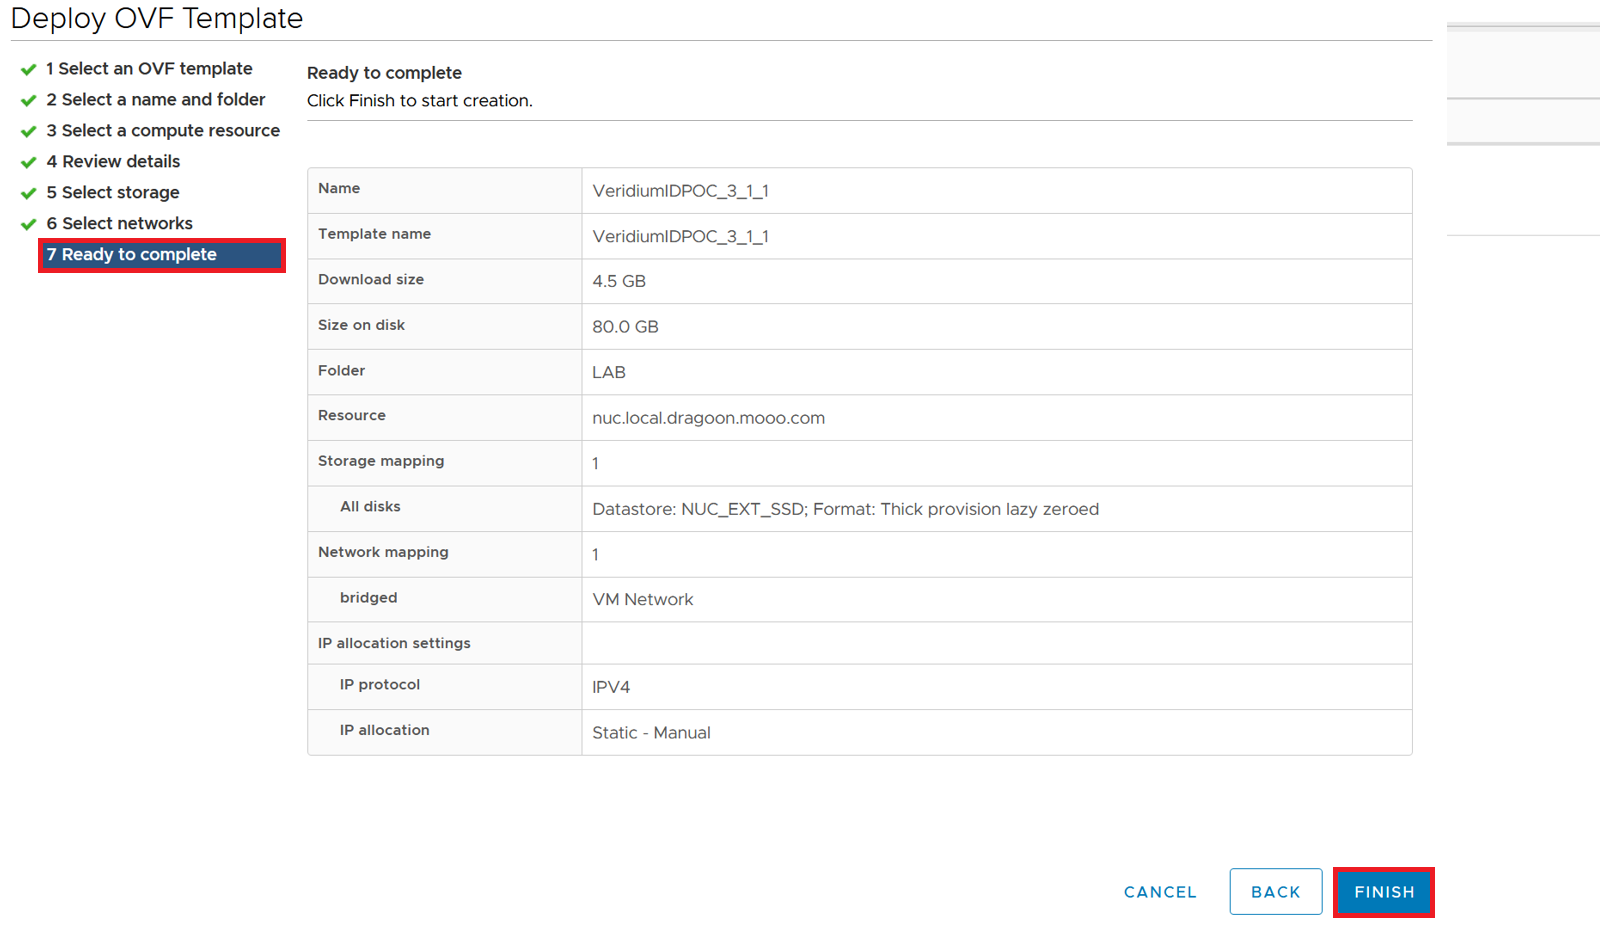
Click Finish.
-
Import of the OVA is now listed as a task at the bottom of the management console.

-
Wait for task to complete.

VeridiumID OVA instance is now ready to be used. You can start the Virtual Machine.
IMPORTANT: The initial boot of the OVA may take up to 10 mins. Please do not attempt to reboot the machine during this period.