
Using a new CA certificate into Veridium Service require the usage of a pkcs12/pem/.p12 certificate.
Newly exported certificate will allow customer to use his own proprietary CA certificate in the network components or devices located between WAN and Veridium Servers.
All new devices certificates issued during the smartphone, workstations enrollment and authentication will use the updated certificate provided by the customer from his infrastructure.
Once the steps from this guide are performed, checking exported certificate should provide below features:
X509v3 Basic Constraints: critical
CA:TRUE
X509v3 Key Usage: critical
Certificate Sign
X509v3 Extended Key Usage:
TLS Web Server Authentication, TLS Web Client Authentication
Steps to obtain certificate from CA or SubCA
-
Connect with enterprise domain administrator rights to any of the trusted and online CA’s of the domain
-
When online CA isn’t available, any of the trusted subCA’s of domain must be used.
-
-
Open Certification Authority (certsrv.msc) from the domain controller
-
Connect to CA or Subordinate CA’s
-
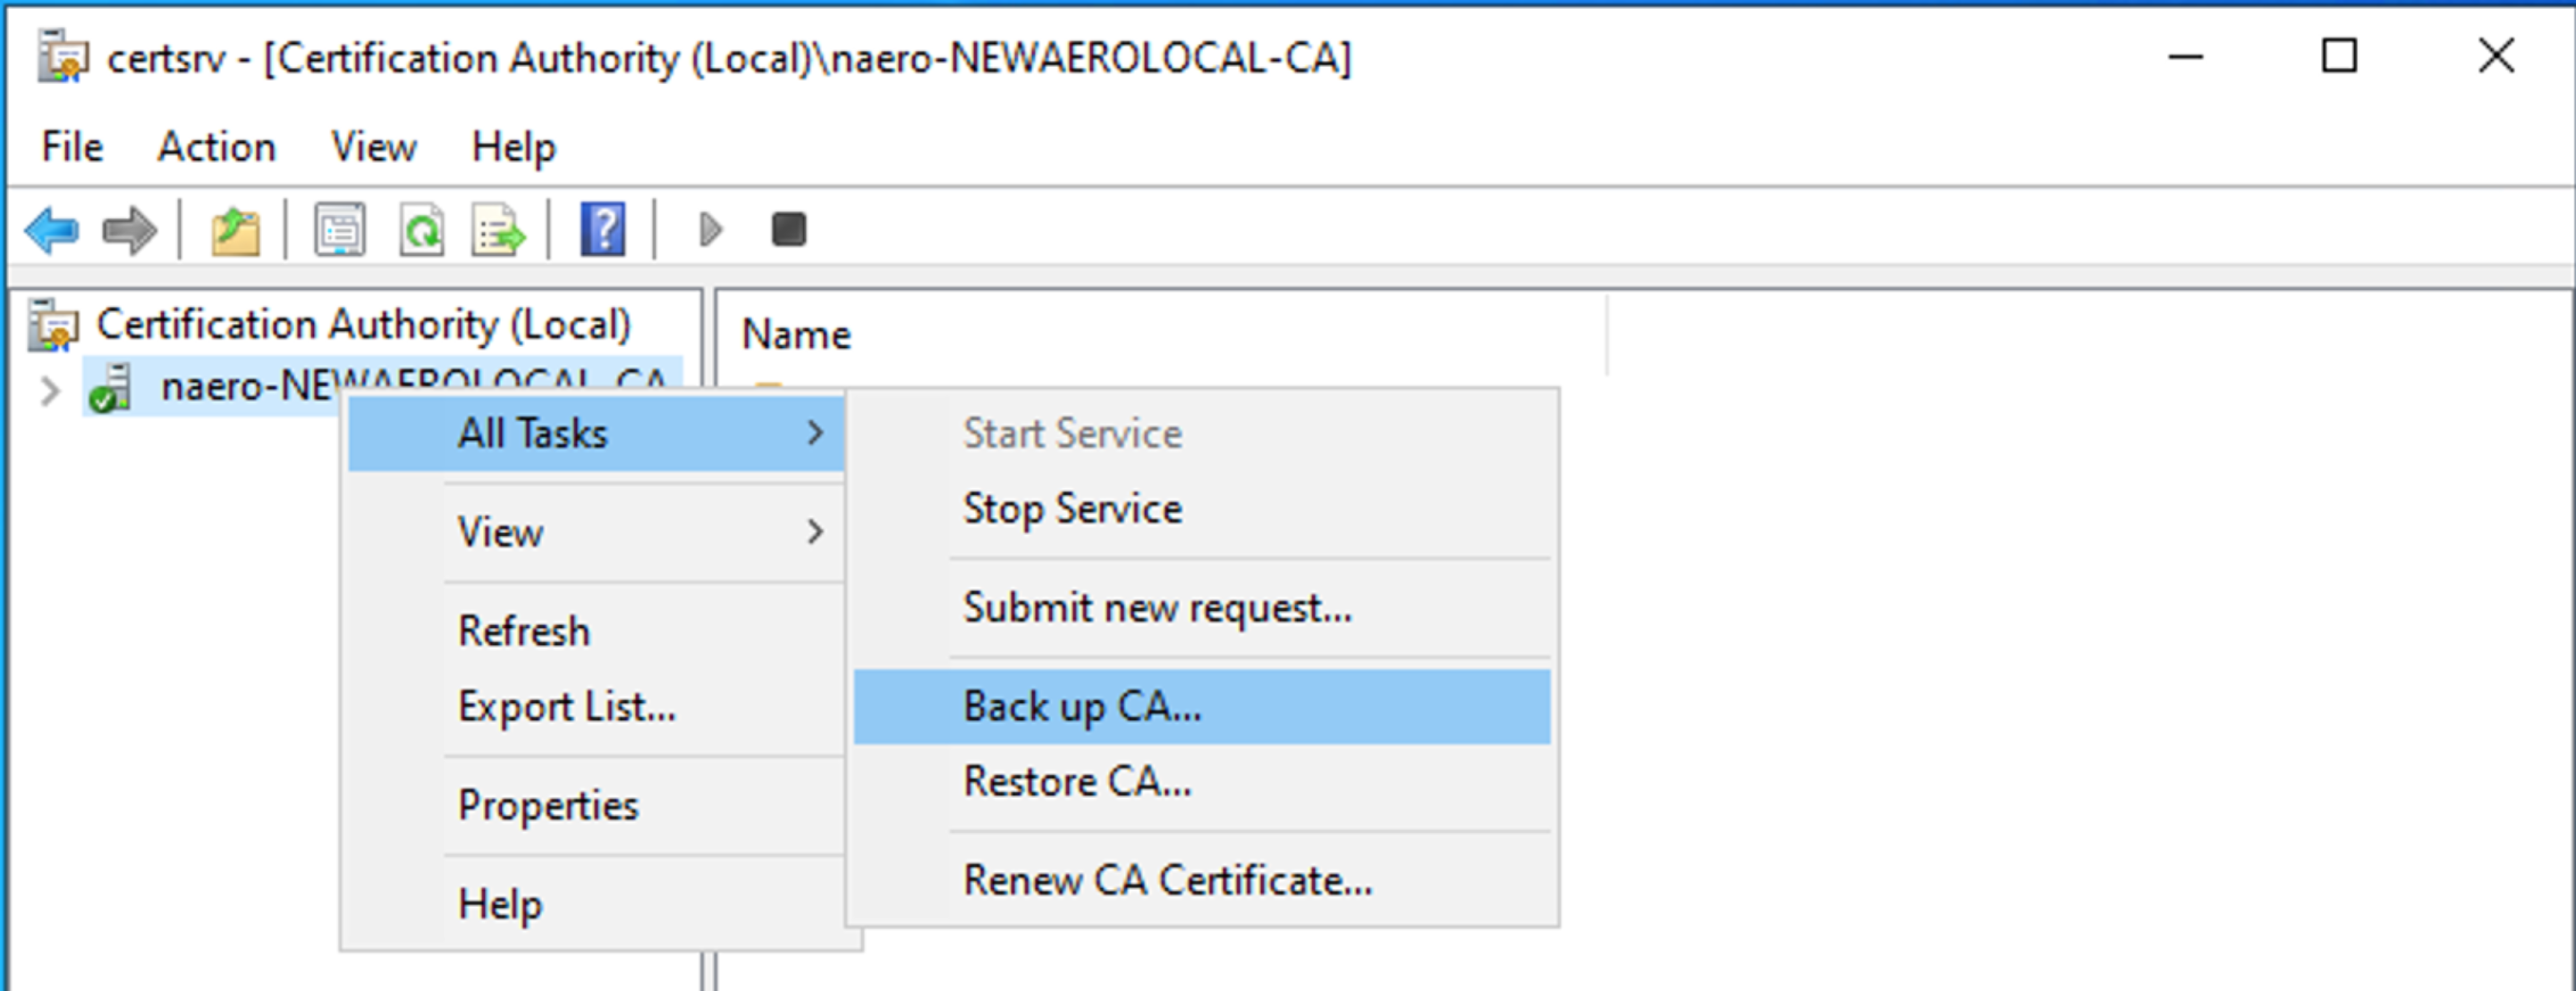
Select CA or Sub CA → right click → All Tasks → Back up CA
-
-
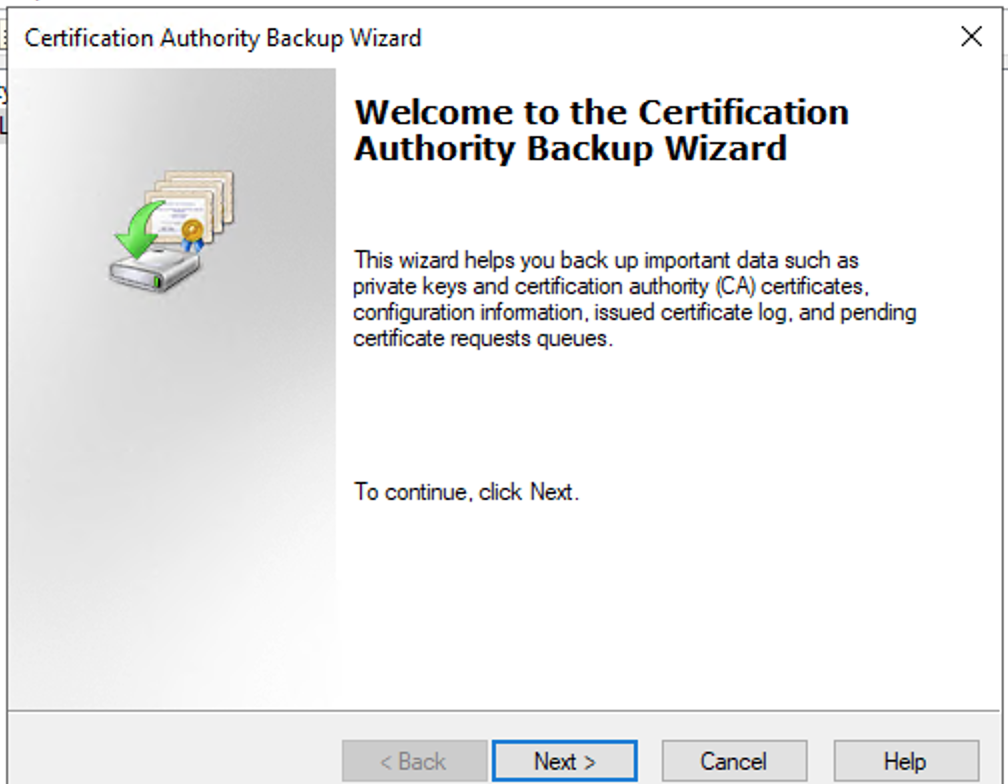
Press Next
-
-
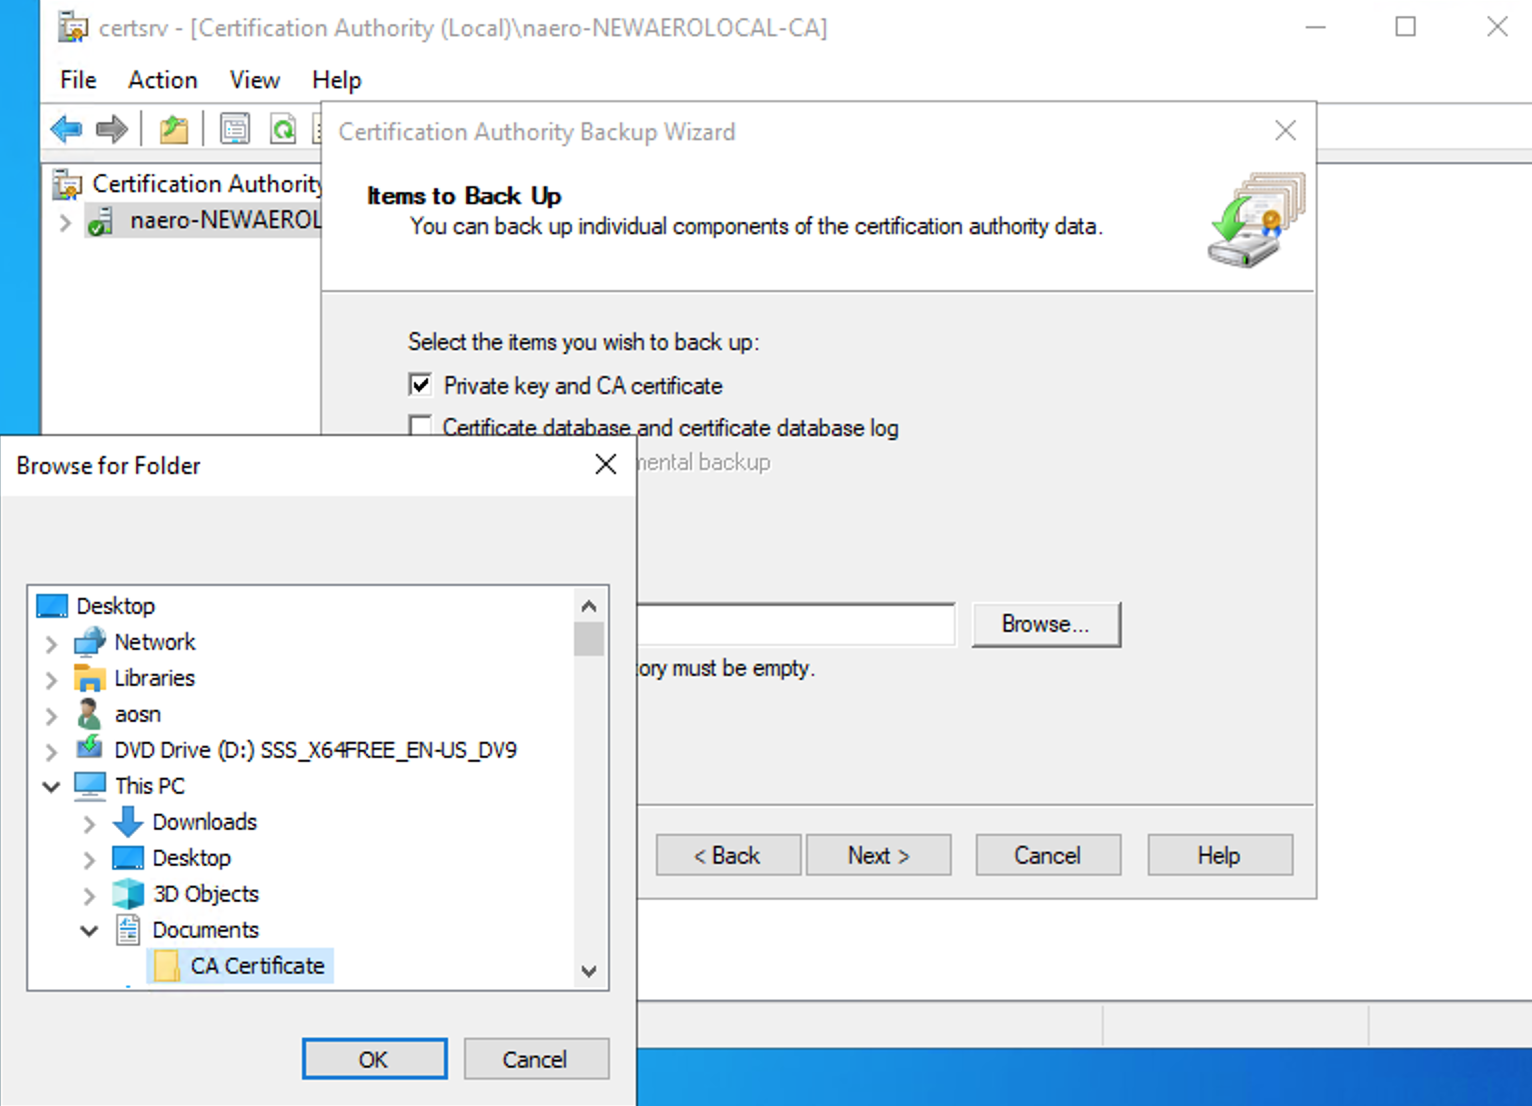
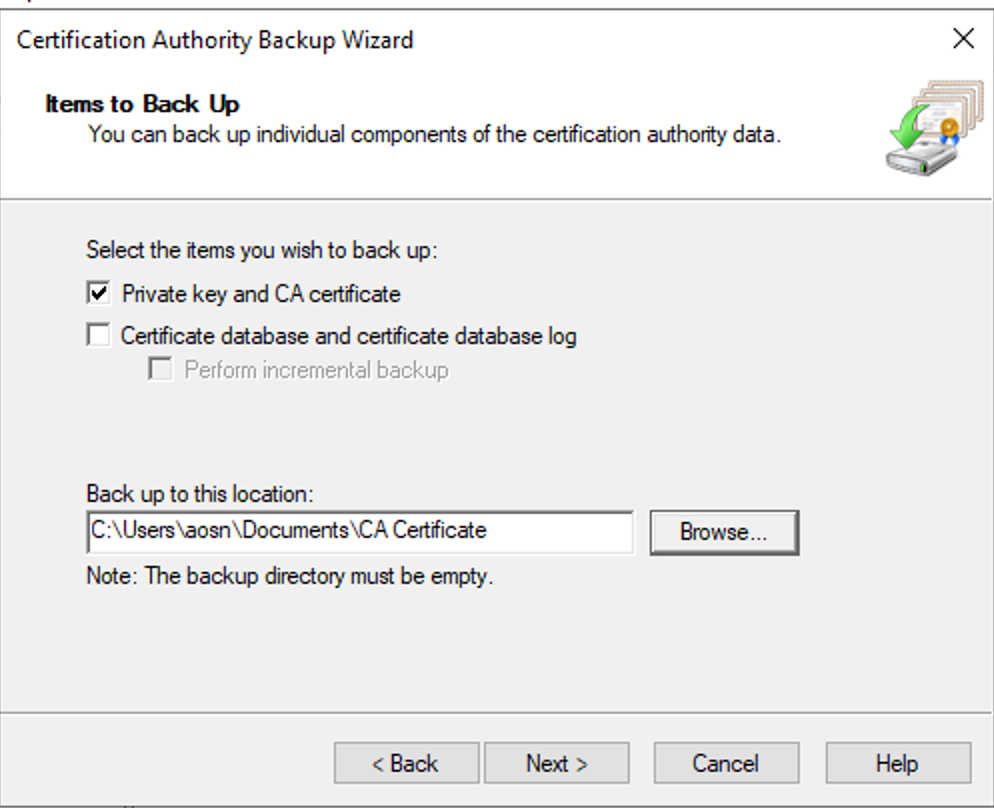
Select Private Key and CA certificate
-
Select location folder where the certificate will be saved
-
-
Press next
-
-
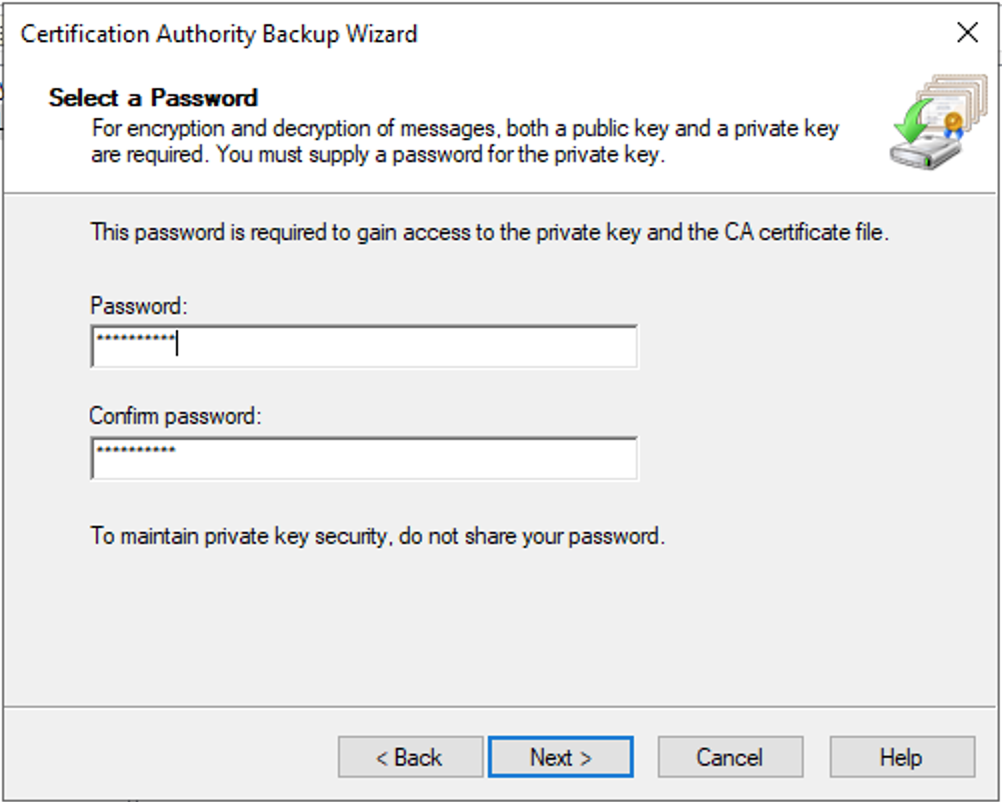
Create a new strong password and press next
-
-
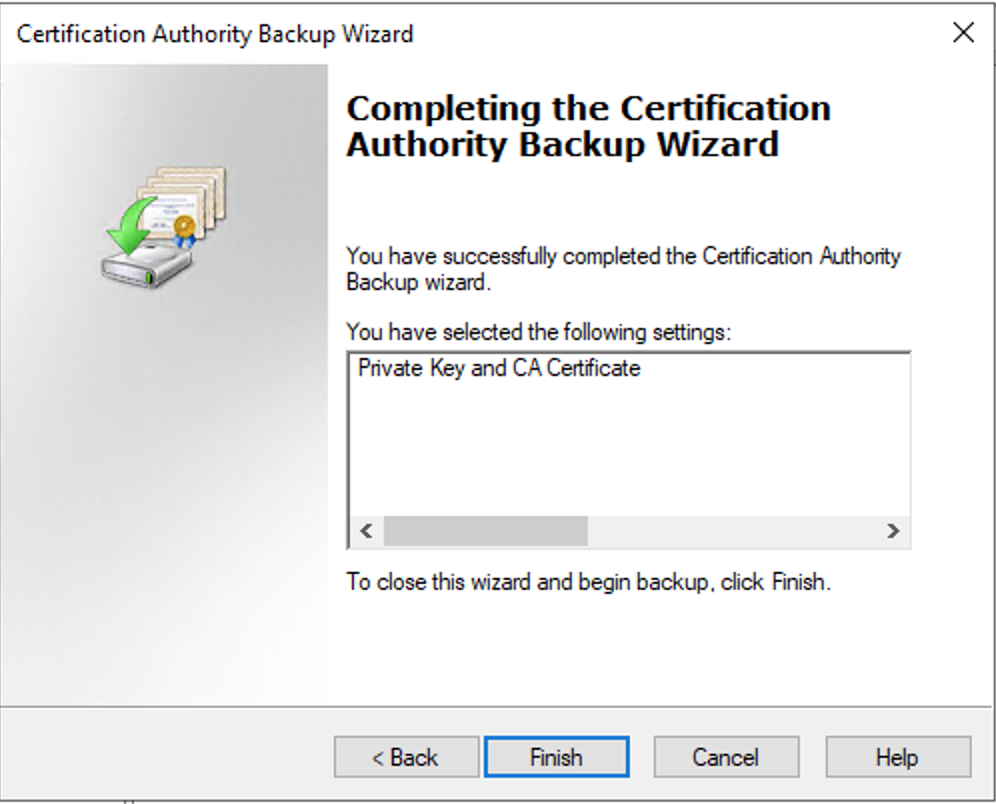
Press finish to complete the process
-
-
Certificate is available now to be imported into computer certificate store for later export of pkcs12 certificate
-
This operation requires opening certlm.msc - Trusted Certification Authorities
-
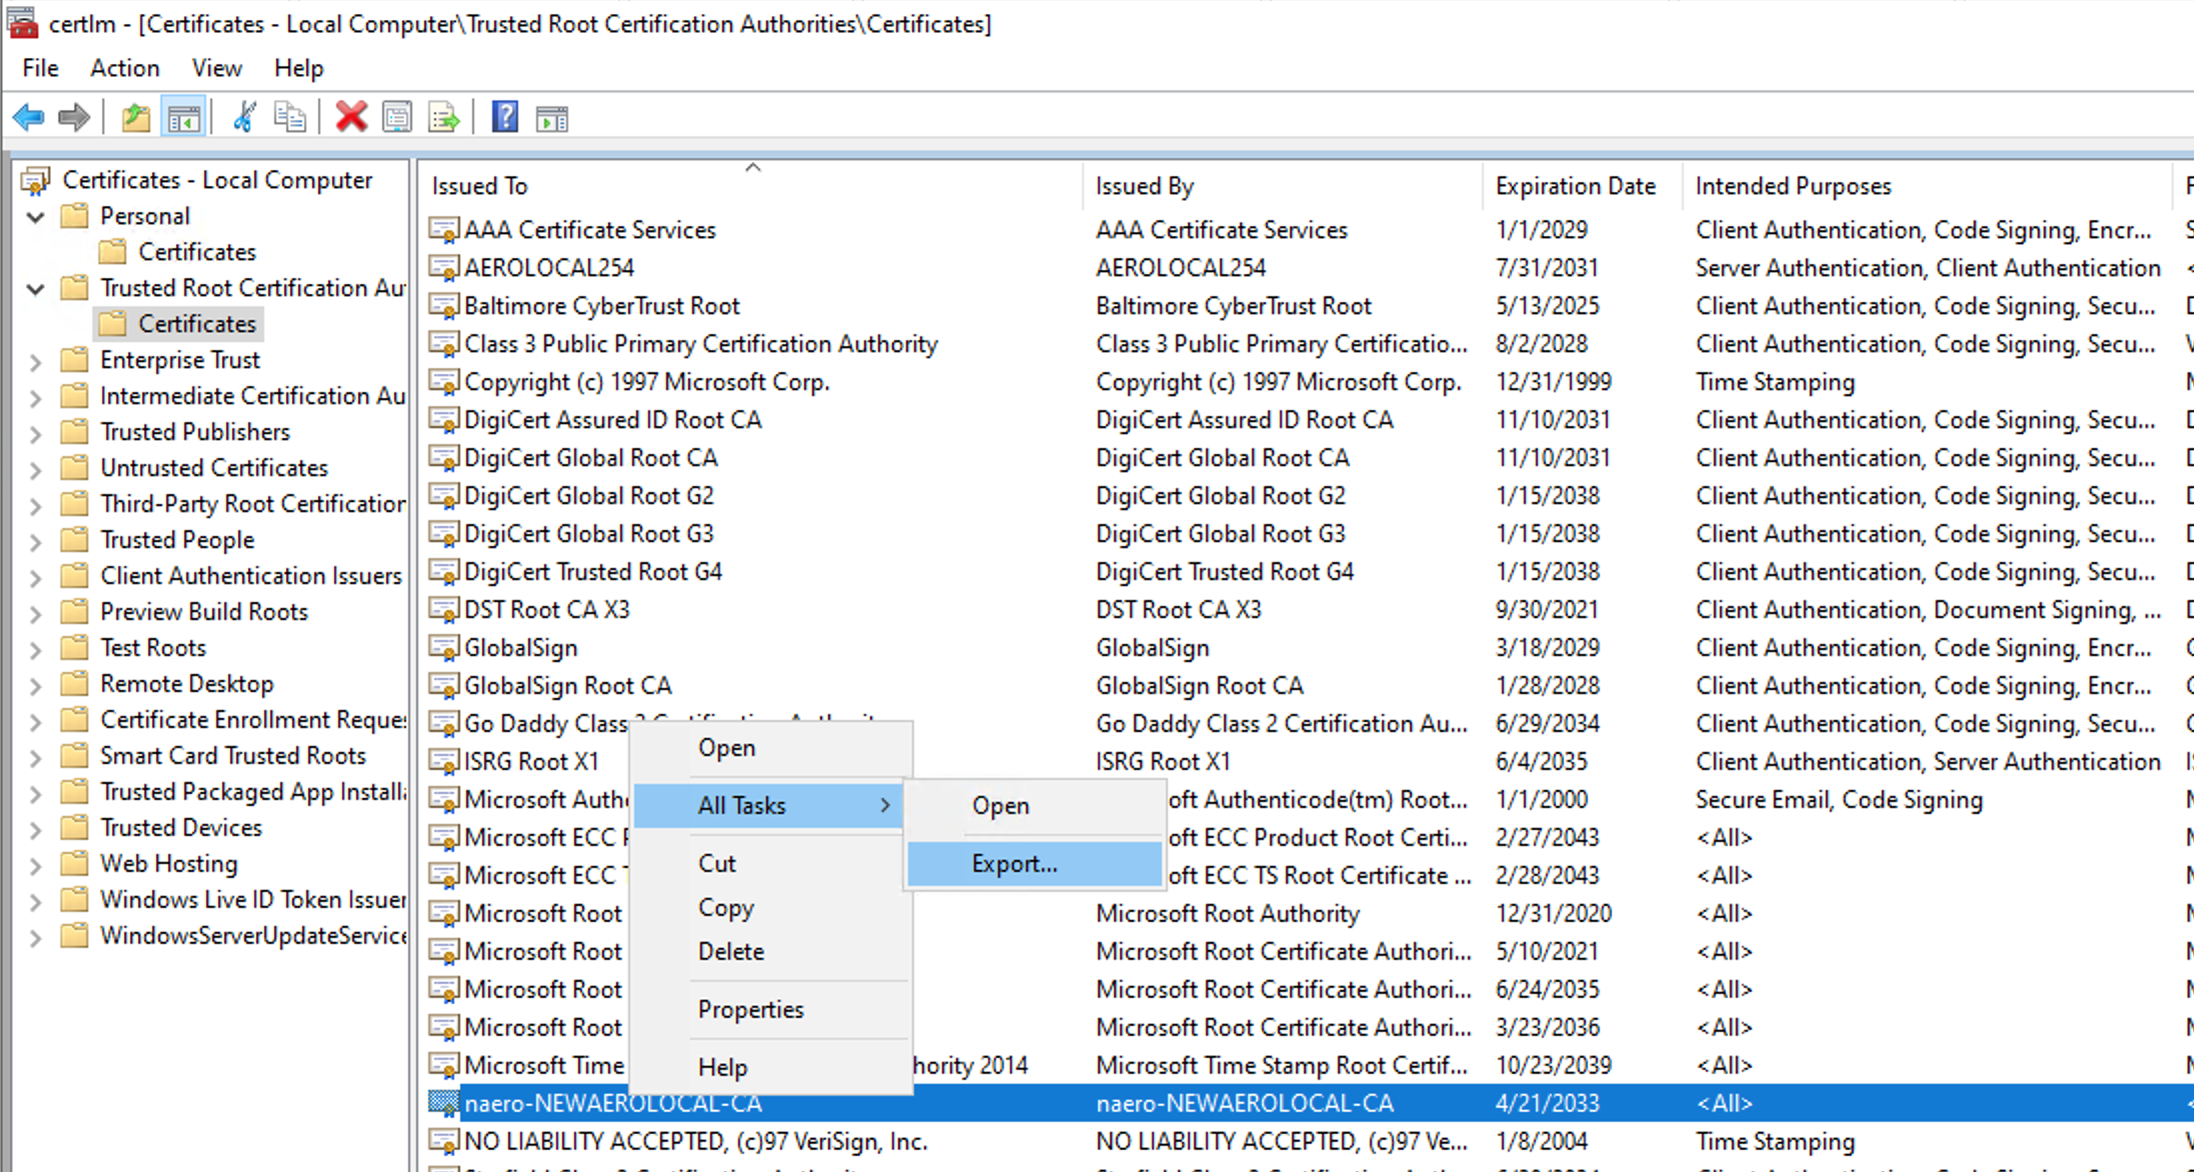
Idendify your CA or SubCA certificate → select it-> Right click → All Tasks → Export
-
-
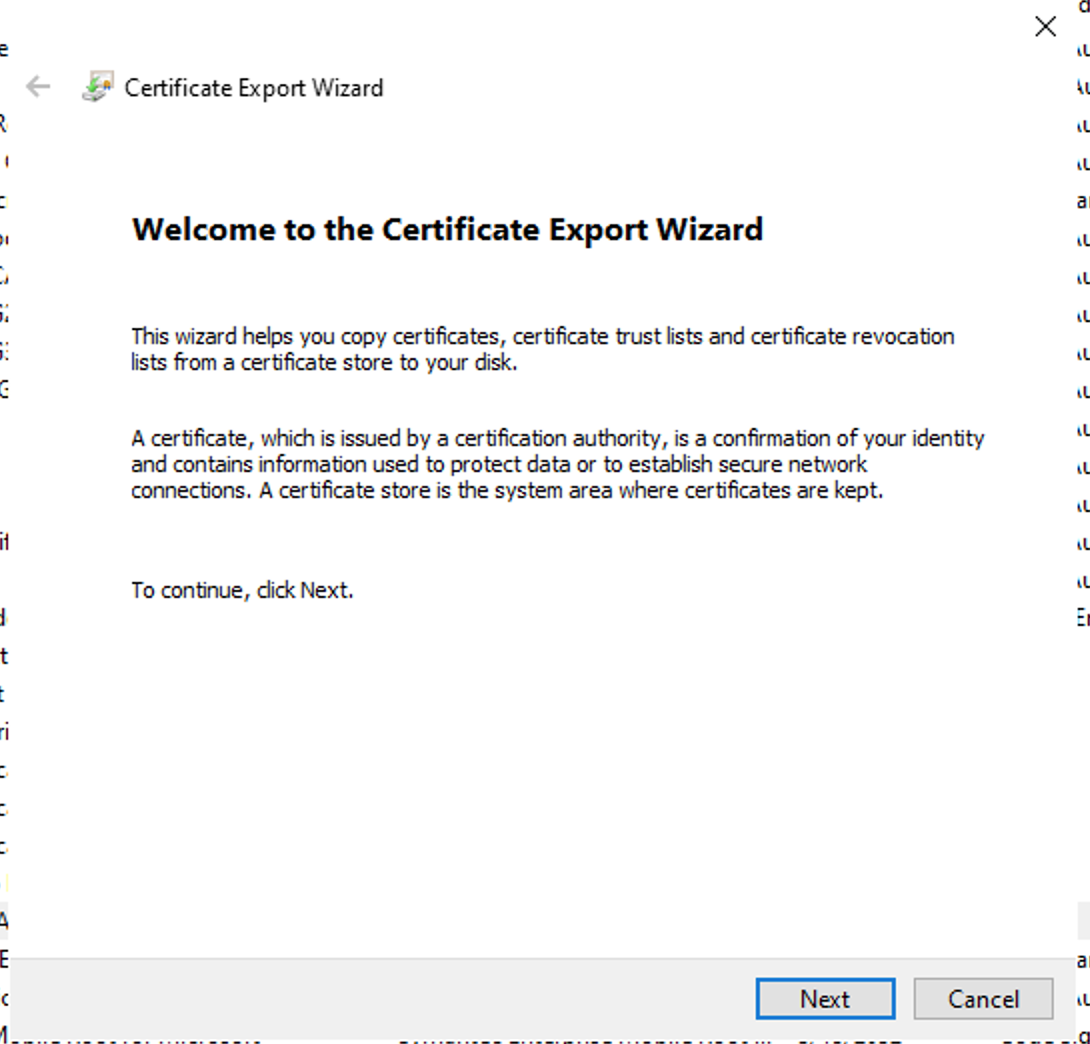
Press Next
-
-
Select Base-64 x509 (.CER)
-
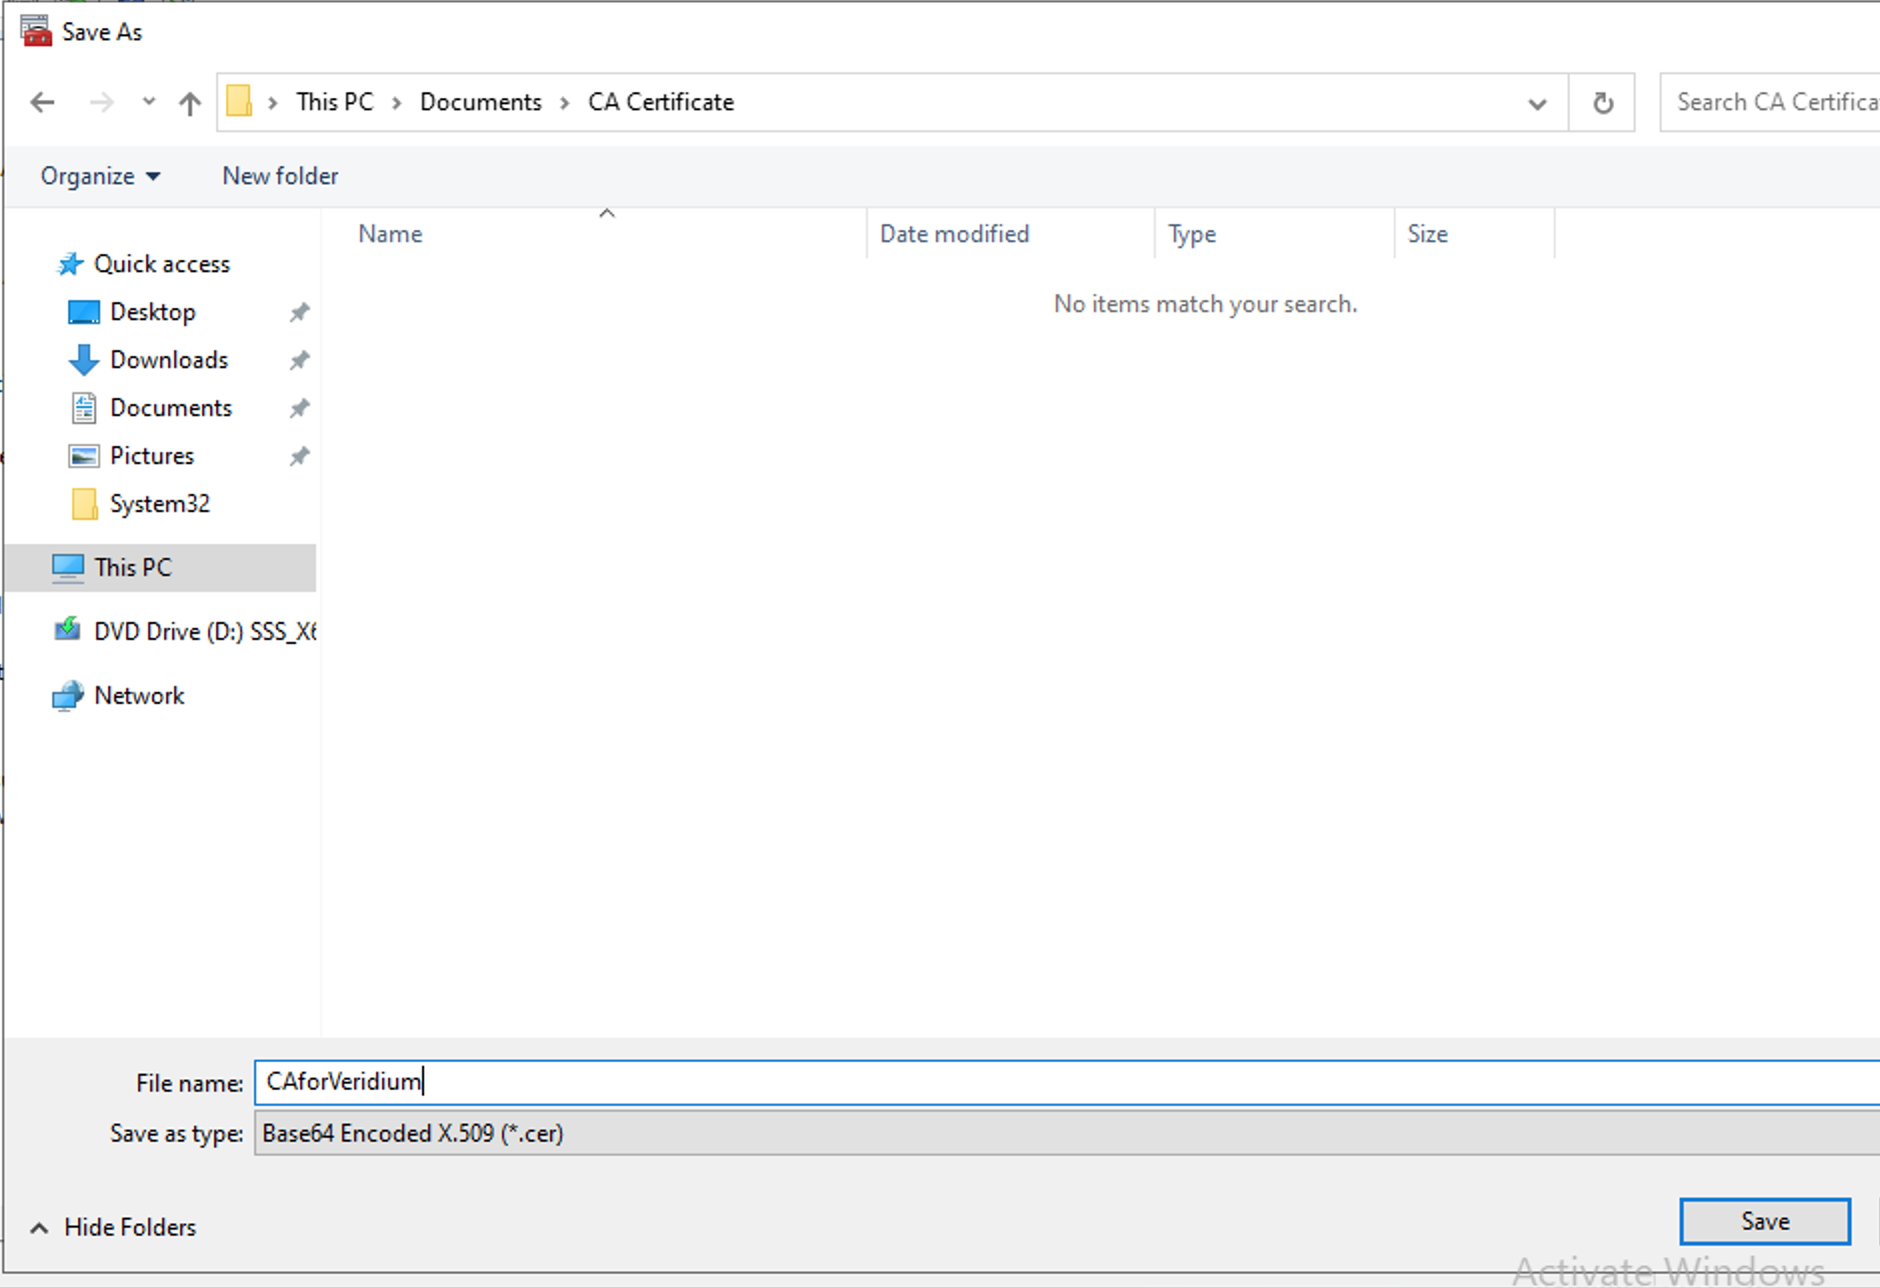
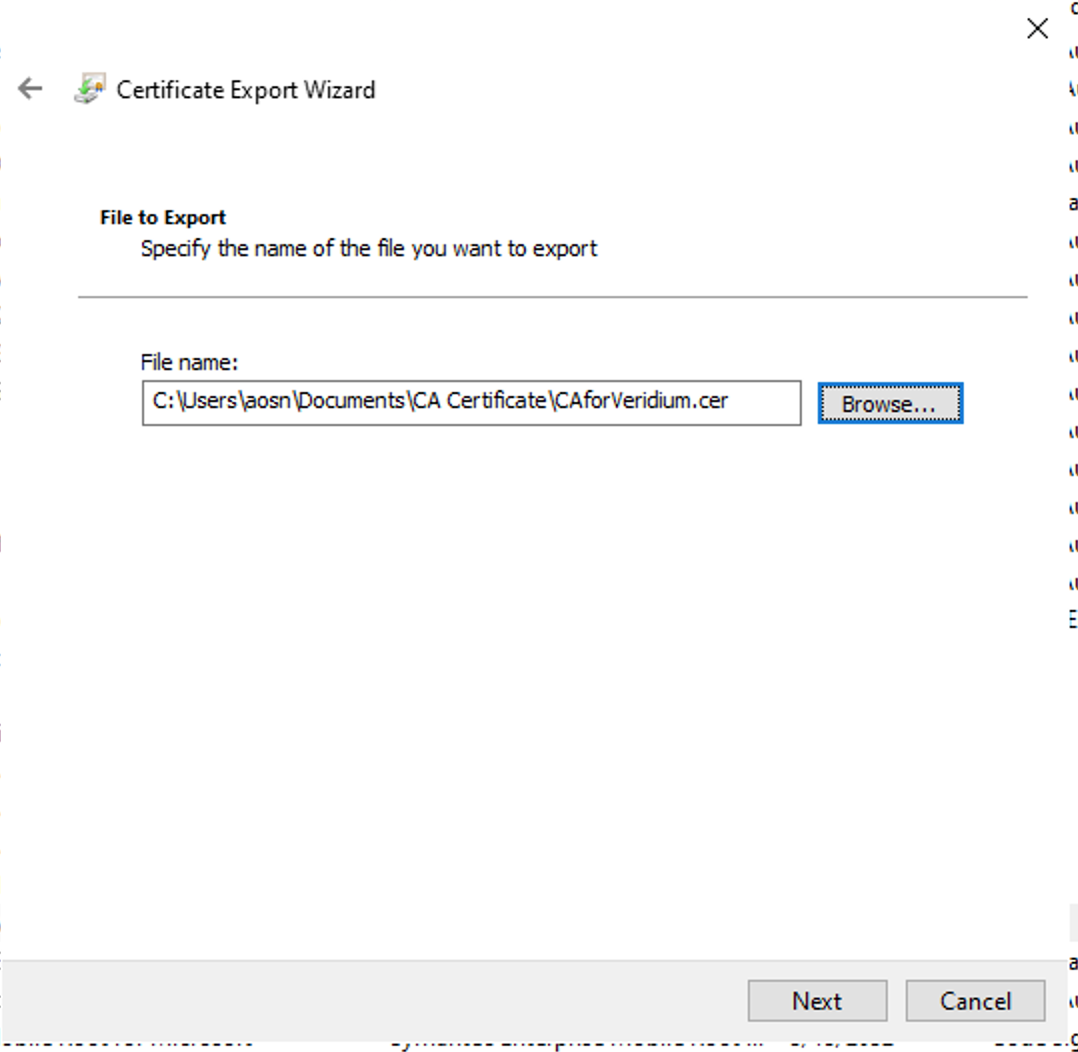
Choose your export folder location and give a name for the file → Save
-
-
Next
-
-
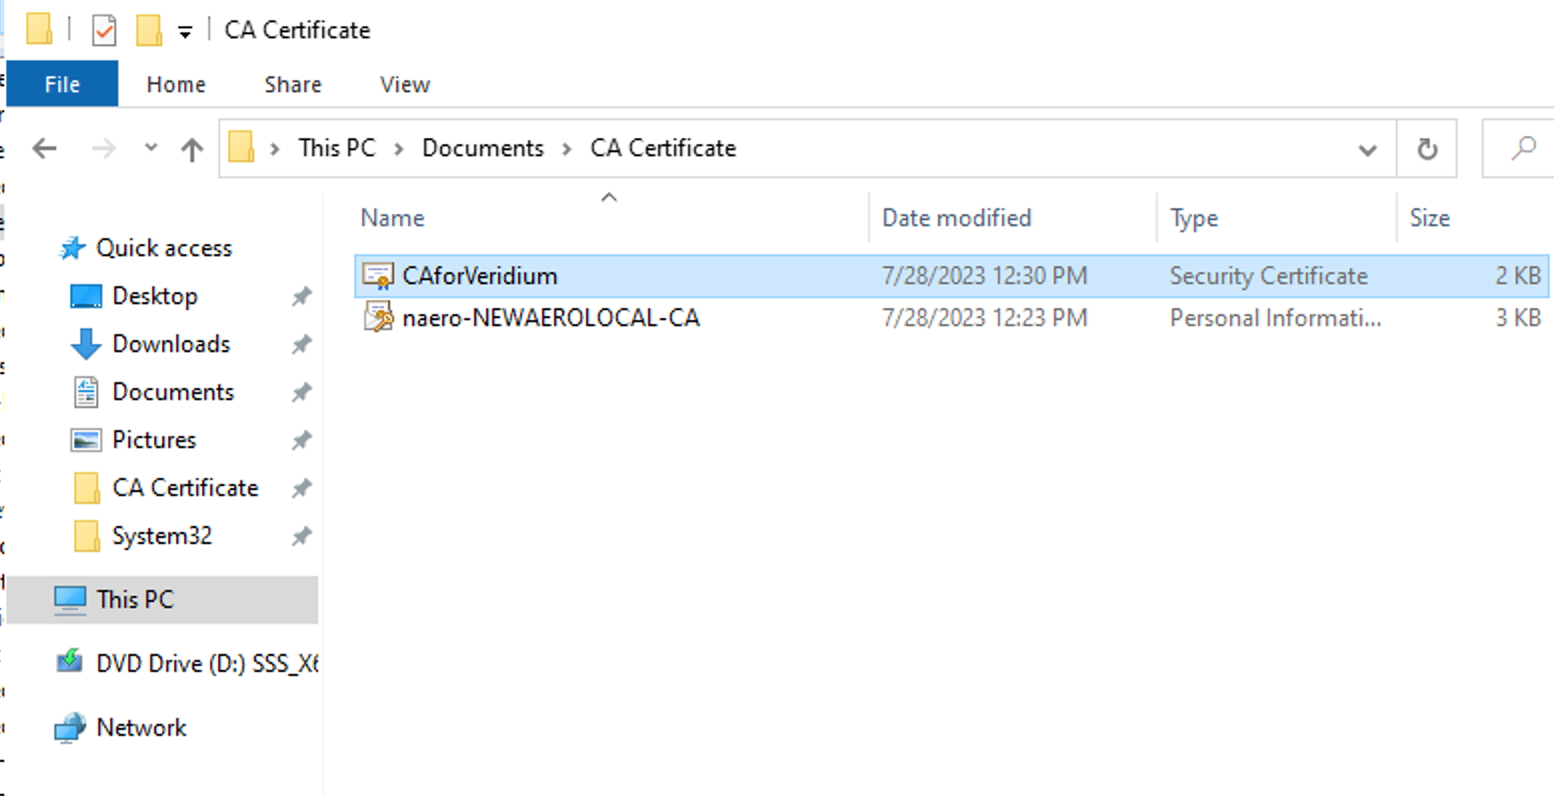
Newly created certificate will be available for import
-
-
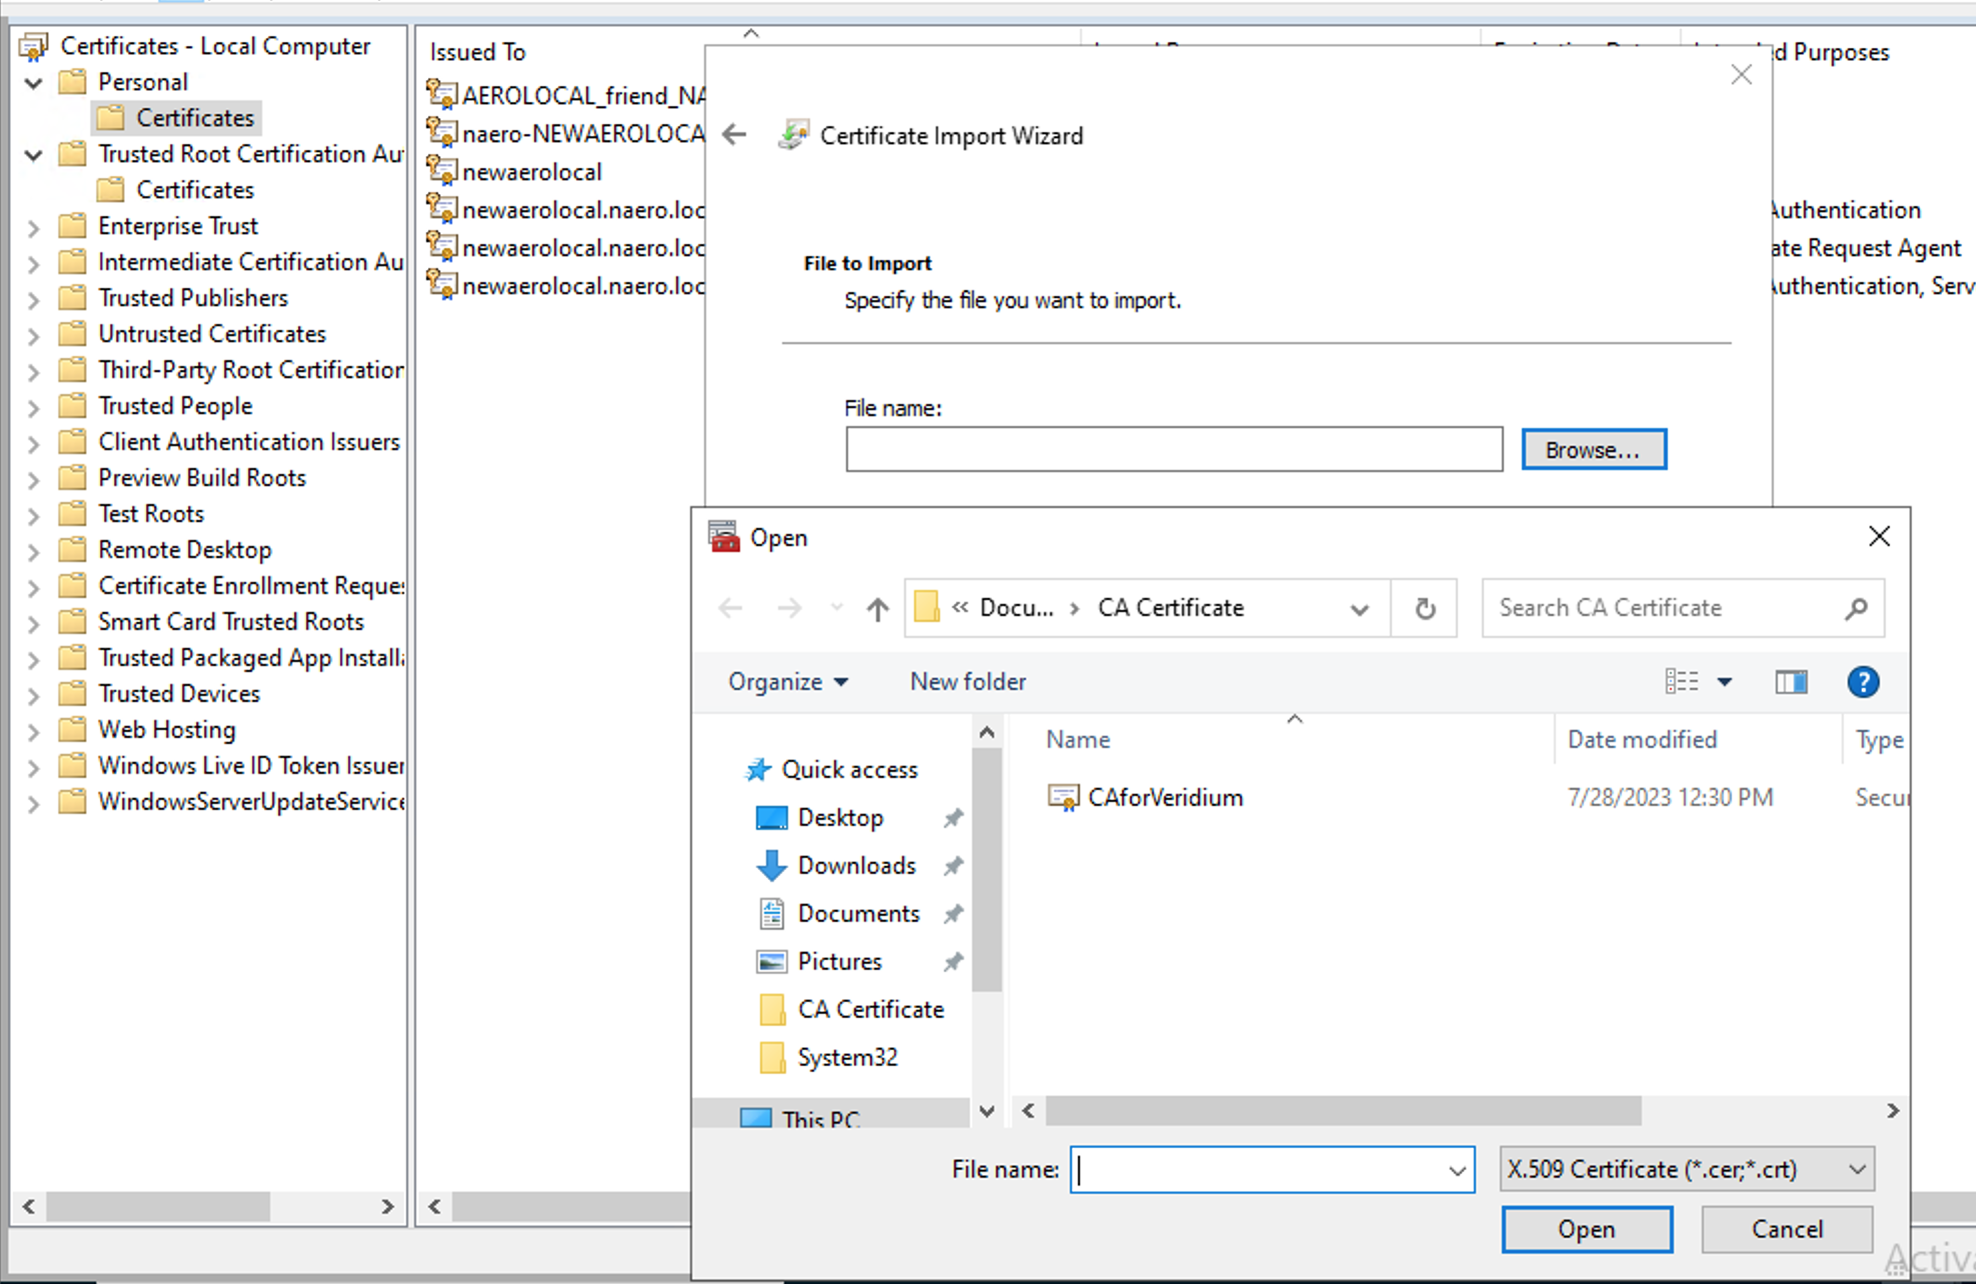
Open certlm.msc → Personal Certificate store and import your certificate
-
-
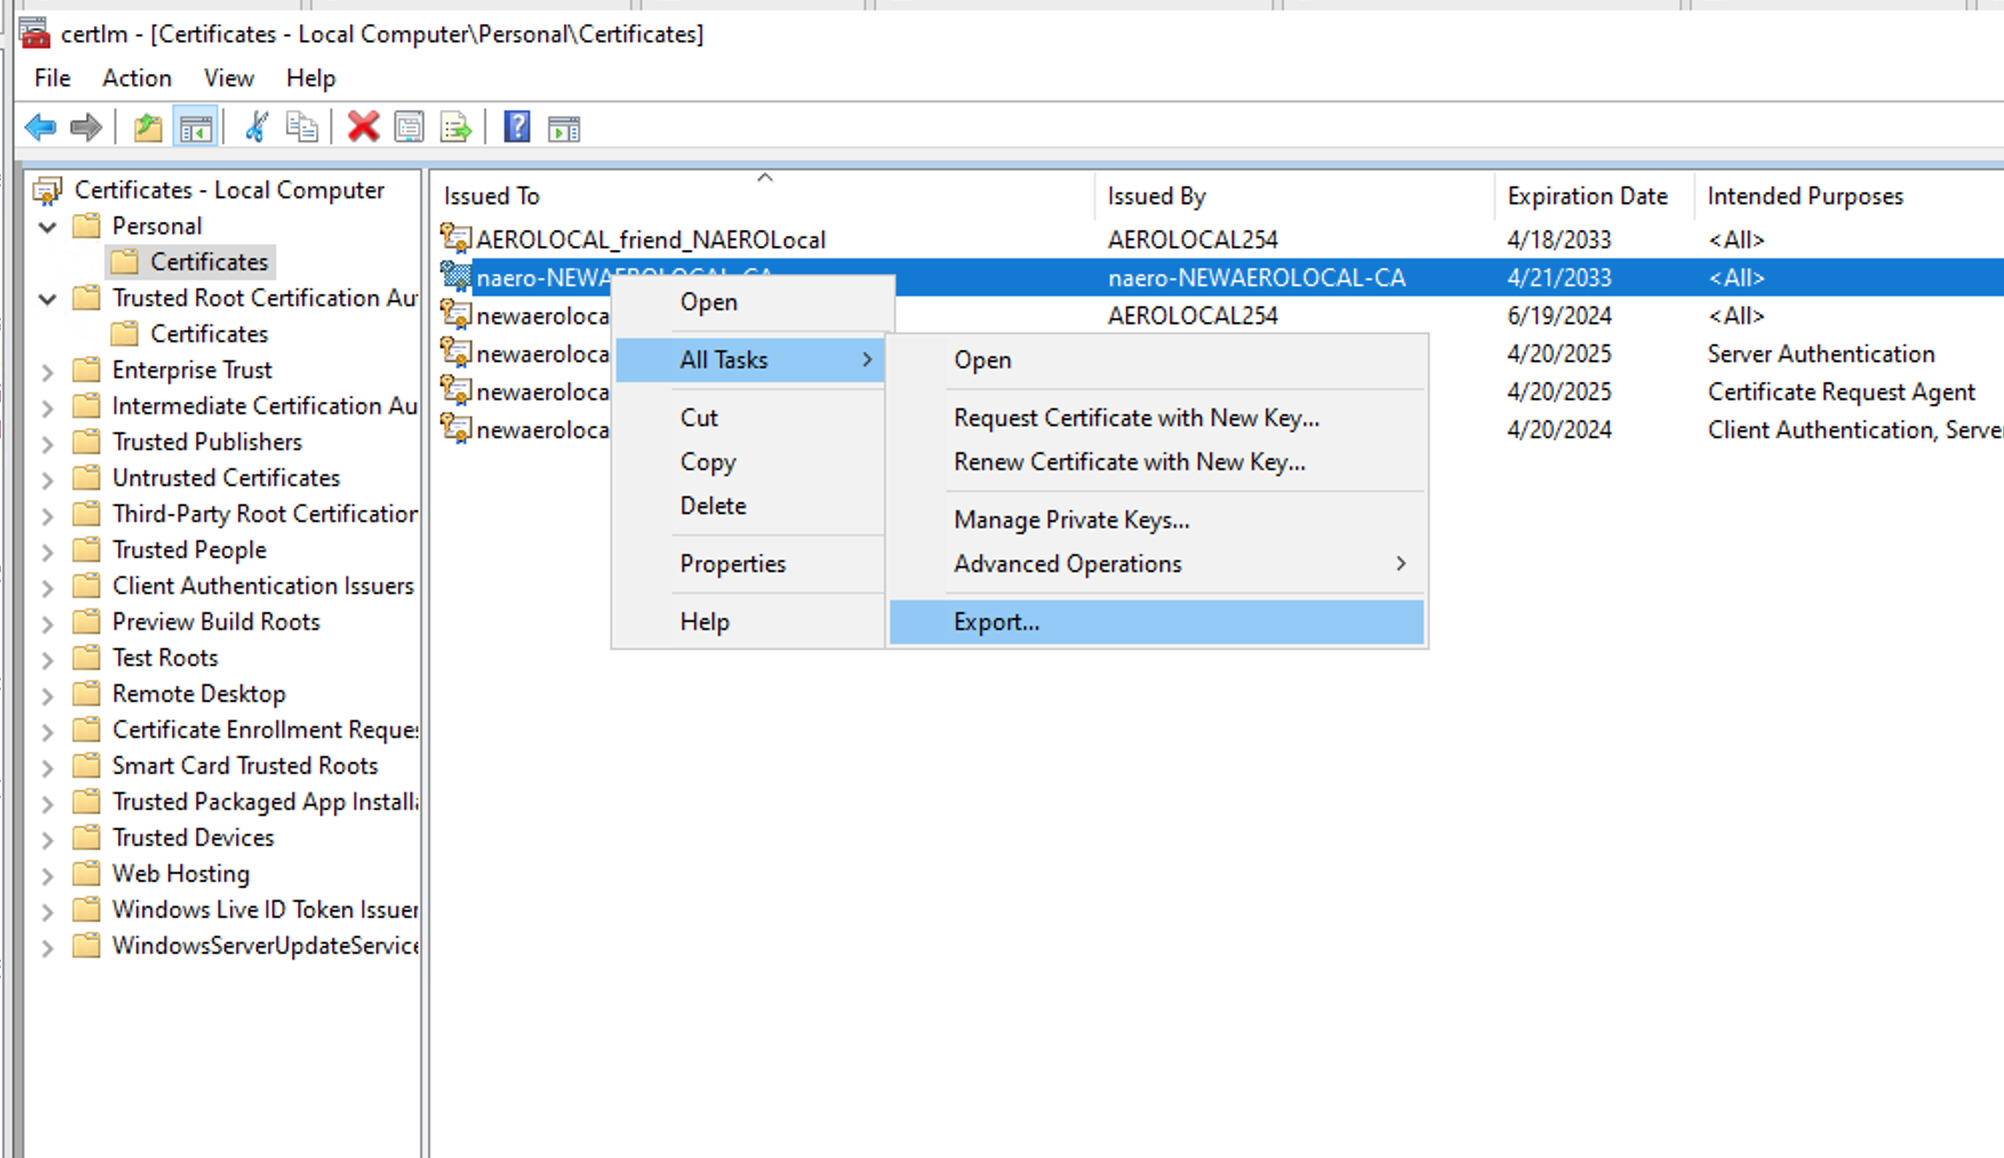
Select your certificate → Right Click → Export
-
-
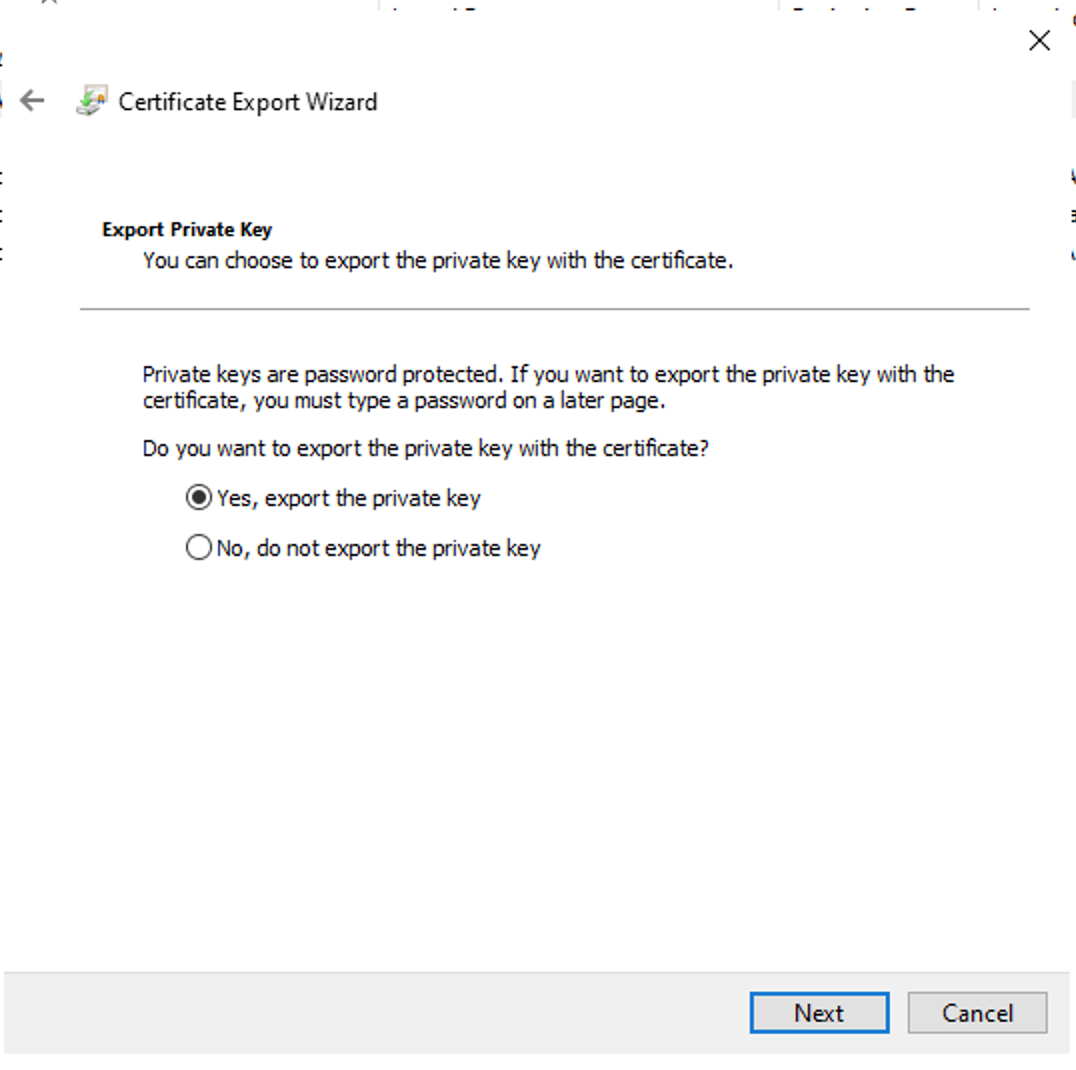
Select → Yes, export the private key
-
-
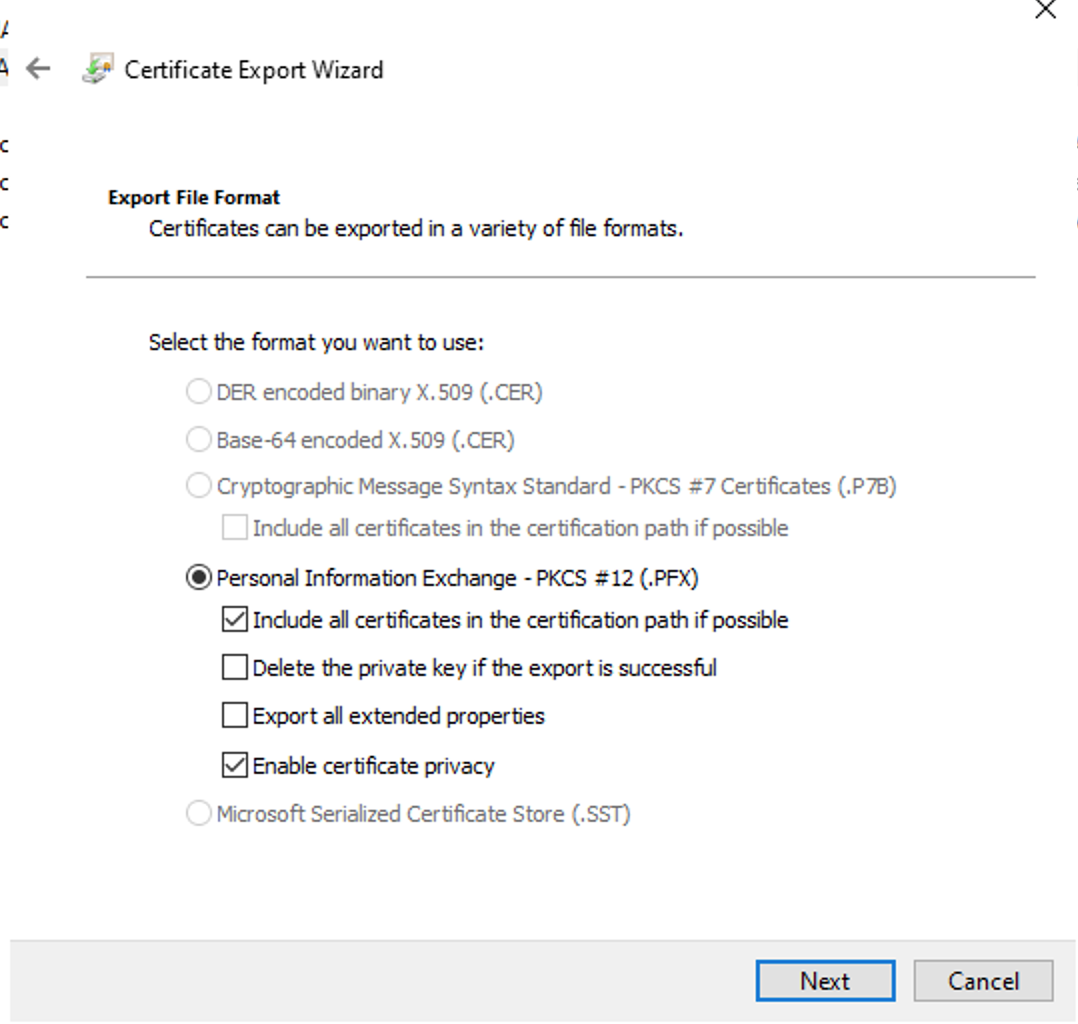
Confirm PKCS12 information which will be included in the certificate → Press Next
-
-
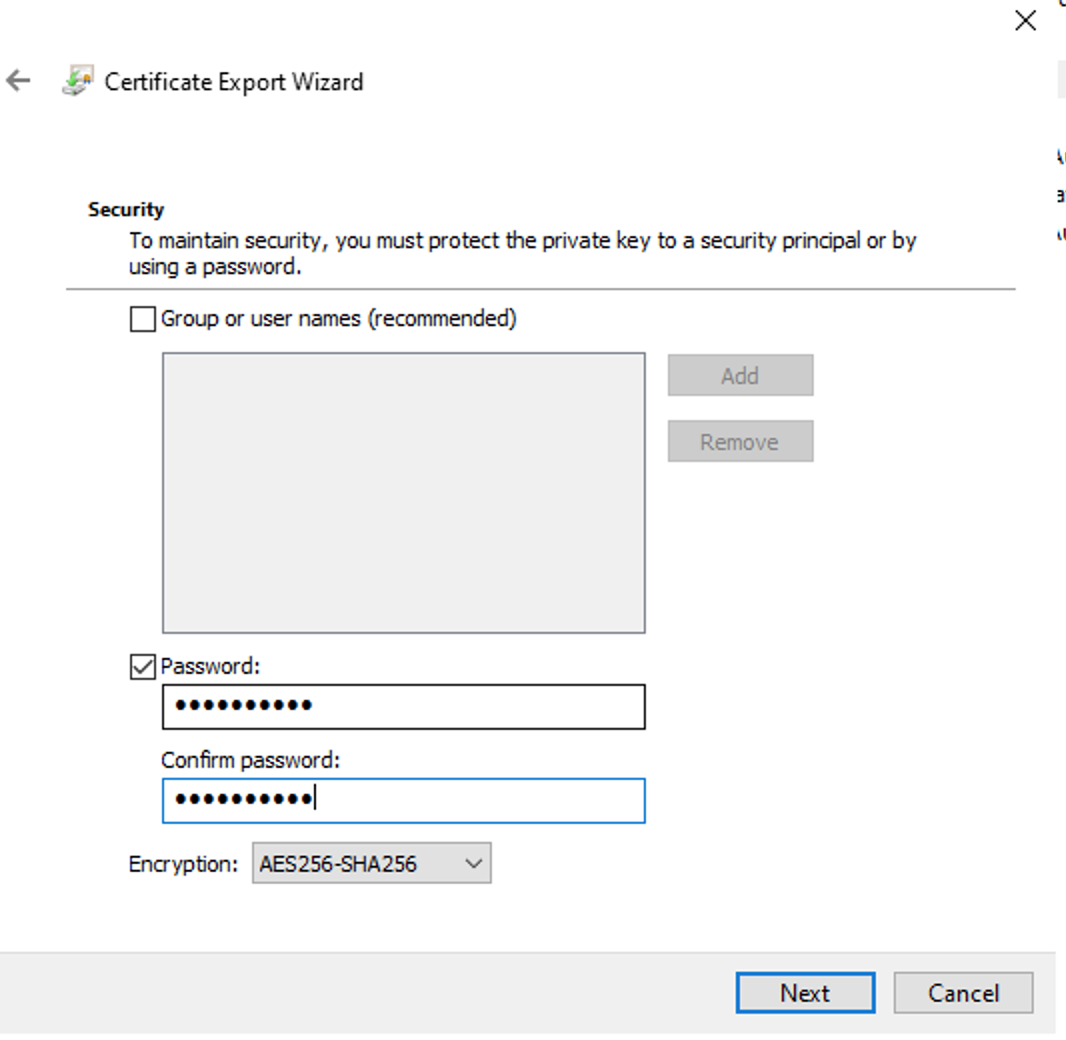
Assign a strong password and choose encryption AES256-SHA256 to your certificate then → Next
-
-
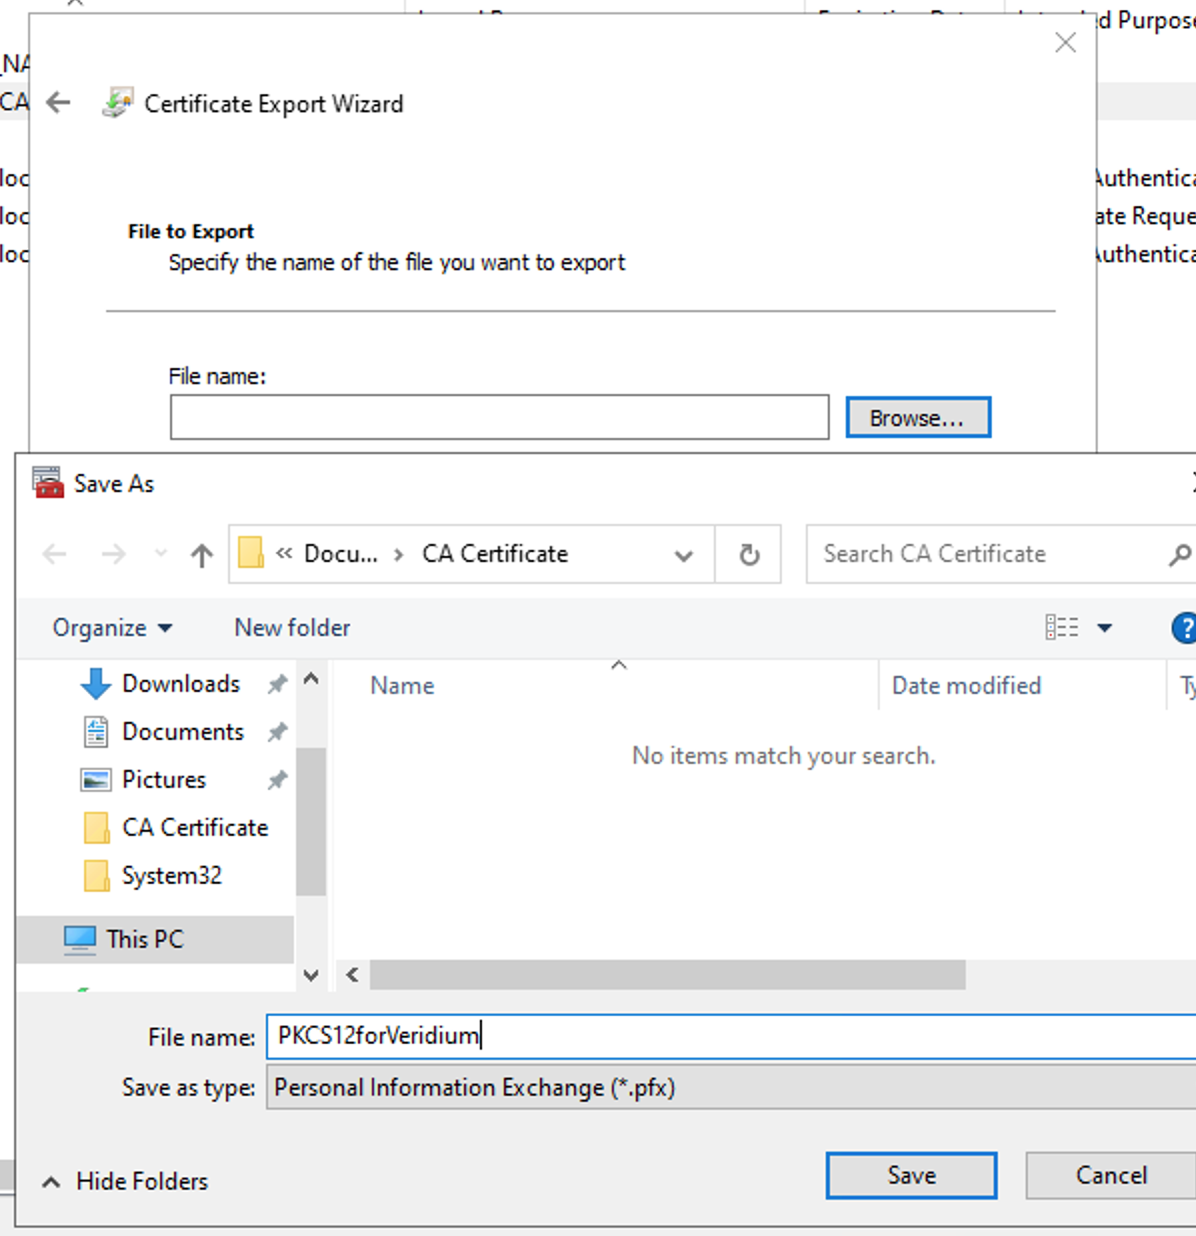
Save the file by giving it a name → Next → Finish
-
-
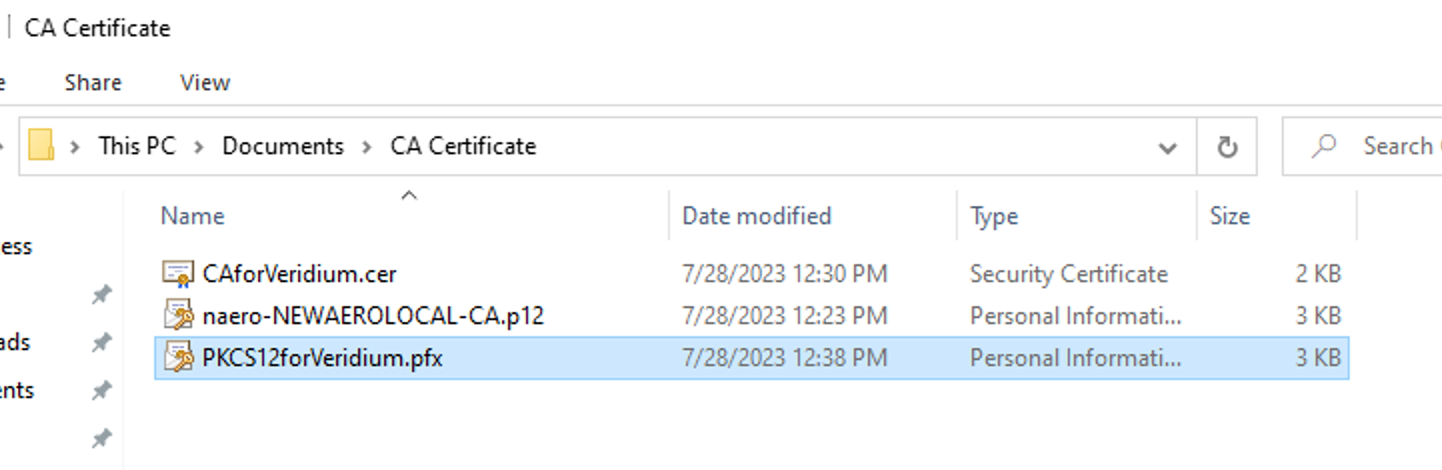
Communicate to Veridium team the new certificate and password to be imported into Veridium Servers
-
Next steps will be performed on Veridium Servers and should be defined if not existent into other security devices of customer network ( such as import in F5/Netscaler etc)
-