
Procedure:
-
Start the VeridiumID RA & EP Configuration.
-
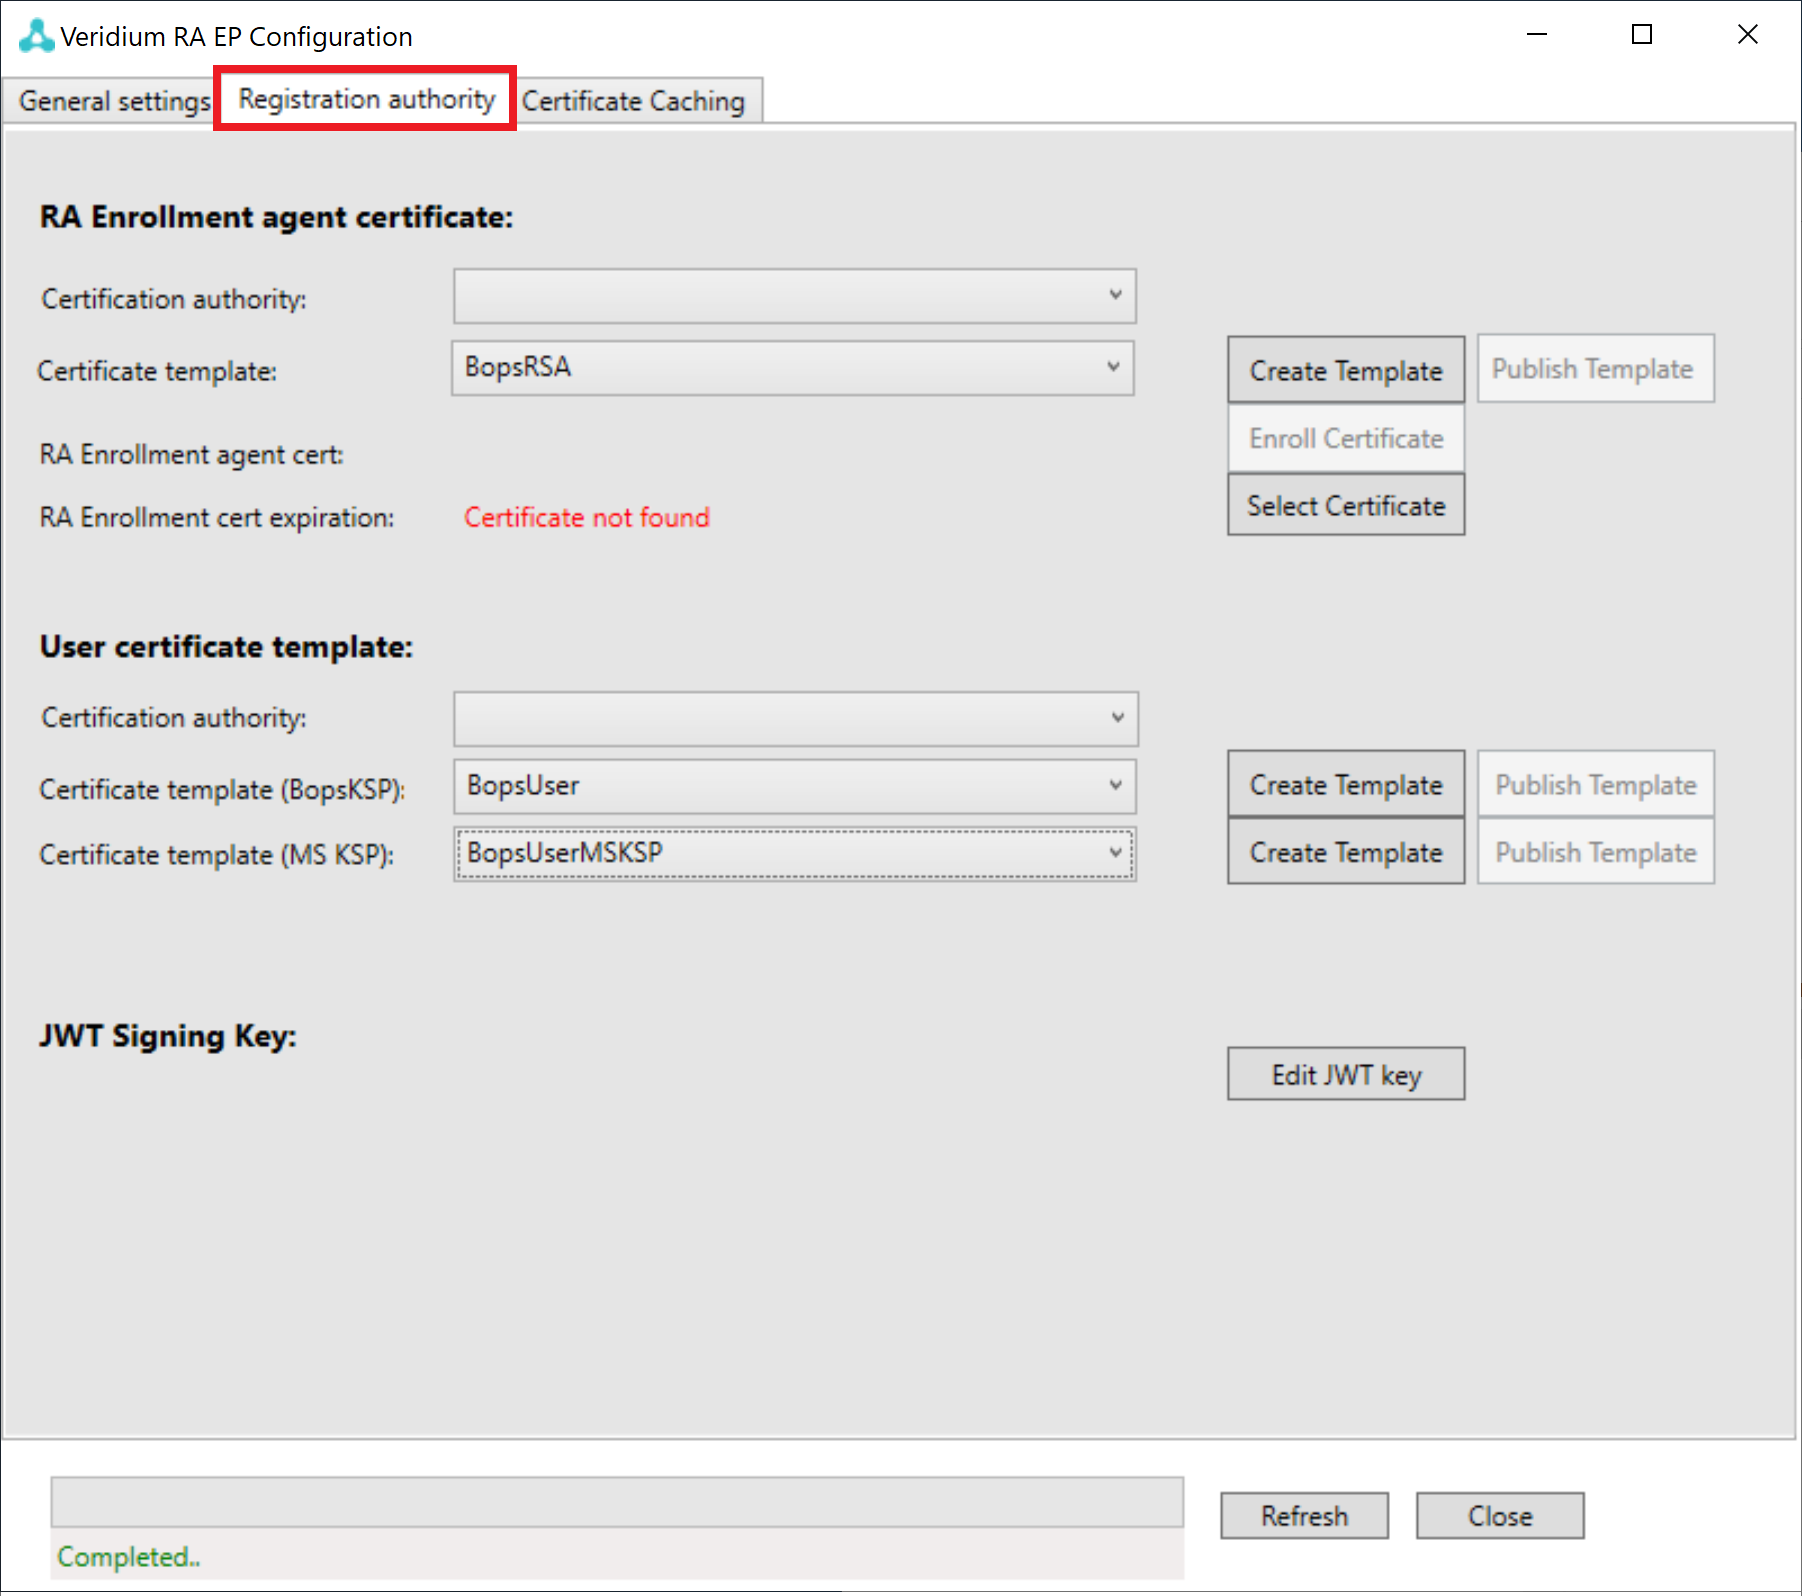
Click on "Registration authority" tab.
-
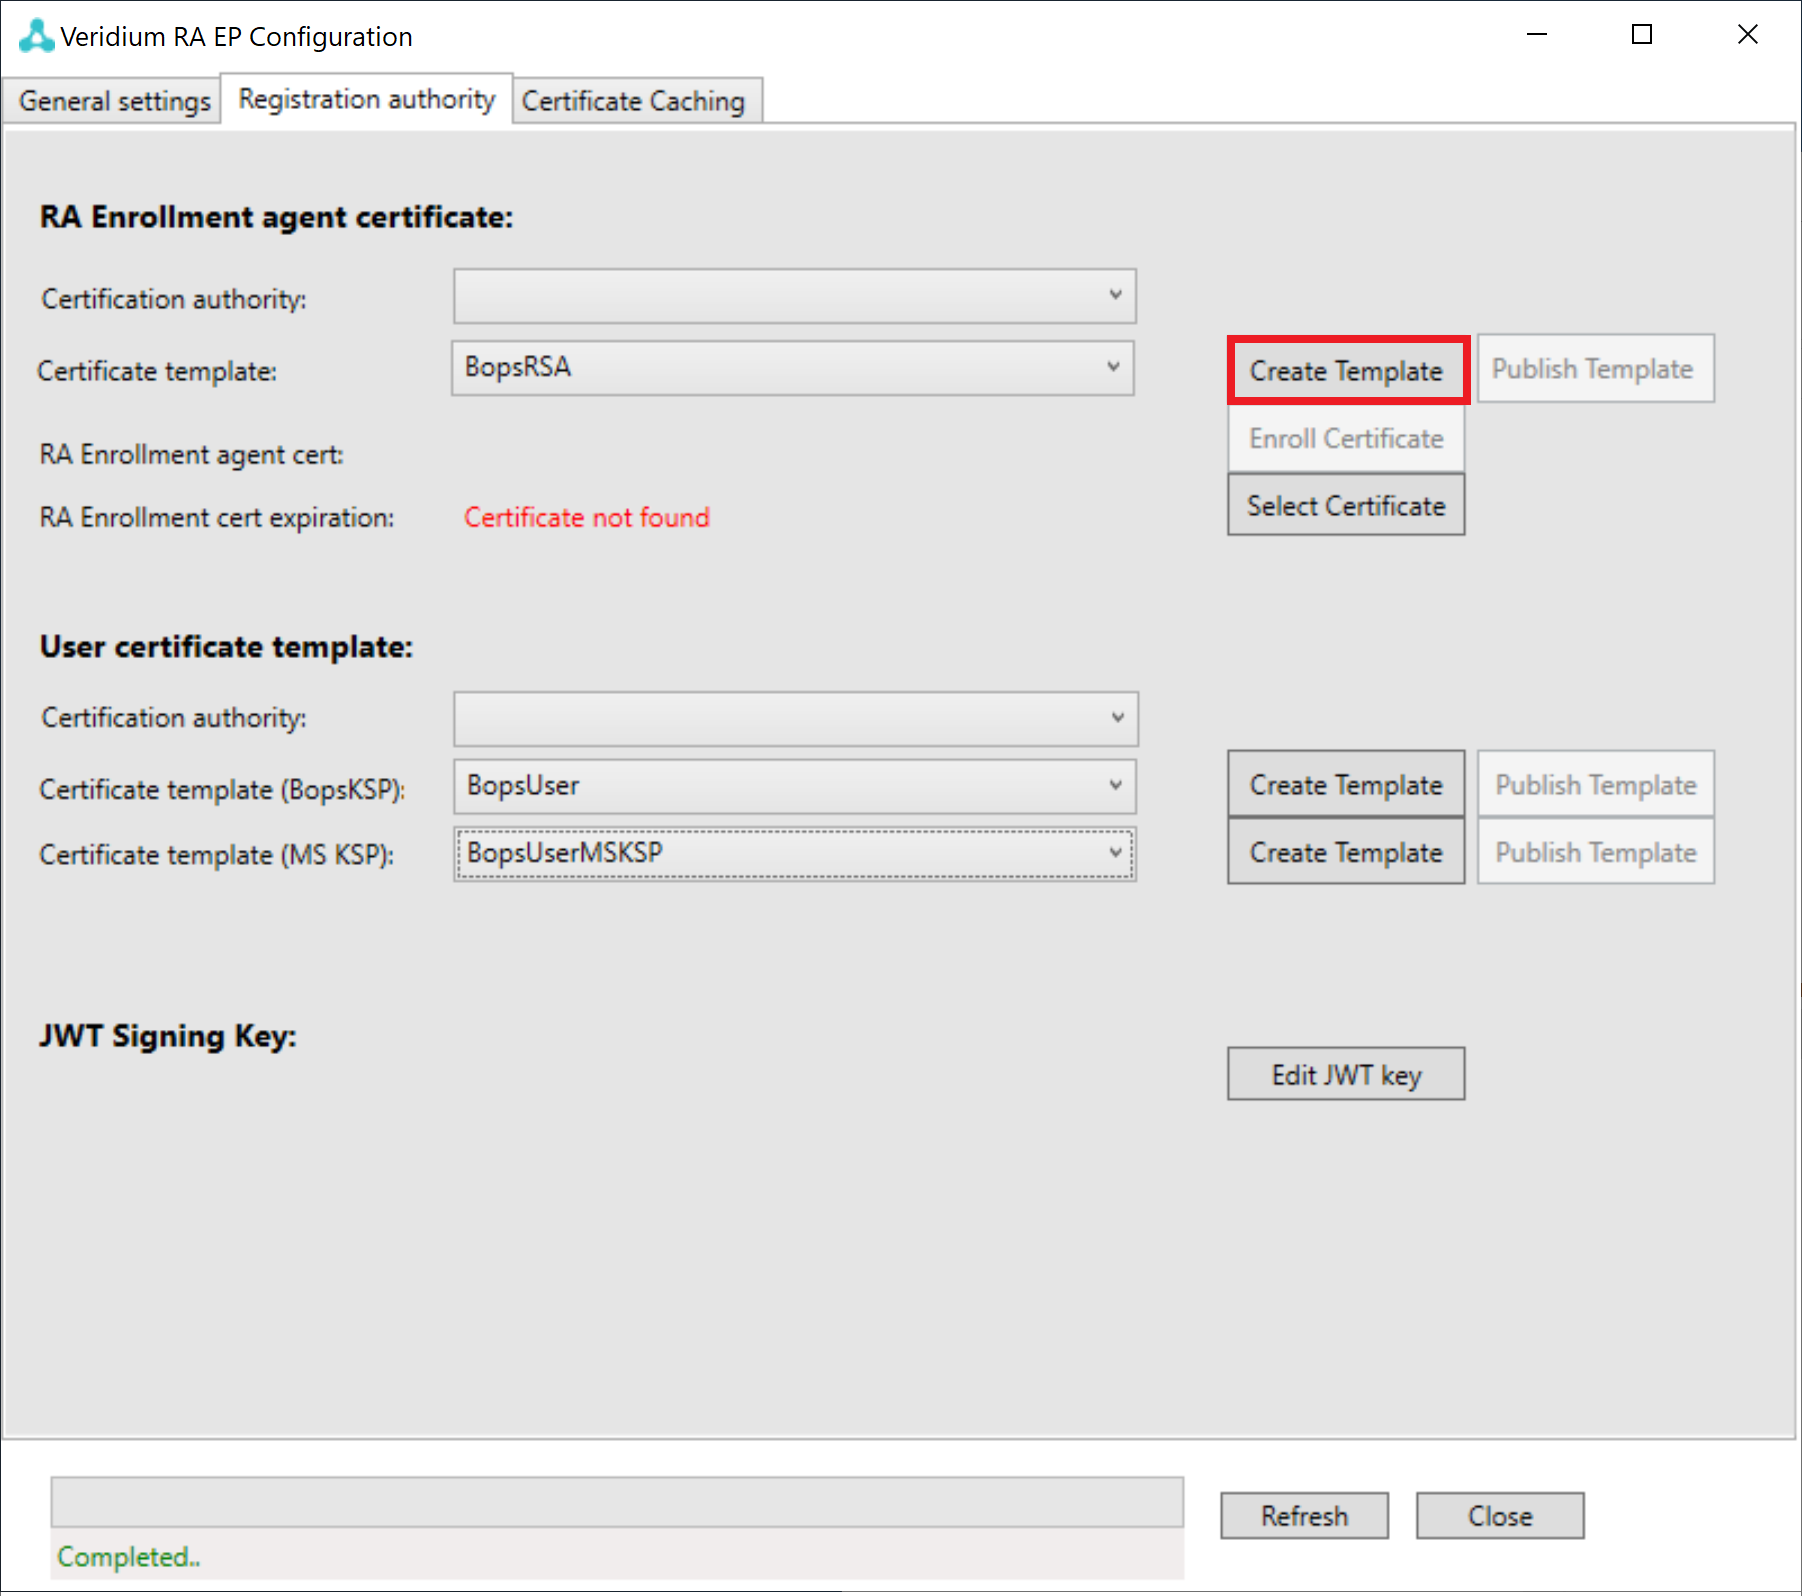
Click at "Create Template" button.
-
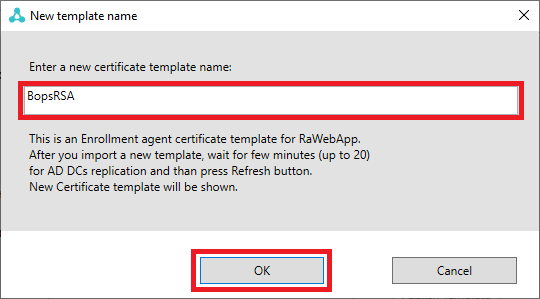
Enter a new certificate template name (example: "BopsRSA") and click "OK" button.
-
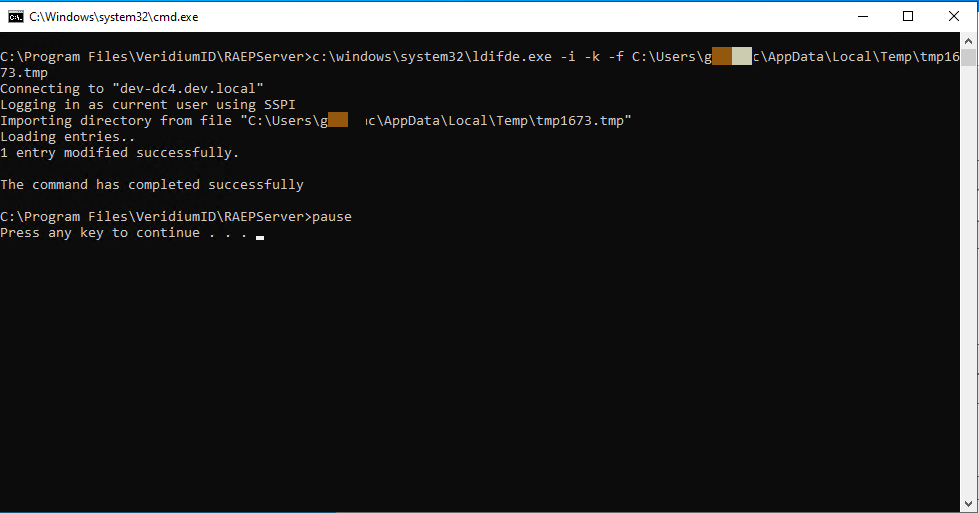
In the cmd window opened, press any key in order to complete the process (user input is required two times).
-
The import is successful.
-
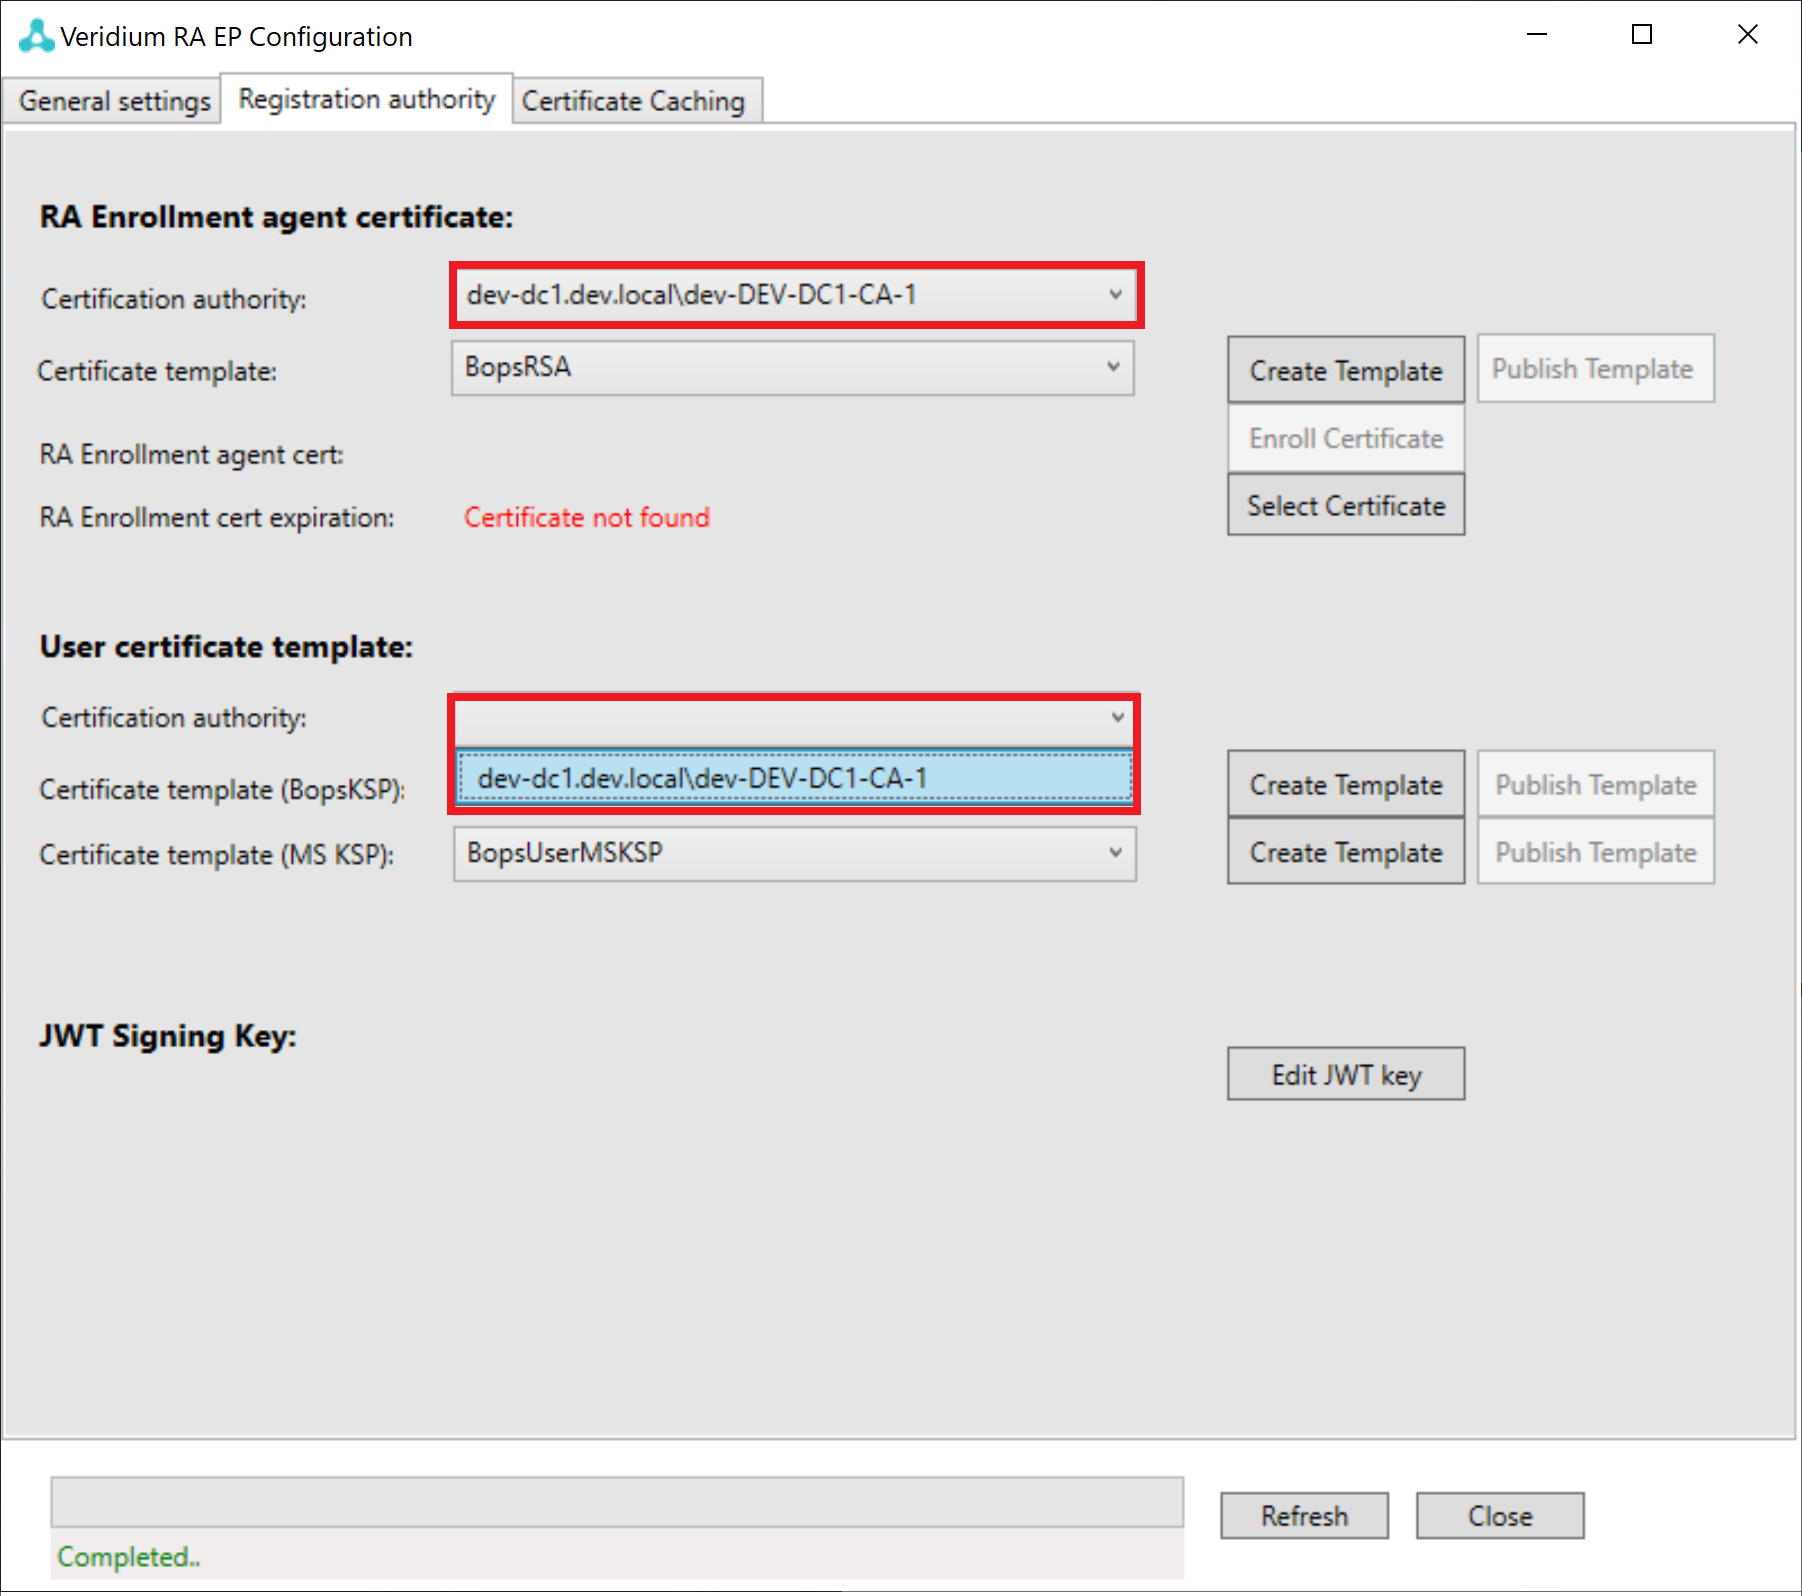
Select available Certification authority in a selected area (both are required).
-
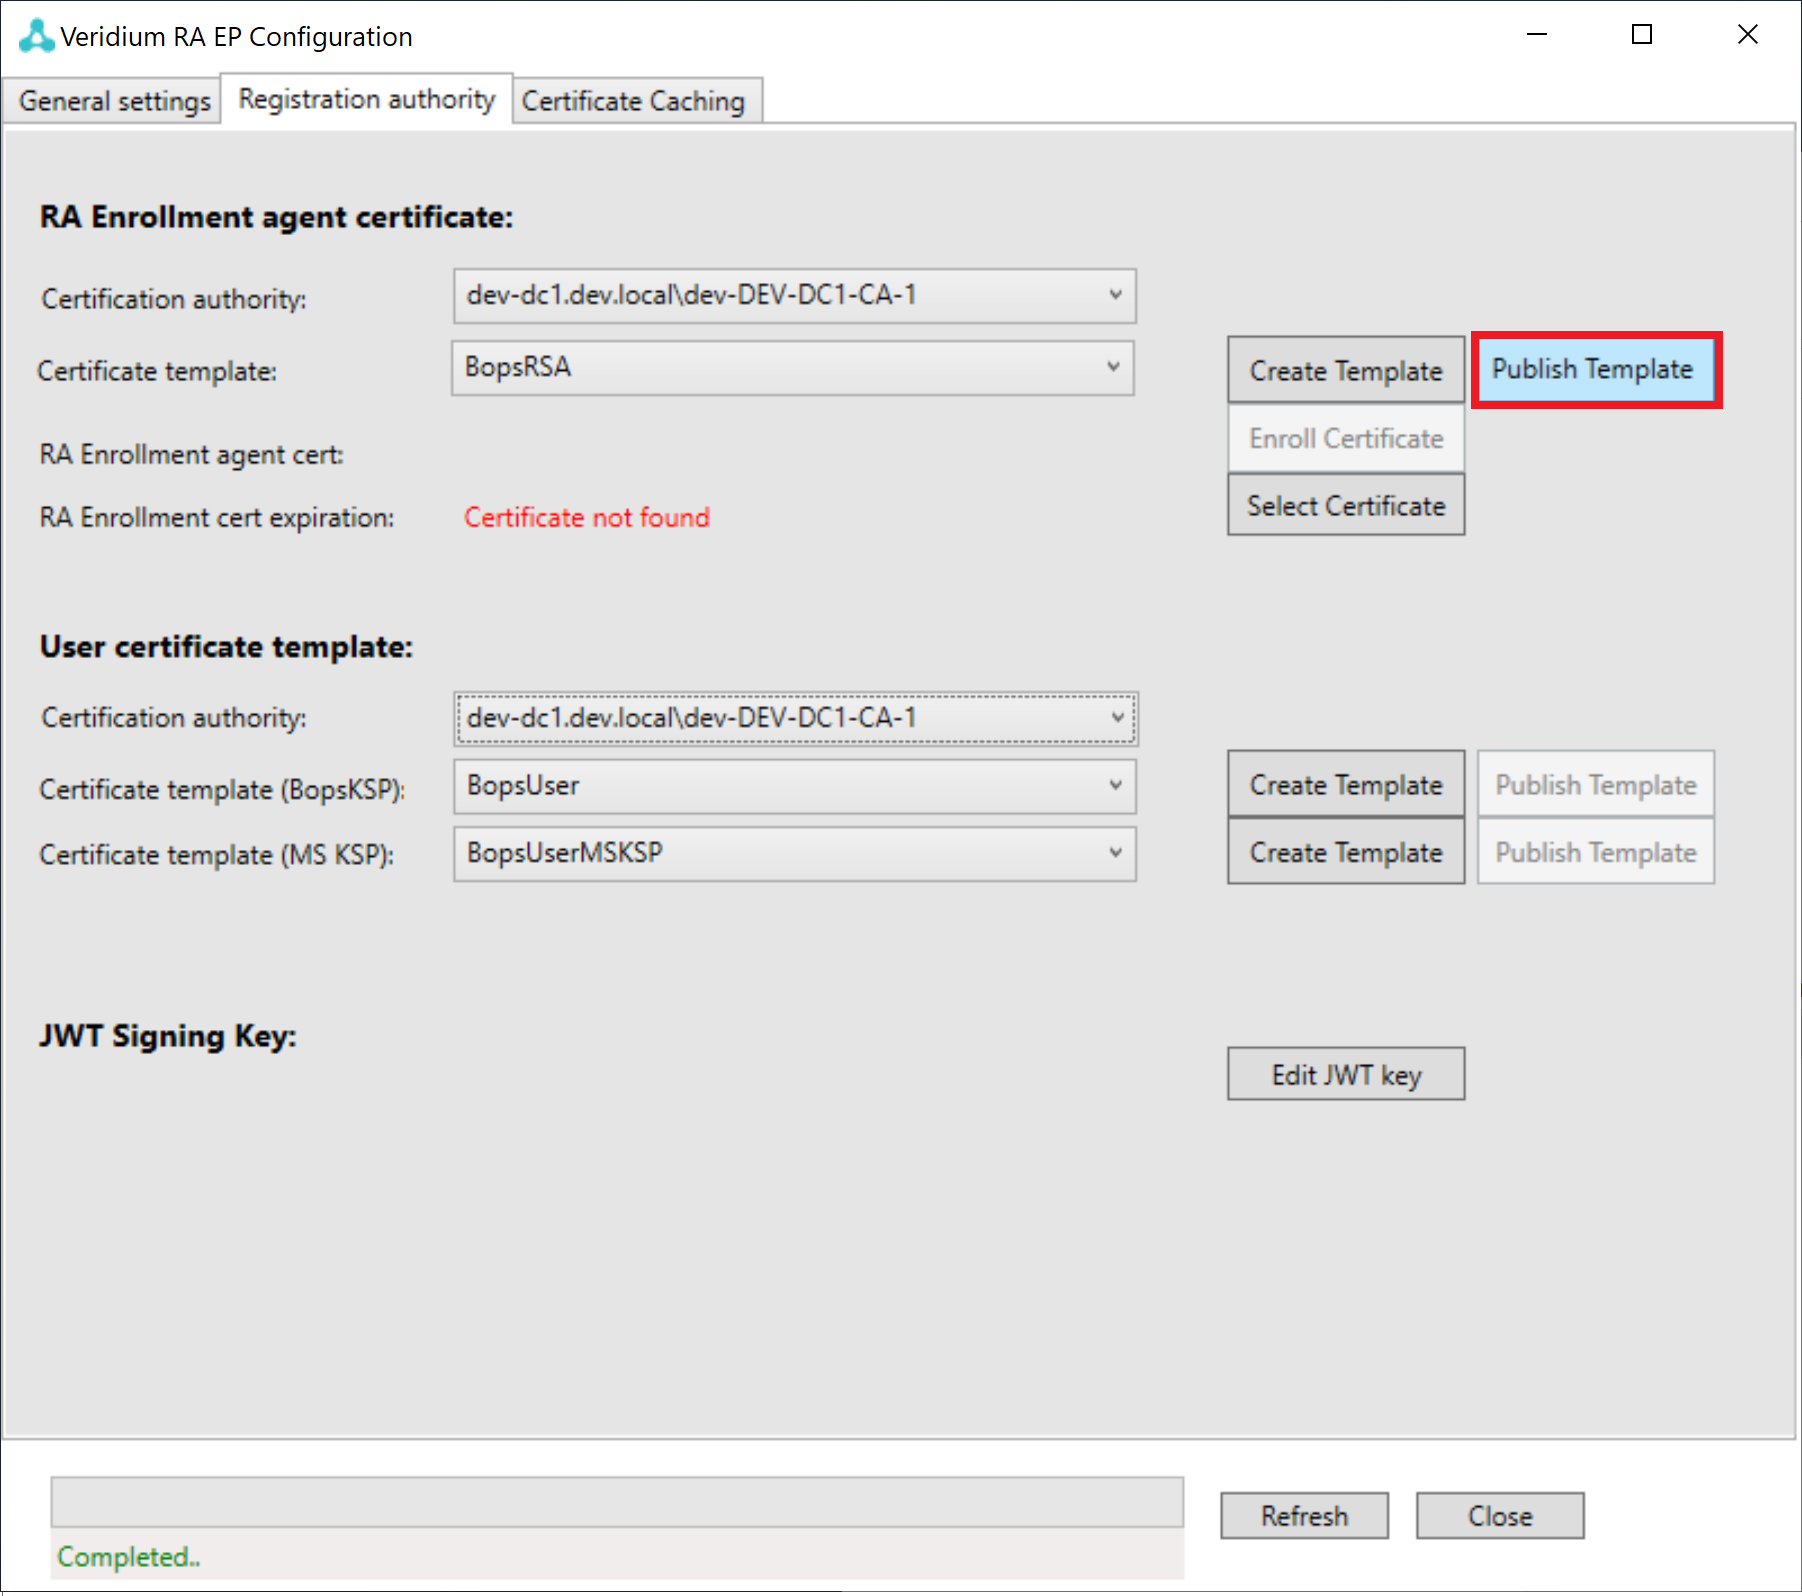
Button "Publish Template" should be enabled. Click "Publish Template" button.
-
Press "OK" buttons on appeared message box.
-
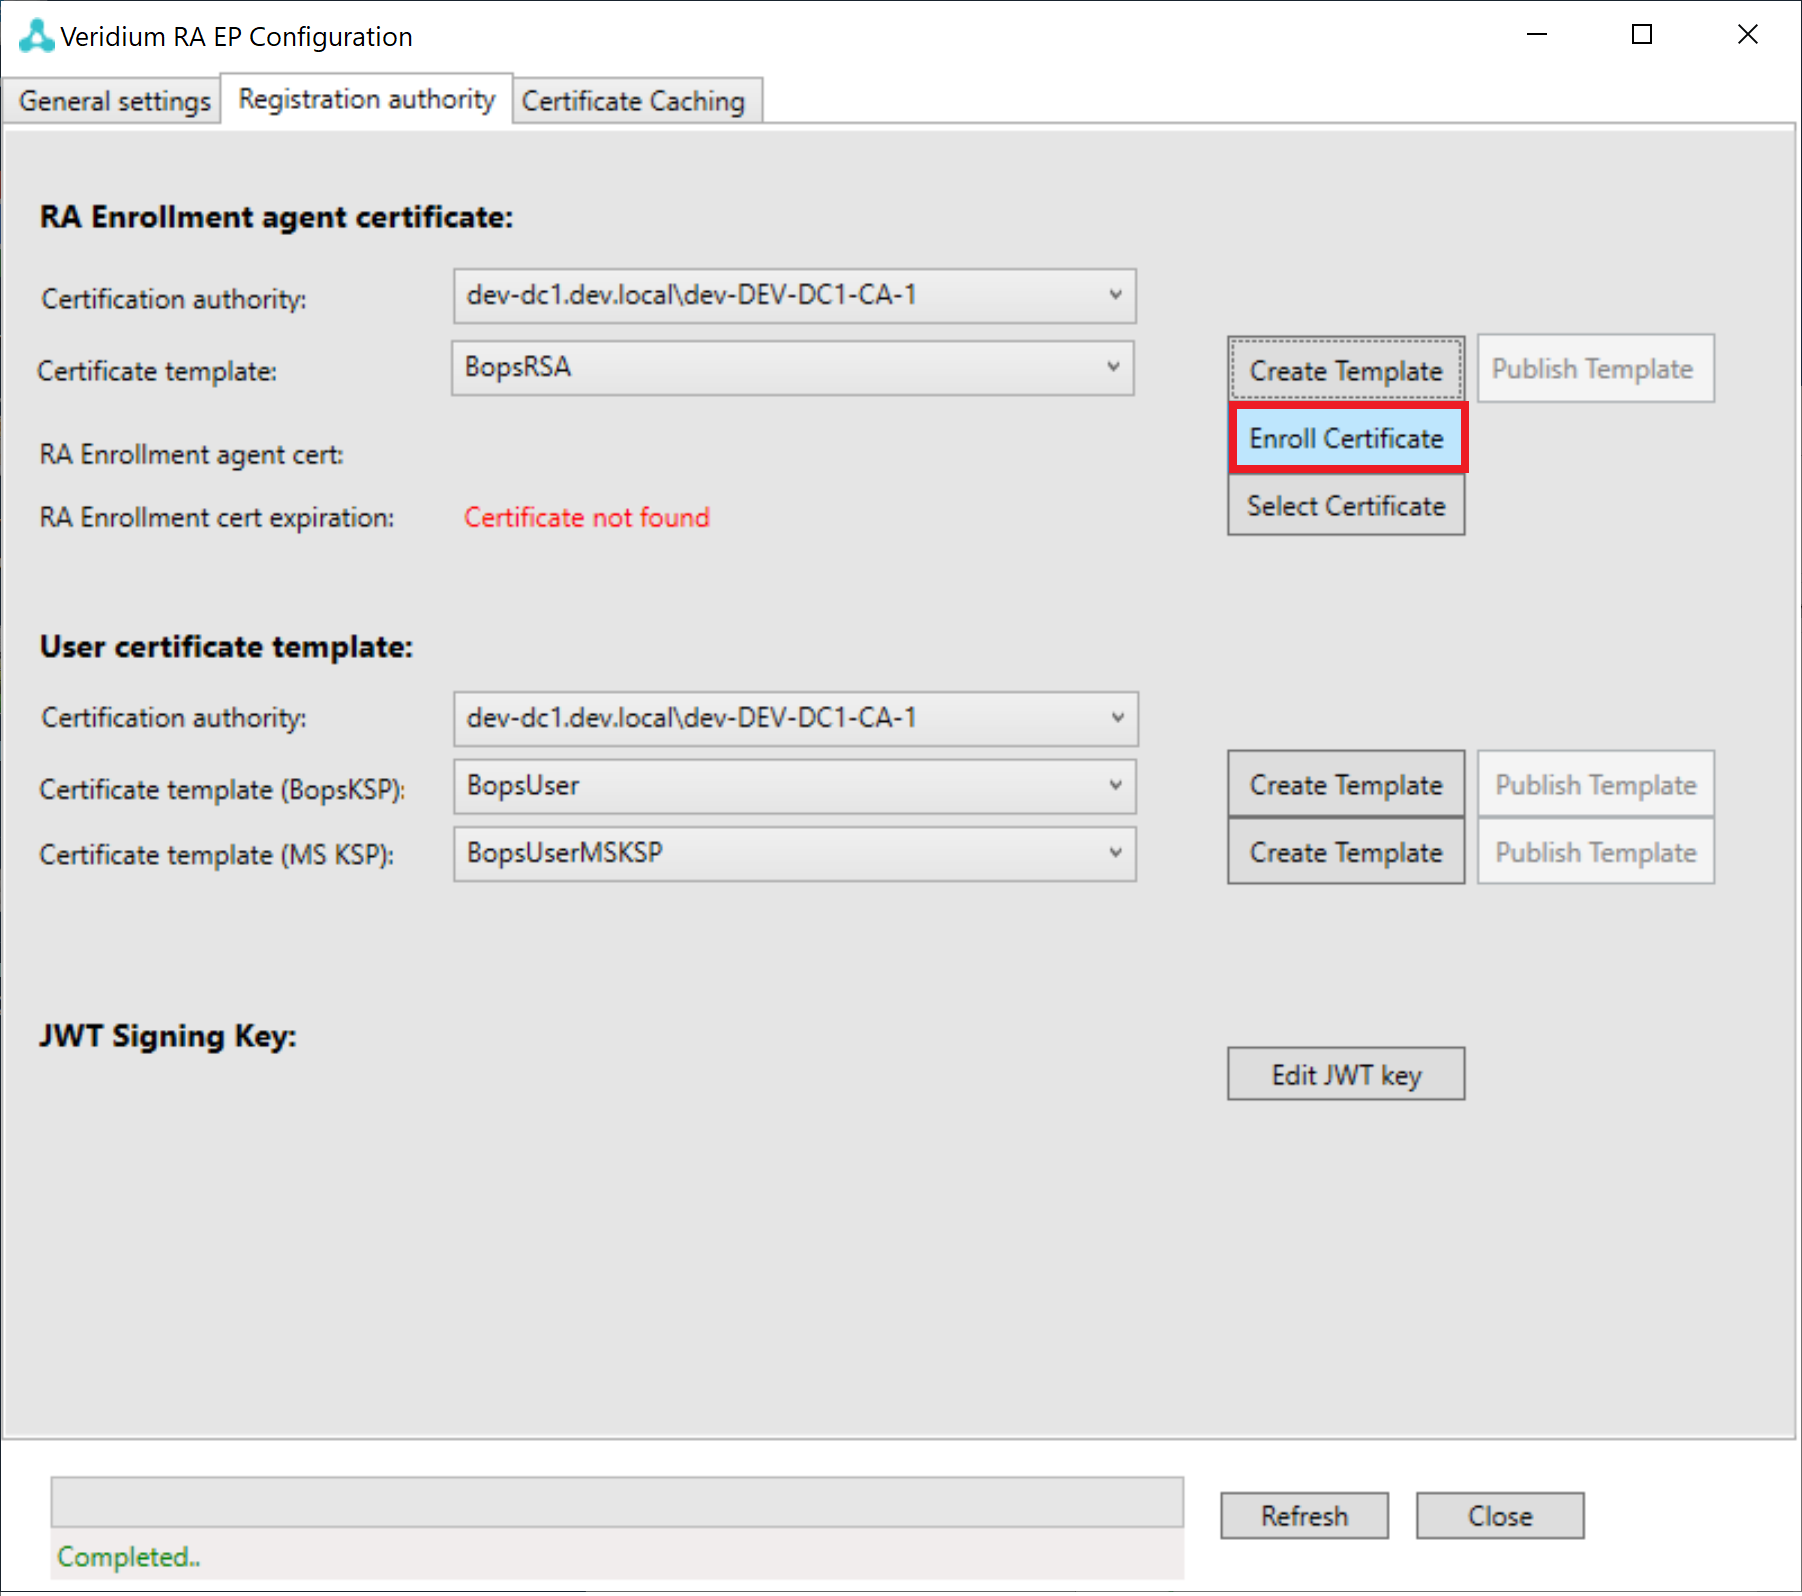
Now press the button "Enroll Certificate".
-
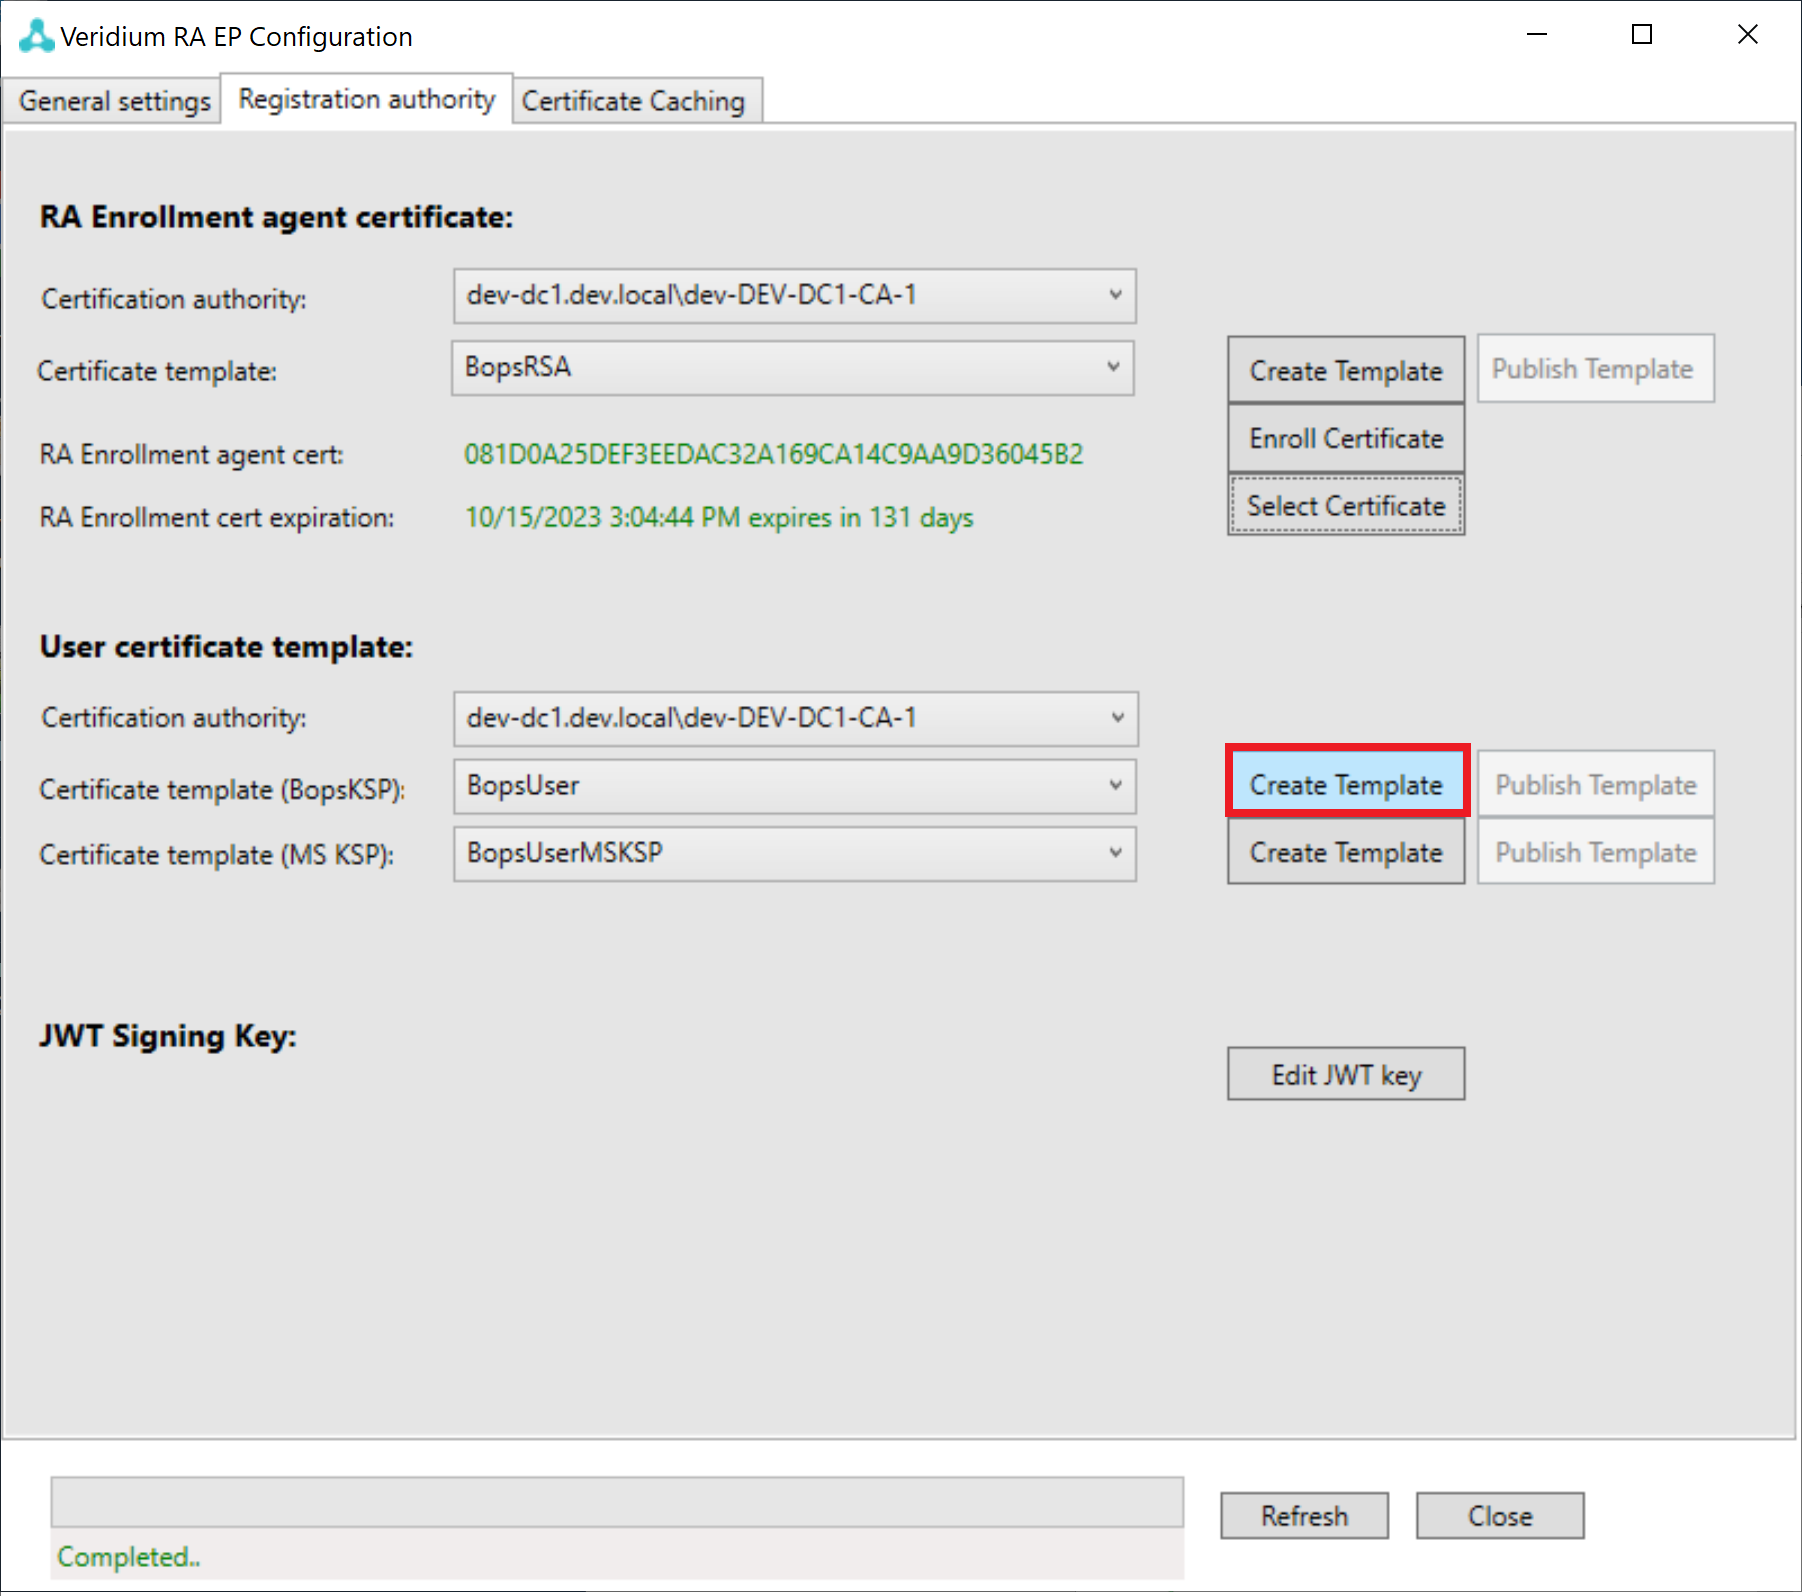
Press "Create Template" button.
-
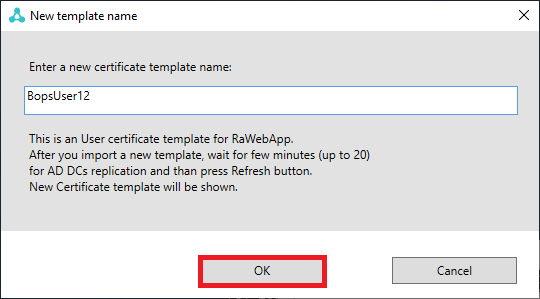
Enter "VeridiumUser" to the marked area. Click "OK" button.
-
Press "OK" button on appeared message box.
-
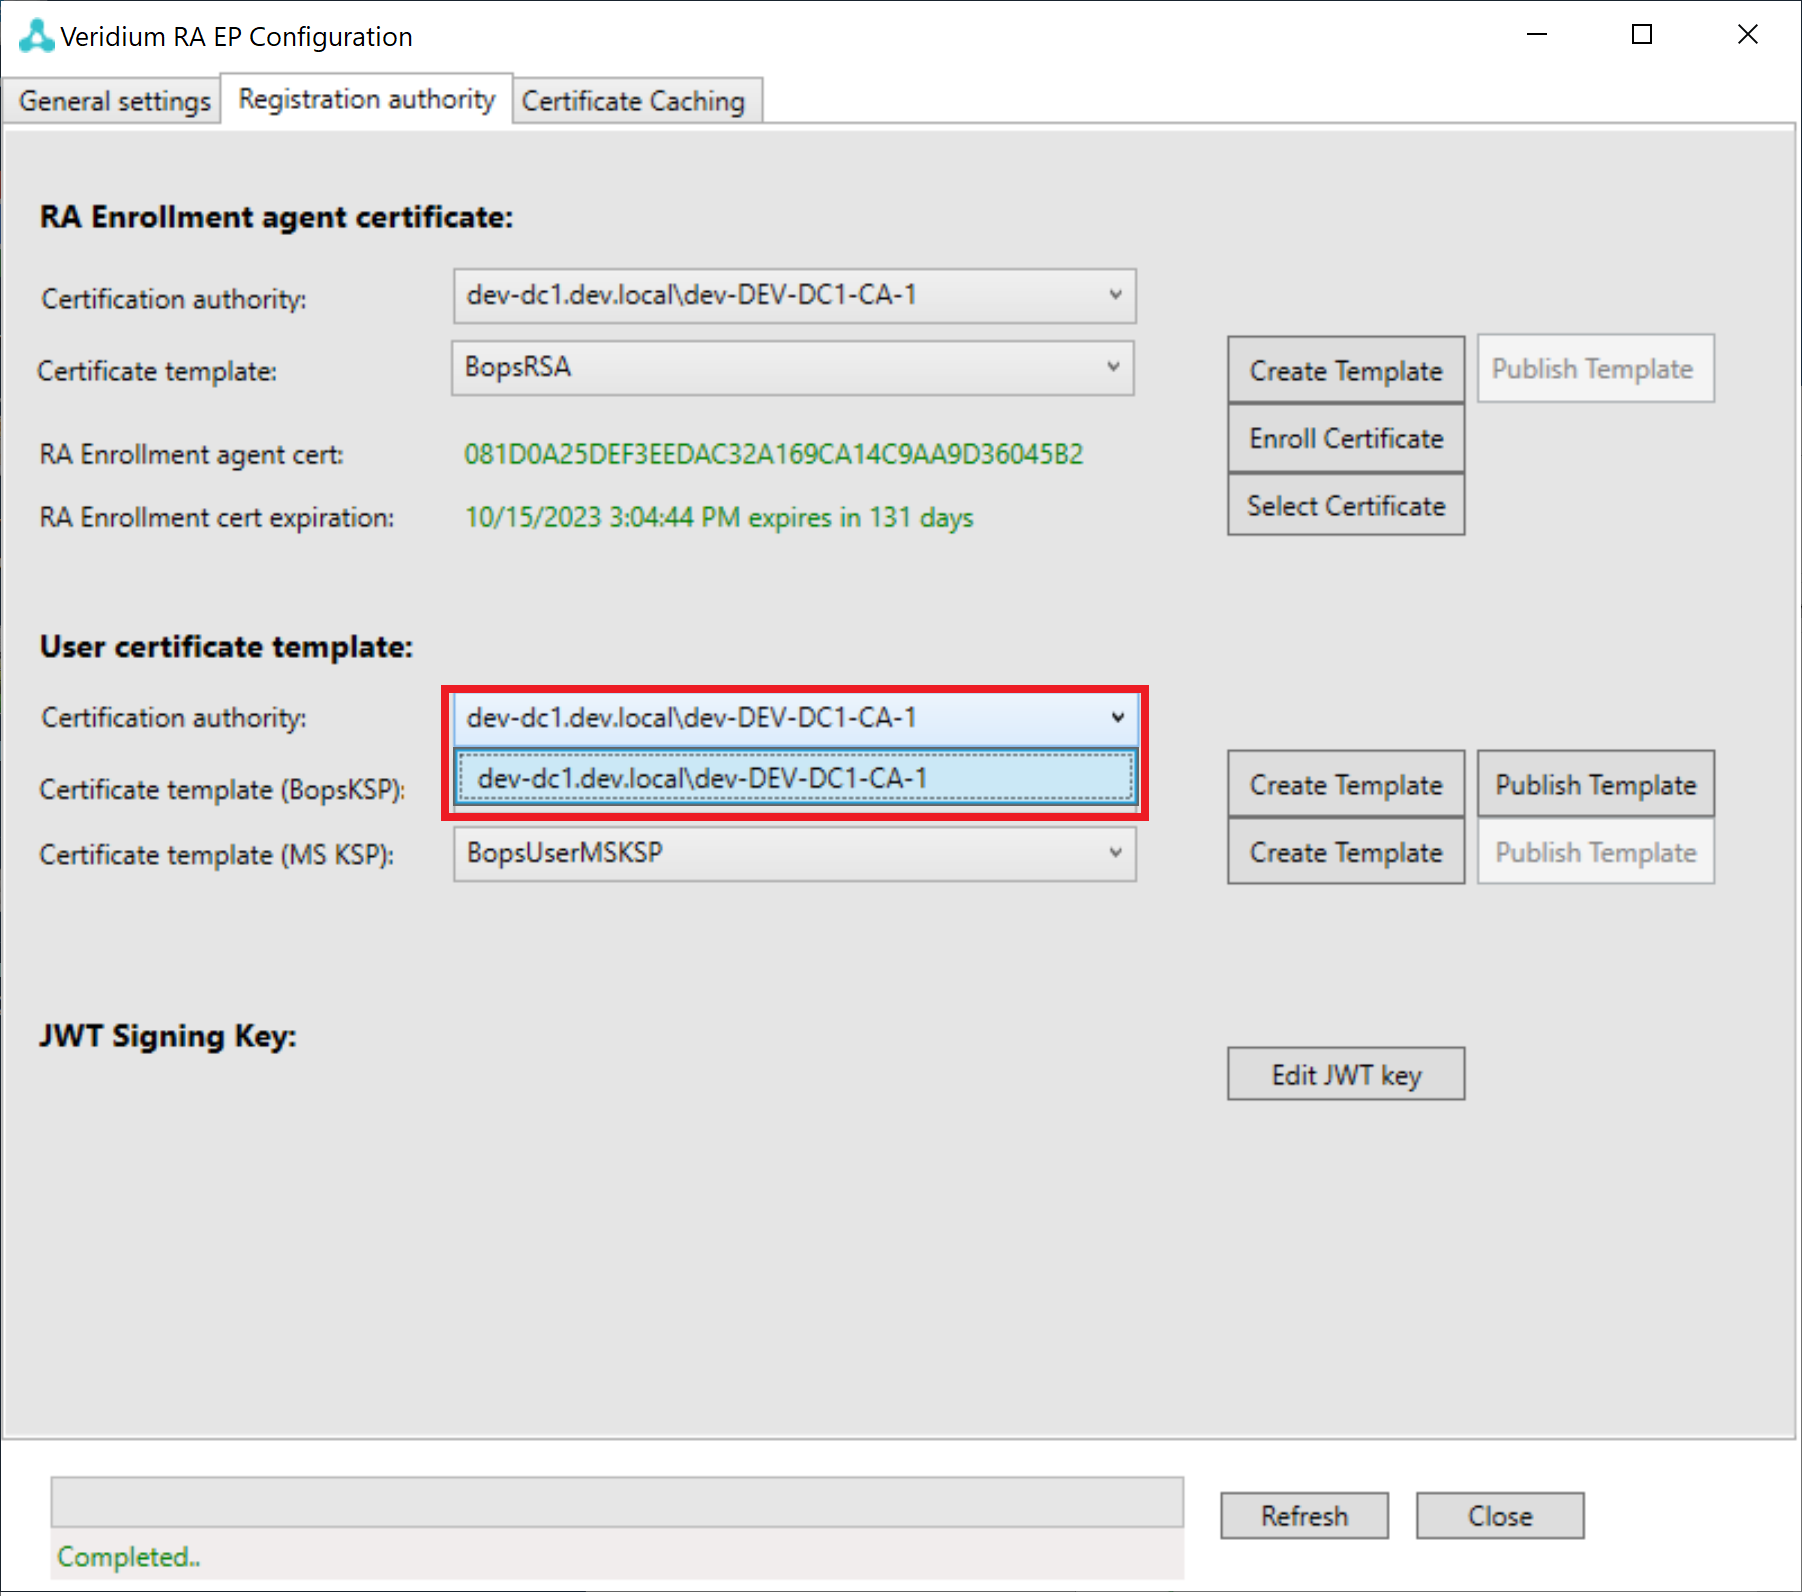
Select Certification Authority.
-
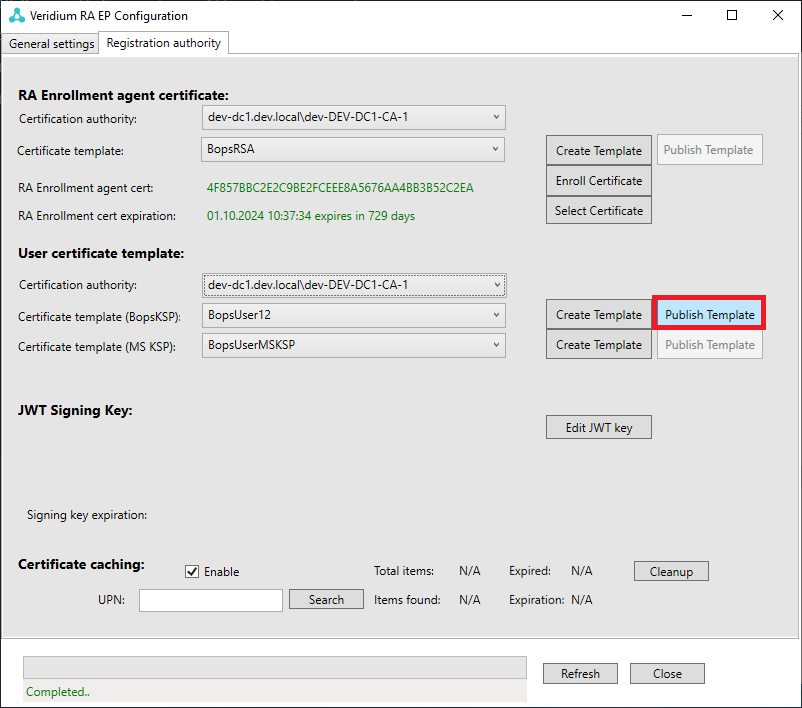
Click "Publish Template" button. On the window that will show up, press "OK" button.
-
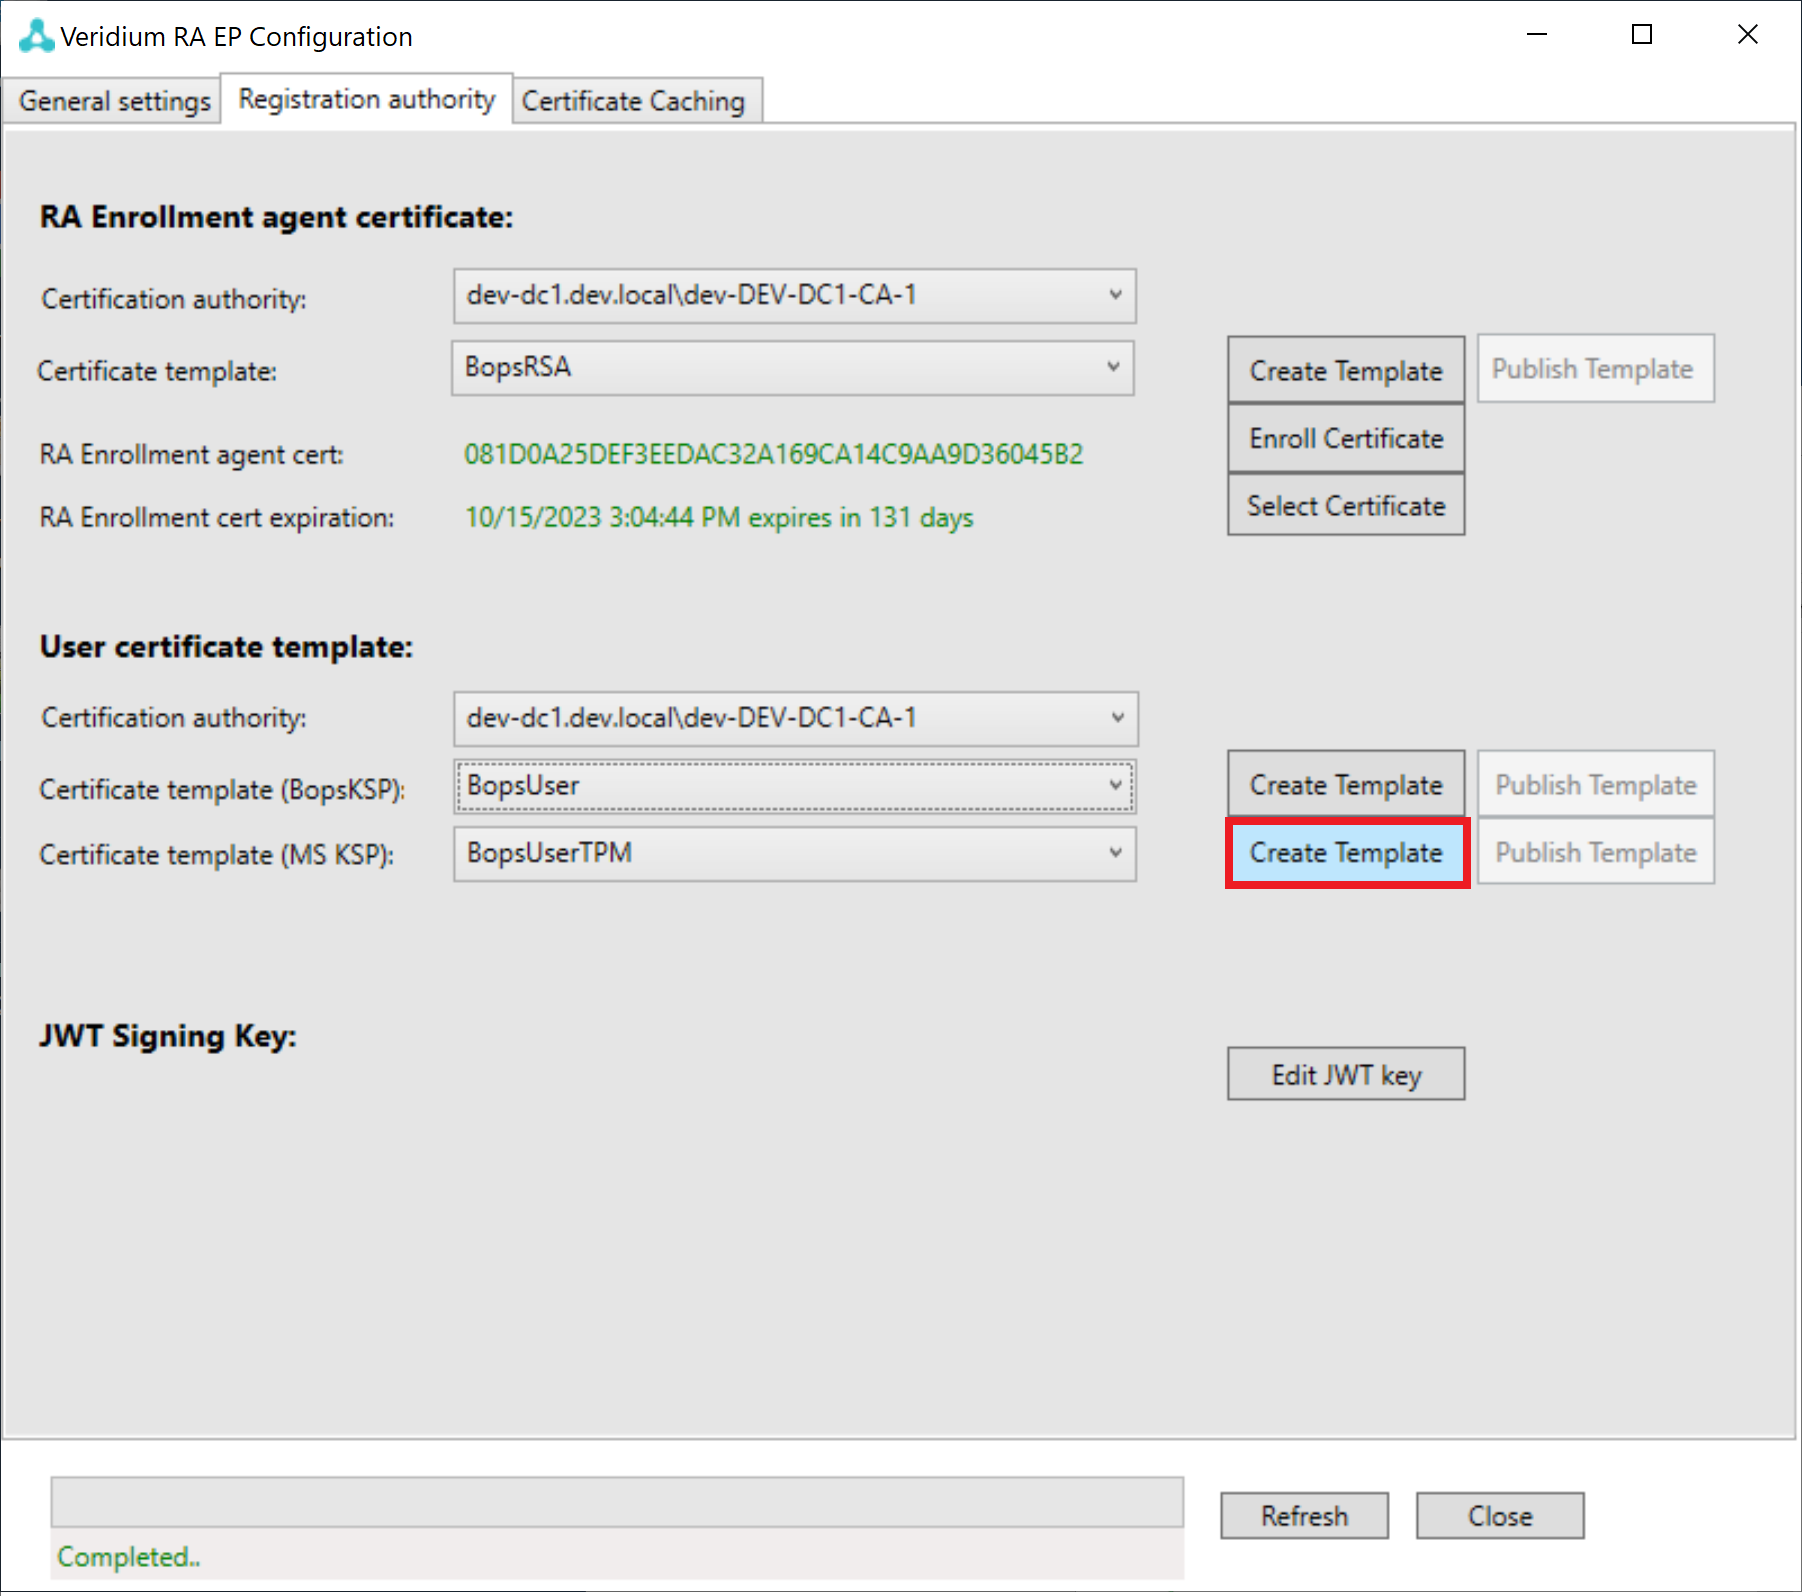
Press "Create Template" button.
-
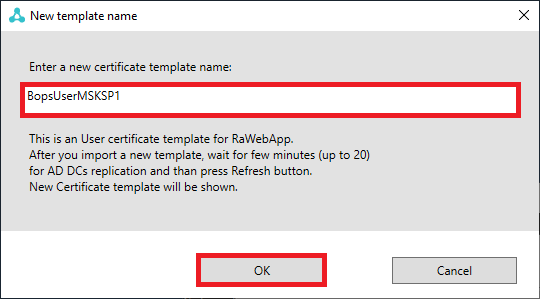
Enter "VeridiumUser" to the marked area. Click "OK" button.
-
Press "OK" button on appeared message box.
-
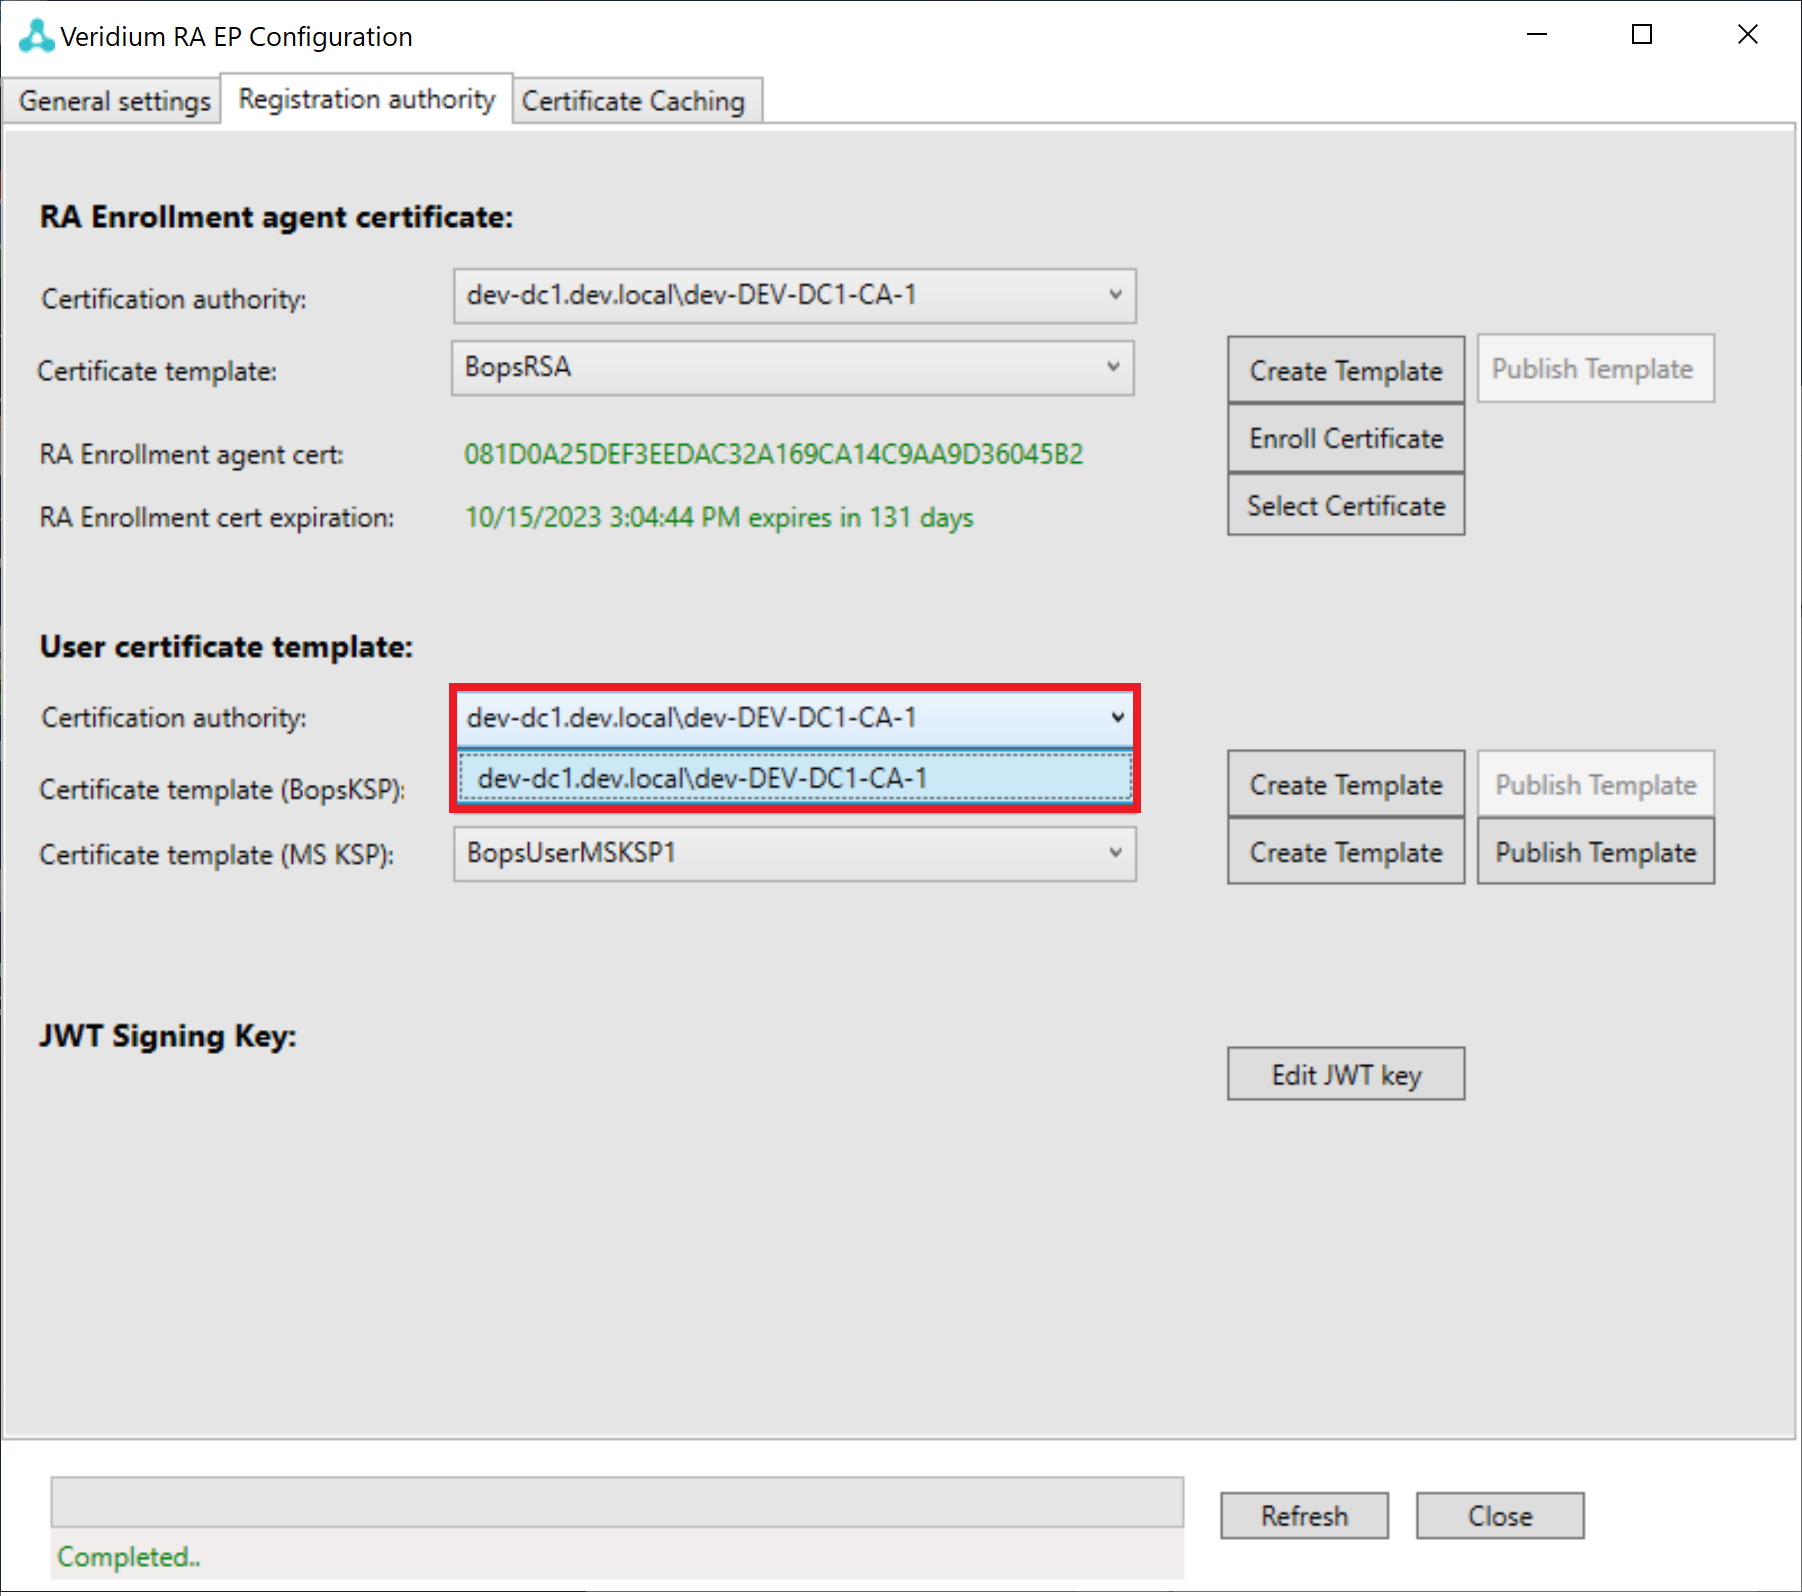
Select Certification Authority.
-
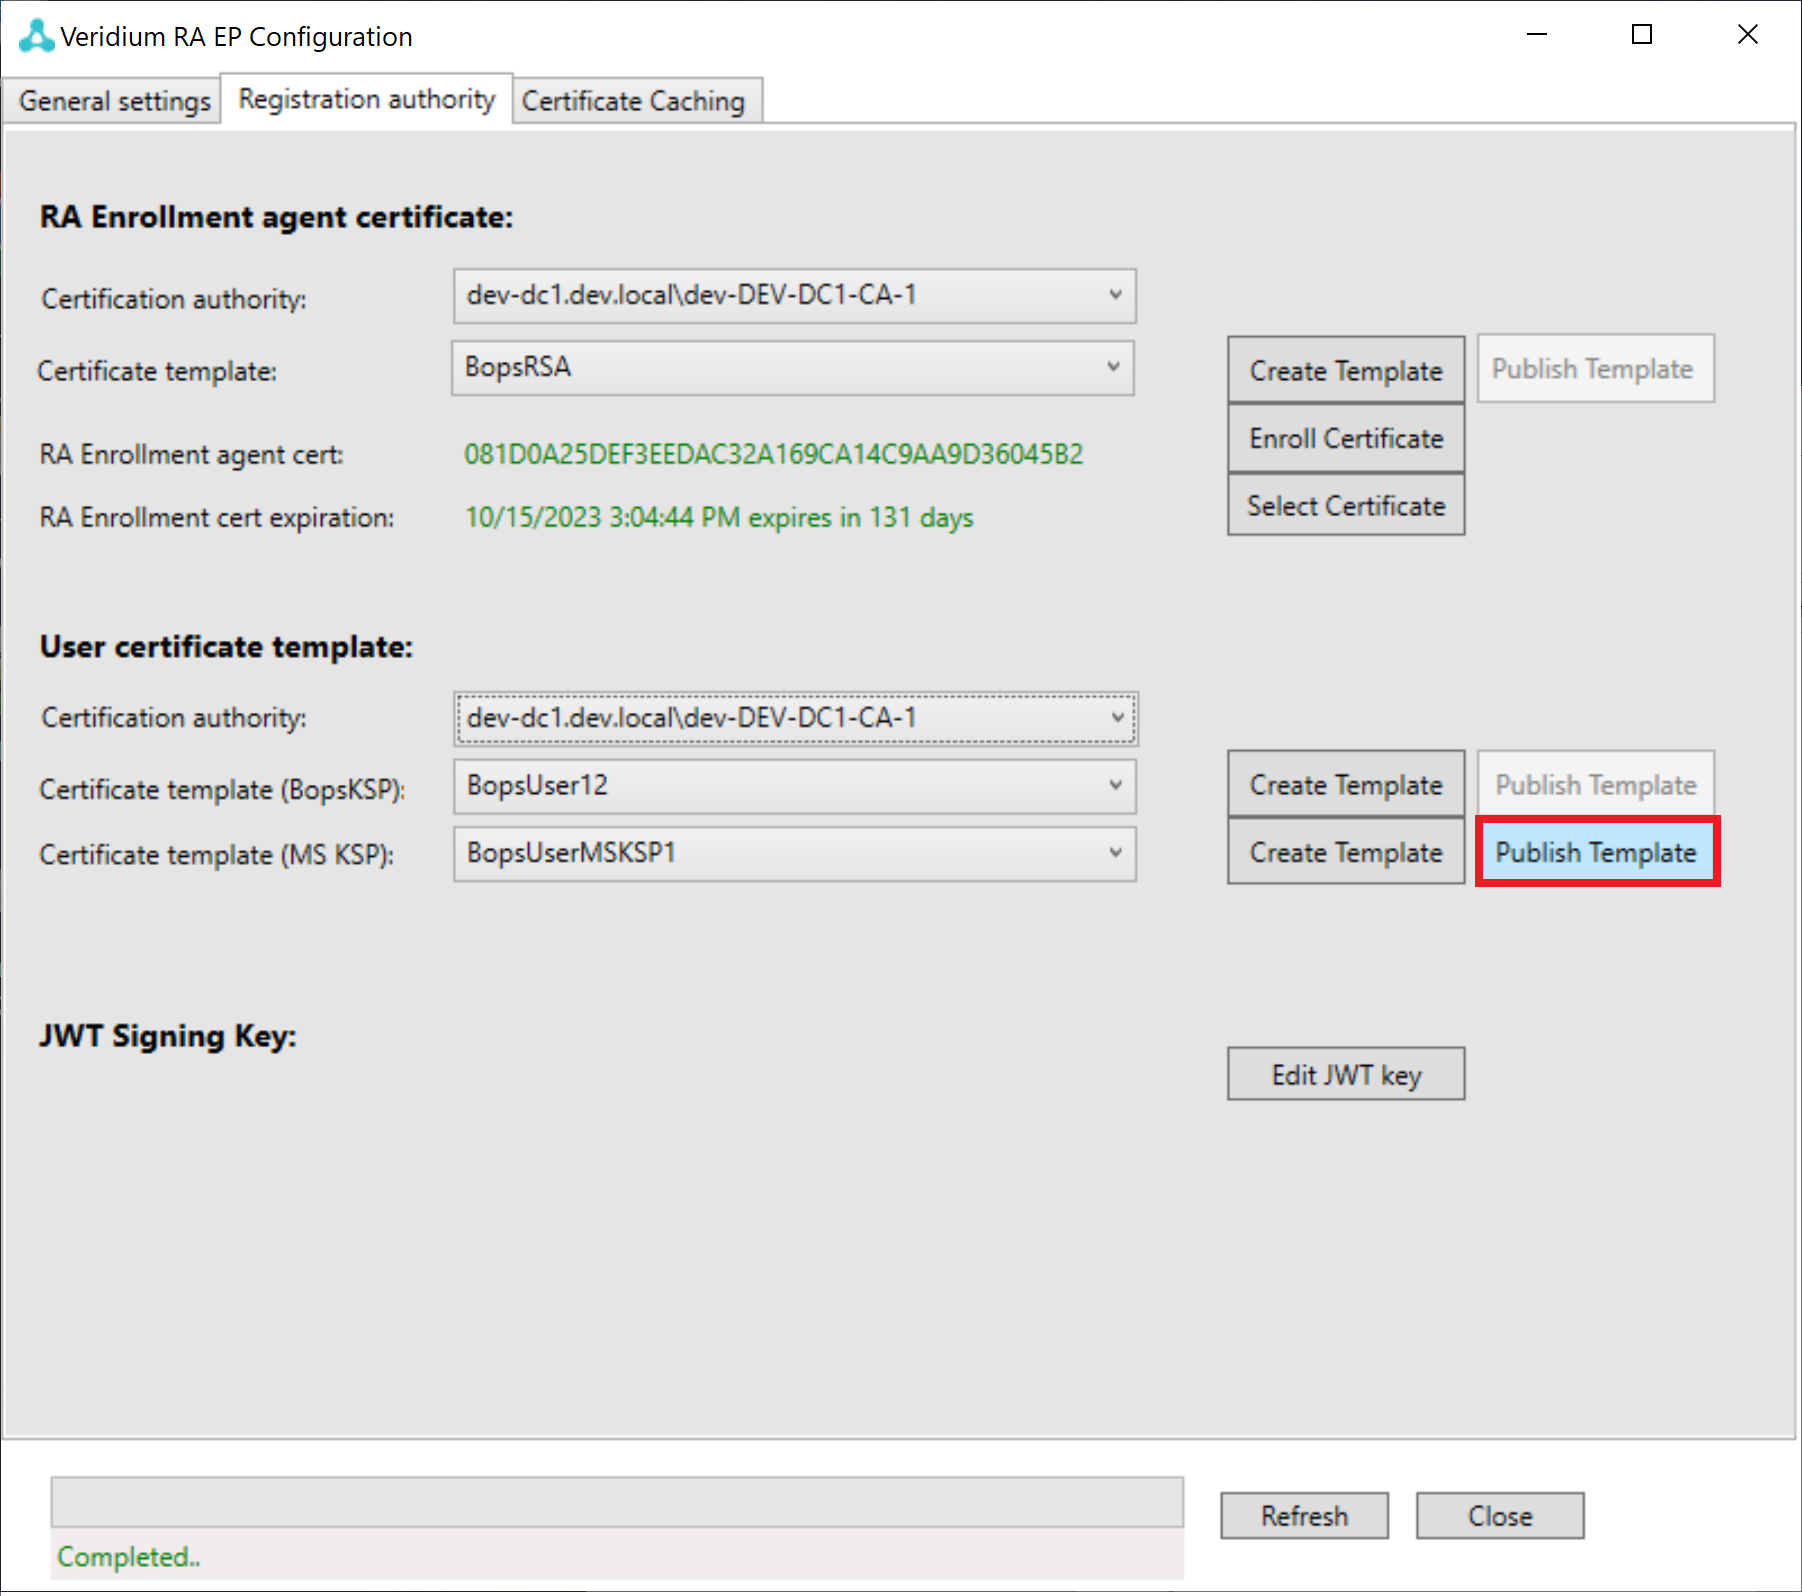
Click "Publish Template" button. On the window that will show up, press "OK" button.
-
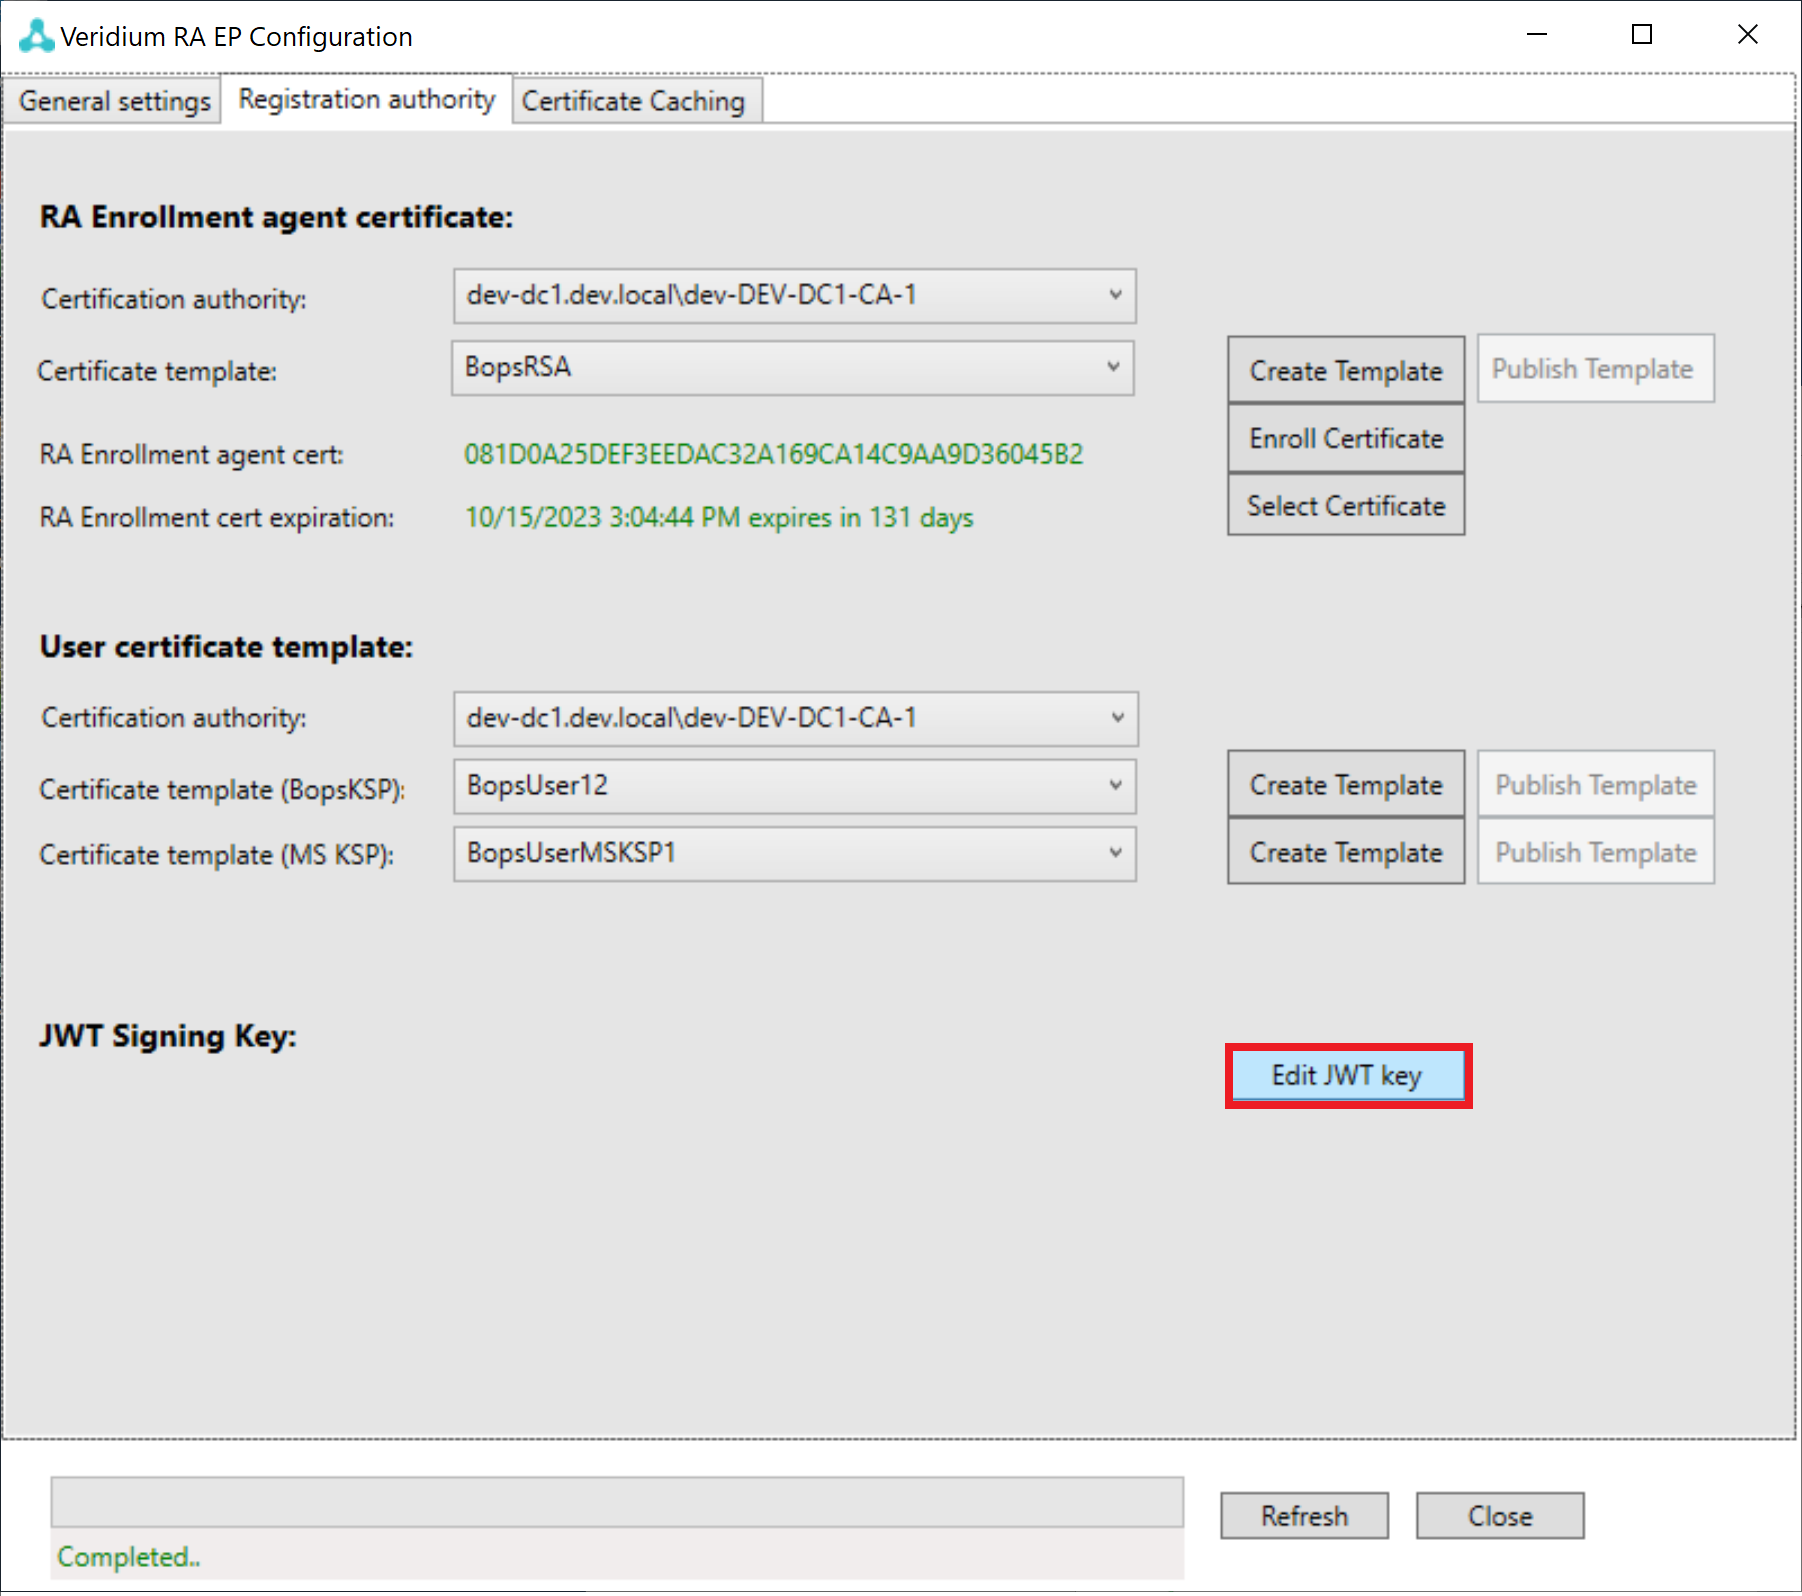
Press "Edit JWT key" button.
-
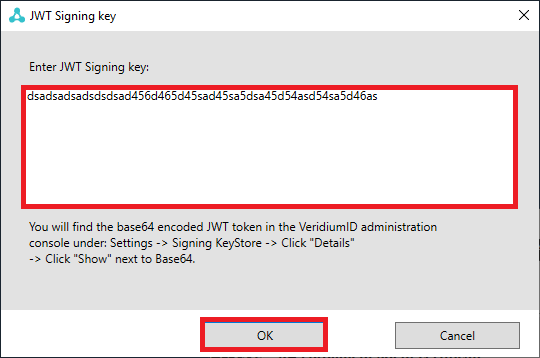
Copy and paste "JWT signing key" from the chapter https://veridiumid.atlassian.net/l/cp/Hyv3qV0h
-
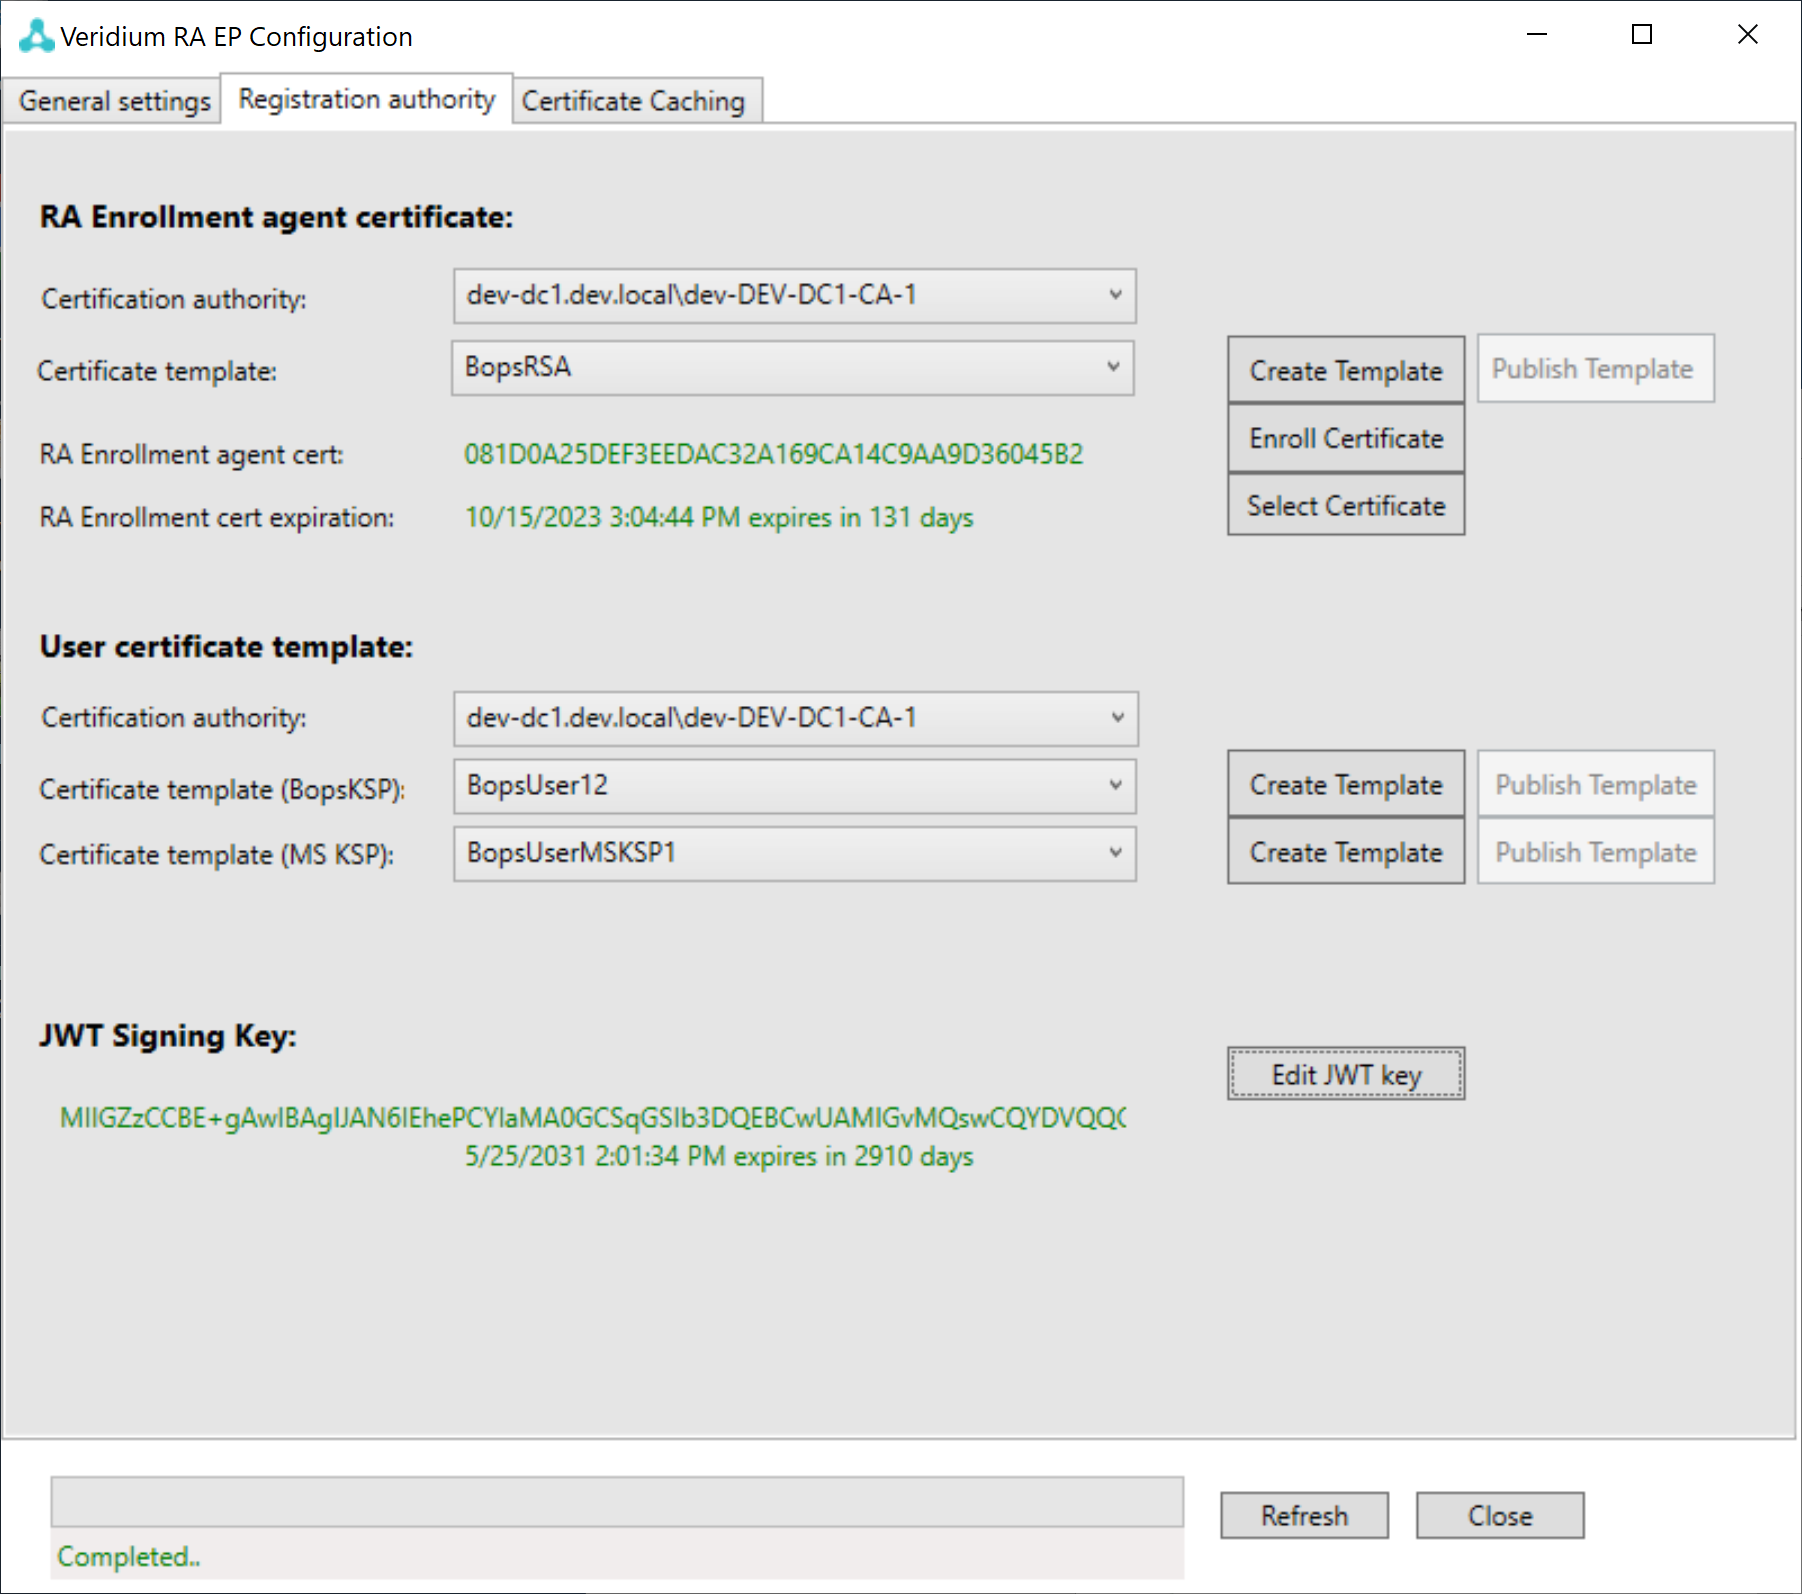
The registration authority is successfully configured.
-
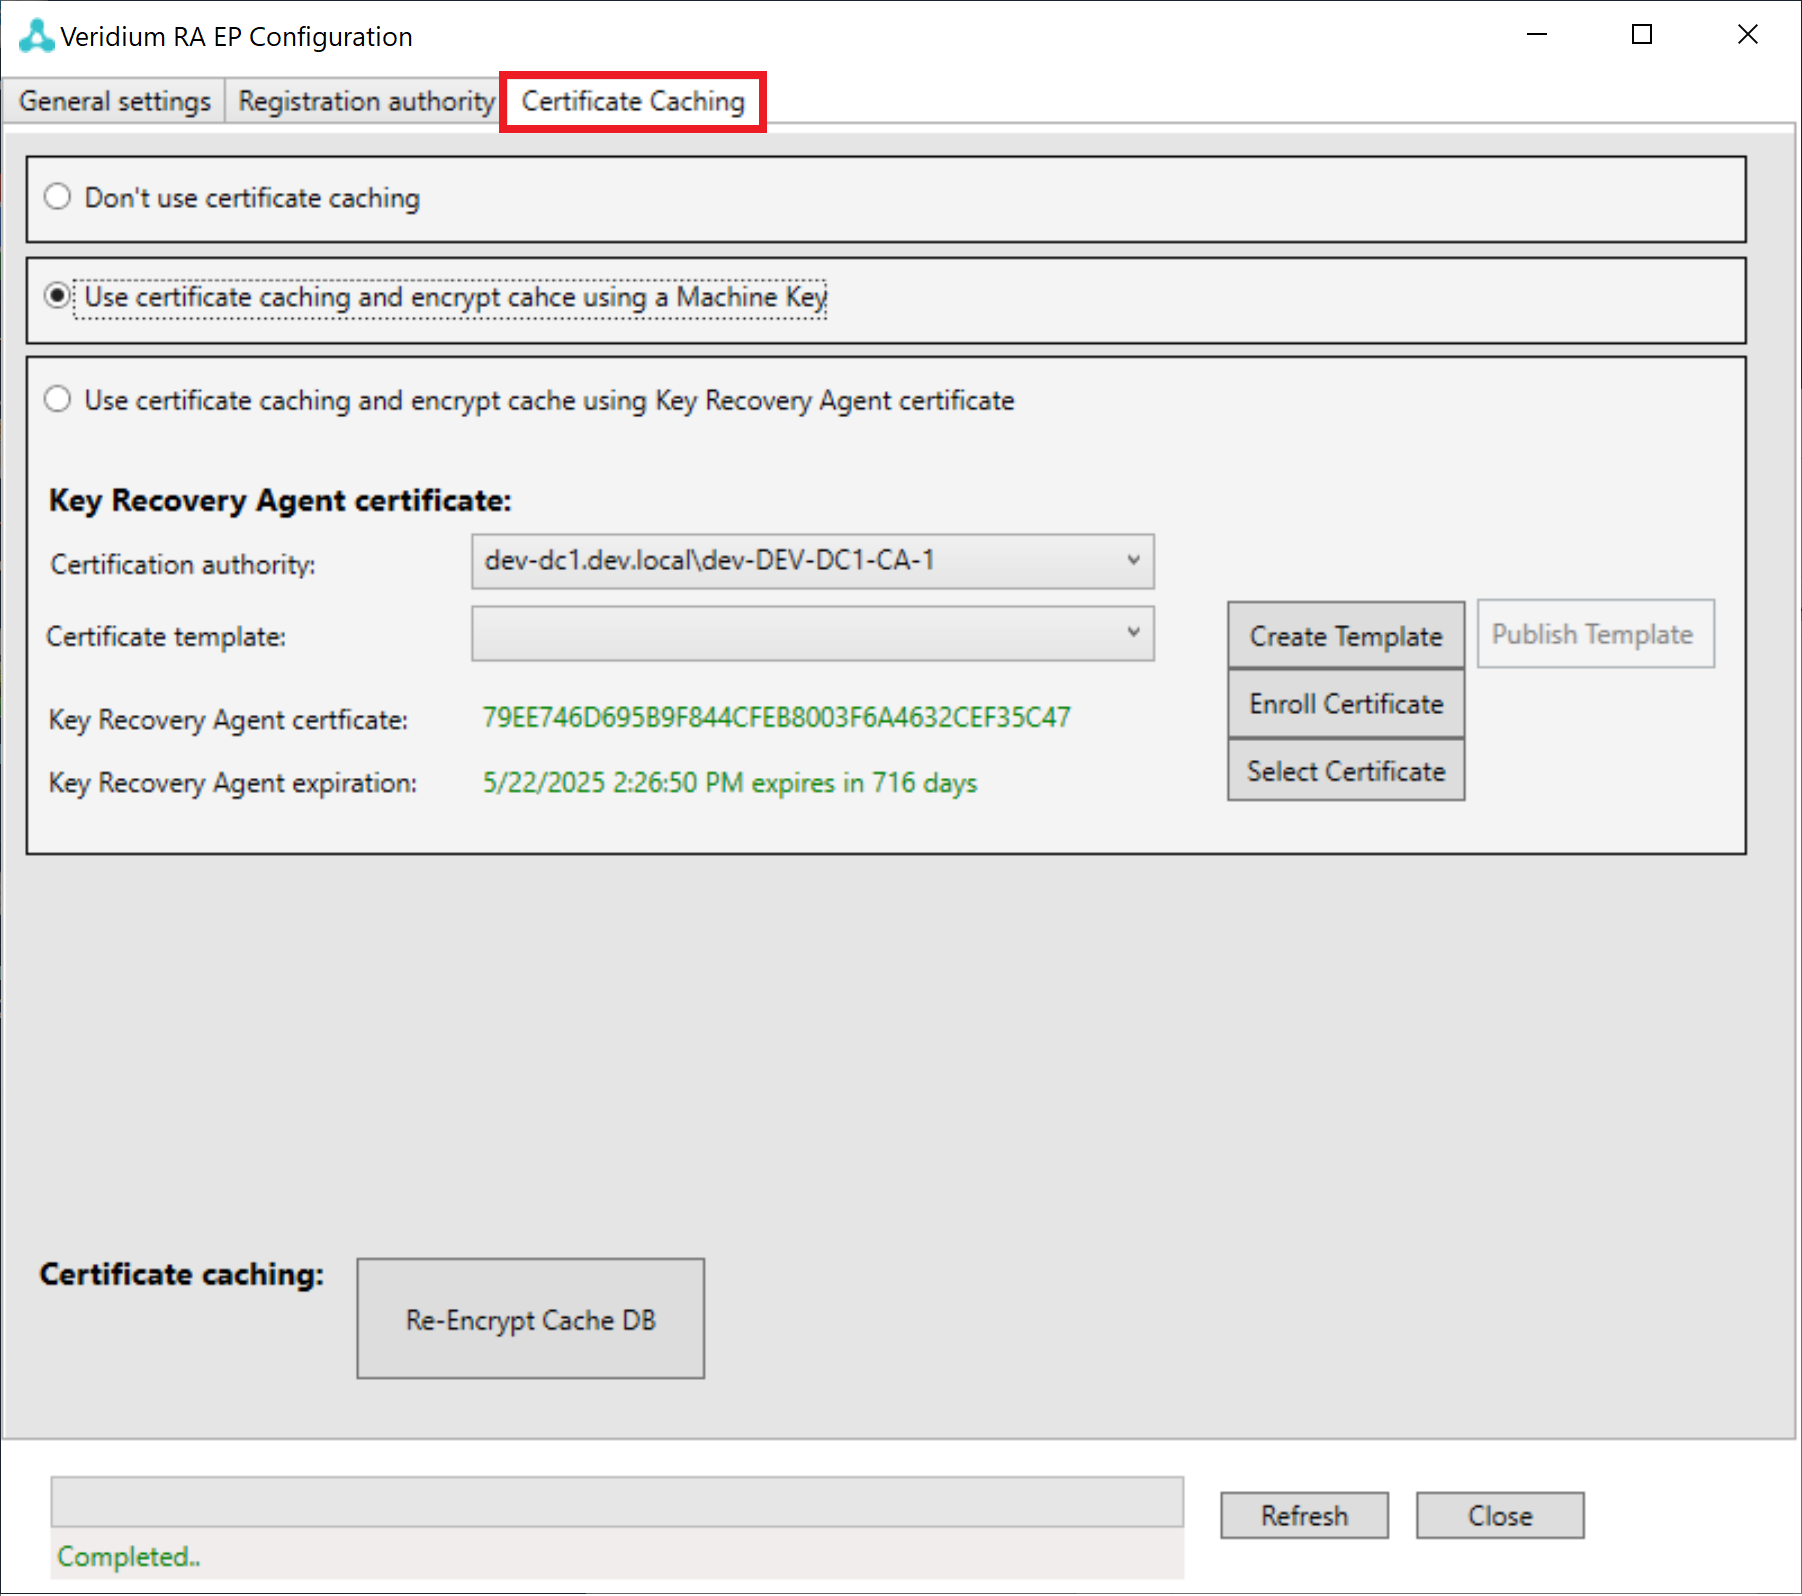
Click on the "Certificate Caching" tab.
-
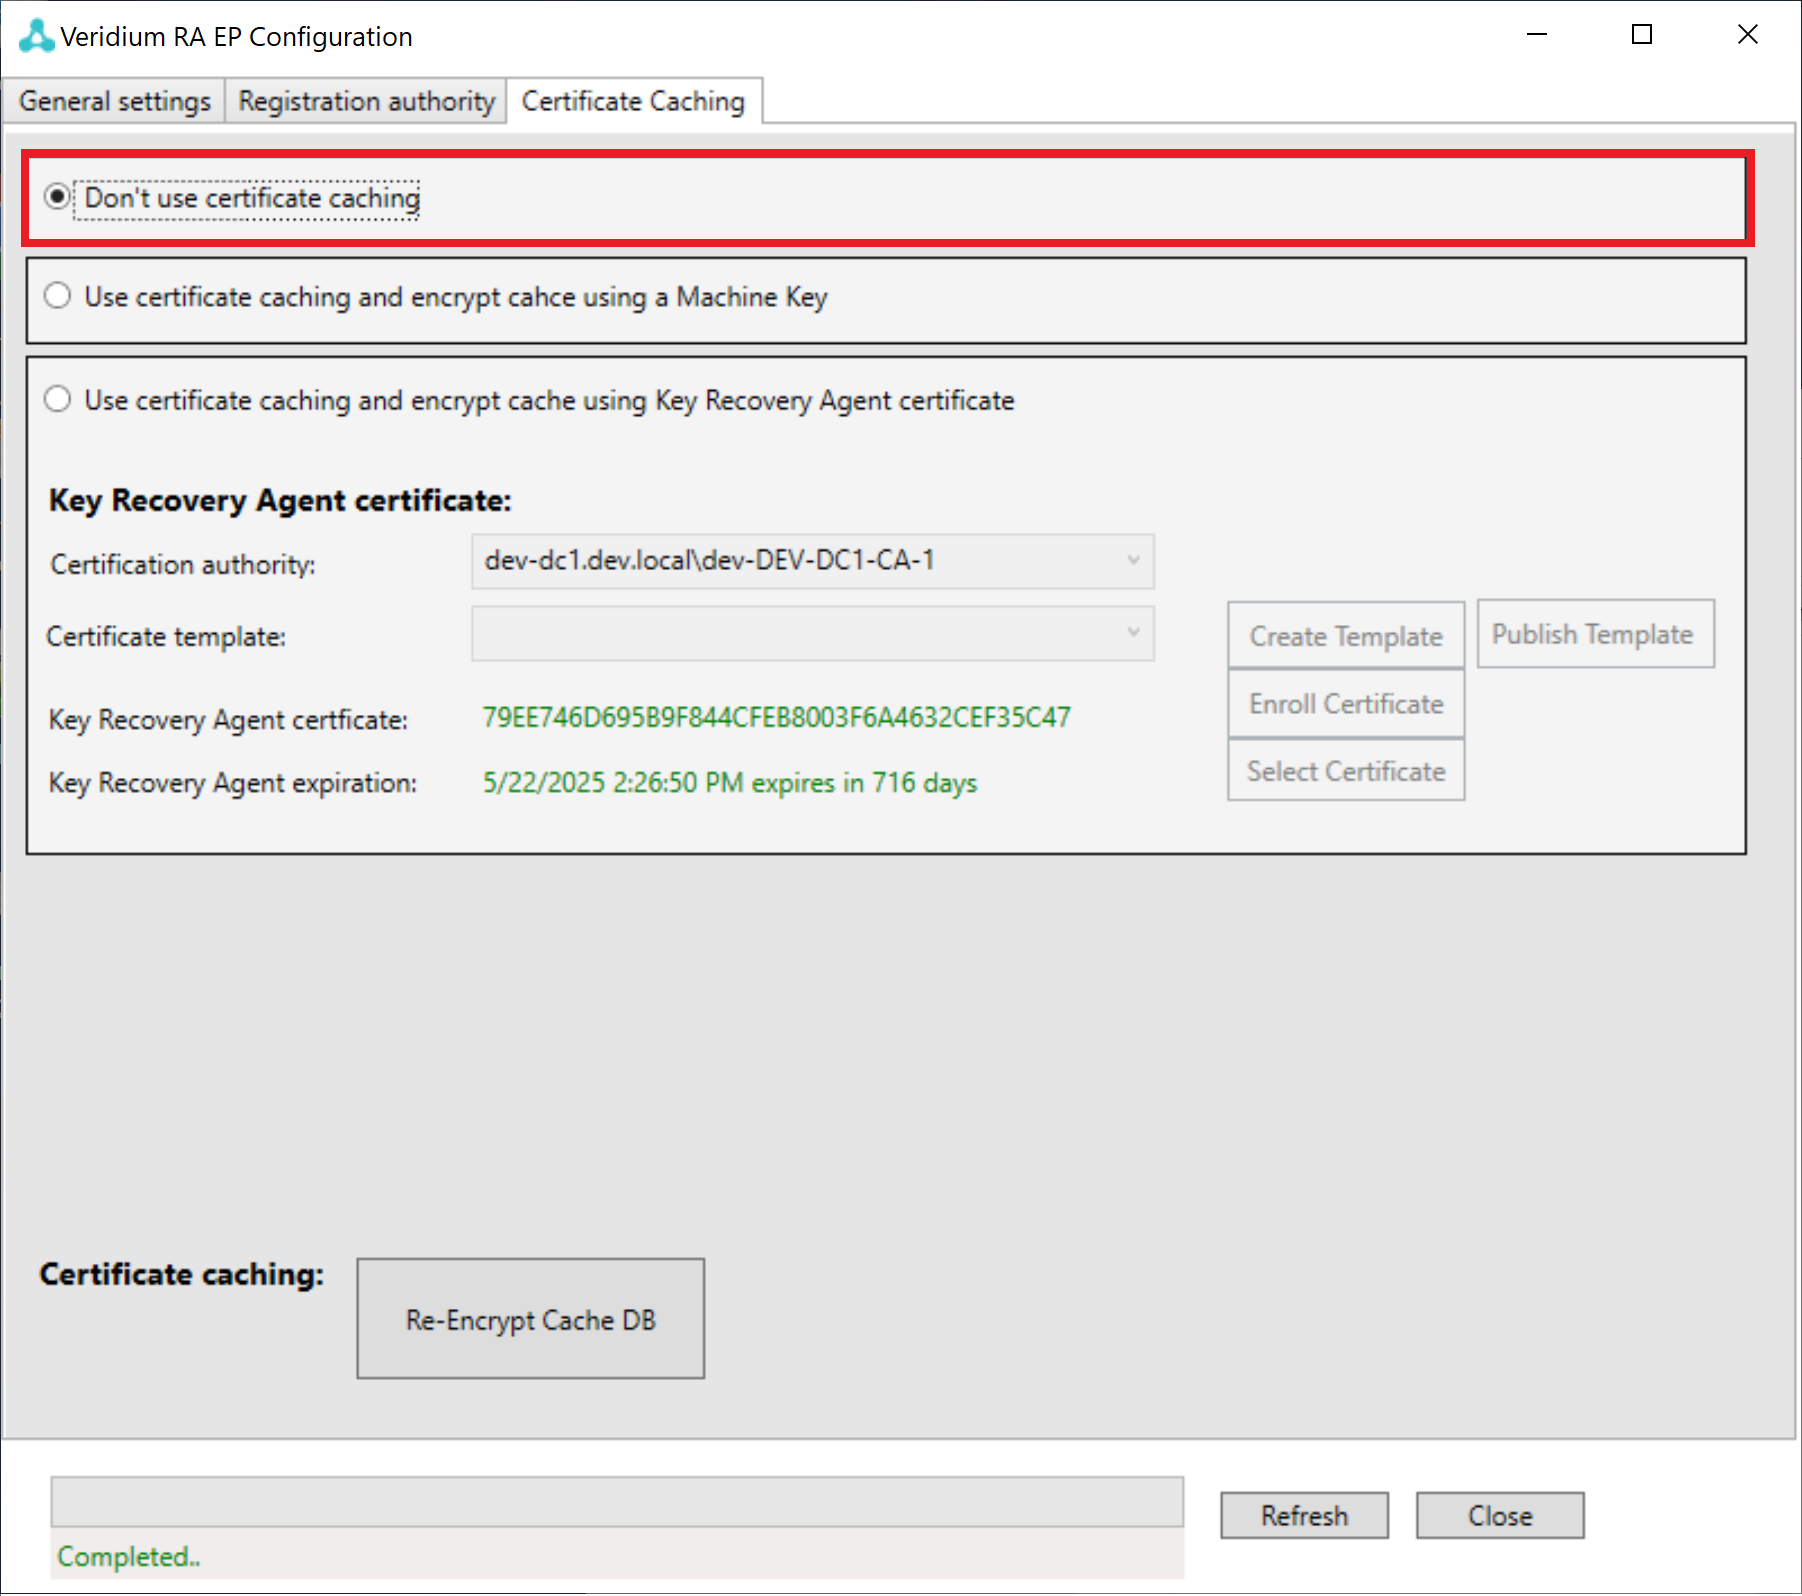
When certificate caching is not used, select “Don't use certificate caching“, and you are done now with configuration.
-
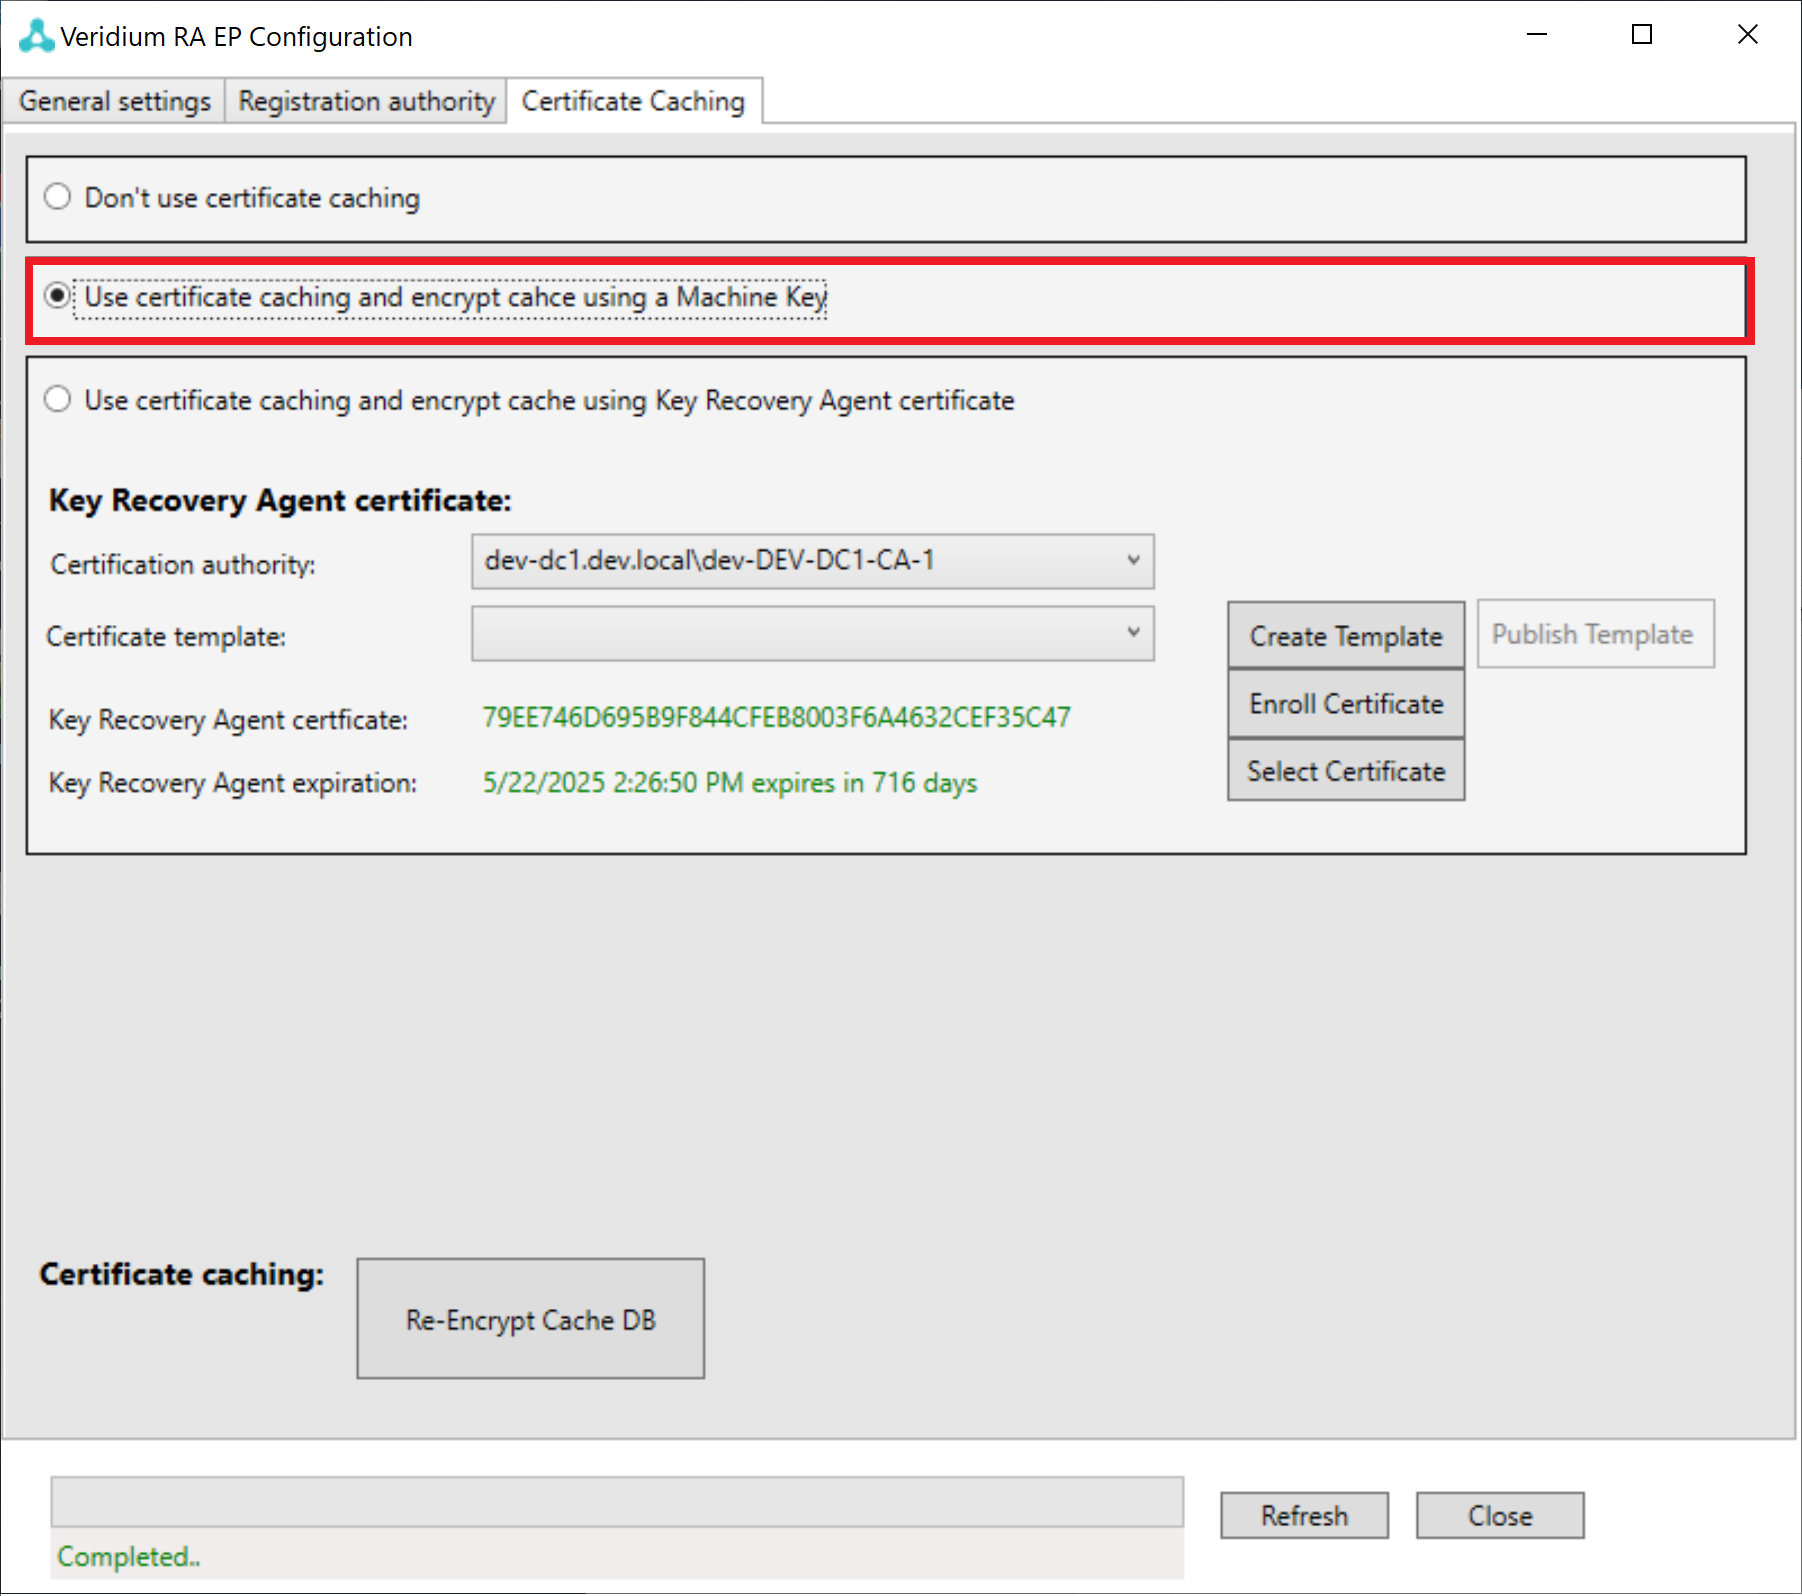
The second option is machine caching. For this option select “Use certificate authority caching and encrypt cache using a Machine key“ and you are done now with the configuration.
-
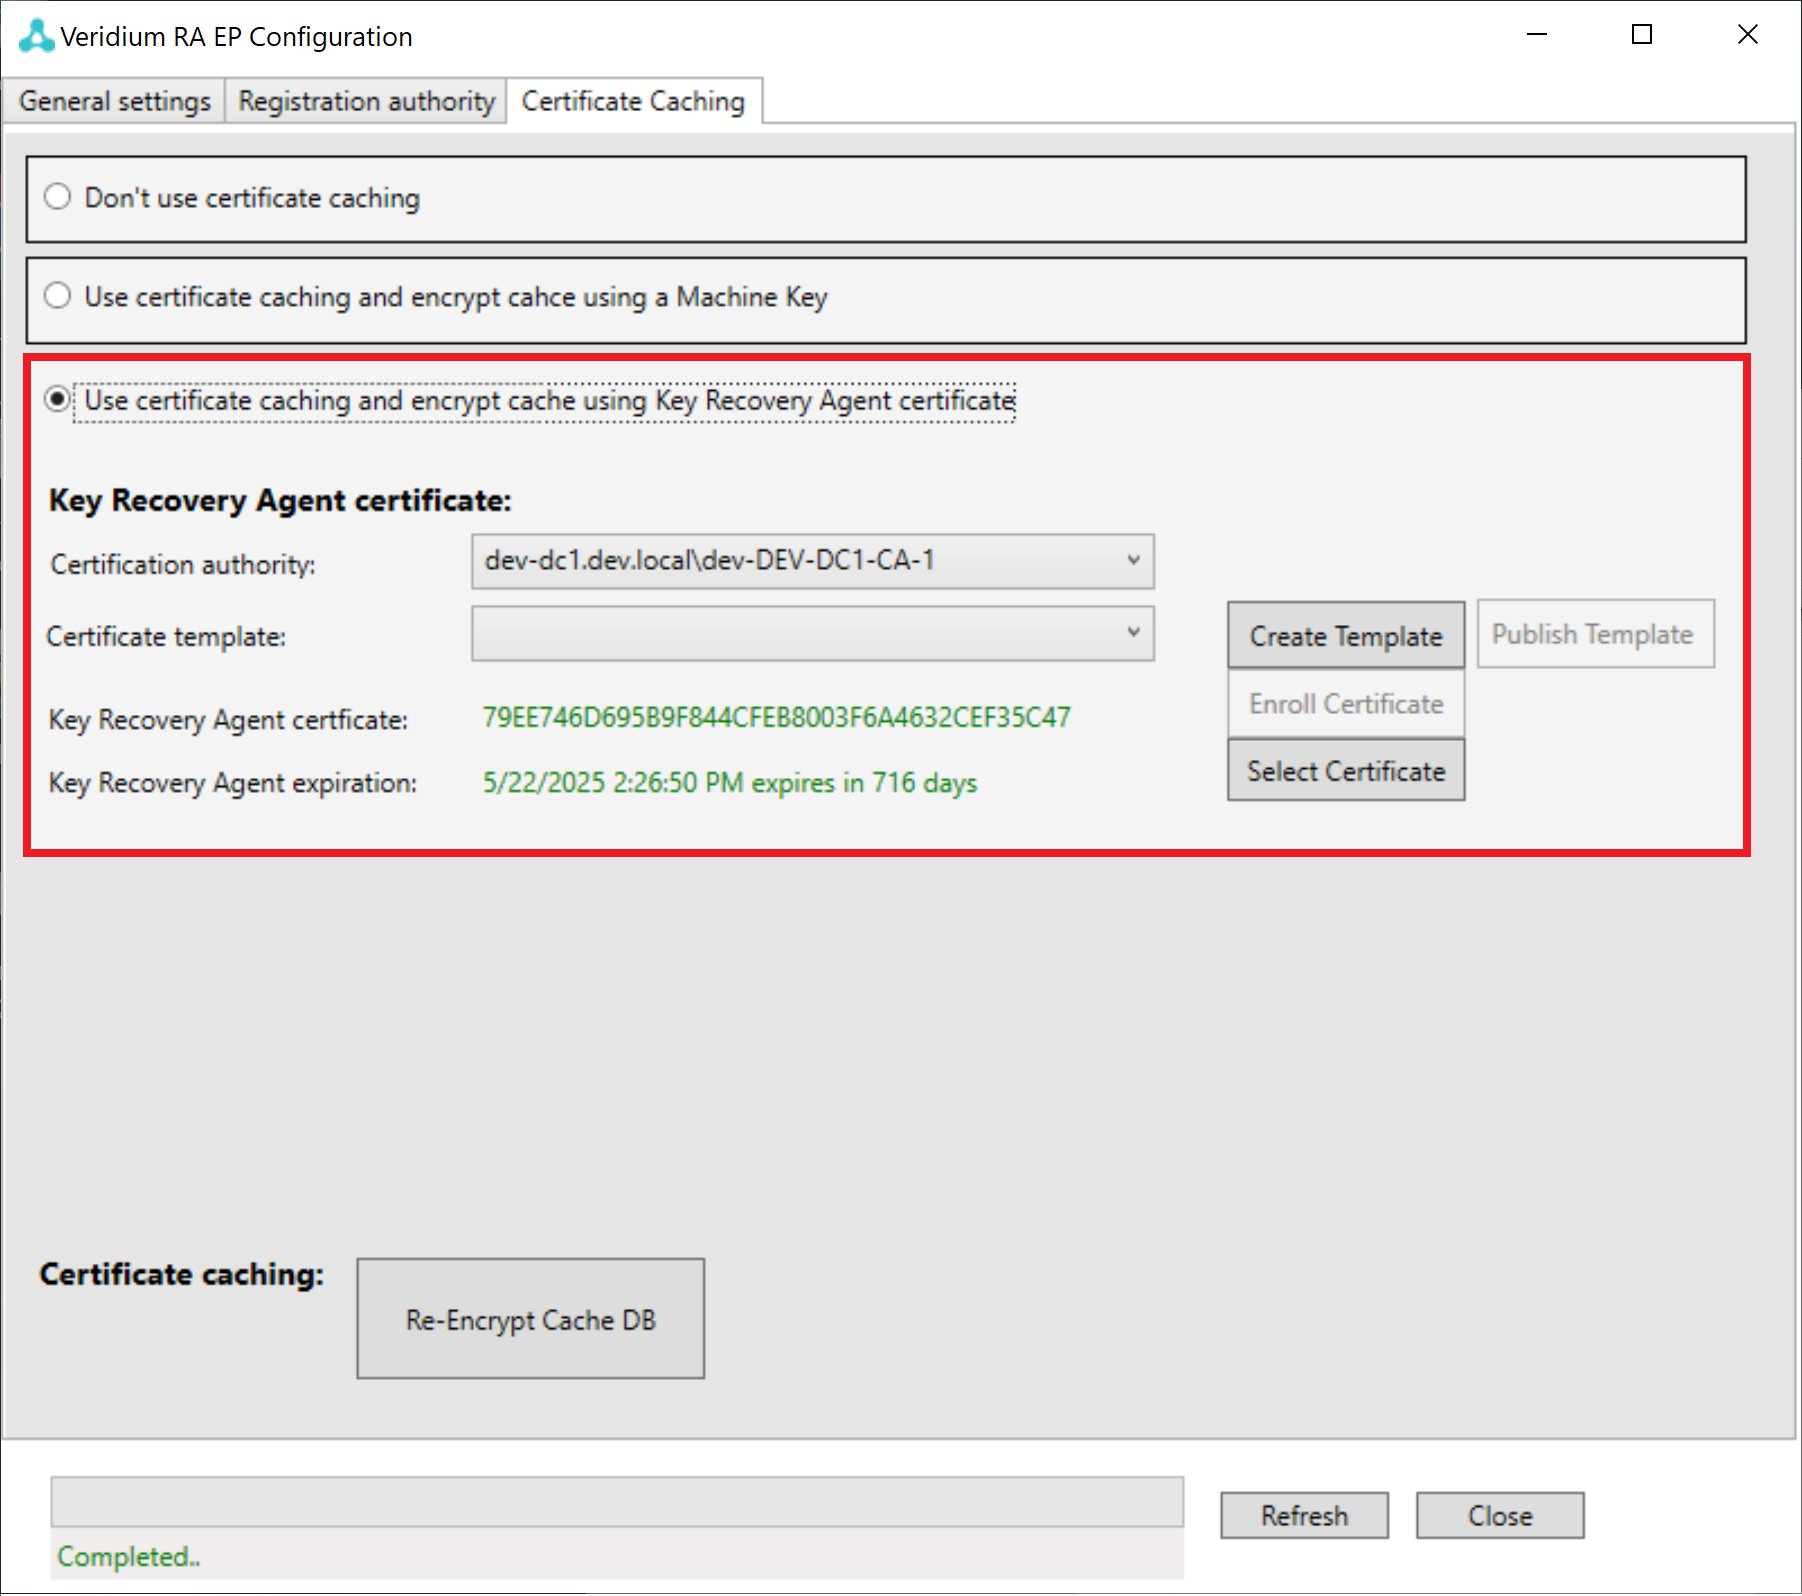
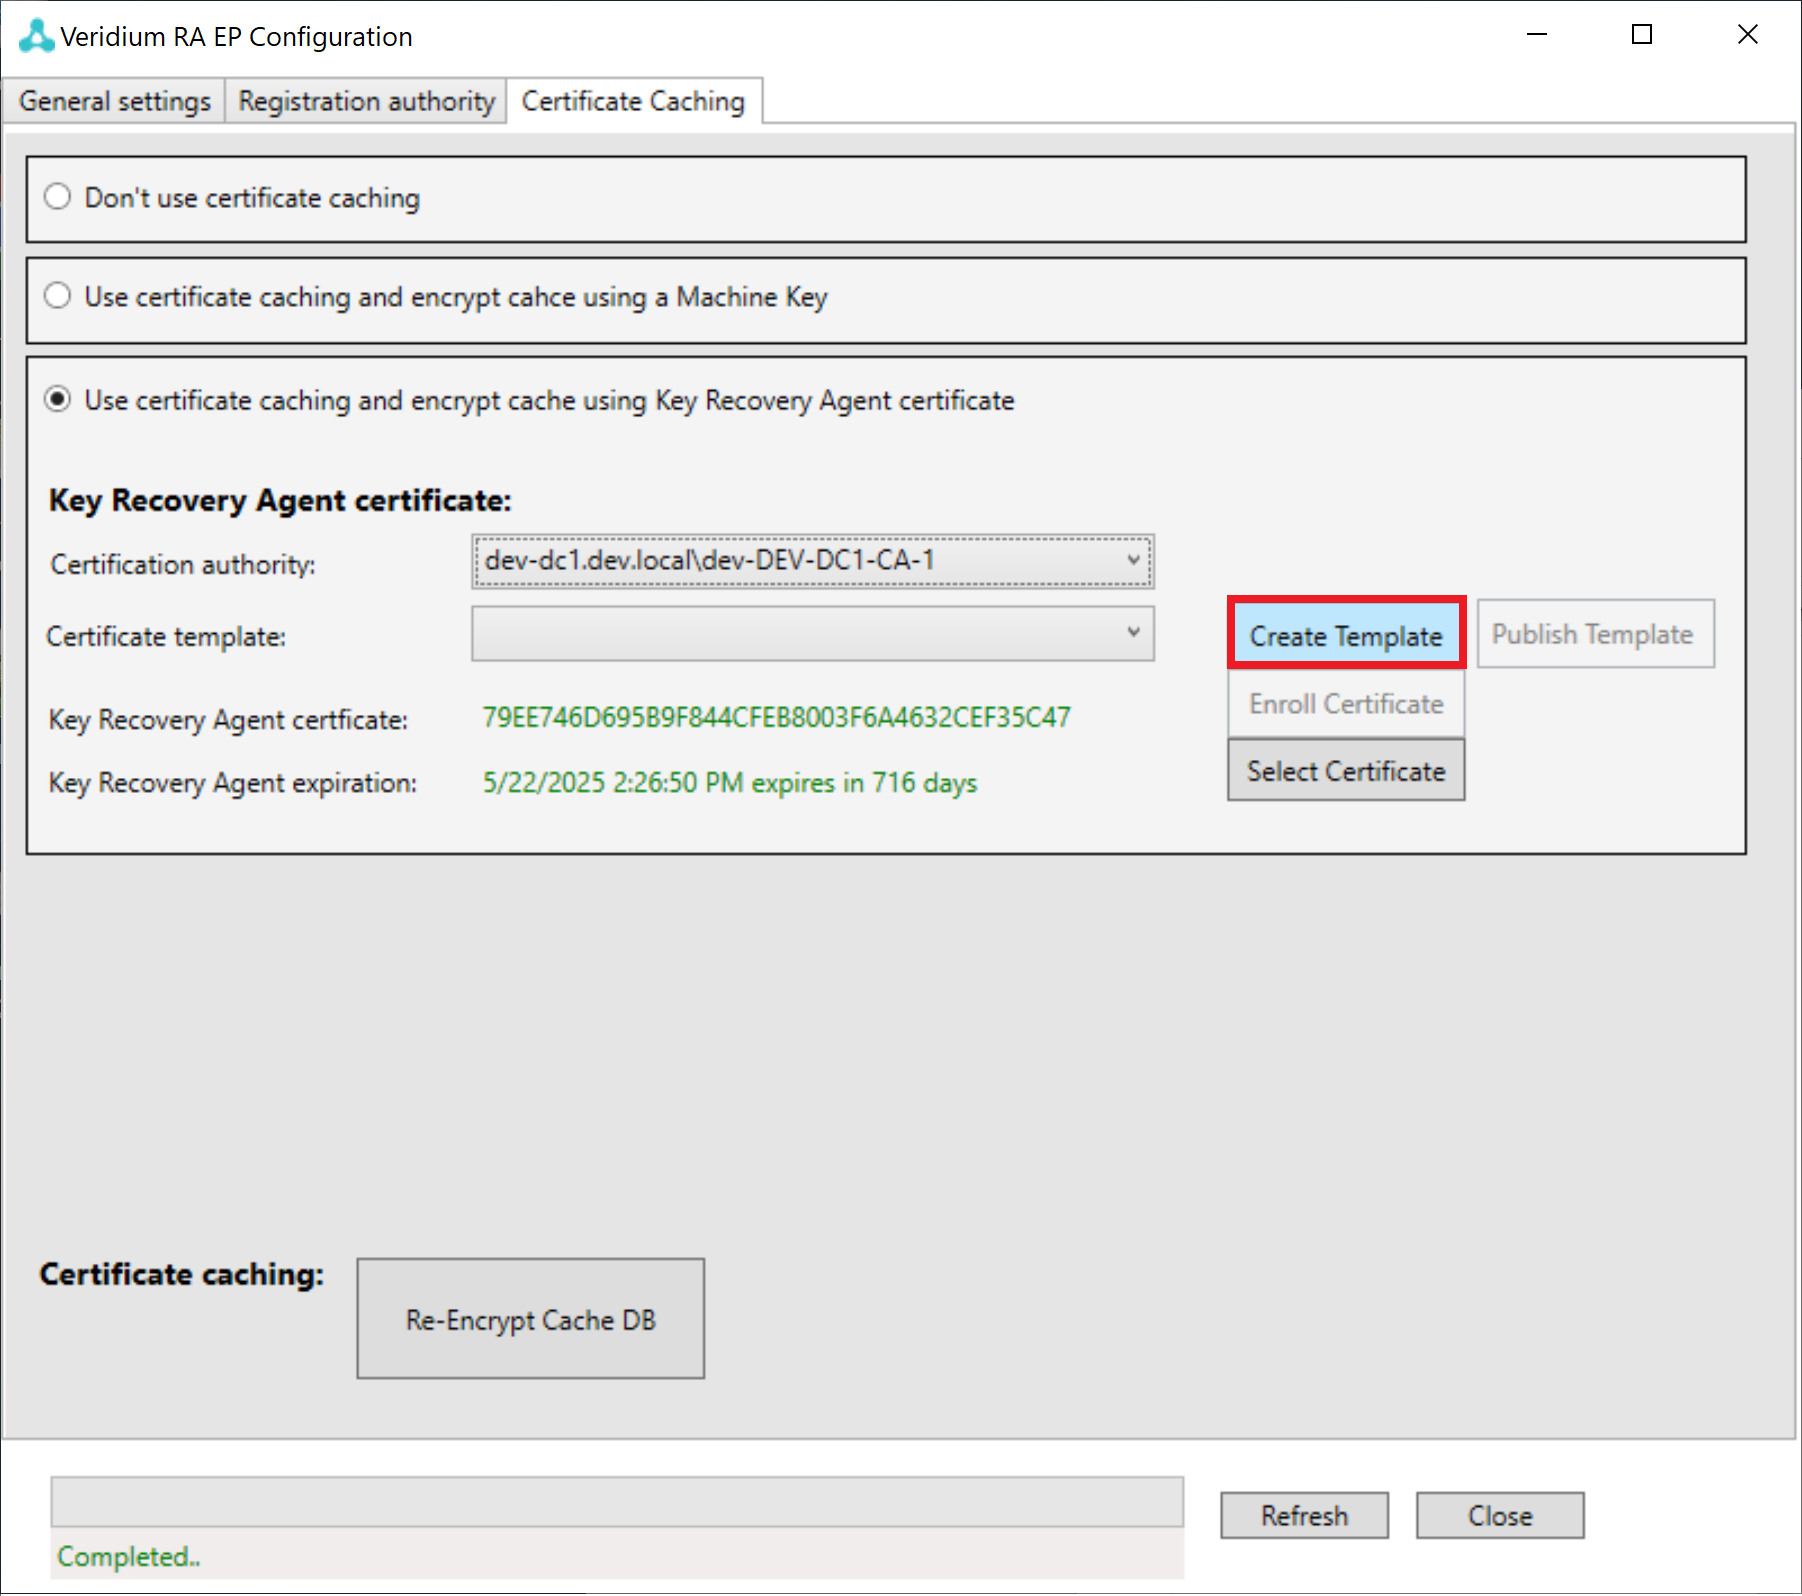
The third option is Recovery Agent caching, for this method select “Use certificate caching and encrypt cache using Key Recovery Agent Certificate“. In this case, after the certificate is enrolled. Cache DB might be re-encrypted using a “Re-Encrypt Cache DB“ button.
-
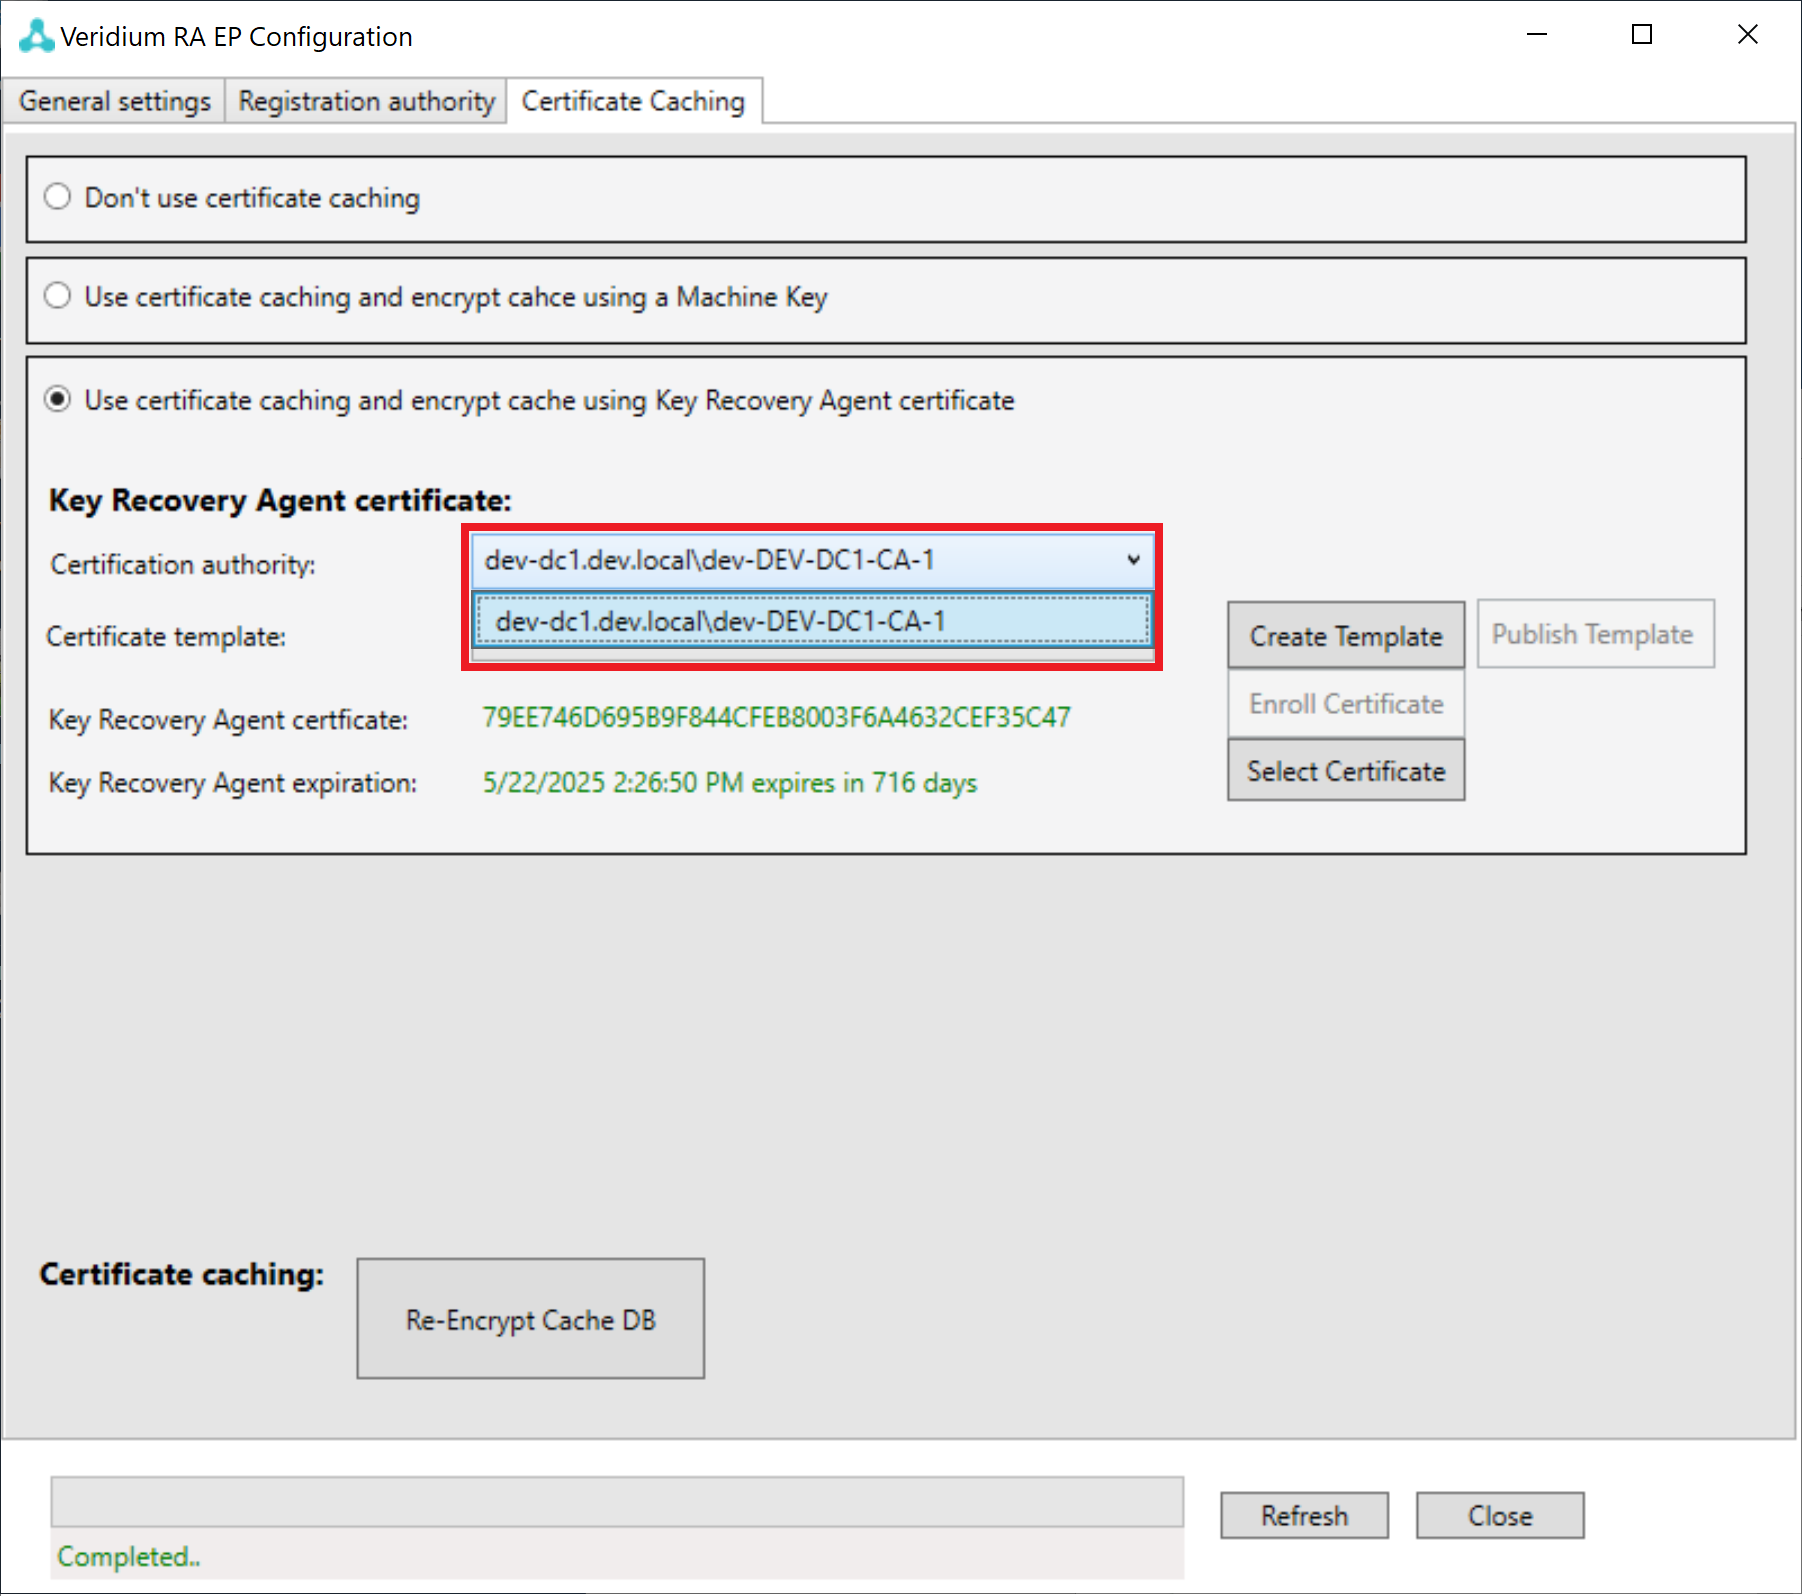
Select available Certification authority in a selected area.
-
Press "Create Template" button.
-
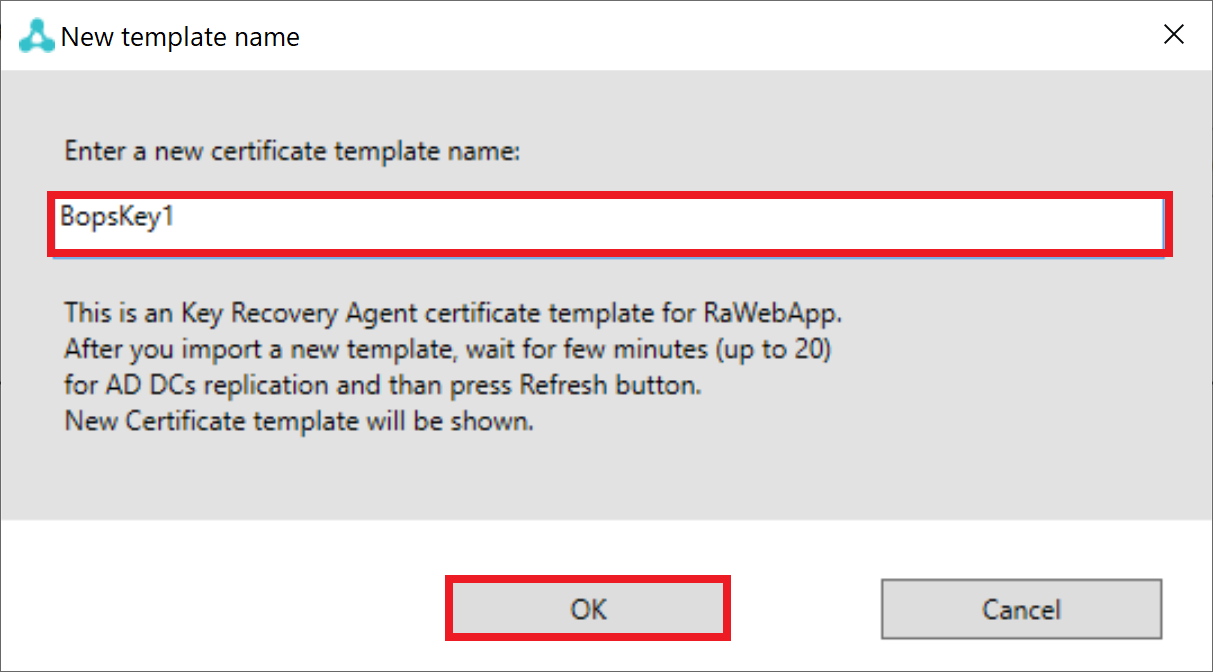
Enter "BopsKRA1" into the marked area. (or any other name, it is just an example..) Click "OK" button.
-
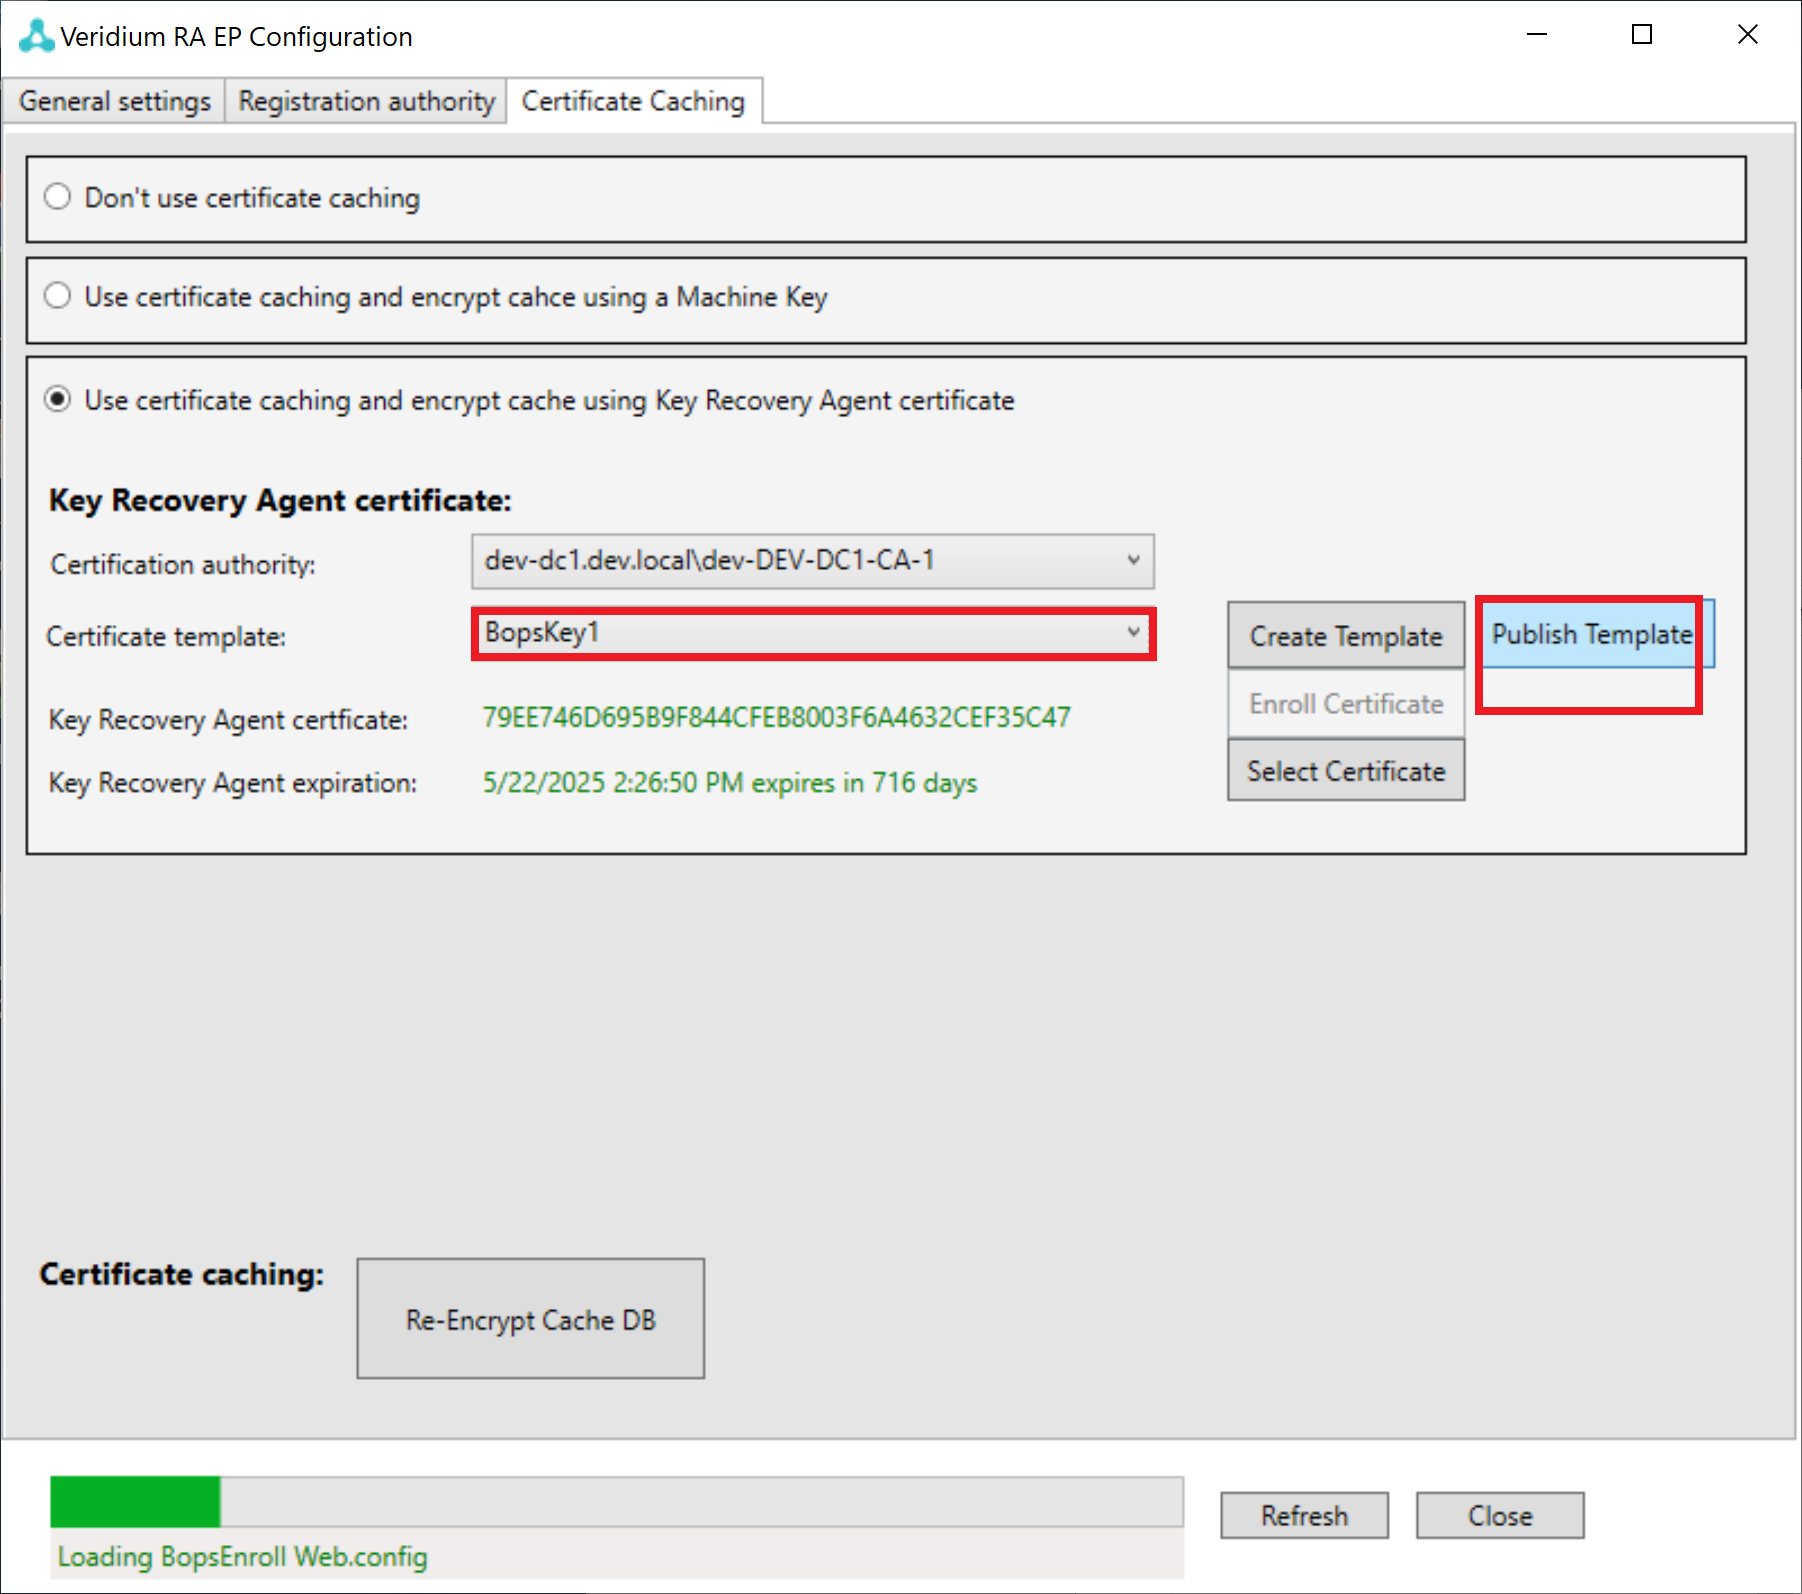
The button "Publish Template" should be enabled. Select the templated you just created and Click the "Publish Template" button.
-
Press "OK" buttons on appeared message box.
-
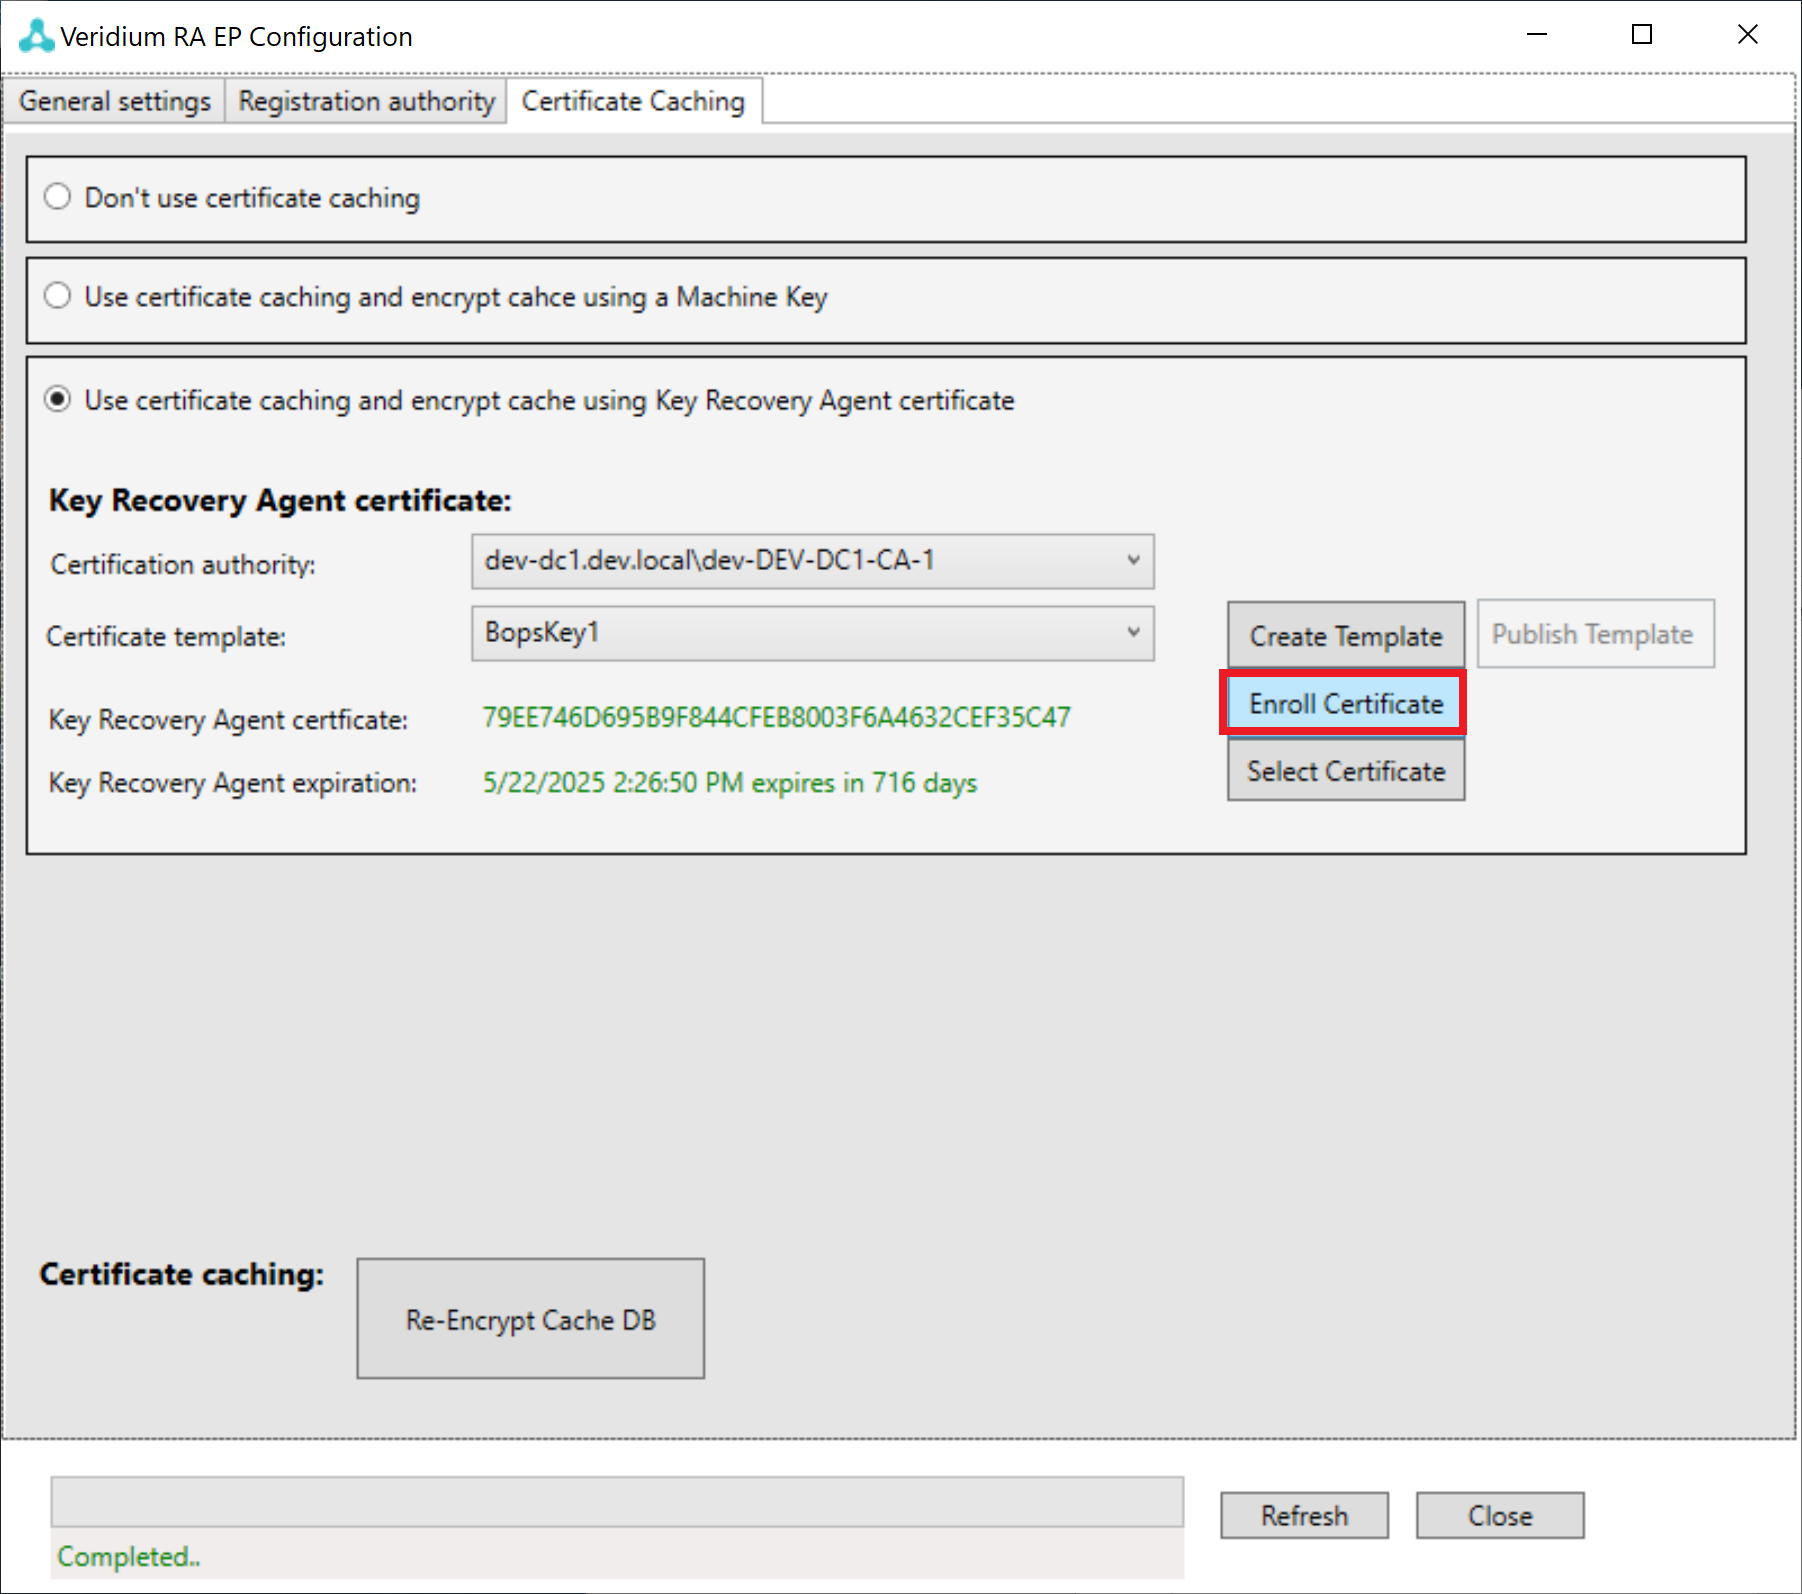
Now press the button "Enroll Certificate".