
The goal of this document is to describe how to configure Netscaler to use Radius authentication provided by Veridium and then provide SSO experience all the way to the machines server by a specific store.
Radius server definition
-
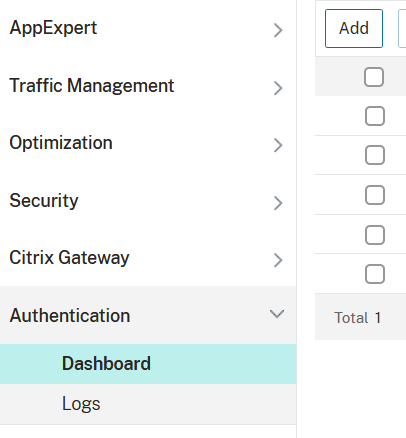
In order to define the external Radius server, click on Authentication->Dashboard and click on Add:
-
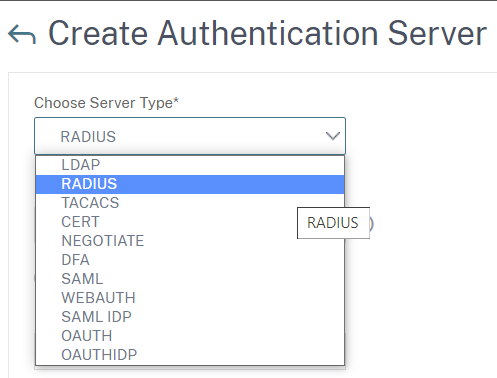
Choose RADIUS from the drop down of Choose Server Type*.
-
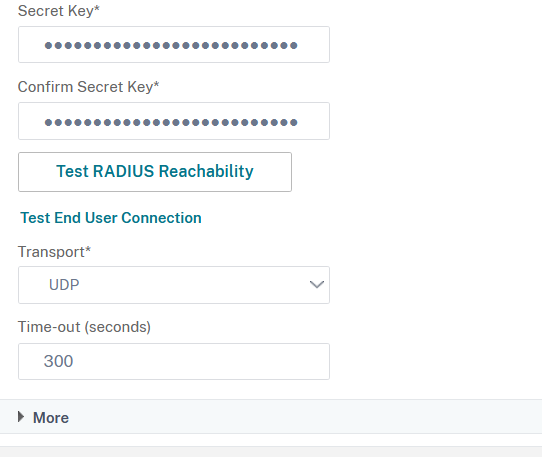
Select Sever IP and fill in: Name, IP Address, Port, Secret Key (and confirm it), and set the Transport to UDP.
IMPORTANT!!! Increase the Time-out value to a reasonable number ! Otherwise the authentication session will time-out before the Veridium client can receive and process the push notification sent by the Radius server.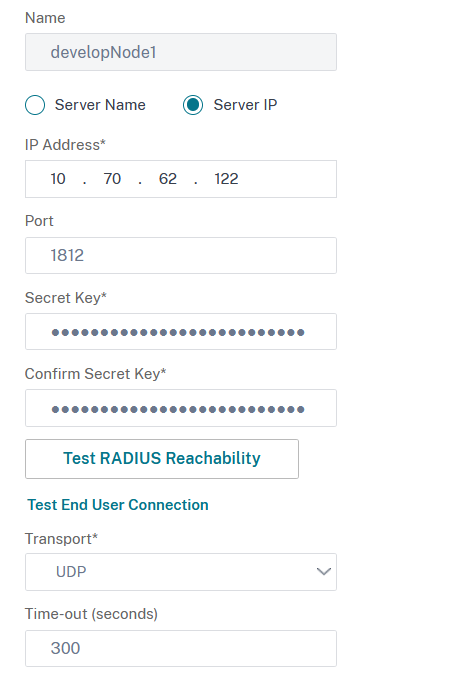
-
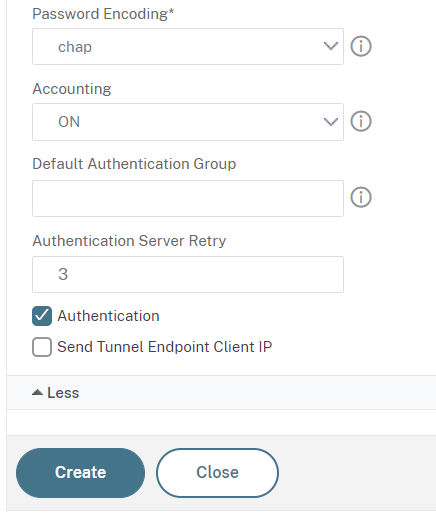
Click on More:
-
Select CHAP for Password Encoding, turn Accounting ON and make sure Authentication is enabled:
-
Click Create to save.
Session policy definition
The session policy establishes what resource the user will access after authentication. To define a session policy you must do the following:
-
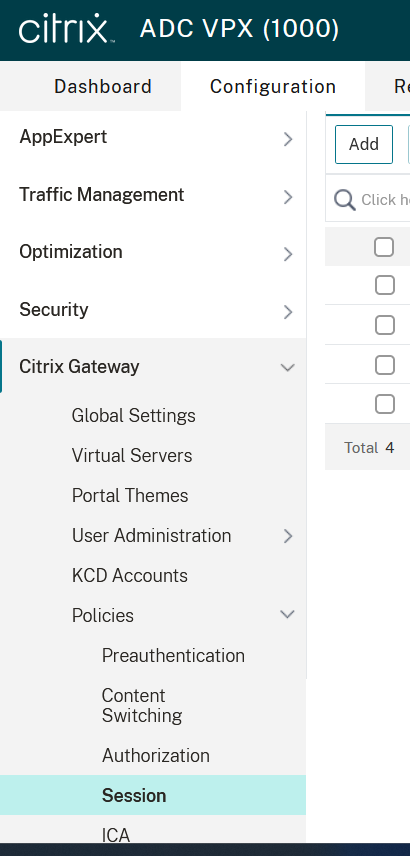
In the Netscaler admin interface, click on Configuration, then on Citrix Gateway, Policies and then on Session and Add:
-
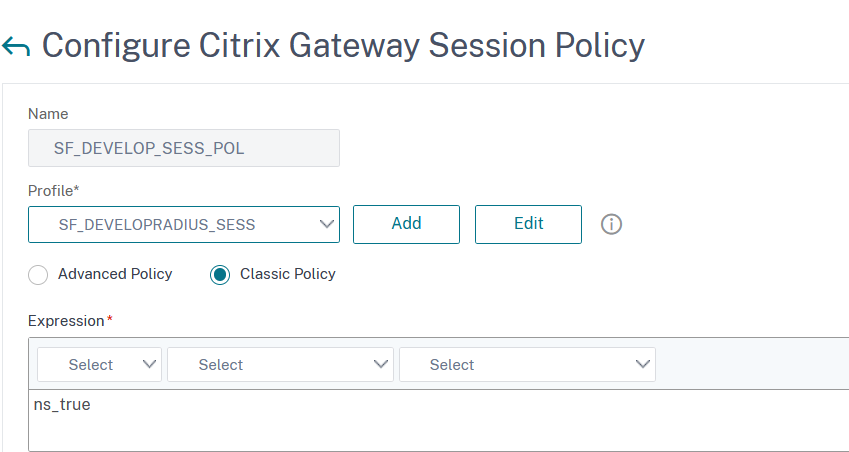
Enter a Name, in the Expression field type ns_true and in the Profile section click on Add to add a new profile:
-
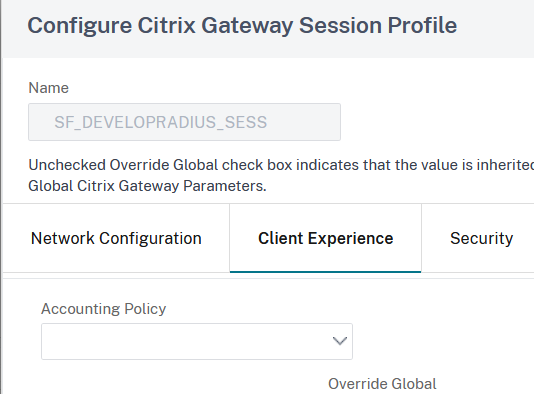
After clicking Add on the Profile section, in the Create Citrix Gateway Session Profile set a Name and then switch to Client experience tab:
-
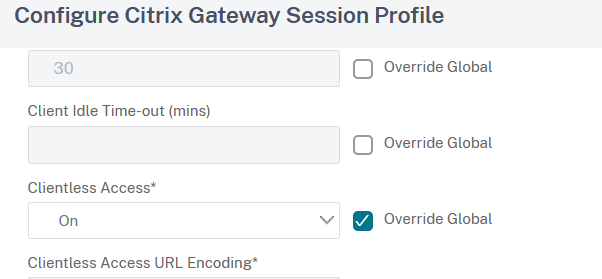
Scroll down to the Clientless Access field and enable Override global, make sure its value is On:
-
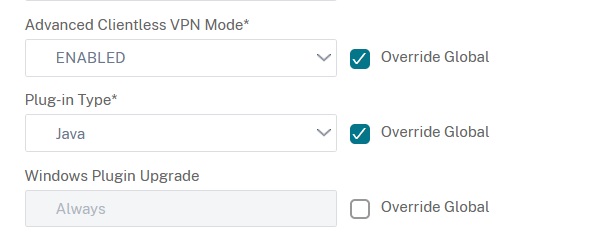
Enable Override Global for the Advanced Clientless VPN Mode and make sure its value is ENABLED; tick Override Global for the Plug-in Type field and set its value to Java:
-
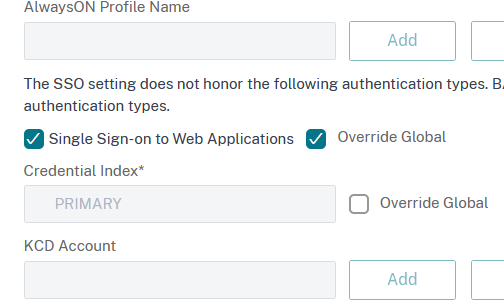
Scroll down to Single Sign-on to Web Applications and enable Override global:
-
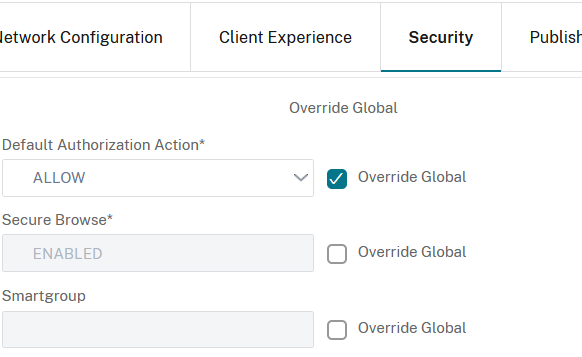
Now switch to Security tab enable Override Global for the Default Authorization Action and set it to ALLOW:
-
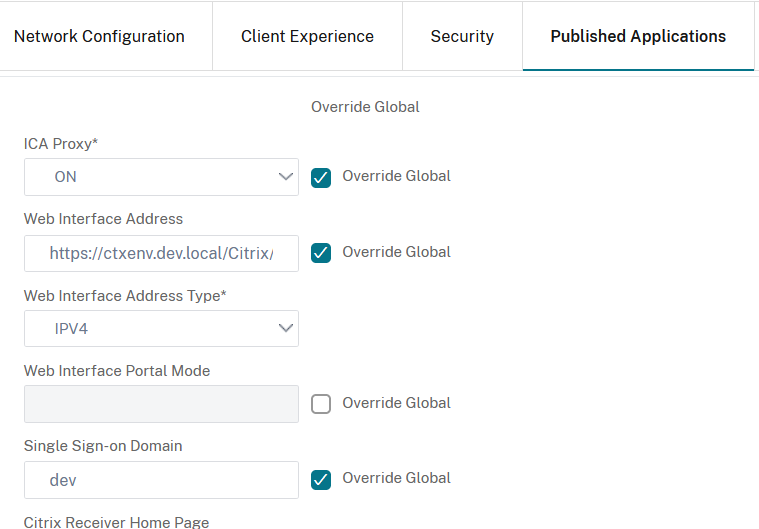
Switch to Published Applications tab and enable Override Global for ICA Proxy and set it to On, enable Override Global for Web Interface Address and set it to, for example, the store you want the user to access, then enable Override Global for Single Sign-on Domain and set it to the domain the Storefront server is part of (in this example - dev):
-
Click on Create and OK to finish.
Virtual server creation
-
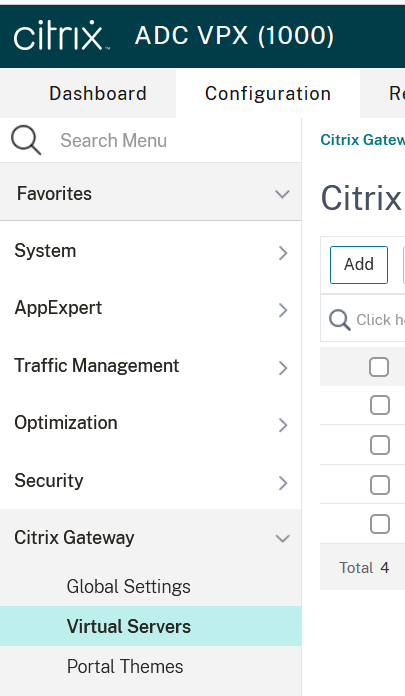
From the main Netscaler menu click on Configuration, Citrix Gateway, Virtual Servers and click on Add:
-
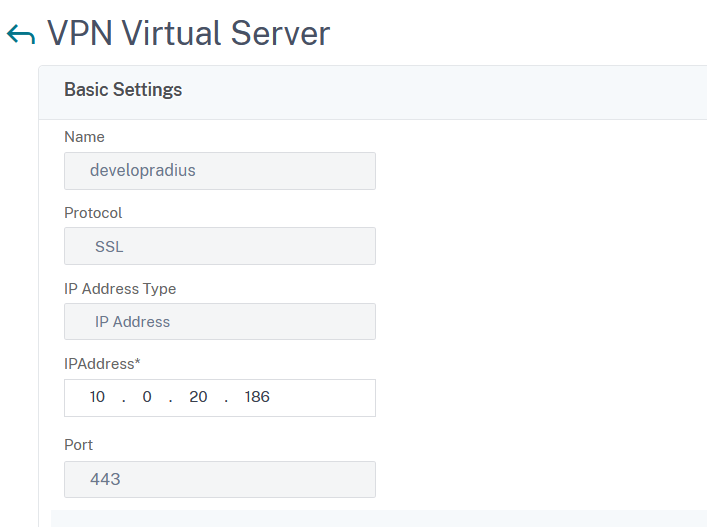
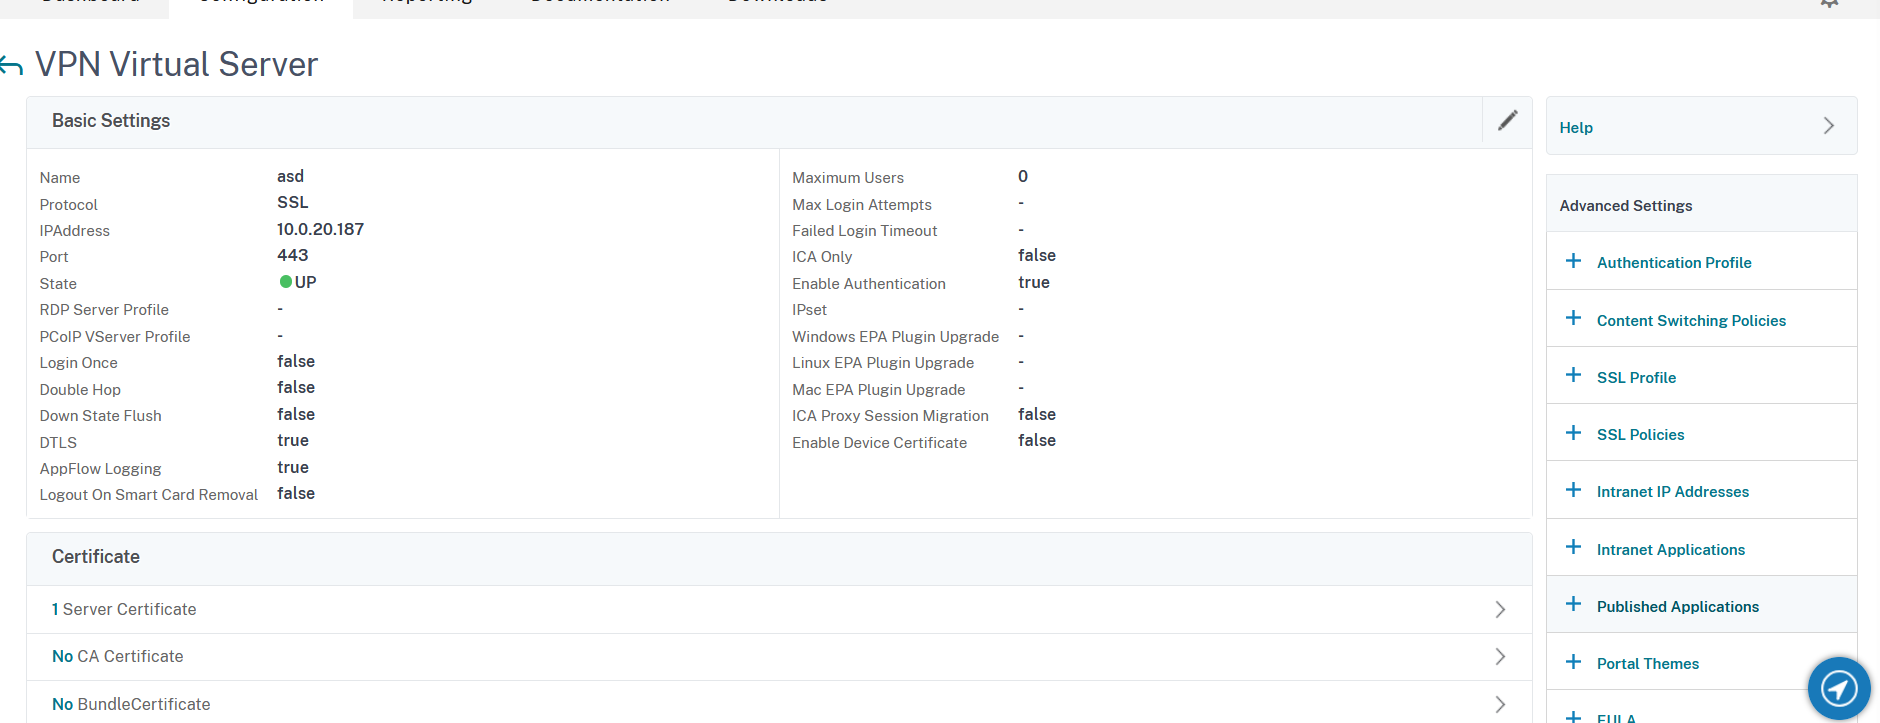
Enter a Name, set the Protocol to SSL and assign an ip address:
-
Click on OK to save.
-
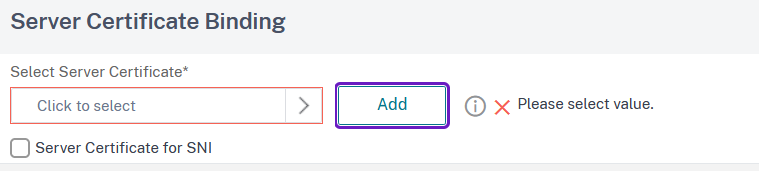
In the next window click on the arrow sign on the right of the Server Certificate field:

-
Click on the Click to select field:
-
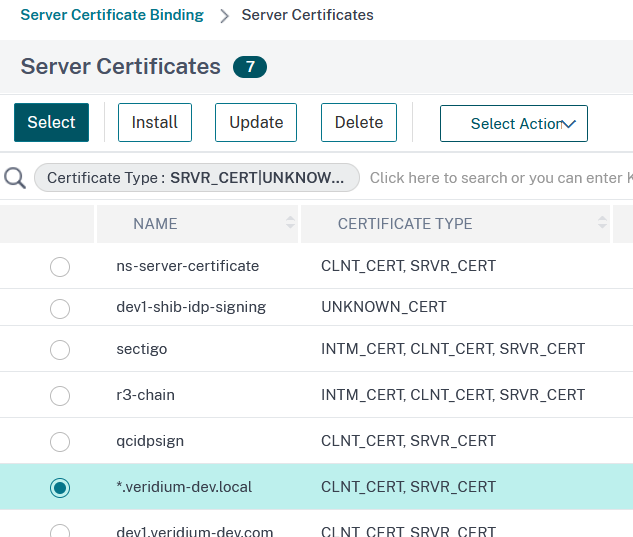
In the next window click on the radio button next to the desired certificate and then on Select button:
-
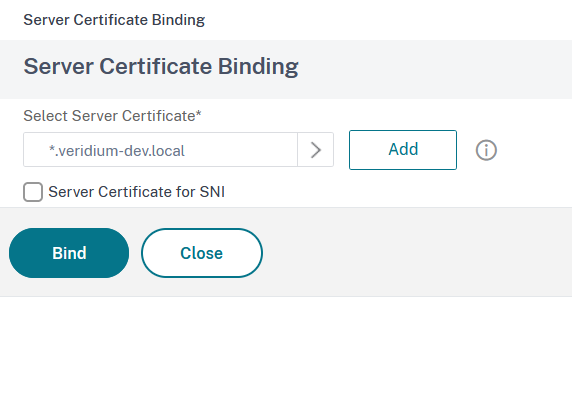
In the next window click on Bind to assign the certificate to the virtual server:
-
In the newly created VPN Virtual Server window, under the Basic Authentication section click on the + sign to add a new basic authentication policy:

9. In the Choose Type window, select RADIUS in the Choose Policy section and Primary in the Choose Type section:
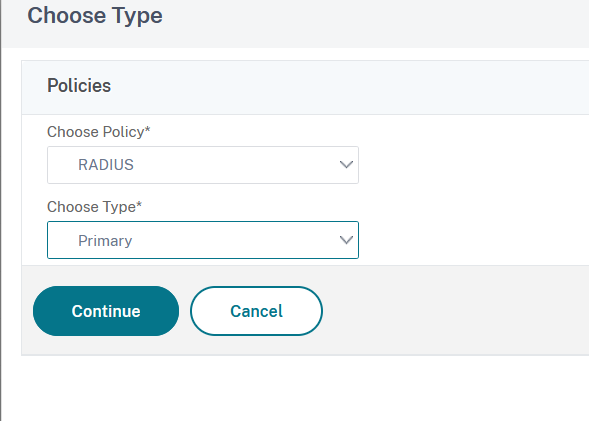
10. Click on Continue to advance.
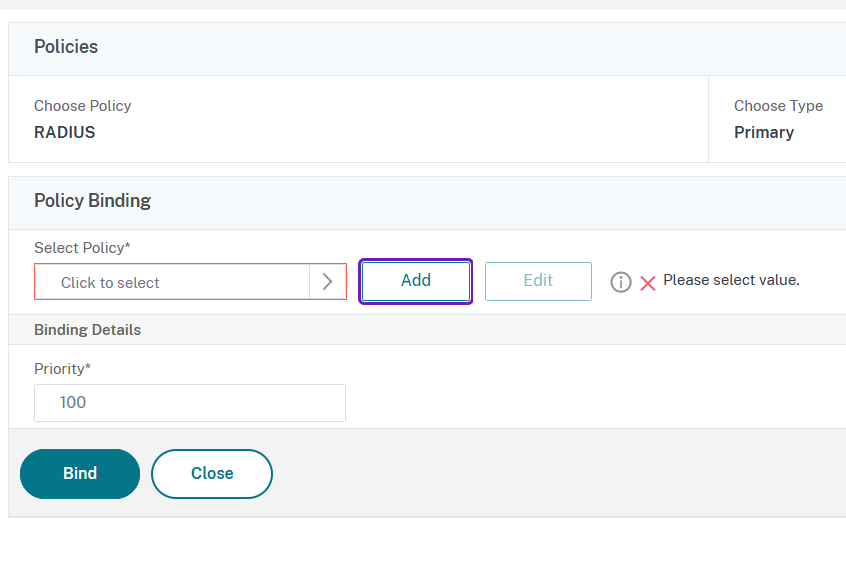
11. In the next window click on Add next to Click to select field:
12. In the Create Authentication RADIUS Policy window set a Name for the policy, select the Radius server you have previously defined for the Server field and type ns_true in the Expression field:
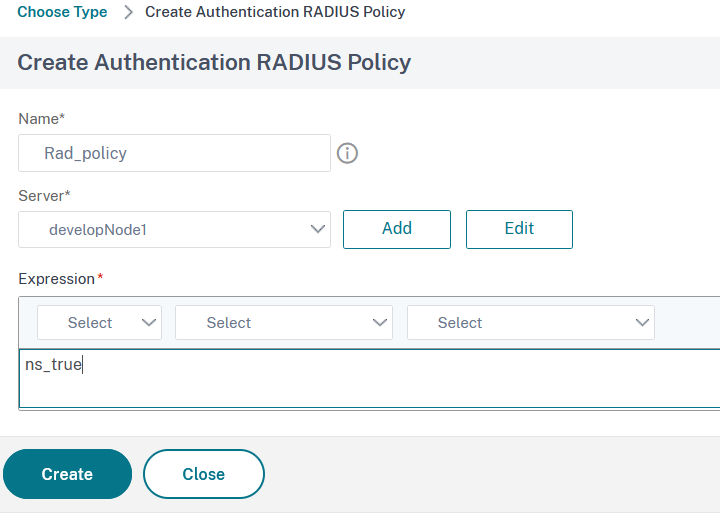
13. Click on Create to define the policy and then on Bind to assign the policy.
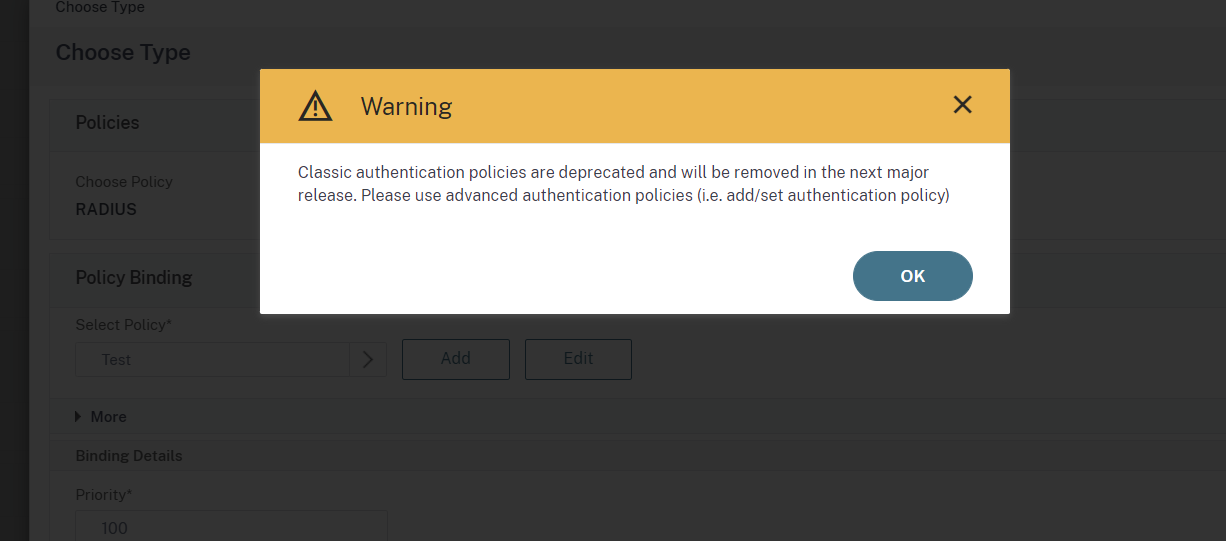
NOTE: A warning message is informing the user about the expiration of Classic authentication policies being deprecated in the next versions. @User an update of the documentation is needed for this (new) flow.
14. Scroll down to the Policy section on the VPN Virtual Server window, and click on the + sign:

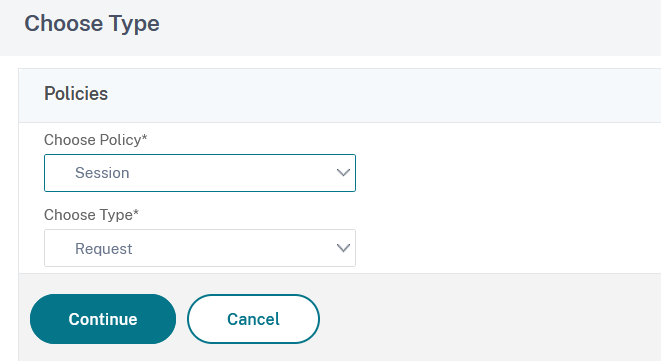
15. In the Choose Policy window select Session, in the Choose Type field make sure Request is selected and then click on Continue:
16. In the Select Policy field, click on Click to select option:
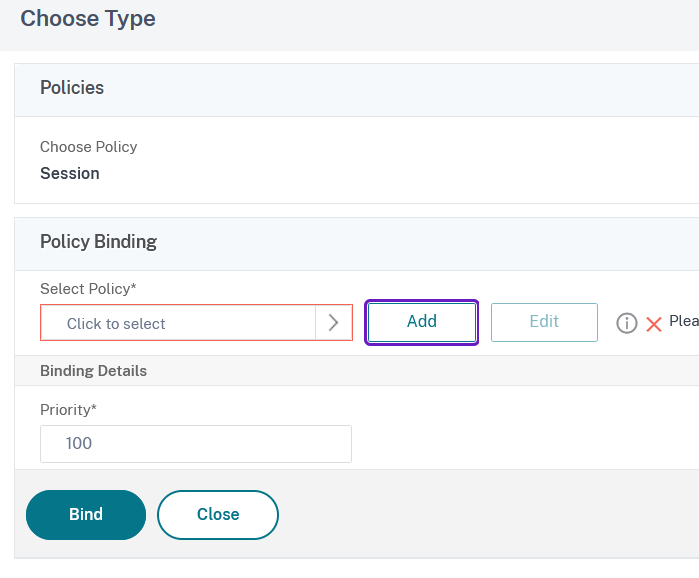
17. From the Session Policies list click on the button next to the desired policy and then on Select:
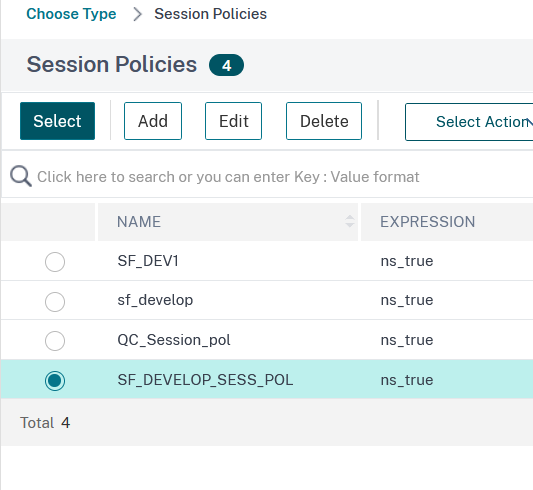
18. In the next window click on Bind to assign the policy.
19. The final step is to assign a STA server. In order to achieve this, in the VPN Virtual Server configuration window, under Advanced Settings, click on + Published Applications:
20. The section will appear in the main window. Click on the STA Server line to add the STA server:

21. Enter the Storefront server address in the Security Ticket Authority Server, and select IPV4 in the Security Ticket Authority Server Address Type:
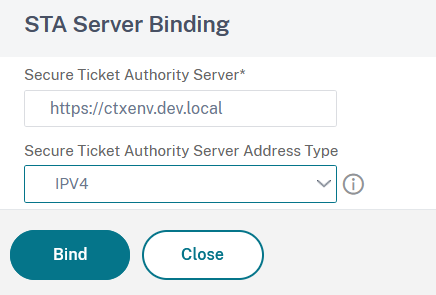
22. Click on Bind and then on Done to finish the virtual server creation process.