
Procedure:
-
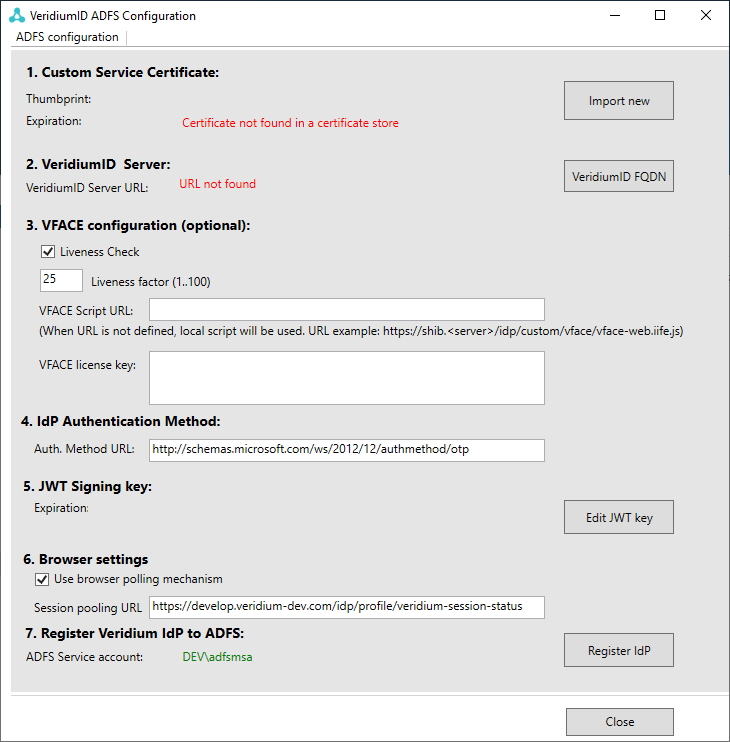
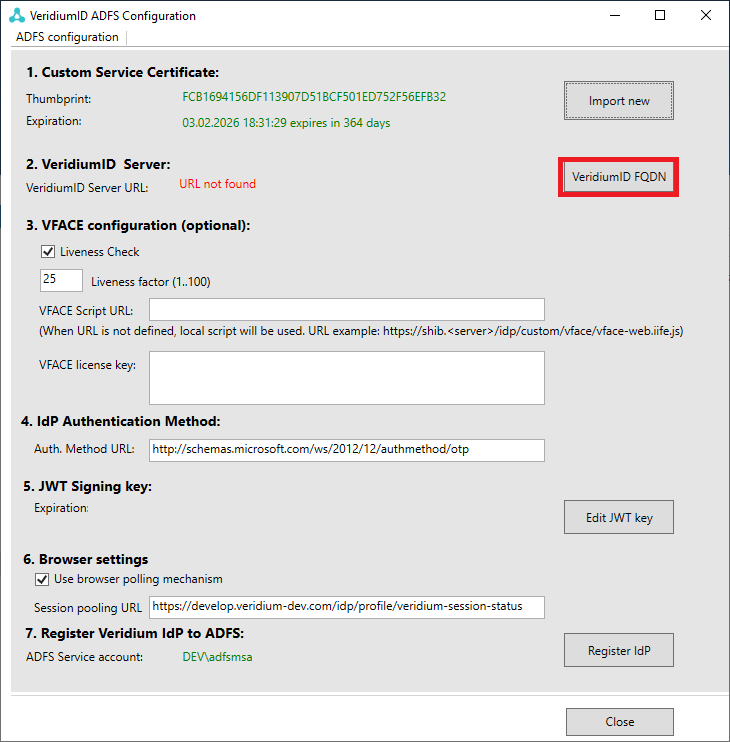
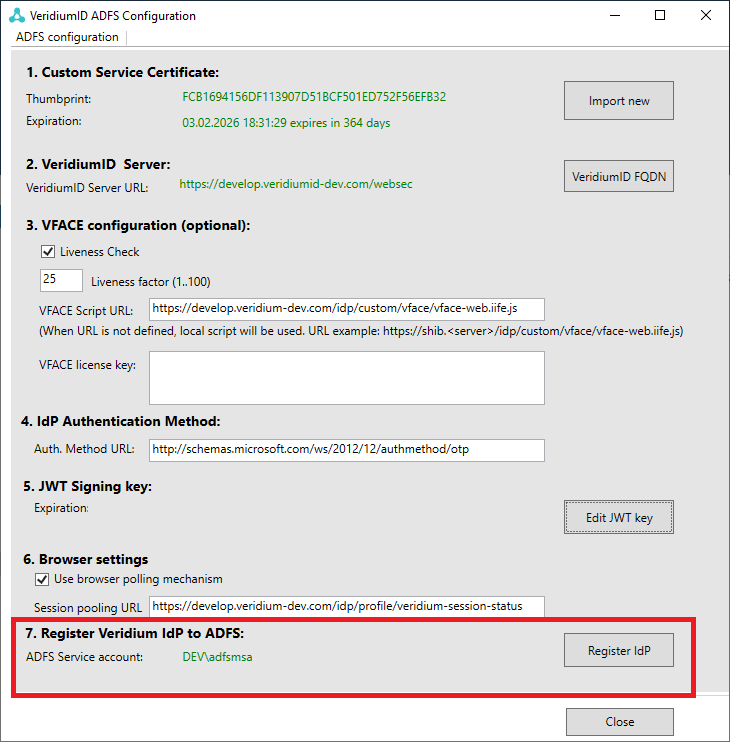
Start the VeridiumID ADFS Configuration.
-
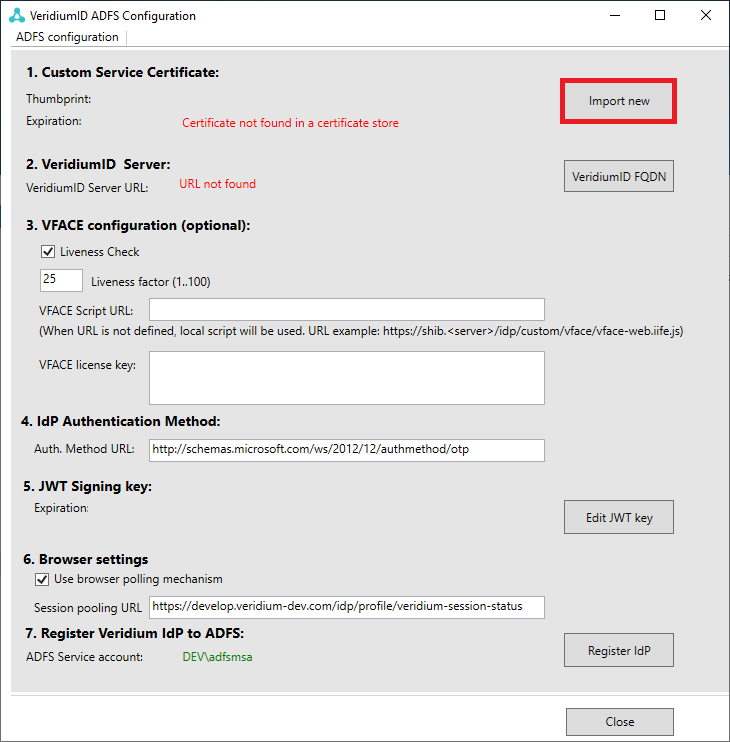
Click "Import New" button.
-
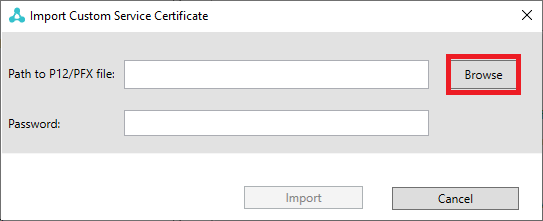
Click "Browse" button and navigate to Friend certificate and enter the password below.
-
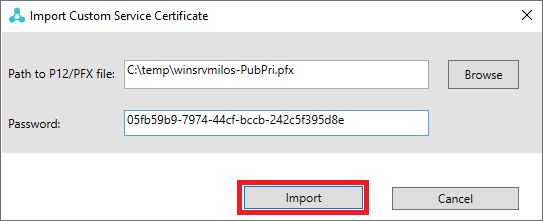
Click "Import" button.
-
Click "VeridumID FQDN" button.
-
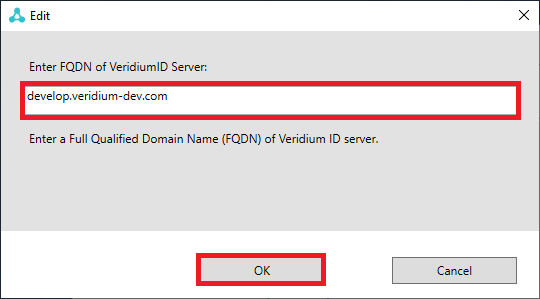
Enter the VeridiumID Server name in marked area and click "OK" button.
-
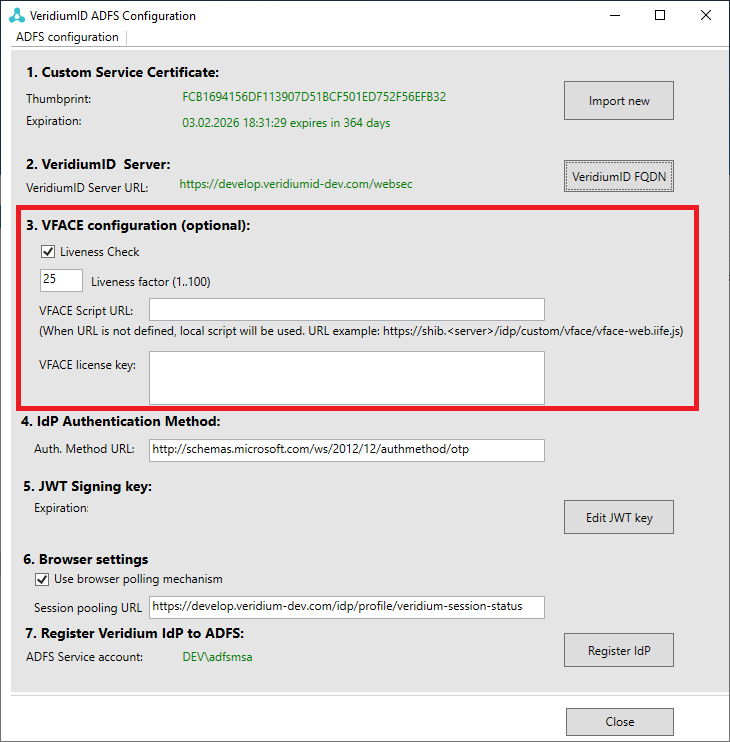
Configure VFACE if necessary (optional)
Please enter the VFACE Script URL. Default script is in the value URL: “<https://<VeridiumServerURL>>/idp/custom/vface/vface-web.iife.js”
-
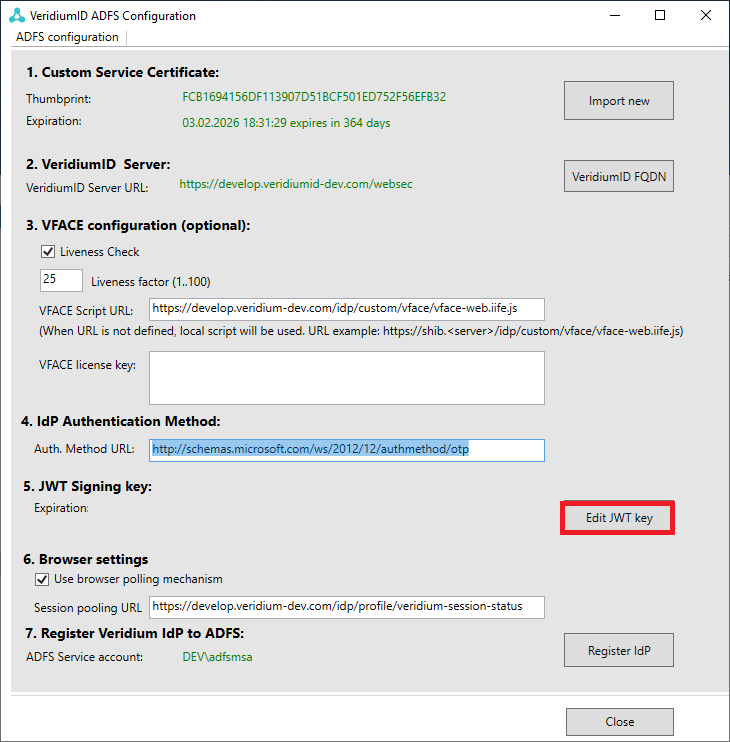
IdP Authentication method Configured claim is added to the resulting token when Veridium authentication is successfully passed. The default value is: “http://schemas.microsoft.com/ws/2012/12/authmethod/otp”

-
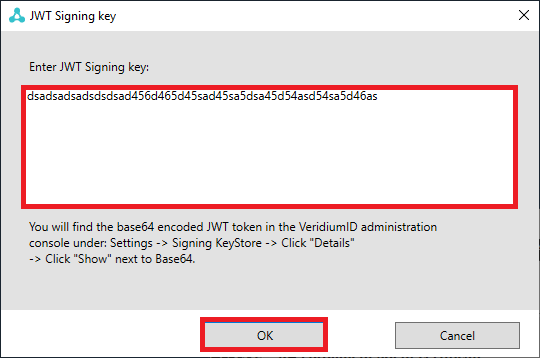
Press "Edit JWT key" button.
-
Copy and paste "JWT signing key" from the chapter https://veridiumid.atlassian.net/l/cp/Hyv3qV0h
-
Browser settings are optional.
-
Click on the "Register IdP".
-
Configuration completed.