
The following procedure will describe how to deploy VeridiumID on RedHat 9 using the VeridiumInstaller.
1) Pre-requirements
1.1) OS level requirements
All nodes need to have firewall stopped:
sudo systemctl stop firewalld
sudo systemctl disable firewalld
## after the installation, if necessary firewalld can be enabled and specific rules should be applied, according to network rules documentation
All nodes used in the deployment procedure will need to have the same user name that needs to have SSH connectivity to all nodes using SSH keys
## generate key (can be generated on all servers)
ssh-keygen
## take the key (id_rsa.pub) from on server, from where the installation will take place, and put it on all other servers (including himself) in .ssh/authorized_keys
cat .ssh/id_rsa.pub
vi .ssh/authorized_keys
## paste at the end the key
-
Sudo permissions (at least until the end of the deployment)
During installation, the user must have full permissions. Once the installation is complete, these permissions will be revoked. Alternatively, installation can be performed directly as root, though the services will still run under the dedicated Veridium users.
To grant the necessary permissions for the installation user, add the following entry to /etc/sudoers:
installuser ALL=(ALL) NOPASSWD: ALL
All Veridium service accounts are created during the installation process. If any existing user accounts use the same UIDs, the installation will fail. Currently, only one user account is intended for login; all others are service accounts with nologin shells.
Service accounts created by the installer:
veridiumid:x:55500:55500::/home/veridiumid:/bin/bash
ver_zookeeper:x:55503:55500::/home/ver_zookeeper:/sbin/nologin
ver_cassandra:x:57506:55500::/home/ver_cassandra:/sbin/nologin
ver_tomcat:x:55501:55500::/home/ver_tomcat:/sbin/nologin
ver_haproxy:x:55504:55500::/home/ver_haproxy:/sbin/nologin
ver_freeradius:x:55510:55500::/home/ver_freeradius:/sbin/nologin
ver_websecadmin:x:57505:55500::/home/ver_websecadmin:/sbin/nologin
ver_fido:x:57512:55500::/home/ver_fido:/sbin/nologin
ver_selfservice:x:57515:55500::/home/ver_selfservice:/sbin/nologin
These accounts have permissions only within the /vid-app directory.
-
Veridium requires a dedicated mounted disk at
/vid-app. The necessary storage space should be allocated specifically for this volume, as it contains all logs, essential packages, and symlinks from/var/log/veridiumidand/etc/veridiumid/pointing to this location.
Backups are also stored under /vid-app, specifically in /vid-app/dyn/backup. For resilience, this directory can be mounted on a separate storage device so that, in case of machine failure, the backups remain intact.
1.2) Pre-required RPMs
The following list of packages must be installed from official repositories on all nodes in order to be able to use VeridiumID, the following command can be run as root or an username with sudo:
sudo yum -y install vim apr-devel openssl-devel libstdc++-devel curl unzip wget zlib zlib-devel nc openssh-clients perl rsync chrony python3 python3-pip net-tools dialog jq rng-tools tmux tcpdump java-17-openjdk tar
##check java version, that is 17
java -version
##output example: openjdk version "17.0.13" 2024-10-15 LTS
##if not, set default java to be java-17 on all machines
JAVA_VERS=`ls /usr/lib/jvm | grep "^java-17-openjdk-17" | tr -d [:space:]` && sudo alternatives --set java "/usr/lib/jvm/${JAVA_VERS}/bin/java"
python3 --version
##if version is not Python 3.9.X, please run the the following command and select python version 3.9.X
sudo alternatives --config python3
## it still the version is not correct, please run the following:
sudo ln -sf /usr/bin/python3.9 /usr/local/bin/python3
On RedHat to activate the official repositories, the nodes will need to subscribe. Please use the following command as root:
sudo subscription-manager register --username <username> --password <password> --auto-attach
2) Deployment steps
2.1) Getting the VeridiumInstaller archive on the node
Using SCP copy the VeridiumInstaller archive to the home directory or /vid-app/installer directory and unarchive the file.
tar xvf veridium-installer-rhel9-12.2.22.tar.gz
2.2) Optional: Check NTP sync
Please configure chrony with your local NTP server, so there will be no issues with the time.
sudo vi /etc/chrony.conf
sudo systemctl status chronyd
sudo systemctl enable chronyd; sudo systemctl start chronyd
date
sudo chronyc -a sources
## check also if localzone is defined fine
timedatectl
## also set timedate zone
timedatectl list-timezones | grep Bucharest
## sudo timedatectl set-timezone Europe/Berlin
##Also, if the instalation is done in /u01, the following needs to be executed; this is for specific clients, with different defualt user home.
##sudo semanage fcontext -a -e /home /u01/users
##sudo restorecon -vR /u01/users
2.3) Run the VeridiumInstaller
Continue installation with the same user.
2.3.1) Running the VeridiumInstaller script
Run the following script to start the configuration of VeridiumID:
./veridium-installer.sh -w IP1,IP2 -p IP3,IP4,IP5
This script will start the installation and Configuration of the VeridiumID deployment and guide the user through the installation wizard. PLEASE read carefully the following information:
###########################
1. If you want to use one domain, set both INTERNAL and EXTERNAL domain with the same value.
2. if you choose ports, then the following entries are necessary in your DNS:
## INTERNAL SANs: veridium.client.local
## EXTRENAL SANs: veridium.client.com
3. if you choose FQDN, then the following entries are necessary in your DNS:
## INTERNAL SANs: admin-veridium.client.local, ssp-veridium.client.local, shib-veridium.client.local, veridium.client.local
## EXTRENAL SANs: ssp-veridium.client.com, ssp-veridium.client.com, dmz-veridium.client.com, veridium.client.com
2.3.2) Provide deployment details using the Installation Wizard
When the installation wizard will start the following screen will be seen in the terminal:
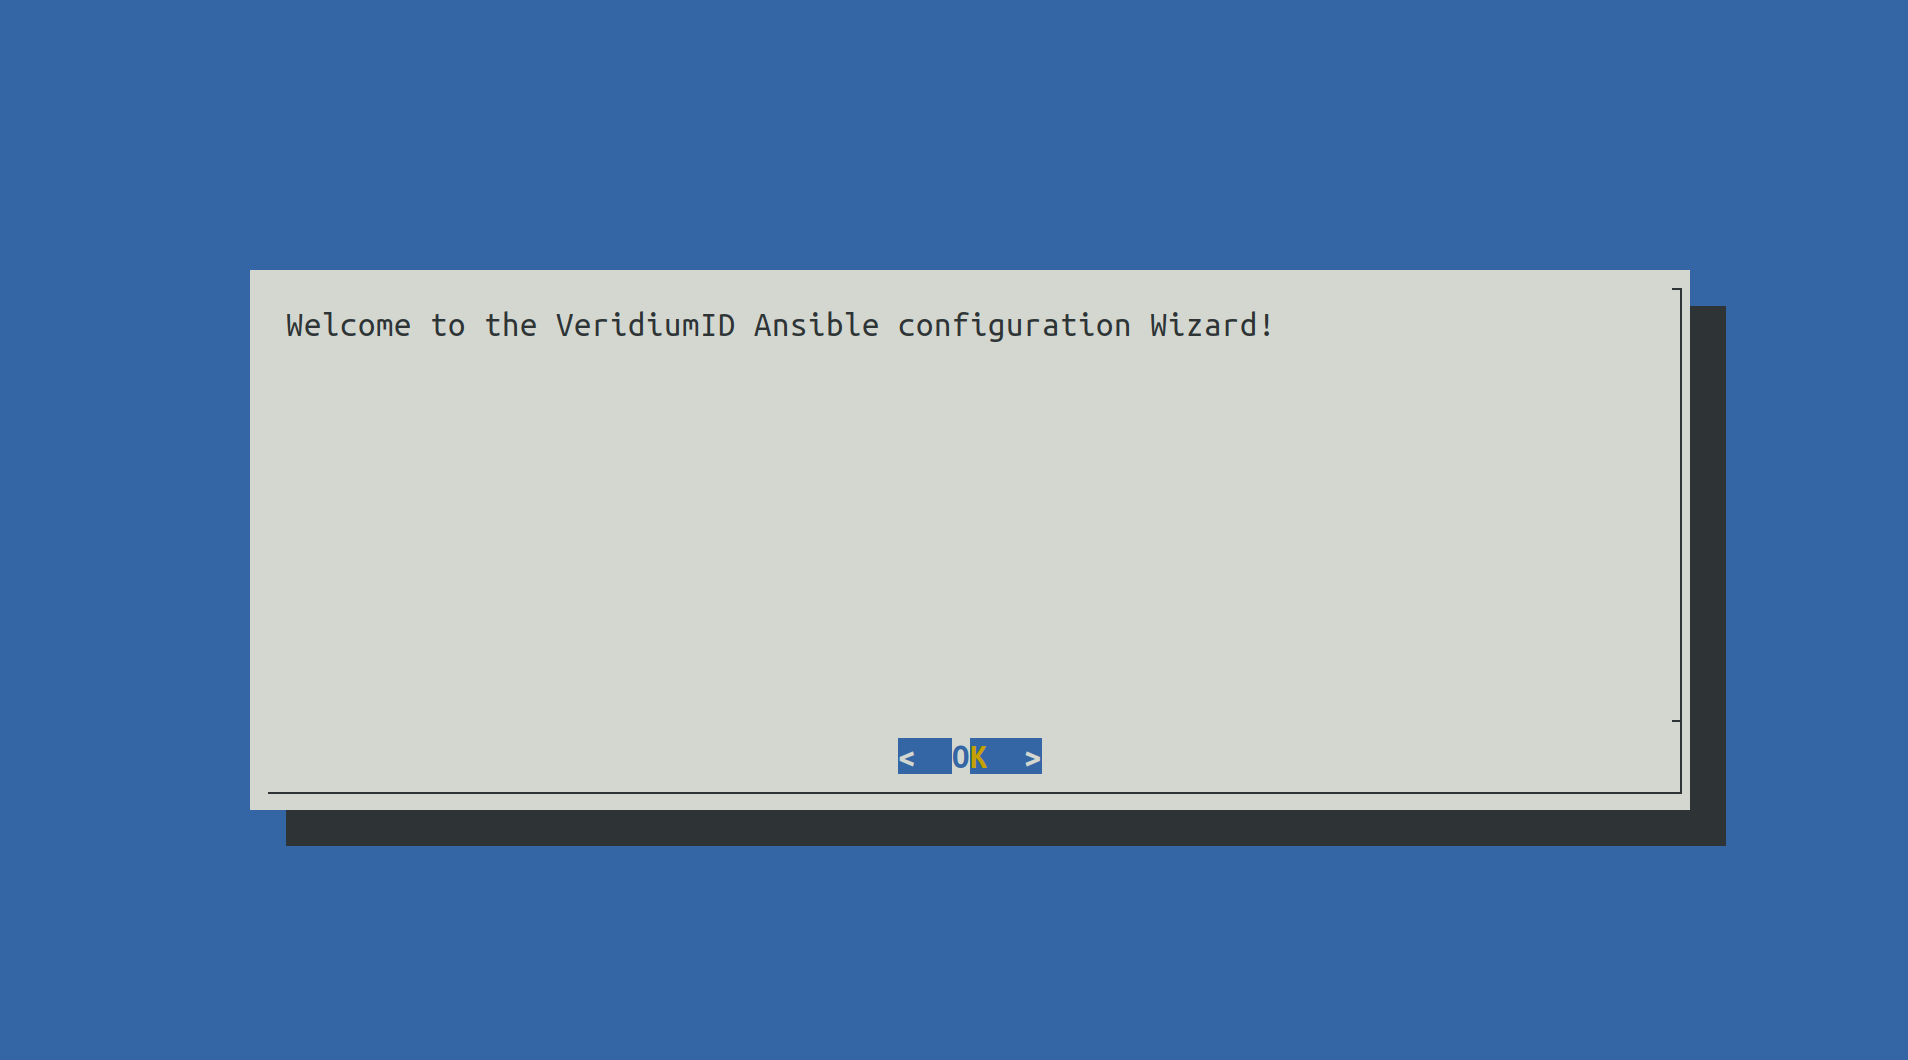
Press Enter to proceed.
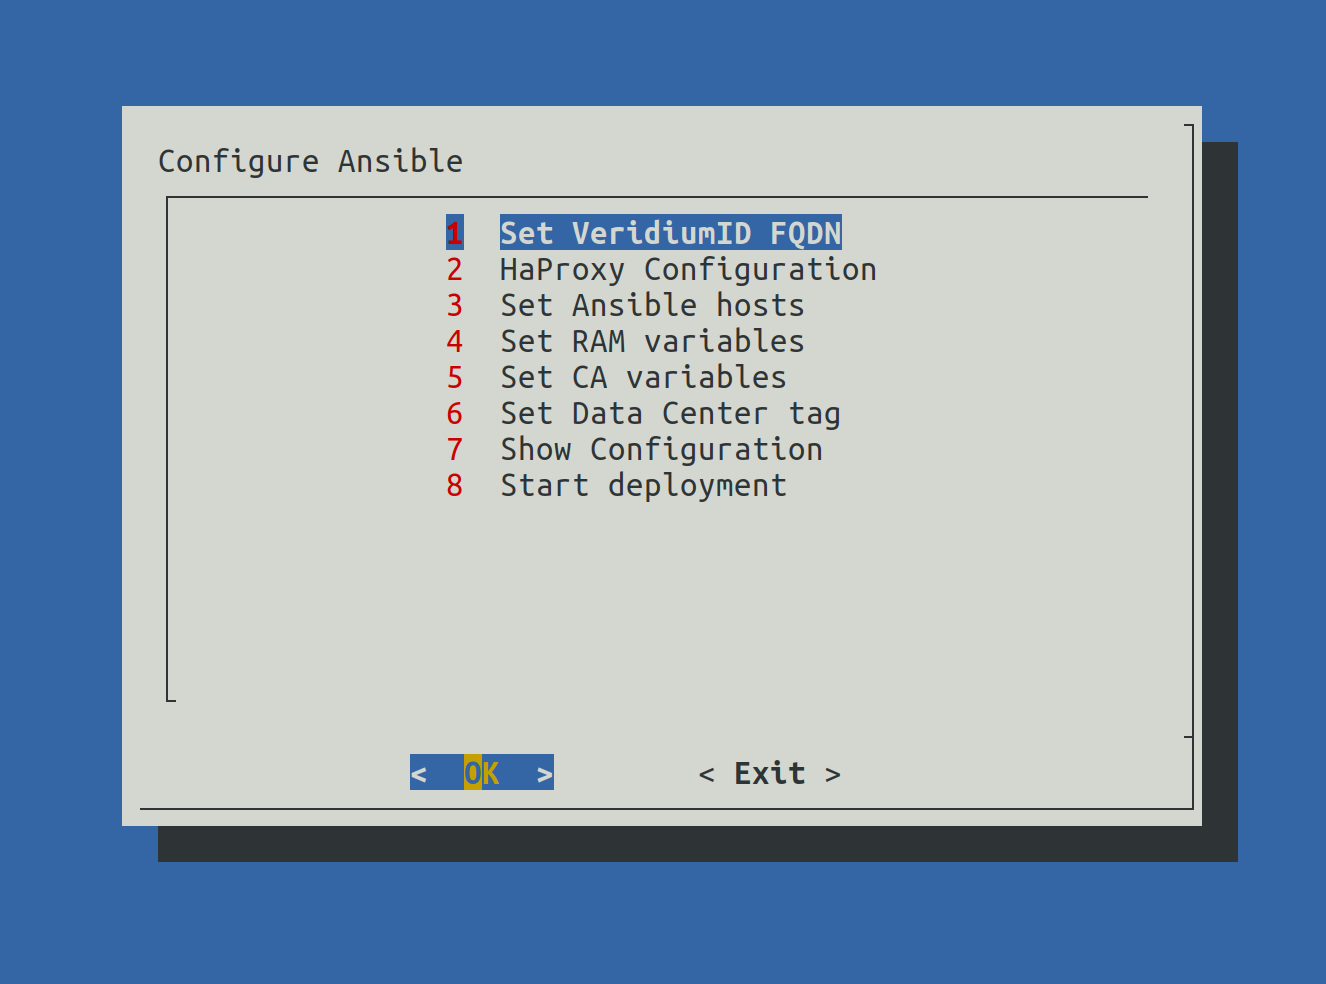
All steps from the Menu will be detailed in the following steps.
2.3.2.1) Set VeridiumID FQDN - First time INTERNAL and second time EXTERNAL.
When selecting Set VeridiumID FQDN the following screen will be shown:
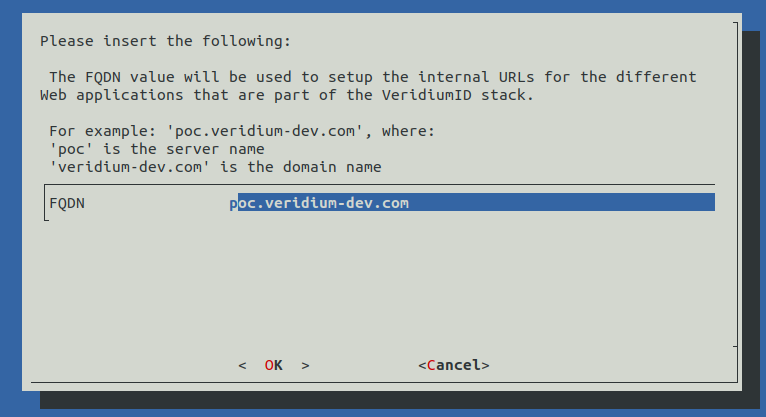
Write the correct INTERNAL FQDN in place of poc.veridium-dev.com and press the TAB key to go to OK and press Enter to continue.
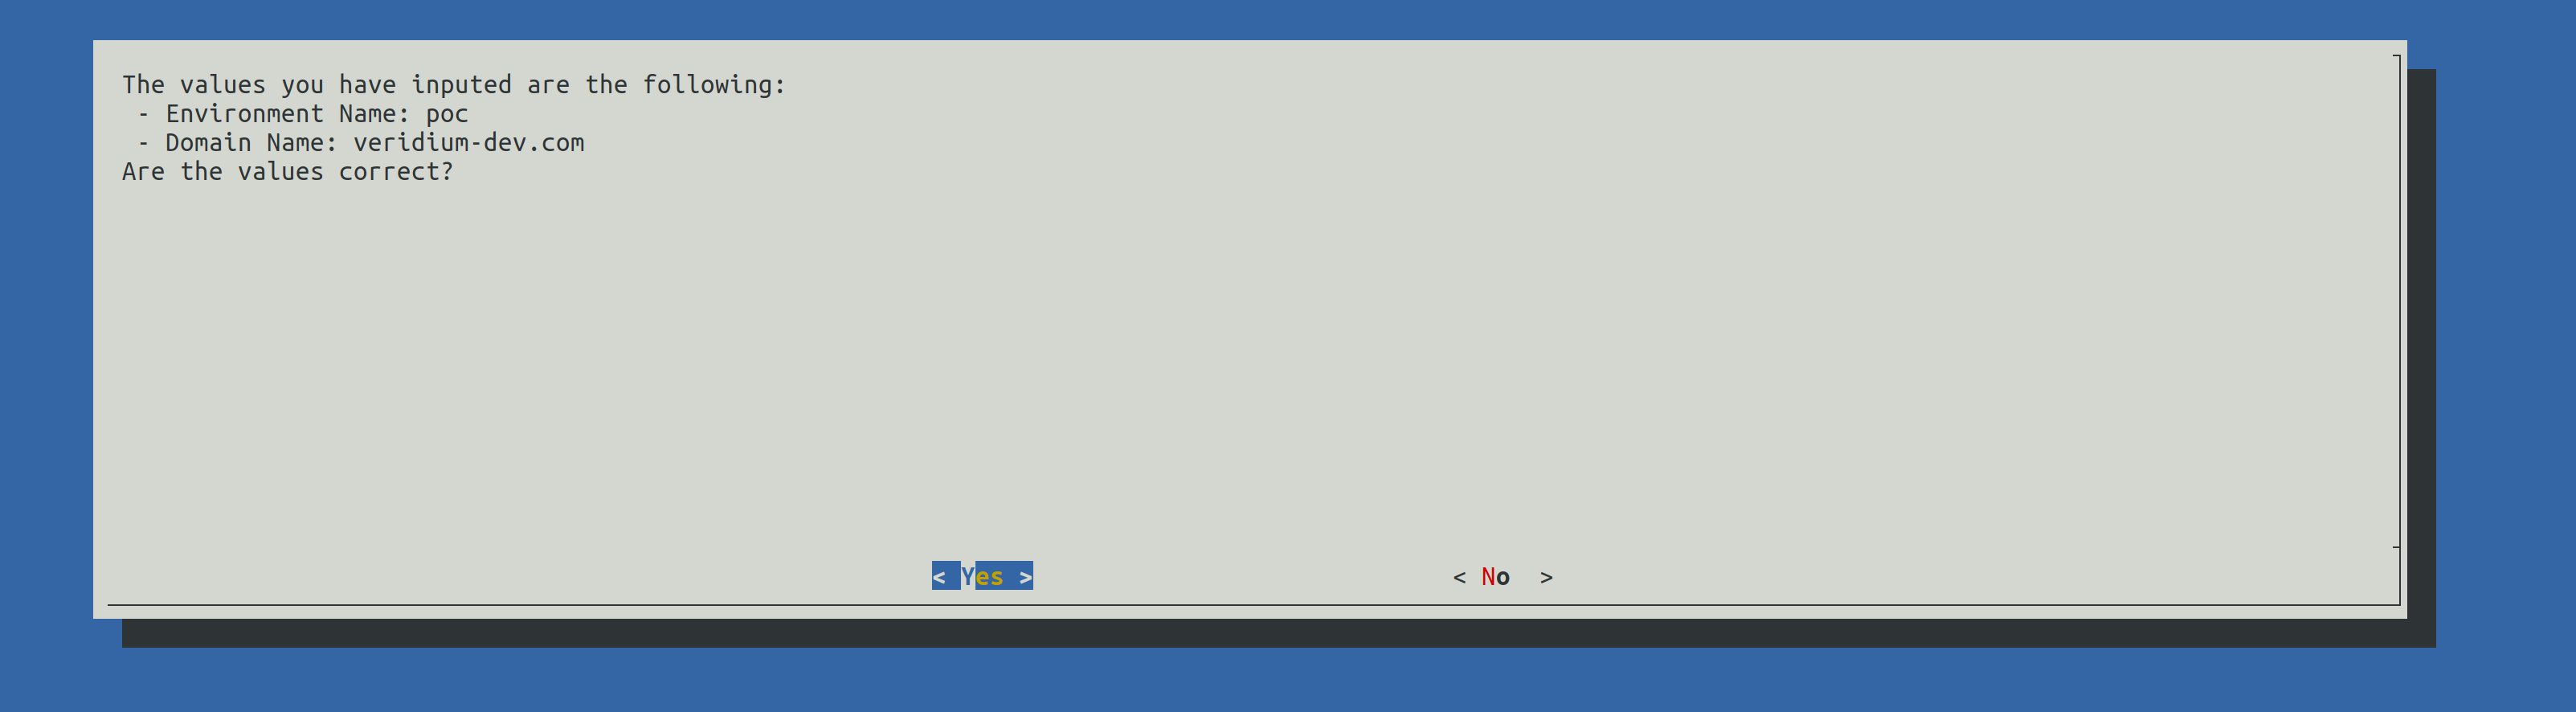
A validation of the FQDN will be prompted. Press Enter to continue.
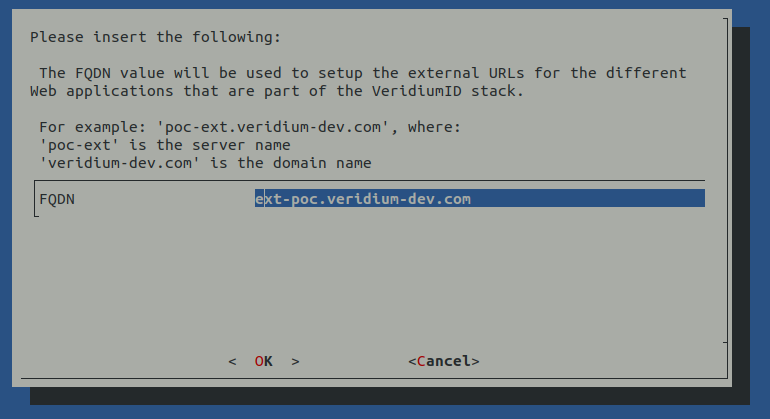
Write the correct EXTERNAL FQDN in place of ext-poc.veridium-dev.com and press the TAB key to go to OK and press Enter to continue.
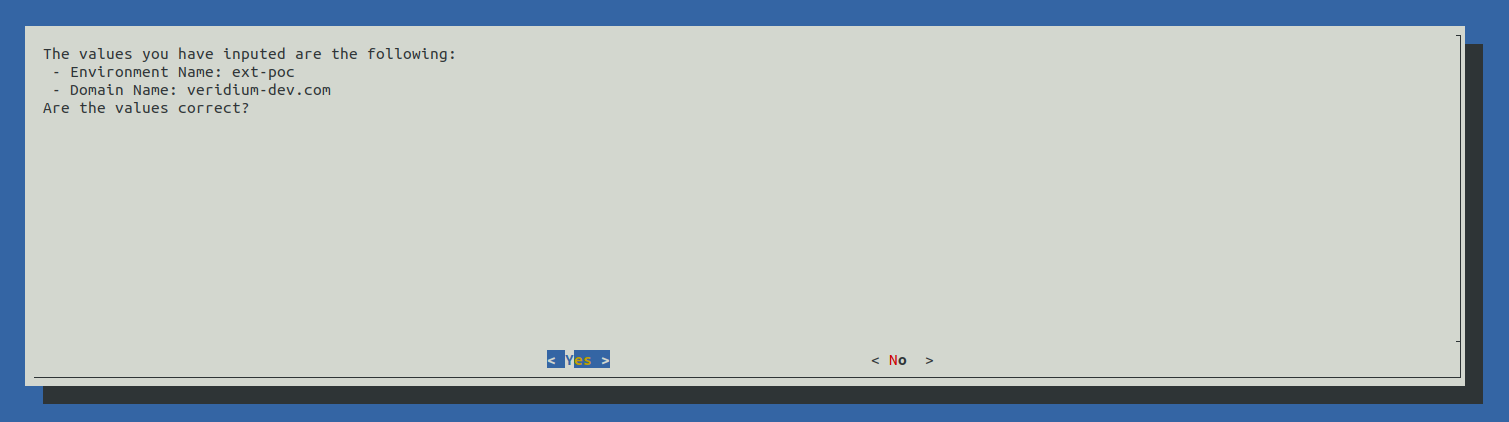
A validation of the FQDN will be prompted. Press Enter to continue.
2.3.2.2) HaProxy configuration

There are two configuration for HaProxy:
-
SNI: all component URLs will be composed from the base FQDN (the one provided during step 2.3.3.1) along side the components name, for example:
-
for the Admin Dashboard : admin-intFQDN
-
for the Self Service Portal: ssp-intFQDN
-
for the Websec API: intFQDN
-
for Shibboleth Internal (Identity Provider): shib-intFQDN
-
for Shibboleth External (Identity Provider): shib-extFQDN
-
for the Self Service Portal: ssp-extFQDN
-
for the DMZ Websec API: dmz-extFQDN
-
for the Websec API: extFQDN
-
-
Ports: all component URLs will be composed from the base FQDN and a different port for each component, for example:
-
for the Admin Dashboard: intFQDN:9444
-
for the Self Service Portal: intFQDN:9987
-
for the Websec API: intFQDN:443
-
for internal Shibboleth (Identity Provider): intFQDN:8945
-
for the Self Service Portal: extFQDN:9987
-
for the Websec API: extFQDN:443
-
for external Shibboleth (Identity Provider): extFQDN:8944
-
for the DMZ Websec API: extFQDN:8544
-
2.3.2.3) Set Ansible Hosts
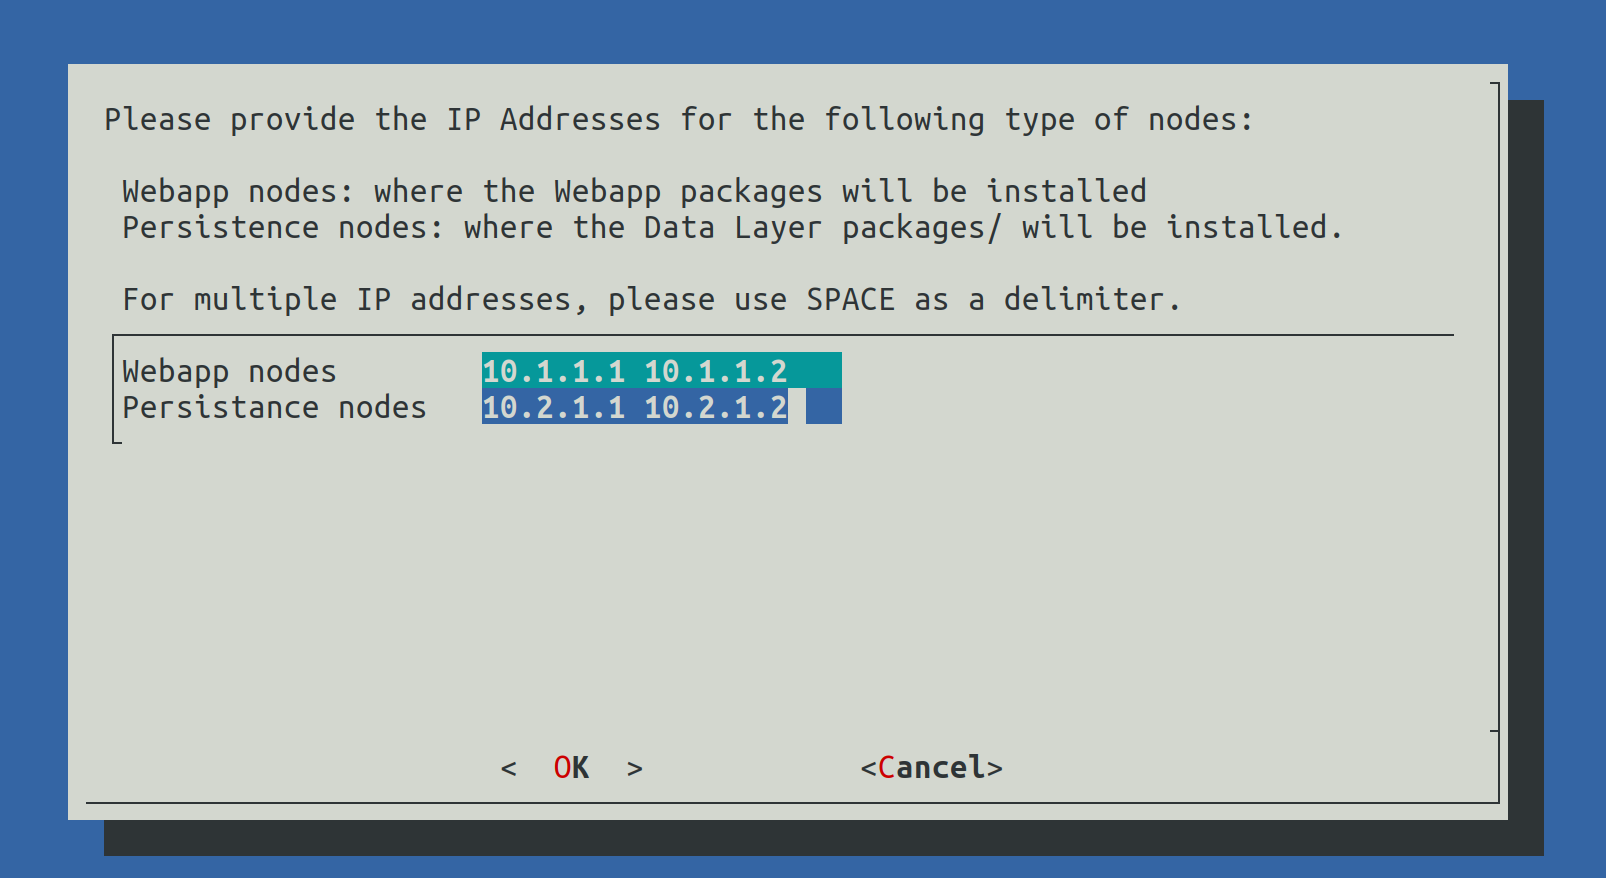
In this step the select from the list of IP addresses which will be Webapplication nodes and which will be Persistence node (Data nodes).
The list of nodes must be delimitted by Spaces.
2.3.2.4) Set RAM values
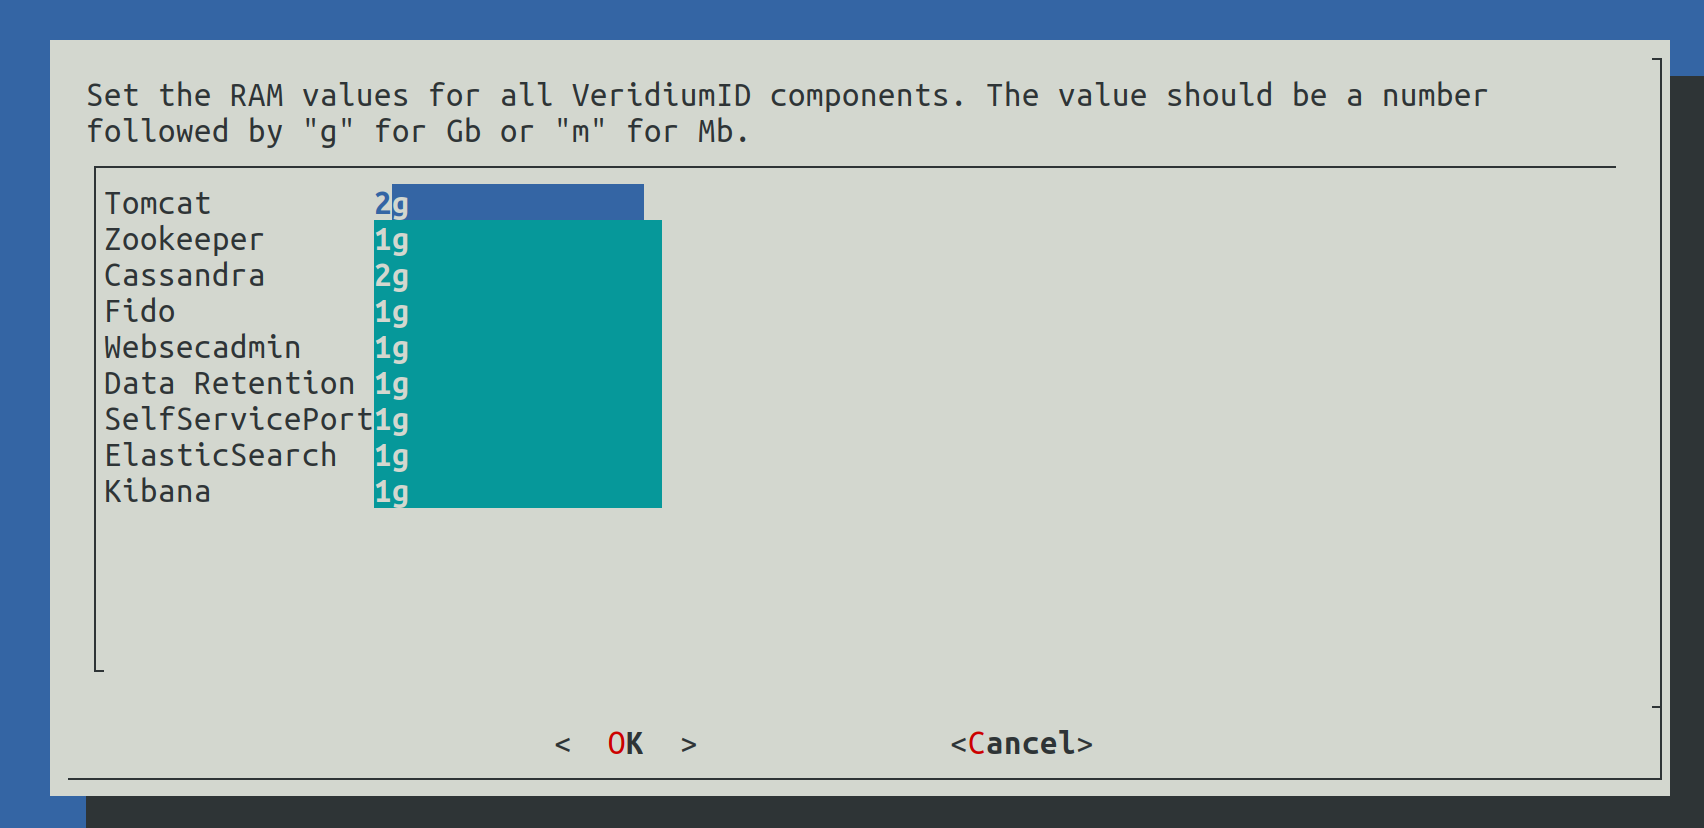
In this step the RAM values for different components will be configured. The value must contain a number followed by g for Gb or m for Mb.
2.3.2.5) Set CA variables
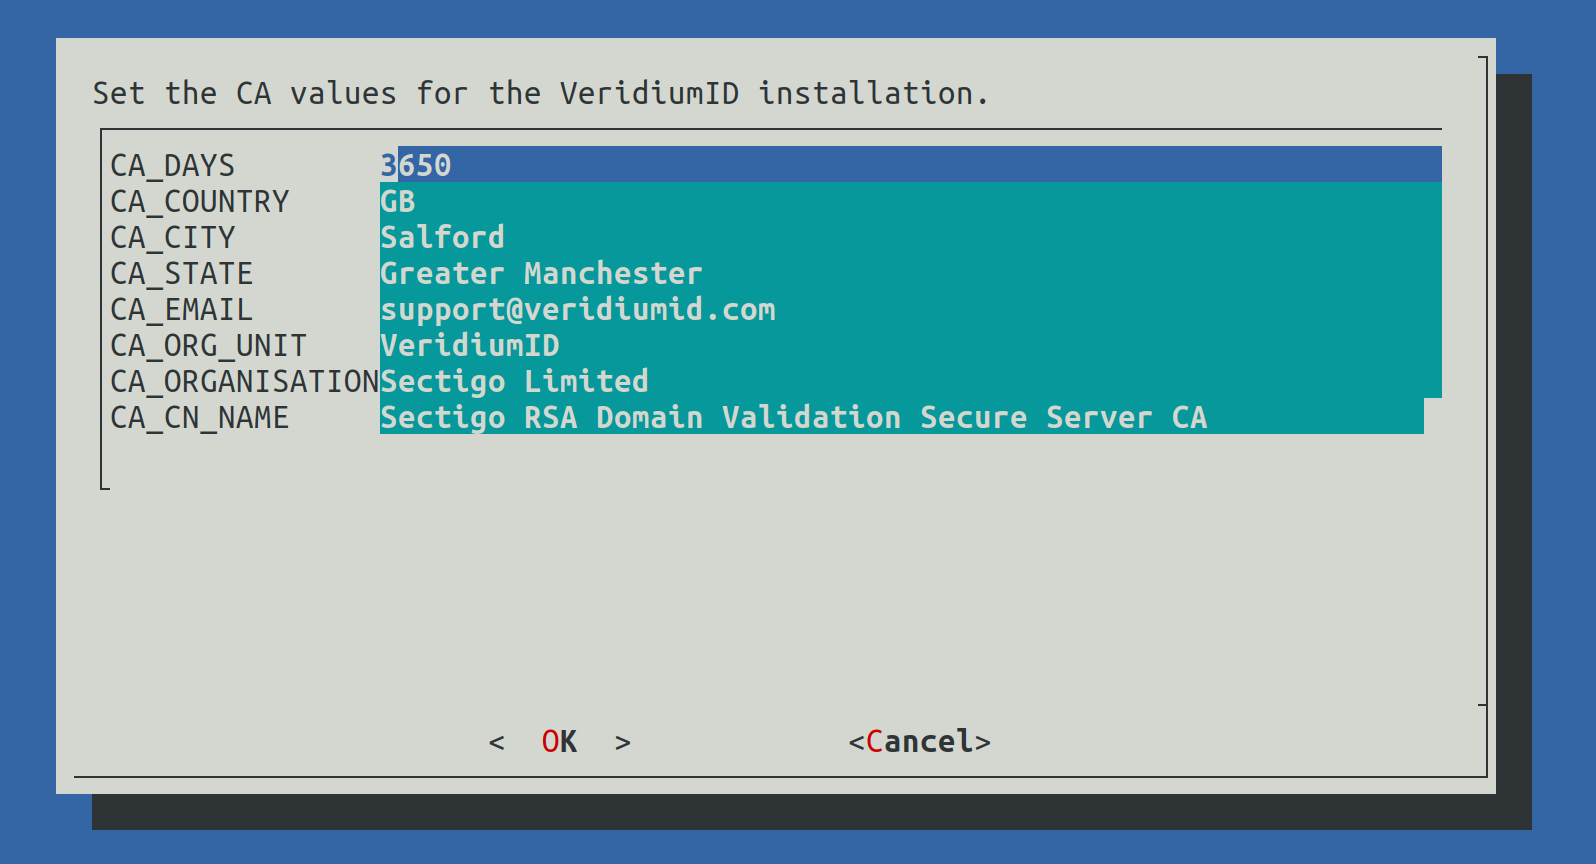
This step will configure the values used for the internal Certification Authority of the VeridiumID deployment (used to generate internal certificates).
2.3.2.6) Set Data Center Tag
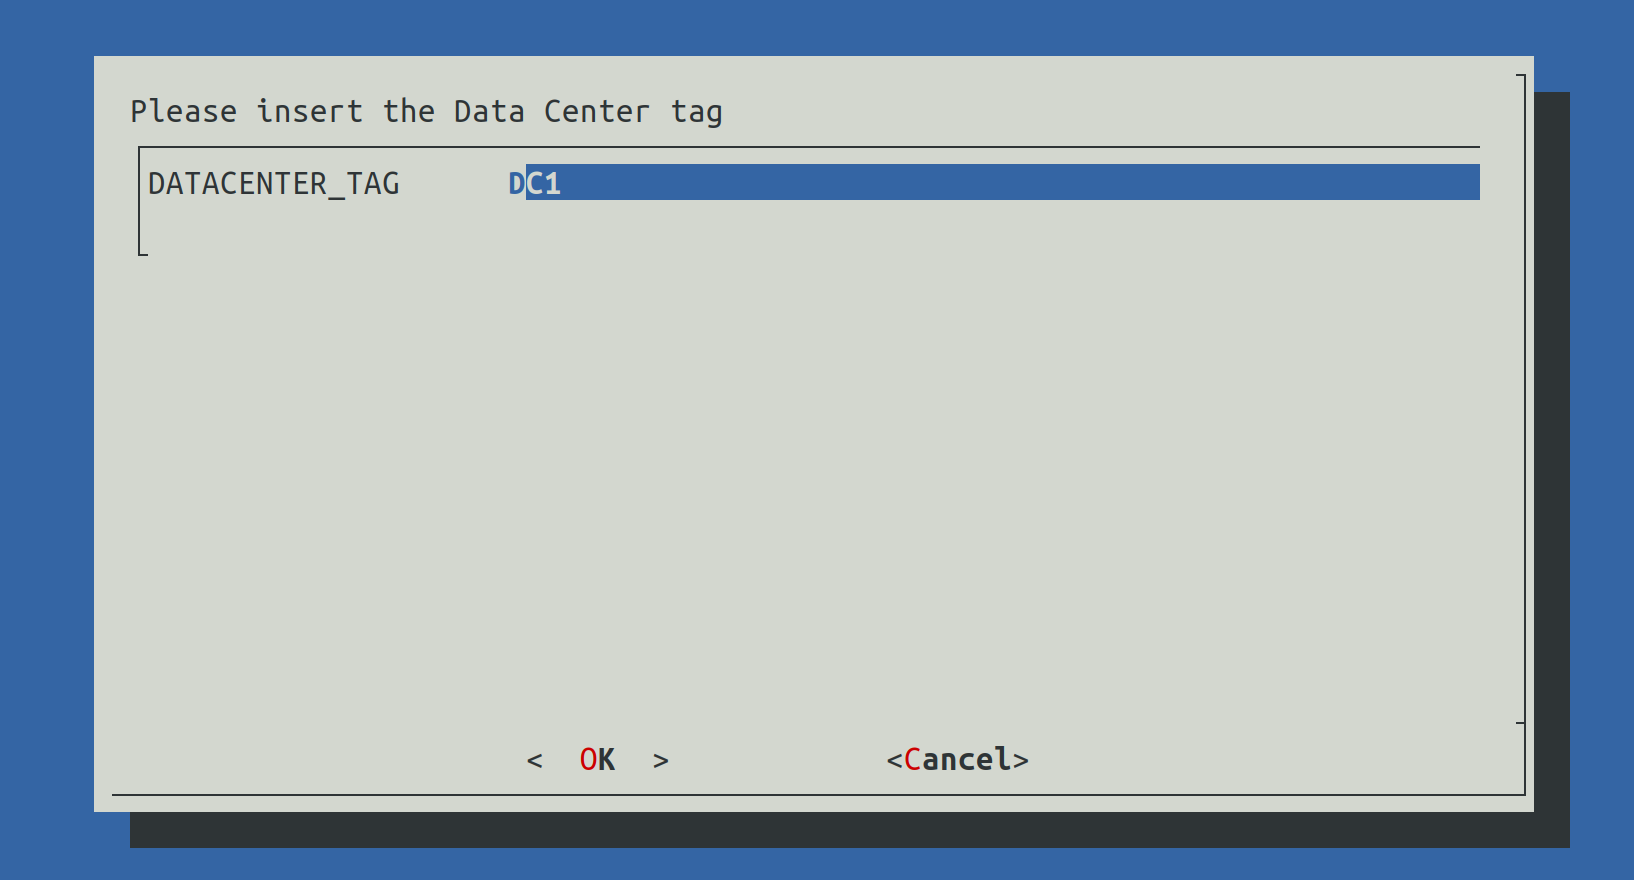
This value will be used to define the name of the current data center.
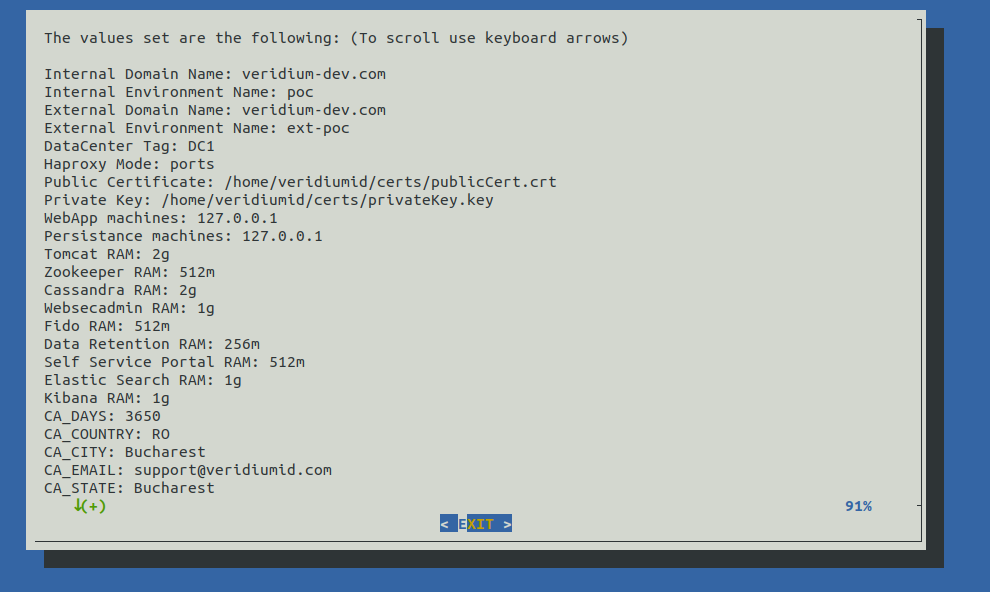
2.3.2.7) Show configuration
In this step we can verify all value provided earlier to validate them.
2.3.2.8) Start deployment
This step will close the Installation Wizard and provide the list of FQDNs:
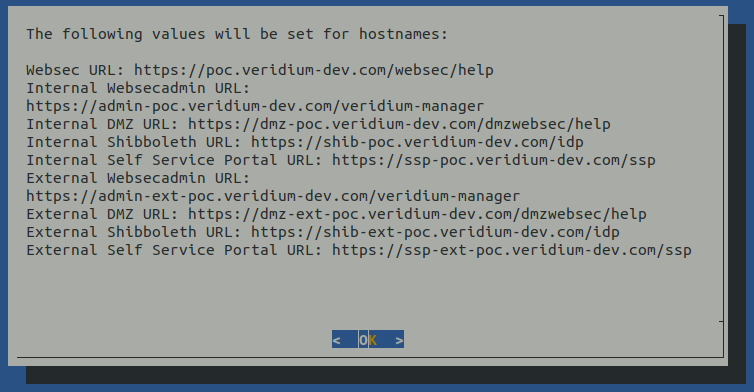
The values can be viewed later in the following file: /home/USERNAME/host_list.txt
After exiting the Installation Wizard, the deployment process will start by:
-
Checking the SSH connectivity from this node to all other nodes
-
Install specific VeridiumID components for Webapplication and Persistence nodes
User veridiumid may run the following commands on the machine.
veridiumid ALL=(root) NOPASSWD: /bin/systemctl stop ver*
veridiumid ALL=(root) NOPASSWD: /bin/systemctl start ver*
veridiumid ALL=(root) NOPASSWD: /bin/systemctl enable ver*
veridiumid ALL=(root) NOPASSWD: /bin/systemctl disable ver*
veridiumid ALL=(root) NOPASSWD: /bin/systemctl restart ver*
veridiumid ALL=(root) NOPASSWD: /bin/systemctl status ver*
veridiumid ALL=(root) NOPASSWD: /sbin/service ver* stop
veridiumid ALL=(root) NOPASSWD: /sbin/service ver* start
veridiumid ALL=(root) NOPASSWD: /sbin/service ver* restart
veridiumid ALL=(root) NOPASSWD: /sbin/service ver* status
veridiumid ALL=(root) NOPASSWD: /usr/bin/crontab -l
veridiumid ALL=(root) NOPASSWD: /usr/bin/crontab -e
veridiumid ALL=(root) NOPASSWD: /usr/bin/less /var/log/messages
veridiumid ALL=(root) NOPASSWD: /sbin/tcpdump
veridiumid ALL=(root) NOPASSWD: /bin/bash /etc/veridiumid/scripts/*
veridiumid ALL=(root) NOPASSWD: /bin/python3 /etc/veridiumid/scripts/*