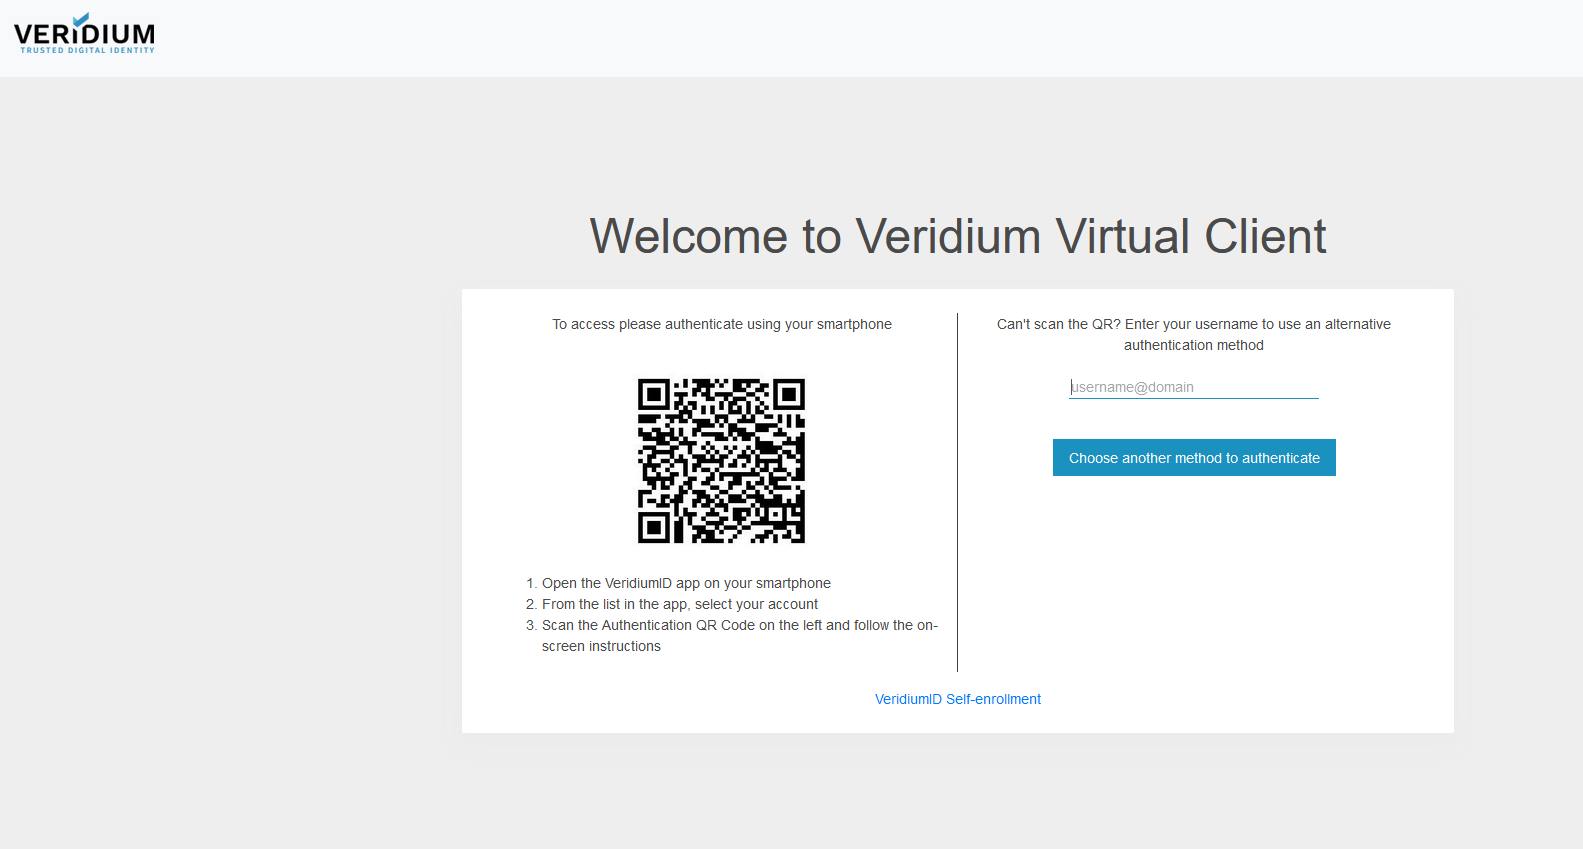
EAM - External Authentication Method
This feature is under preview in Microsoft Entra ID
An external authentication method (EAM) lets users choose an external provider to meet multifactor authentication (MFA) requirements when they sign to Microsoft Entra ID. An EAM can satisfy MFA requirements from Conditional Access policies, Microsoft Entra ID Protection risk-based Conditional Access policies, Privileged Identity Management (PIM) activation, and when the application itself requires MFA.
In the next section, a summary of the configuration steps is going to be presented. Please follow also the Microsoft documentation:
Manage an external authentication method in Microsoft Entra ID.
Configure a new external authentication provider with Microsoft Entra ID
The purpose of this article is to gather all the required step for configuring VeridiumID OIDC as an additional factor in EntraID. This documentation assumes the following are in place:
A Netscaler virtual server configured with EntraID as IDP
An enterprise application for Netscaler defined in Entra
A fully-working VeridiumID environment
A user/group in Entra for testing purposes.
We’ll split the configuration in two parts: Entra and VeridiumID.
Entra ID configuration
The Entra configuration requires two steps:
Defining the VeridiumID OIDC as IDP
Create an external authentication method which uses the VeridiumID OIDC IDP.
Configure a new external authentication provider with Microsoft Entra ID
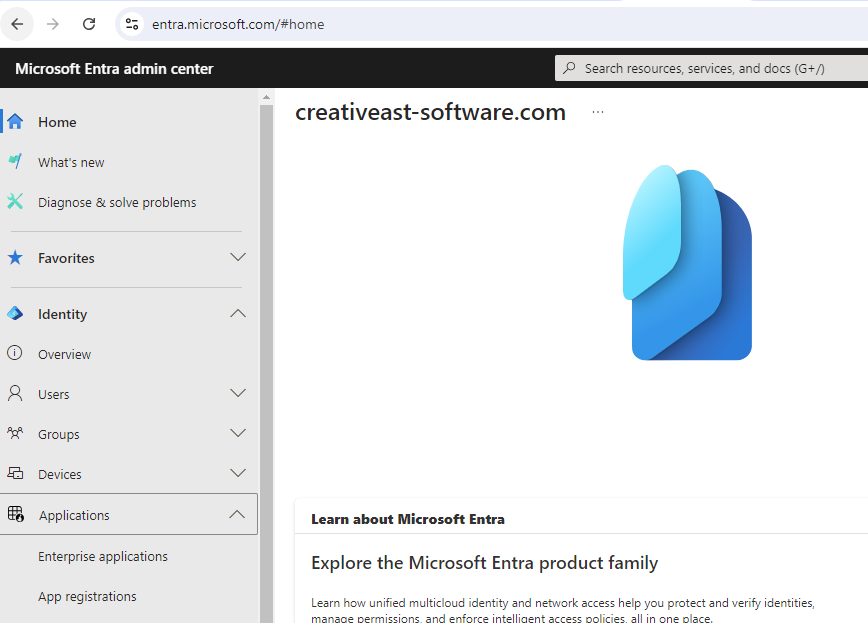
Access https://entra.microsoft.com portal, then click on Applications, then App registration:
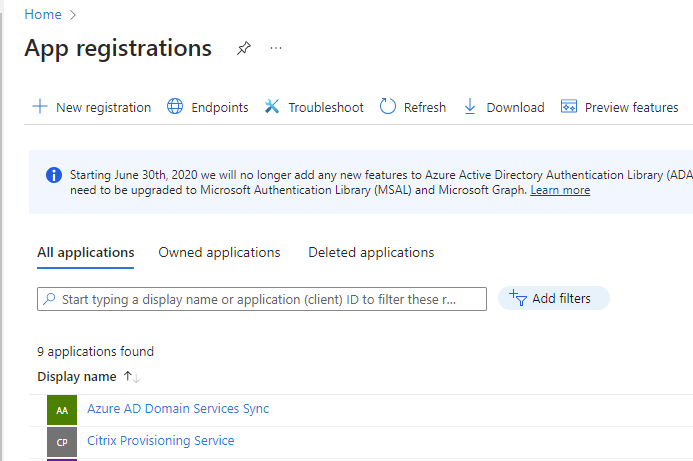
In the App registrations page, click on All applications tab, then click on New registration:
In the Register an application page, type a name for the application, select Single tenant in the Supported account types section. Under Redirect URI section, select Web, then type the authorize OIDC endpoint of the VeridiumID environment (extracted from the OIDC metadata, which is available at https://<shib-fqdn>/idp/profile/oidc/configuration).
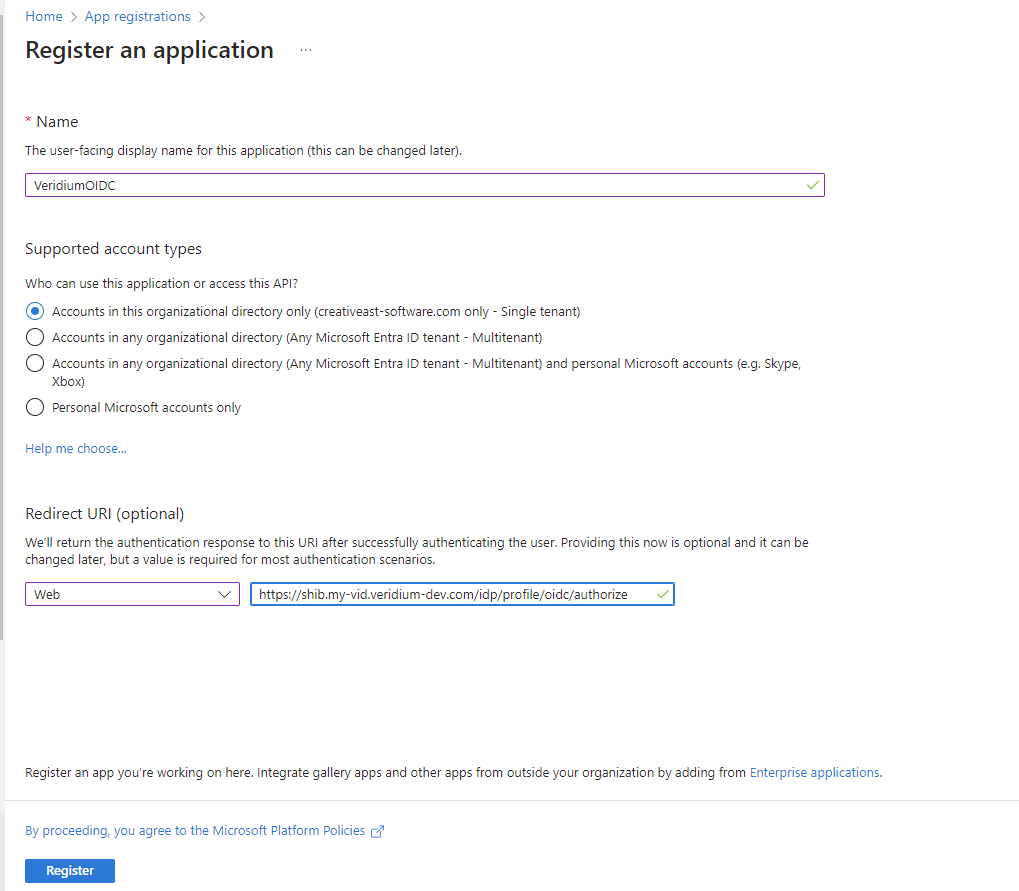
Click on Register to finish the app registration. Next you’ll end up in the properties page of the newly registered app. Here we’ll need to create a client secret which will later be configured in VeridiumID OIDC application. Click on Certificates & secrets menu, then, under Client secrets, click on New client secret:
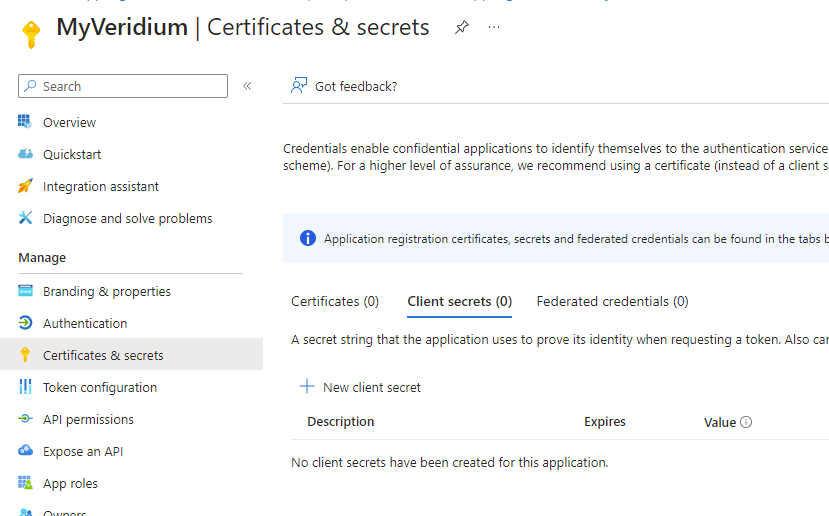
Retain the client secret value as it is only visible during the creation phase:

Next, go to API Permissions and click on Grant admin consent for and select Yes in the following window:
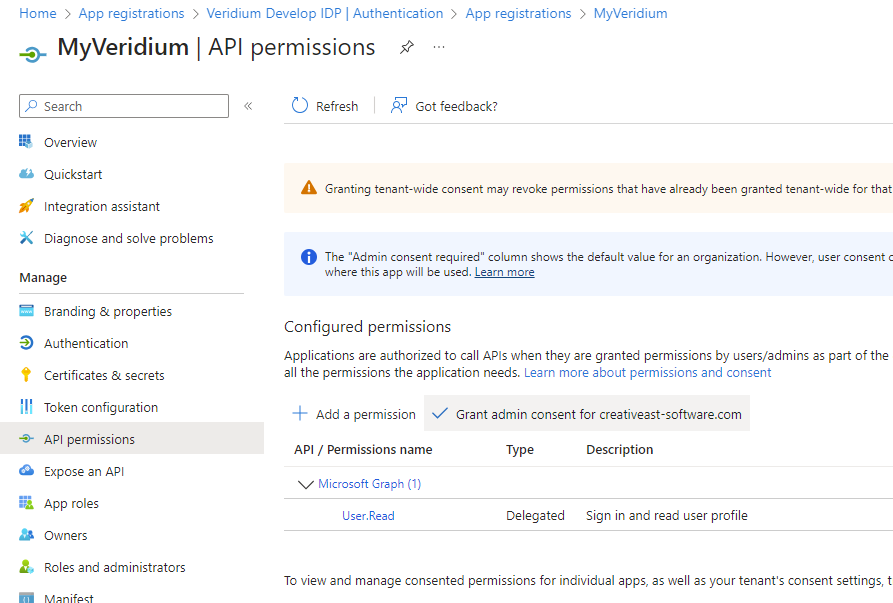
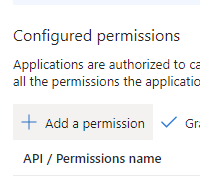
Under Configured permissions section, click on Add permission:
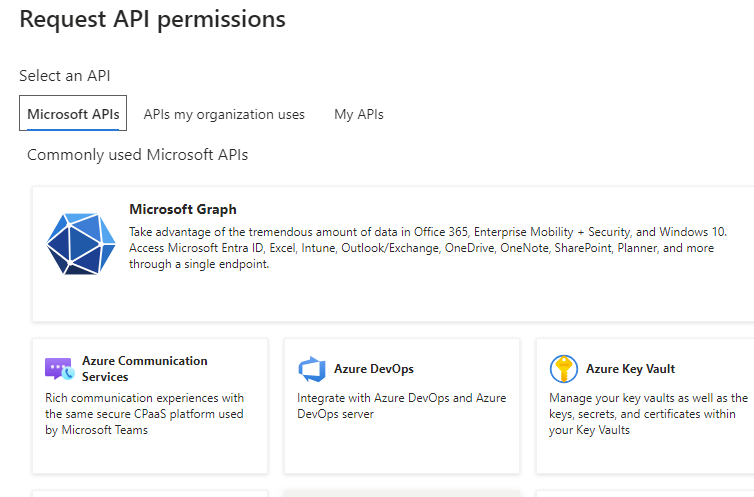
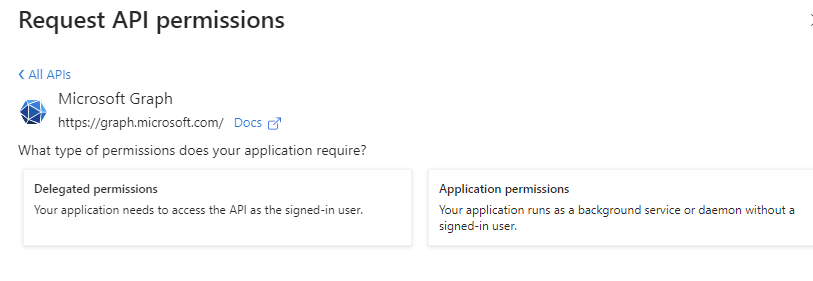
In the Request API permissions page, click on Microsoft Graph:
In the next page click on Delegated permissions:
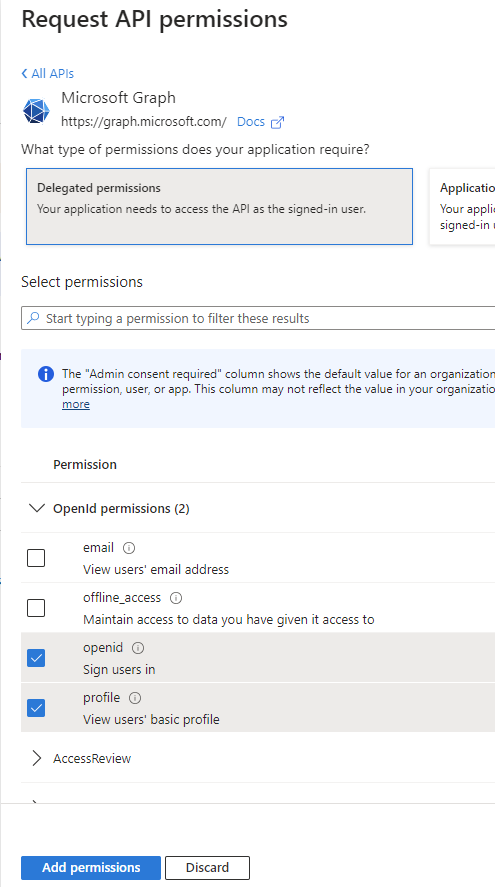
Select openid and profile, then click on Add permissions:
Click again on Grant admin consent. All the permissions should have the status Granted for…:

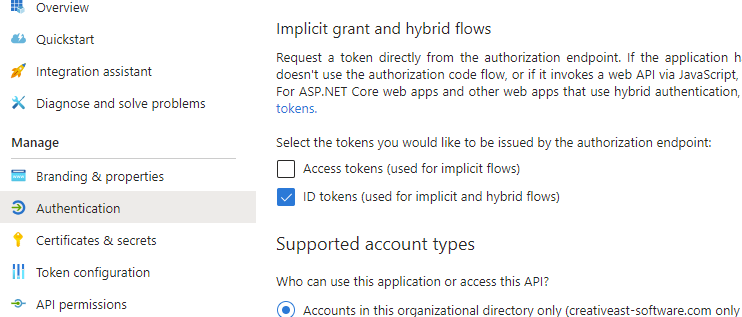
Click on Authentication in the left-hand menu and, in the Implicit grant and hybrid flows section, make sure only ID tokens (used for implicit and hybrid flows) is selected, then click on Save to save the settings:
In the end click on Overview and note the Application (client) ID:

In case you haven’t saved the client secret value, you can click on Certificates and secrets, delete the existing one and create a new one.
Create a new Microsoft External Authentication Method
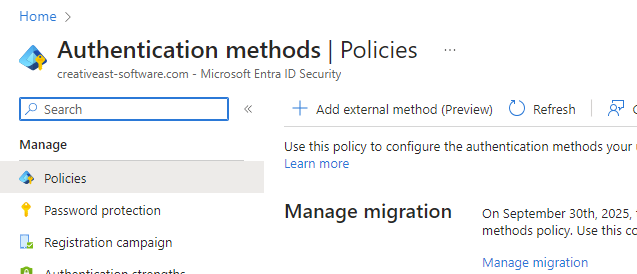
In the Entra portal, click on Overview, then, in the right-hand side, scroll down and click on Authentication Methods:

In the Policies section, click on Add external method:
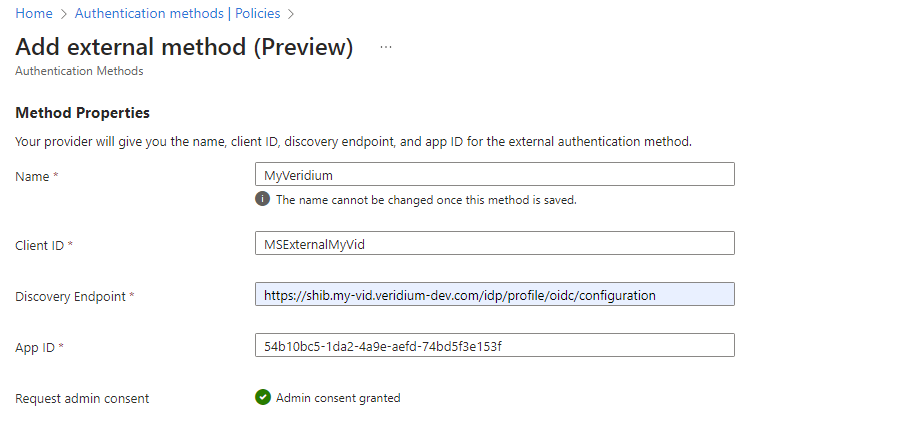
In the Method Properties section, set a name for the method and a Client ID, then in the Discovery Endpoint field, type the OIDC metadata url (https://shib-fqdn/idp/profile/oidc/configuration). In the App ID field type the value retrieved in step 13 from the previous section:
In the Enable and target section set Enable to On, then, in the Include section, click on Add Target to add the user(s)/group(s) for which you want this policy to be enabled:
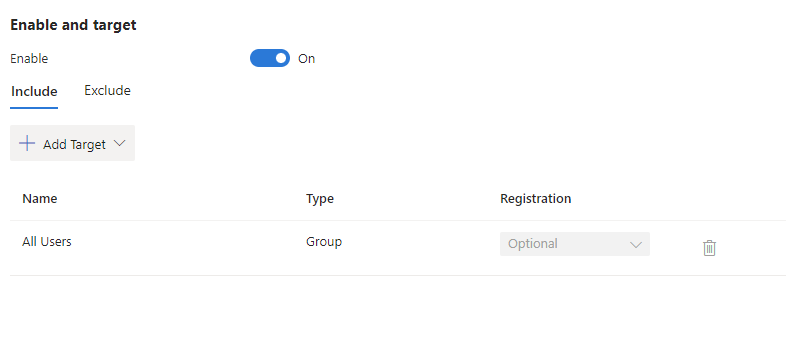
Click on Save to secure the configuration.
Configure Entra ID application in Veridium Manager
he VeridiumID configuration consists in defining an OIDC application which will interact with the application registered in Entra. For this you must perform the following:
Access the VeridiumID admin dashboard and navigate to Applications, then click on Add OIDC app:

Type a Client ID (usually the same value set in the step 3 from the previous section Define the External Authentication Method) and set the following:
Response types to id_token;
Grant types to implicit;
Scopes to openid and amr: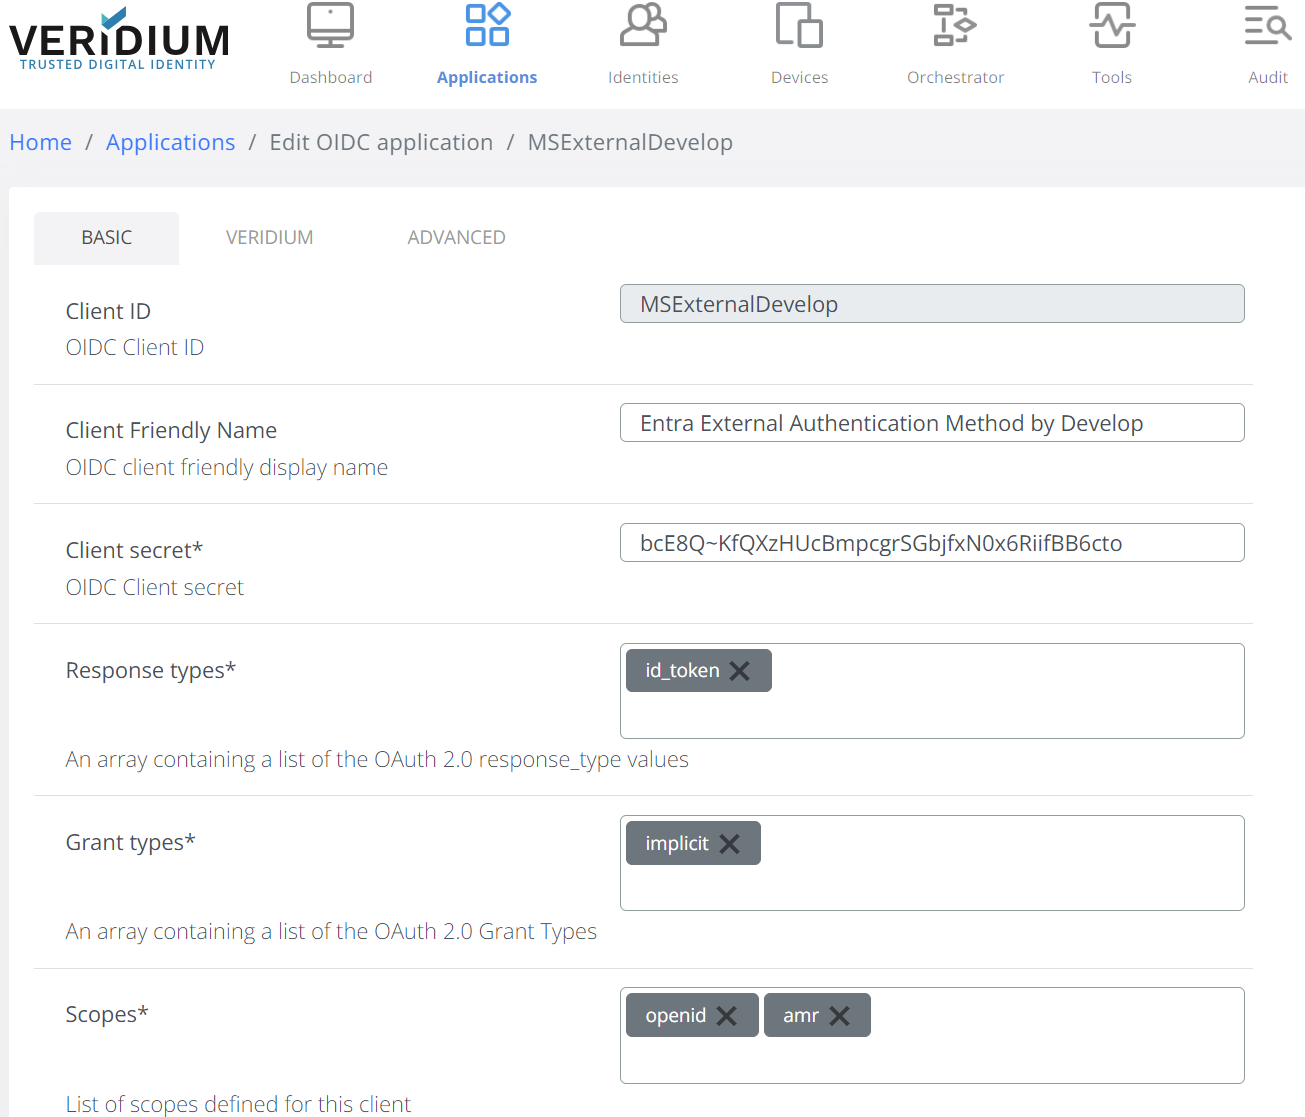
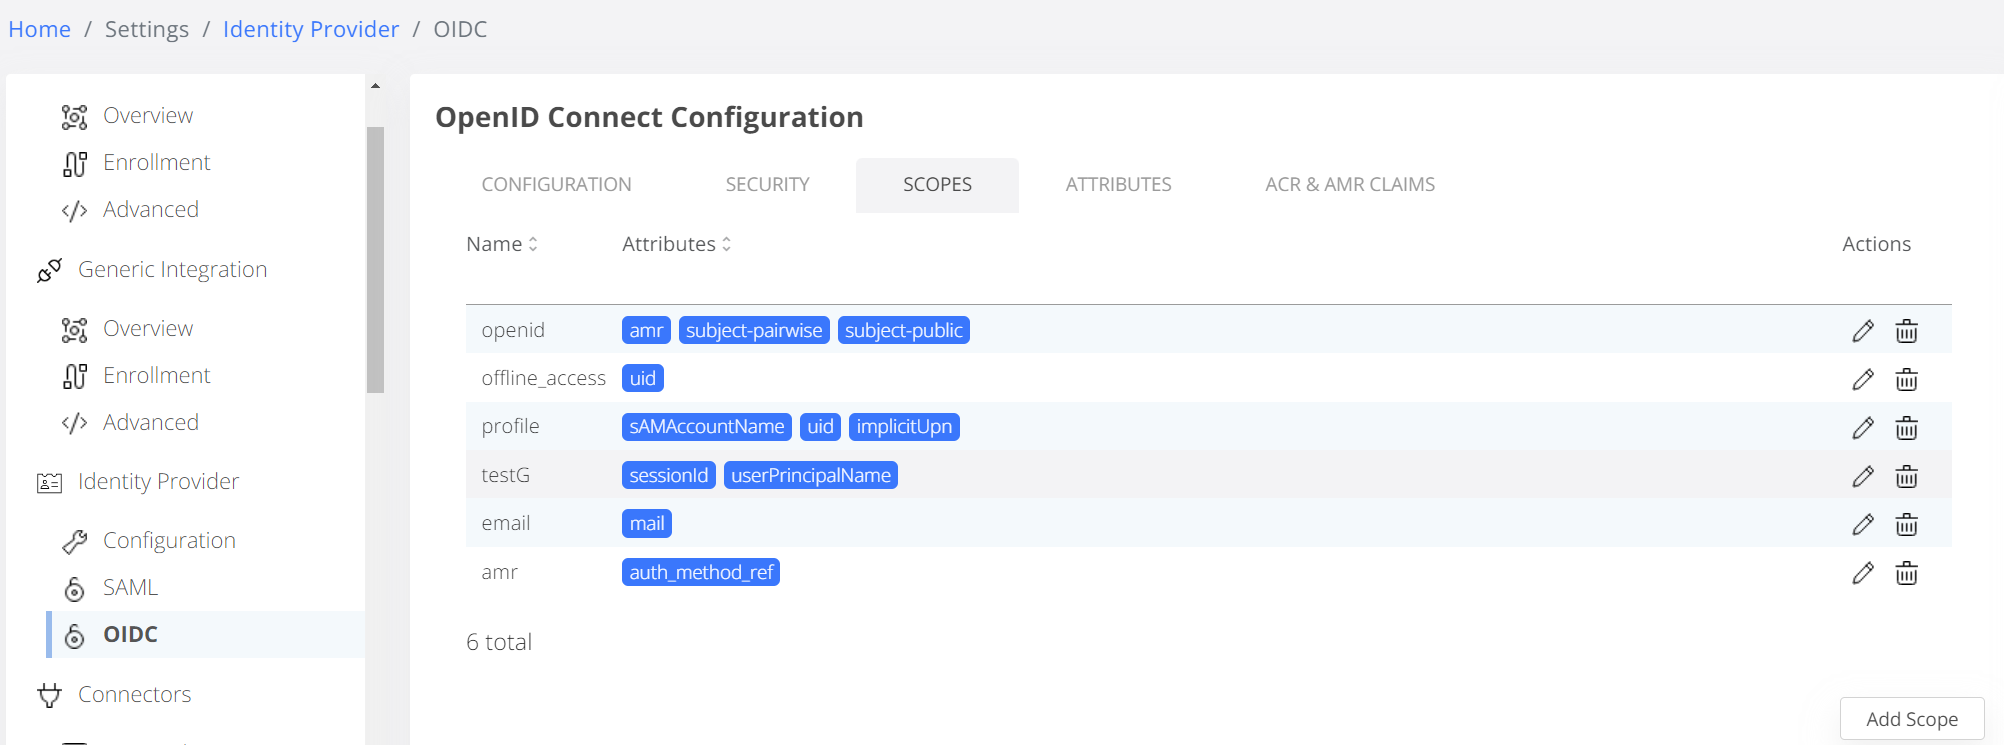
 If amr is not displayed in Scopes you need to define it in Settings->OpenID Connect Configuration
Scroll down and, under Redirect URIs, click on New and enter https://login.microsoftonline.com/common/federation/externalauthprovider

In the Veridium section, leave the settings as they are:
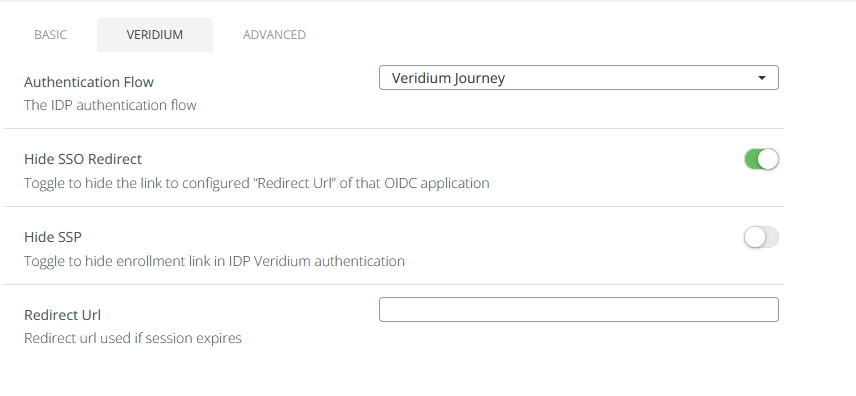
In the Advanced tab set Encoded Attributes to auth_method_ref, then scroll down and set the following (the Client JWKS uri is https://login.microsoftonline.com/common/discovery/v2.0/keys):
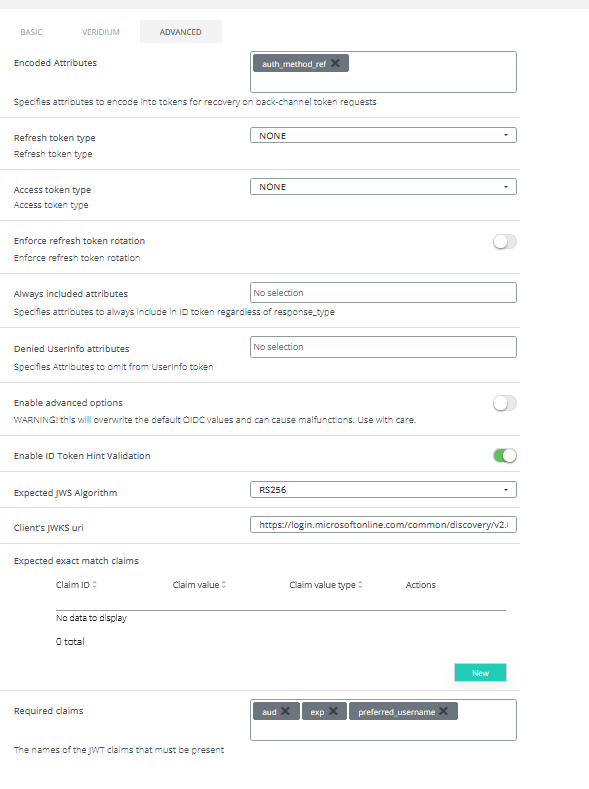
Click on Save to secure the application configuration.
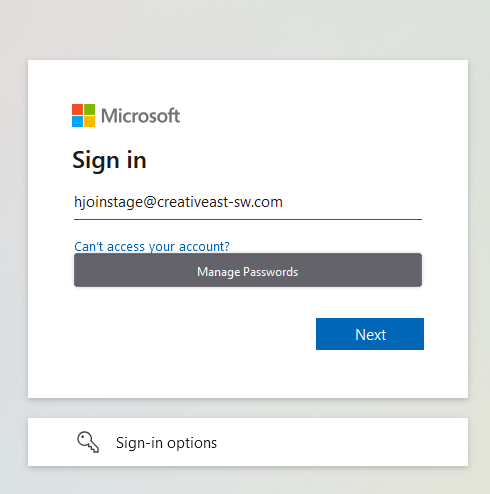
Test the integration by accessing the Service Provider configured with MFA. Initially you will be redirected to Entra for the first factor. Type in your username and click on Next:
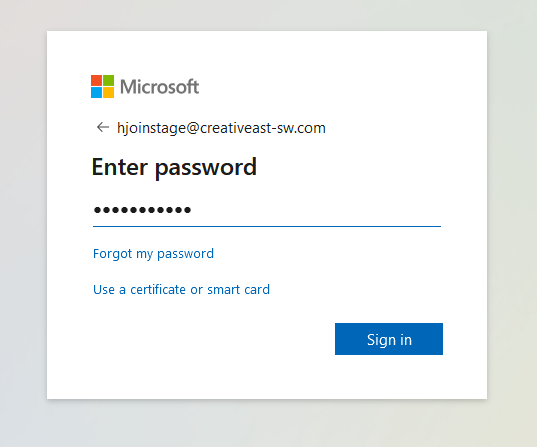
Enter the password and click on Sign in:
You will then be redirected to a list containing the external authentication methods, where you have to choose the method defined above
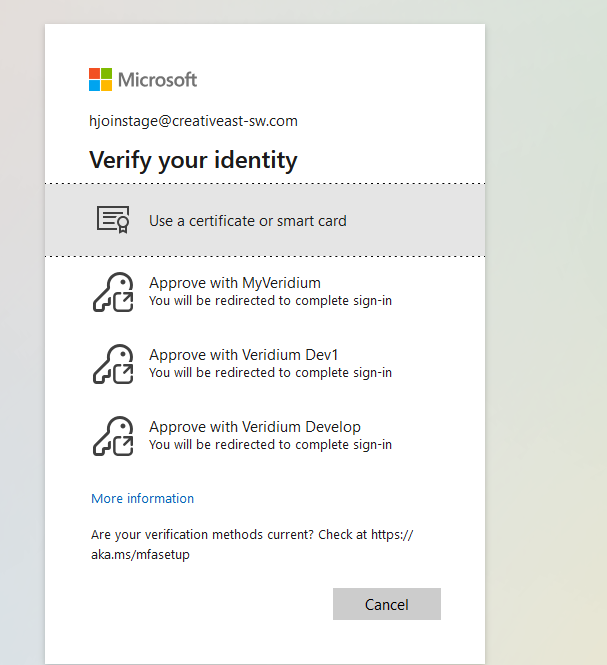
Upon clicking you will be redirected to the VeridiumID OIDC authorize endpoint
