Configure Netscaler TCP balancer for two RAEP's
The purpose of this document is to provide a procedure for configuring a simple TCP load balancer in Netscaler which will stand in front of two RAEP servers. These servers will be balanced using round-robin method.
Define the RAEP servers in Netscaler
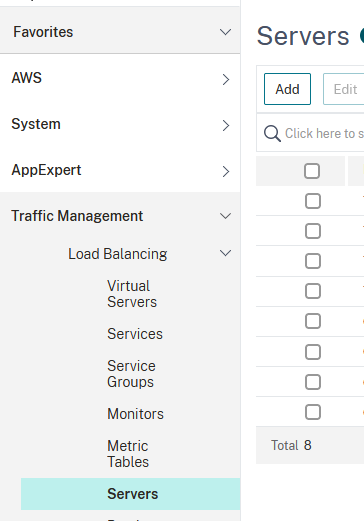
Go to Traffic Management → Load Balancing → Servers and click on Add:
Type in a name, ip address, tick Enable after Creating option and then click on Create:
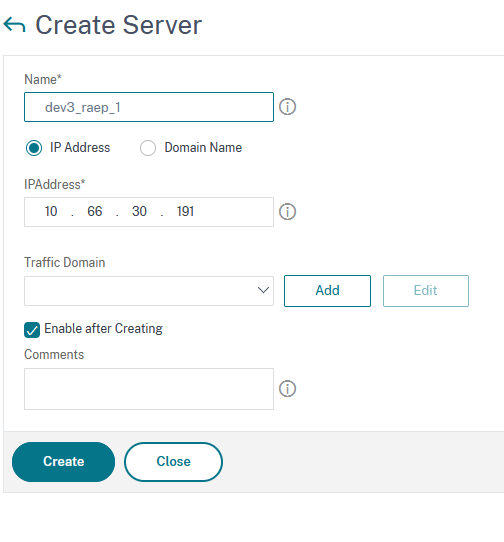
Repeat step 2 for the second RAEP server.
Define the services provided by the RAEP servers
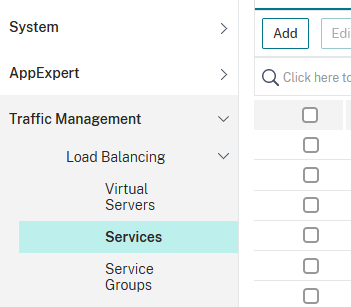
Go to Traffic Management → Load Balancing → Services and click on Add:
In the next window, type in a Service Name, select Existing Server and, from the drop-down list in the Server section, select the first RAEP server. Set the protocol to TCP and the Port to 443. Click OK to save:
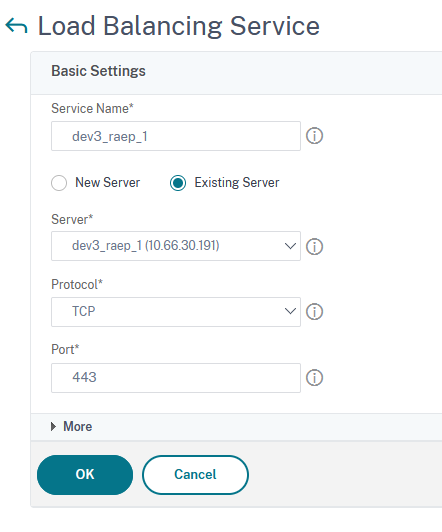
Repeat the previous step in order to define the service provided by the second RAEP server.
Define the virtual server providing the load balancing
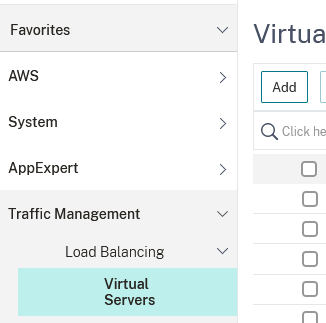
Go to Traffic Management → Load Balancing → Virtual Servers and click on Add:
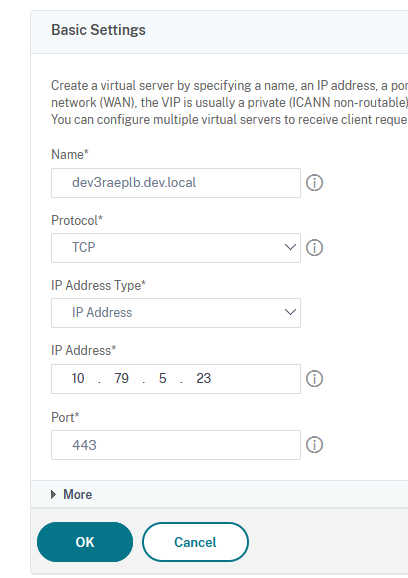
In the Basic Settings window type in a name, select TCP as Protocol, slelect IP Address as IP Address Type, fill in the ip address in the IP Address field and set the port to 443. Click on OK to save:
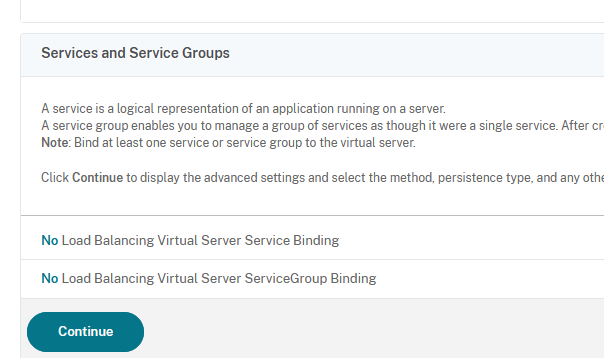
In the next window click on No Load Balancing Virtual Server Service Binding:
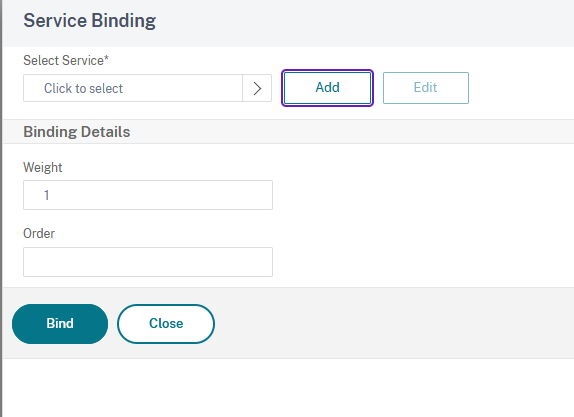
In the Select Service field, click on Click to select:
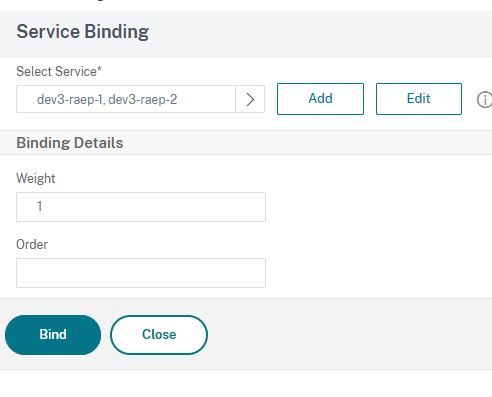
Tick the box on the left of the previously defined services and then click on Select:

In the Service Binding click on Bind:
In the main window click on Continue:
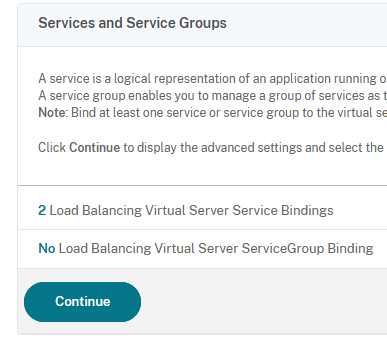
Next we must select the load balancing method. For this, in the Load Balancing Virtual Server click on Methods

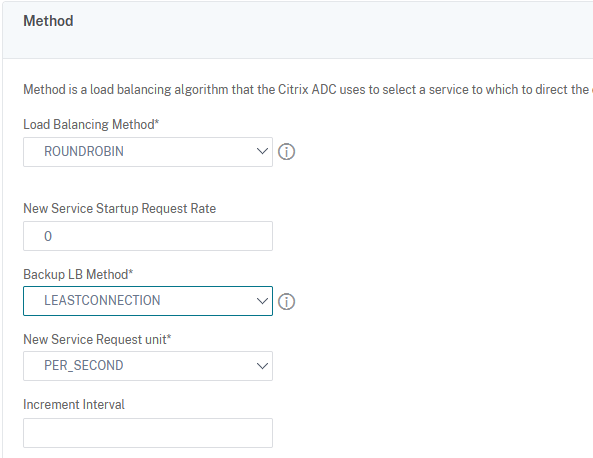
Select ROUNDROBIN as Load Balancing Method and LEASTCONNECTION as Backup LB Method:
Click on OK and Done.
Create A record for the load balancer in DNS and configure it in the registry on the machine hosting the VeridiumID CP (modify the fqdn in the RA_URL and ENROLL_URL to match the load balancer’s FQDN).
