
For the most part, the process of configuring Netscaler with Entra OIDC is similar to the one with SAML, described here Configure Citrix Netscaler and Storefront for SAML and passthrough authentication - VeridiumID Documentation - Confluence. This document will capture only the differences between the two methods, which are the following:
-
Create an OIDC app for Netscaler in the EntraID portal (instead of defining Netscaler as a service provider in the Veridium Manager)
-
Create an OAUTH action (instead of SAML)
-
Create an OIDC app for Netscaler in the EntraID portal
-
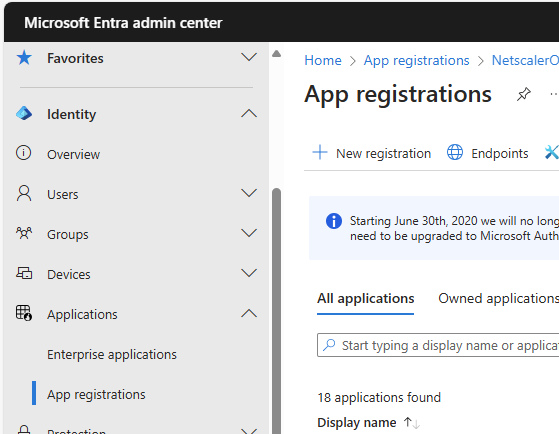
In the Entra portal, from the menu on the left, select Applications->App registrations, then click on All applications in the main window and then on New registration:
-
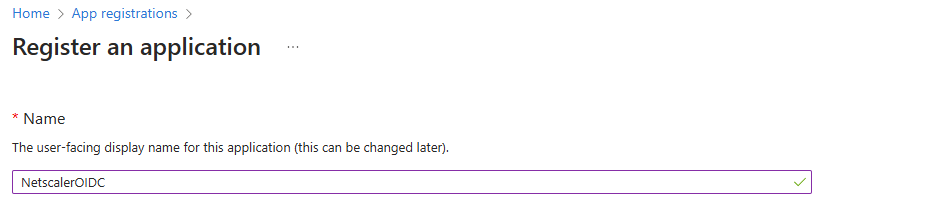
In the Register an application section type in a name for the app:
-
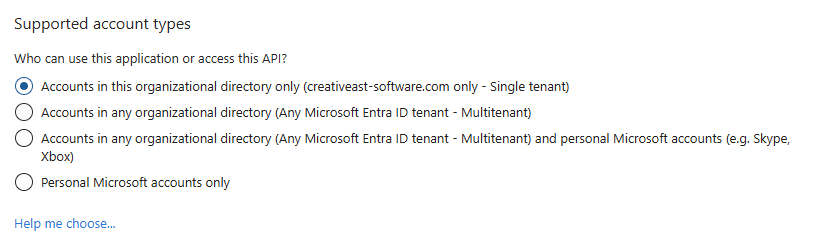
In the Supported account types section select the first option (or another one which fits your needs):
-
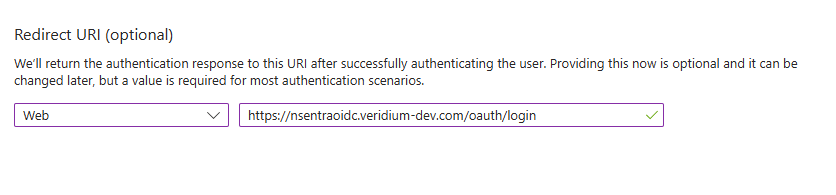
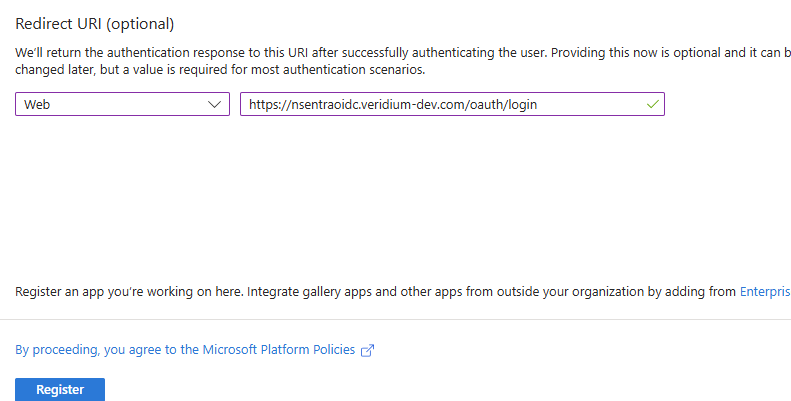
In the Redirect URI part select WEB from the dropdown list and in the field on the right enter your netscaler virtual server oauth login address (https://ns_virtualserver_fqdn/oauth/login):
-
Click on Register to finish the app registration process:
-
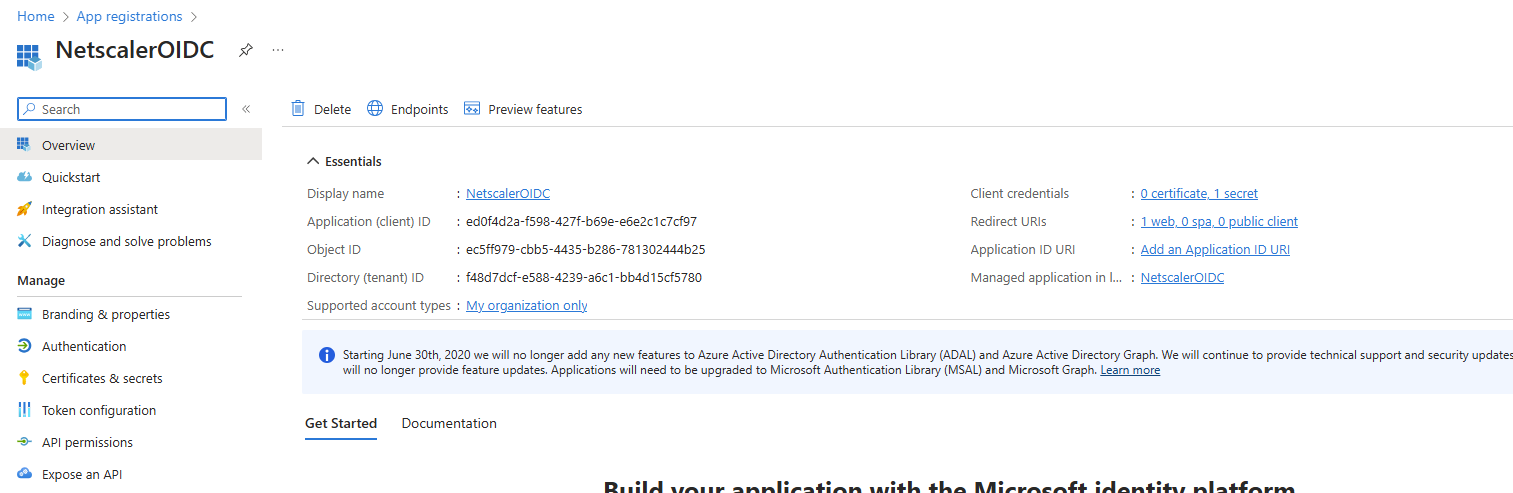
From the app registration window select your newly created app.
-
In the next window, in the Client credentials section, click on secret:
Note: In this window you have the “Endpoints” button. Click on it to extract the Microsoft OIDC endpoints which will be needed in the next section (Authorize, Token, Cert, etc).
-
Next, click on

-
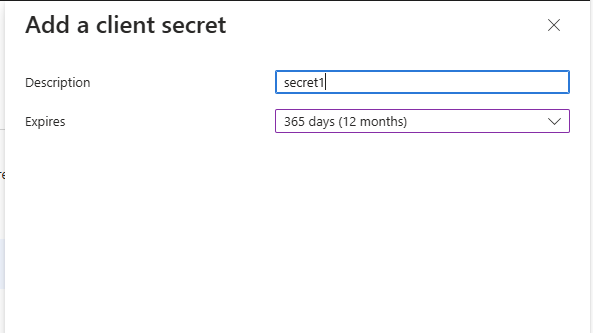
In the next window, type in a name in the Description field and choose an expiration period in the Expires drop-down list and click on Add:
-
Save the content of the Value field because it is displayable only once after creation:

-
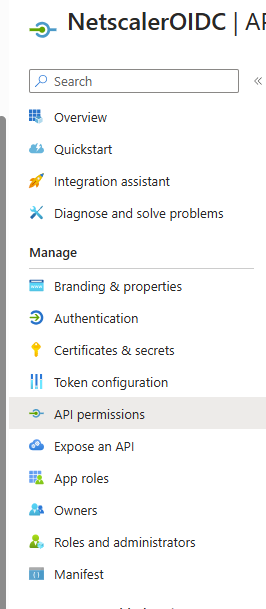
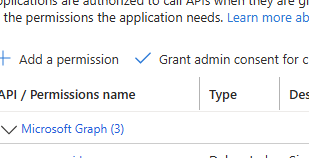
Next, in the main Entra window, click on API permissions:
-
Click on Add a permission:

-
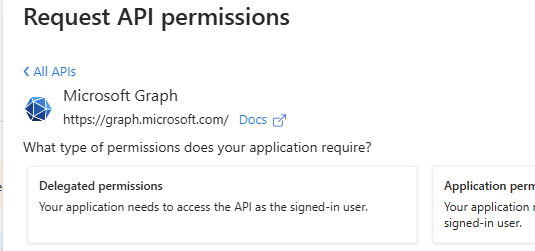
In the next window click on Microsoft Graph:

-
Next click on Delegated permissions:
-
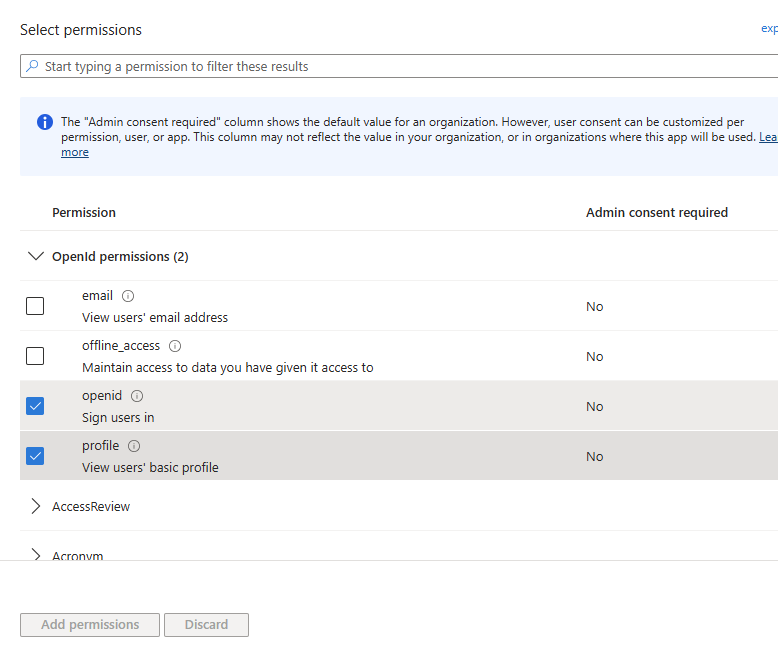
From the Openid permissions select openid and profile then click on Add permissions:
-
In the next window click on Grant admin consent for… :
-
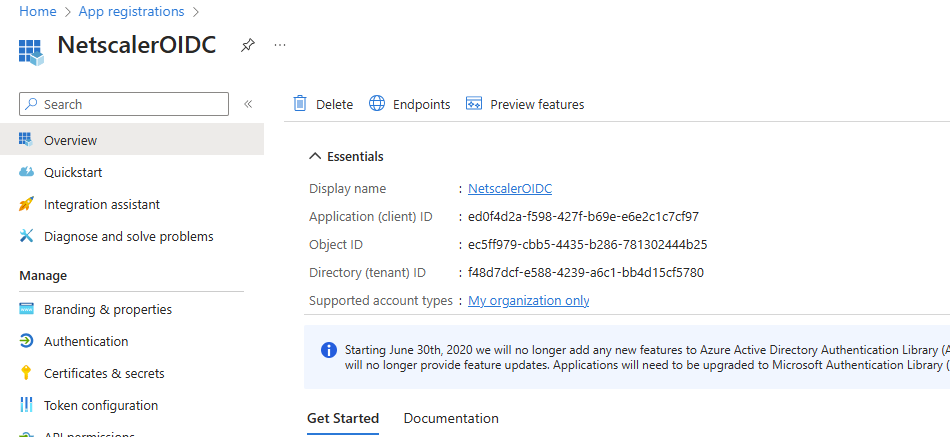
In the main Entra window click on Overview and save the Application (client) ID. You’ll need this value in the Netscaler configuration:
-
Create an OAUTH action
This step must be performed in the Netscaler GUI (or the CLI). Tipically the OAUTH action is defined at the Authentication profile creation during the virtual server configuration process. However, the OAUTH action can also be defined manually by performint the following steps:
-
In the Netscaler GUI click on Security->AAA - Application Traffic->Policies:
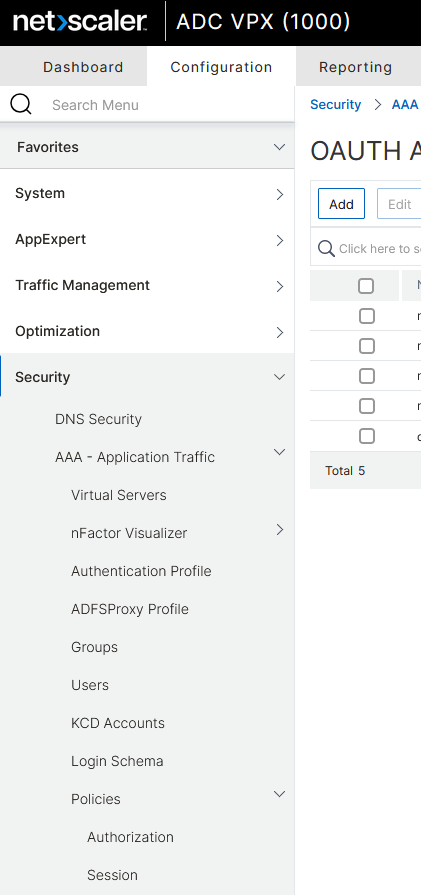
-
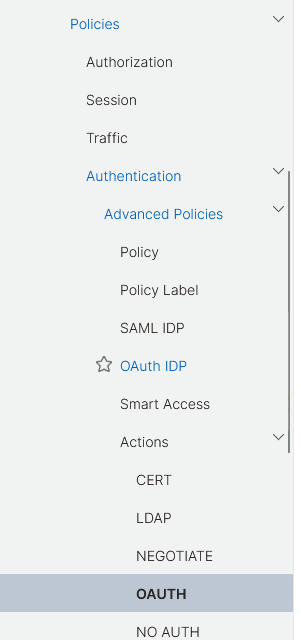
Scroll down and click on Authentication->Advanced Policies->Actions->Oauth:
-
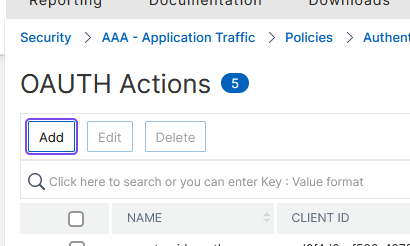
In the OAUTH Actions click on Add:
-
In the next window type in a Name for the action, Select GENERIC in the OAuth Implementation Type field, the fill in the Client ID and Client Secret defined previously in Entra. Set Authentication to ENABLED, then fill in the Authorization Endpoint and Token Endpoint from Entra
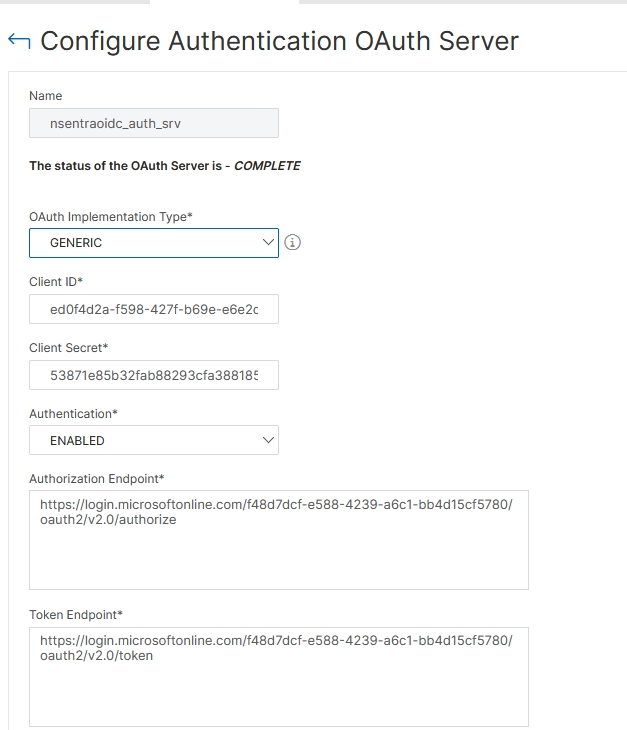
-
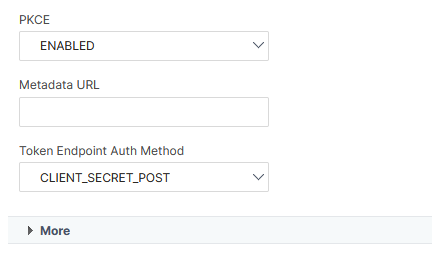
Scroll down and set PKCE to ENABLED, Token Endpoint Auth Method to CLIENT_SECRET_POST and then click on More:
-
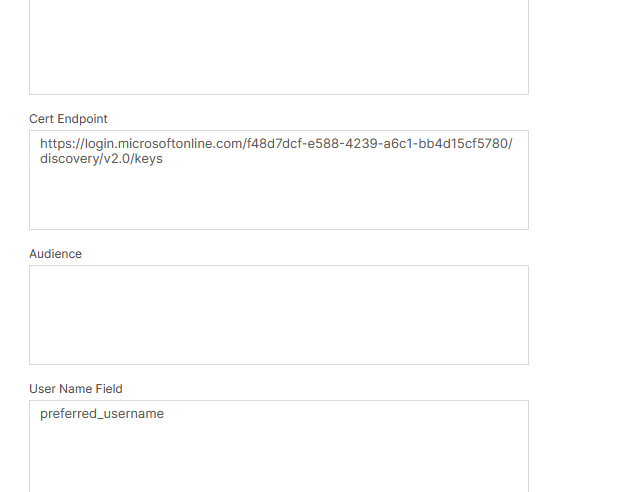
Moving further down the page, fill in the Cert Endpoint field with the value extracted from Entra endpoints and then set the User Name Field to preferred_username (this is the username attribute in the token):
-
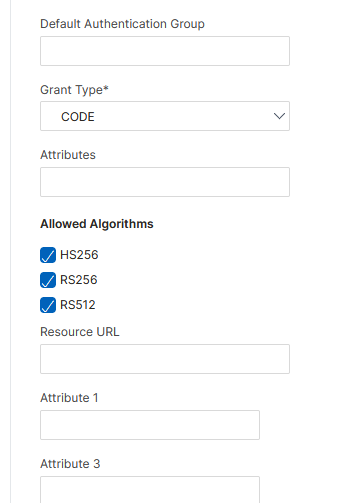
Scroll down and set Grant Type to CODE and then select the three Allowed Algorithms:
-
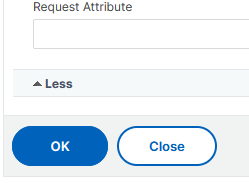
Click on OK to save the configuration:
-
This OAUTH action must be bound to an Advanced Authentication Policy (which will be bound to an Authentication Virtual Server corresponding to the Authentication Profile from the virtual server configuration). The process is described in detail in the Netscaler Saml integration article.