The purpose of this document is to provide an end-to-end configuration procedure of an ADFS server along with the Veridium ADFS plugin. This article assumes you already have in place an Active Directory domain and a ADFS dedicated machine joined to this domain
Install ADFS server role and configure the ADFS service
-
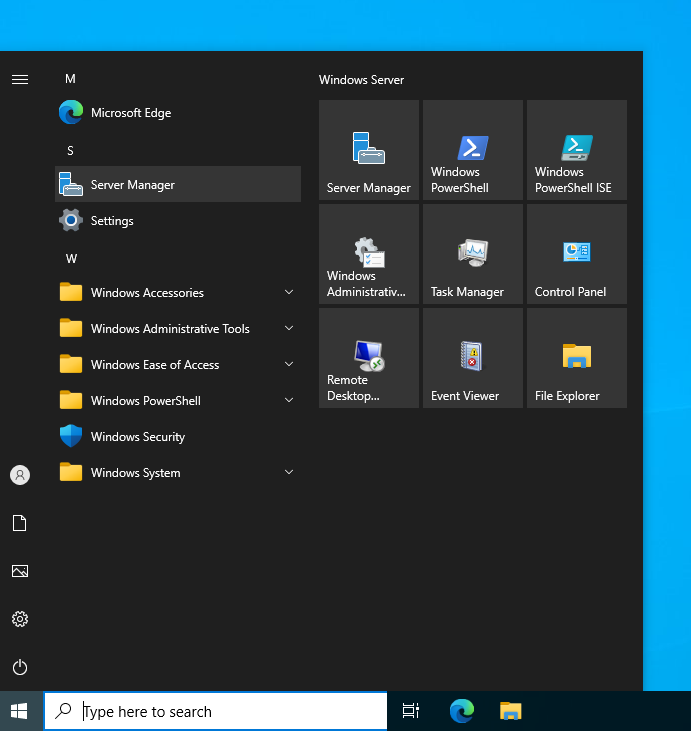
The first step is to install the ADFS role. For this, click on Start, then select Server Manager:
-
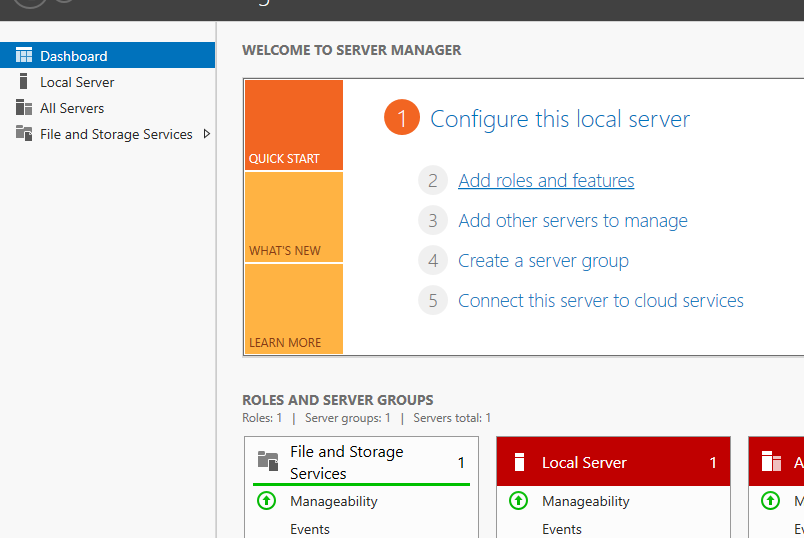
In the SERVER MANAGER window click on Add roles and features:
-
In the following window click on Next:

-
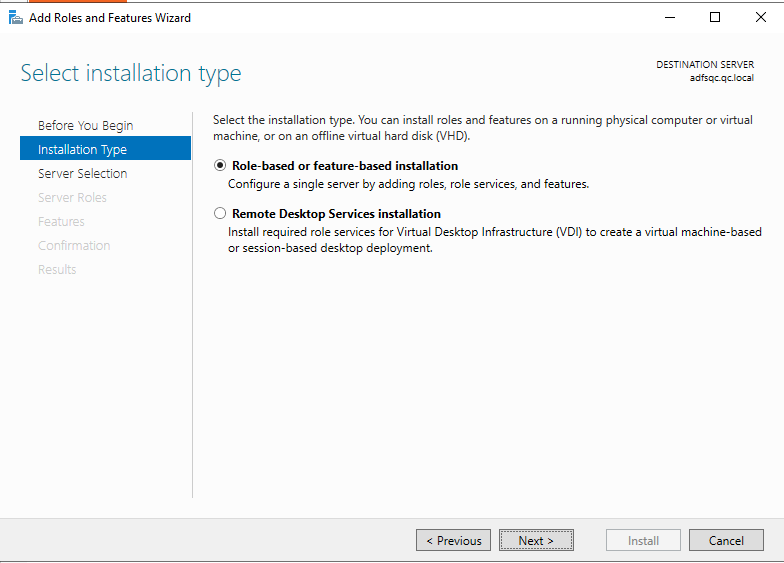
In the Select installation type window, click on Next:
-
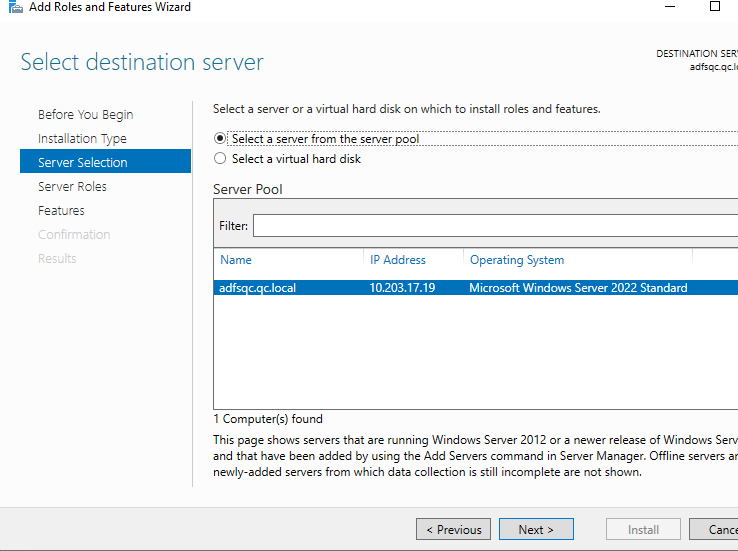
In the Select destination server click on Next:
-
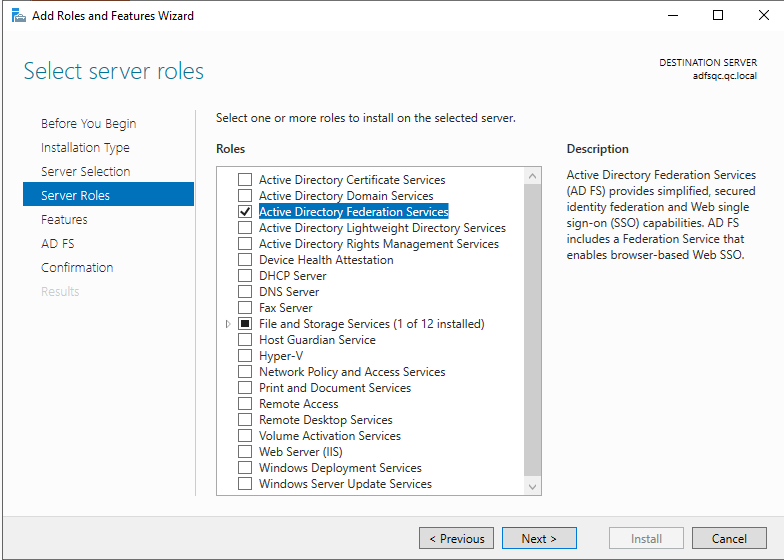
In the Select server roles window tick the box next to Active Directory Federation Services and then click Next:
-
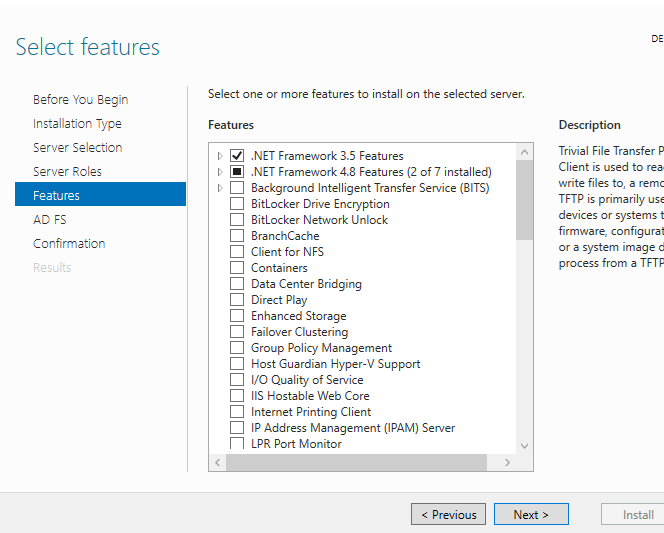
In the Select features window click Next:
-
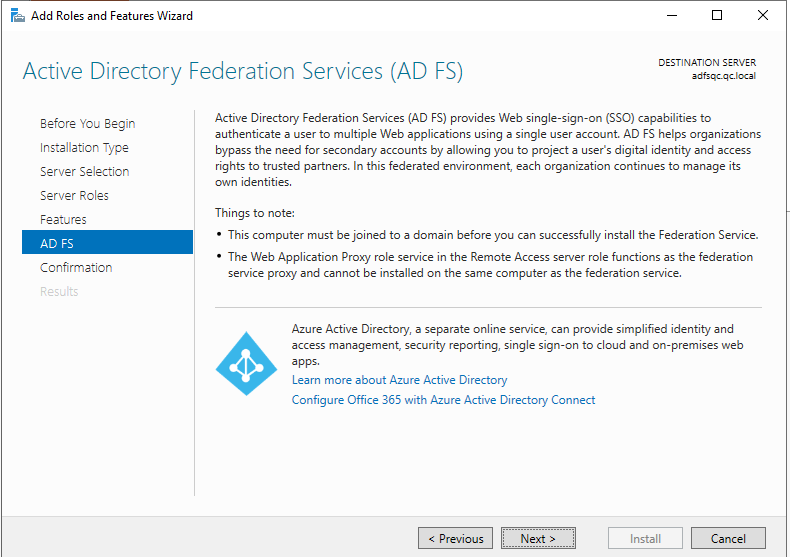
In the following window click Next:
-
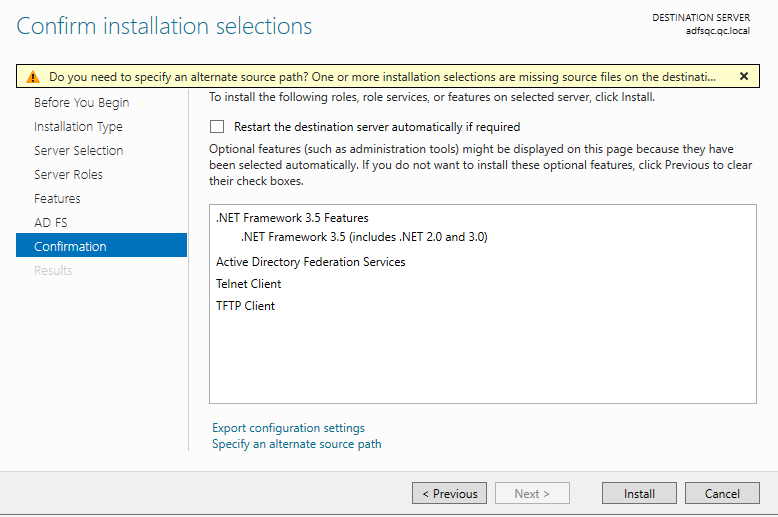
In the Confirm installation selections window click on Install:
-
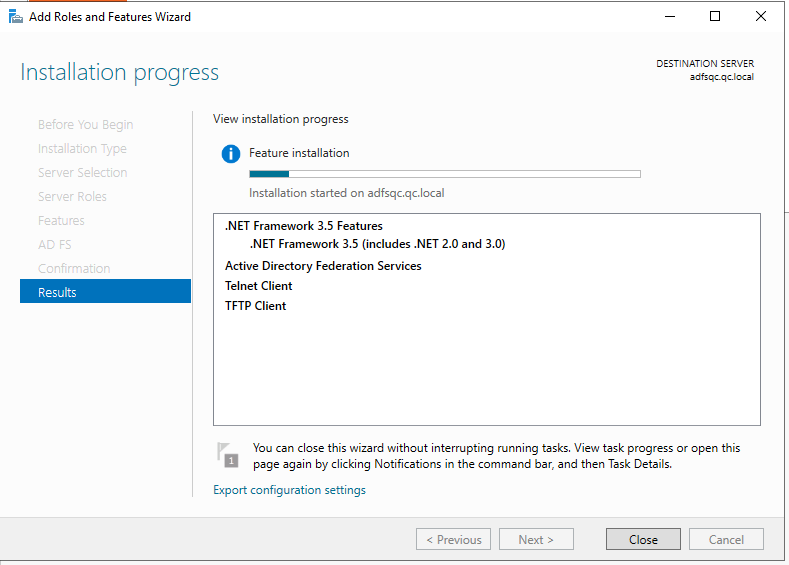
In this step you can choose either to wait for the installation to complete or click on Close. The installation will complete in the background if you close the window.
-
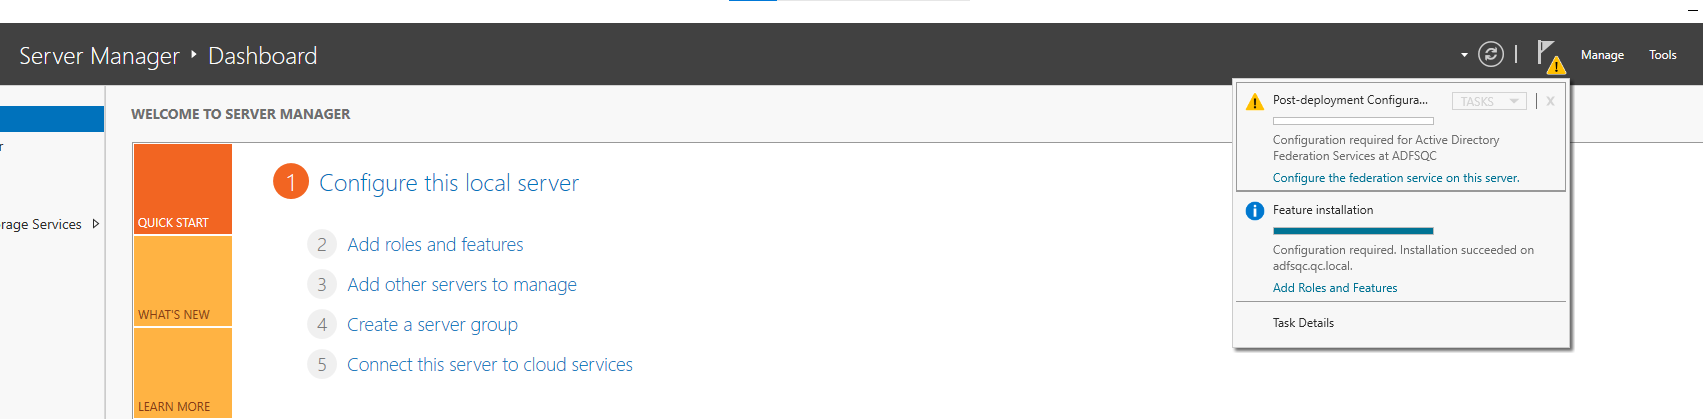
After the installation completes. go to Server Manager and click on the yellow exclamation mark on the upper right side of the window, then select Configure the federation service on this server:
-
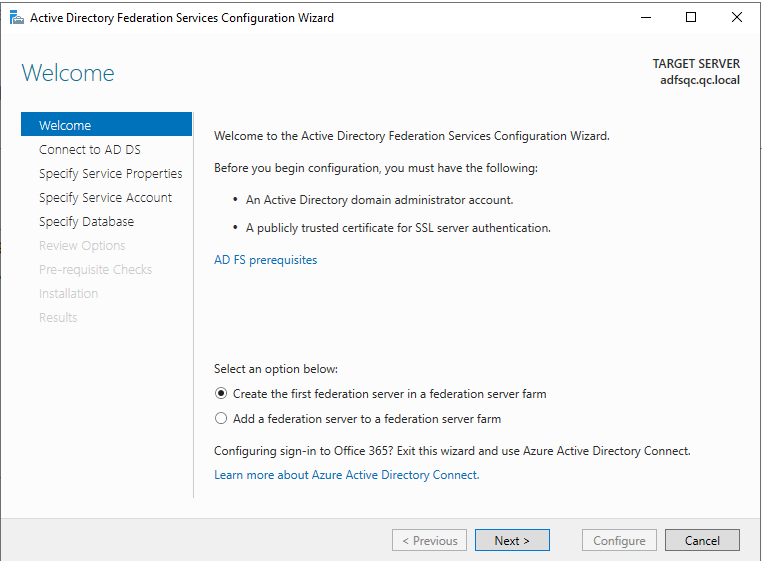
In the Active Directory Federation Services Configuration Wizard select Create the first federation server in a federation server farm then click on Next:
-
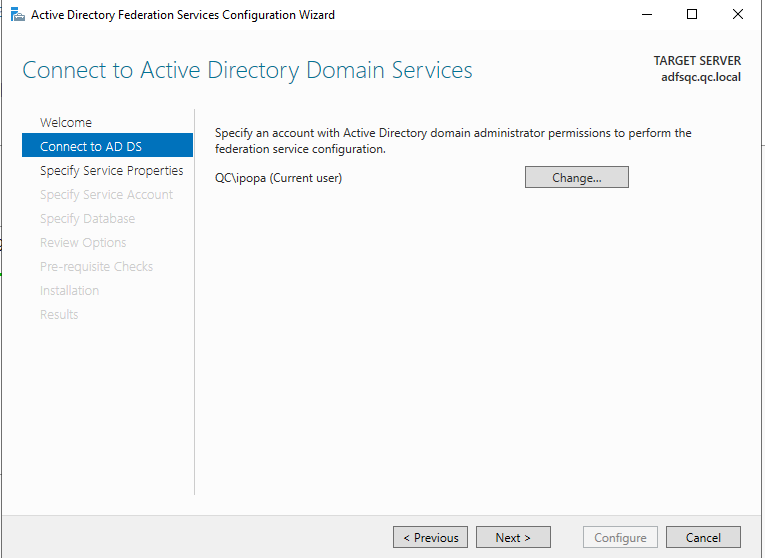
Specify a domain account with administrator permissions and then click on Next:
-
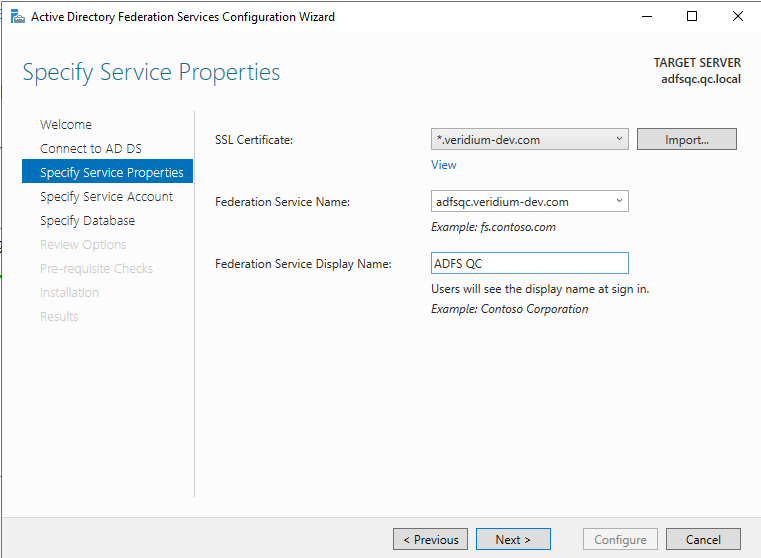
Click on Import and select a SSL certificate, then set a Federation Service Name to match the certificate and then set the Federation Service Display Name which will appear in the ADFS authentication window:
-
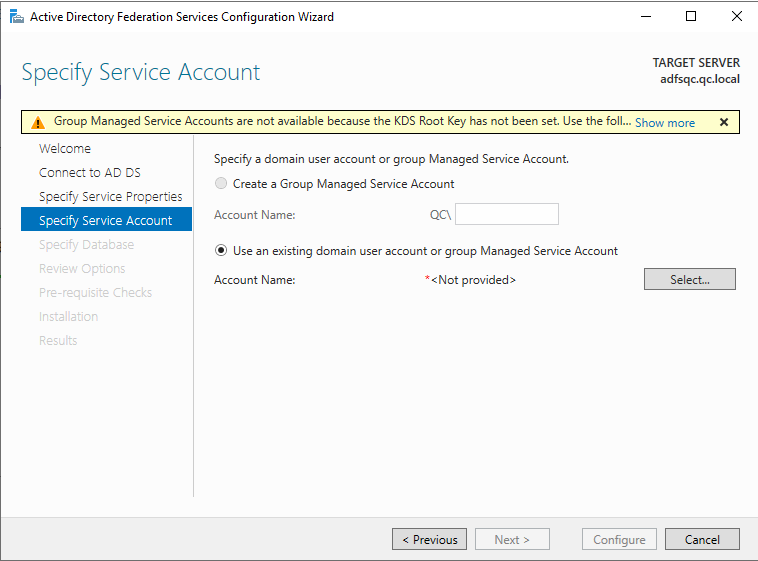
If this is the first time you are configuring an ADFS server in your domain, you’ll most likely see this message. Click on Show more:
-
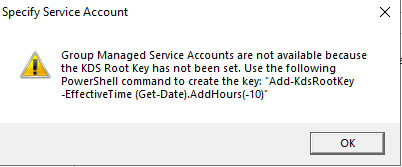
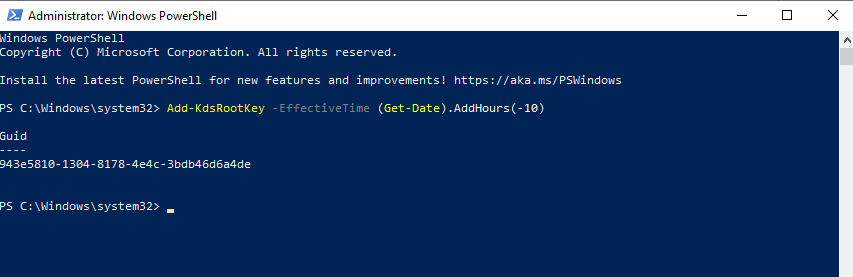
A window will appear displaying a command that needs to be executed in order to set the KDS Root Key. Open an elevated PowerShell window and execute the command(Add-KdsRootKey -EffectiveTime (Get-Date).AddHours(-10)):
-
After the command has been executed, close the Powershell window:
-
Return to the configuration wizard. If the warning hasn’t disappeared, click on Previous and then on Next:
-
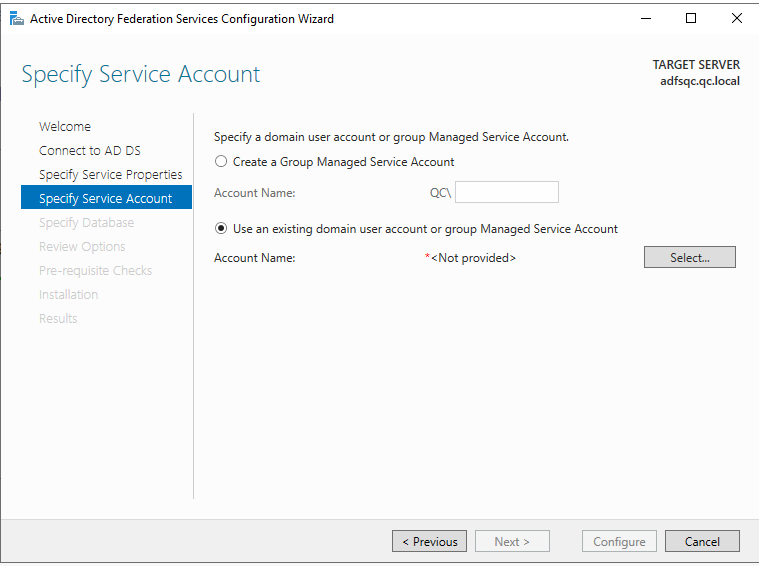
Select Create a Group Managed Service Account and assign an Account Name, then click on Next:

-
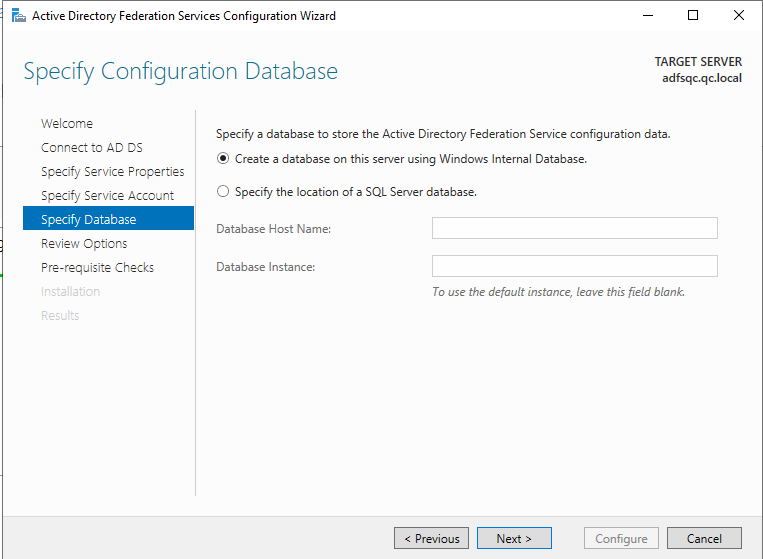
Select Create a database on this server using Windows Internal Database then click Next:
-
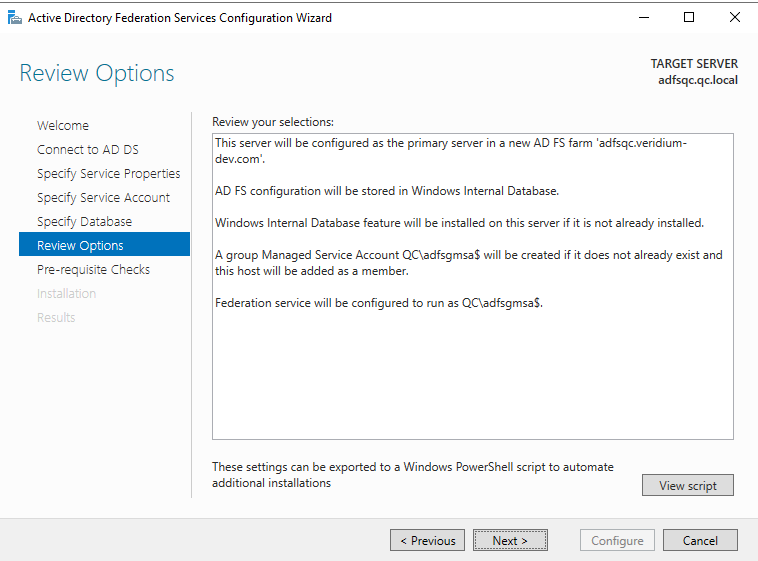
Review the options and then click on Next:
-
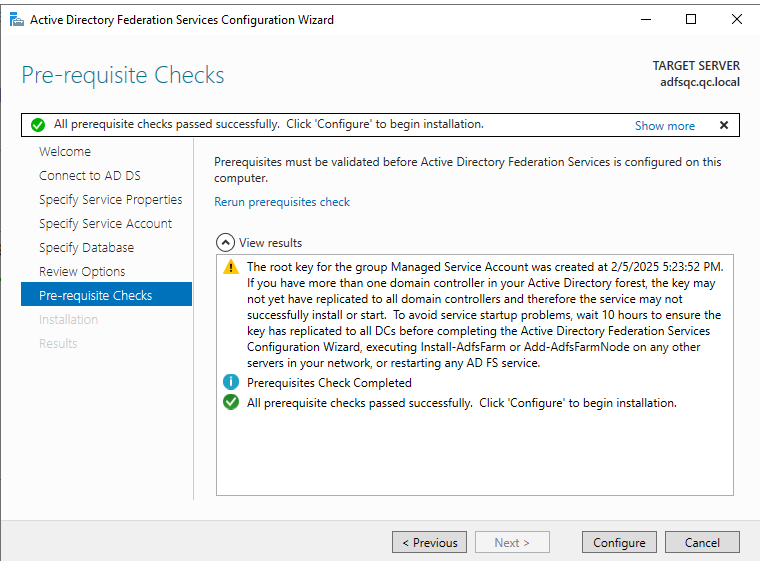
Wait for the Pre-requisite Checks to complete and then click on Configure:
-
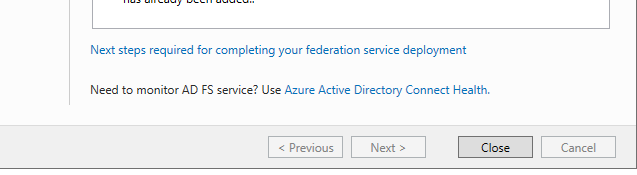
After the configuration process is complete, click on Close:
Install and configure the Veridium ADFS plugin
-
Install the VeridiumAdfsInstaller_x64.msi by following the instructions on the screen (no special configuration required).
-
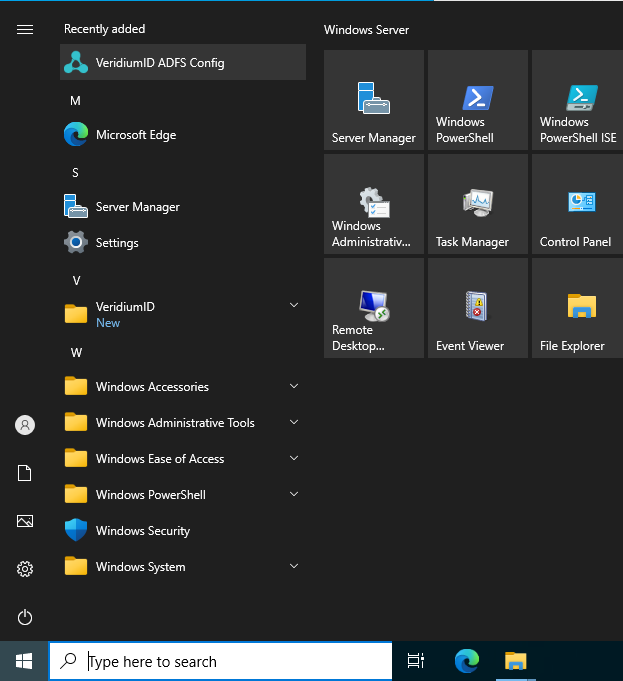
Click on Start, then select VeridiumID ADFS Config:
-
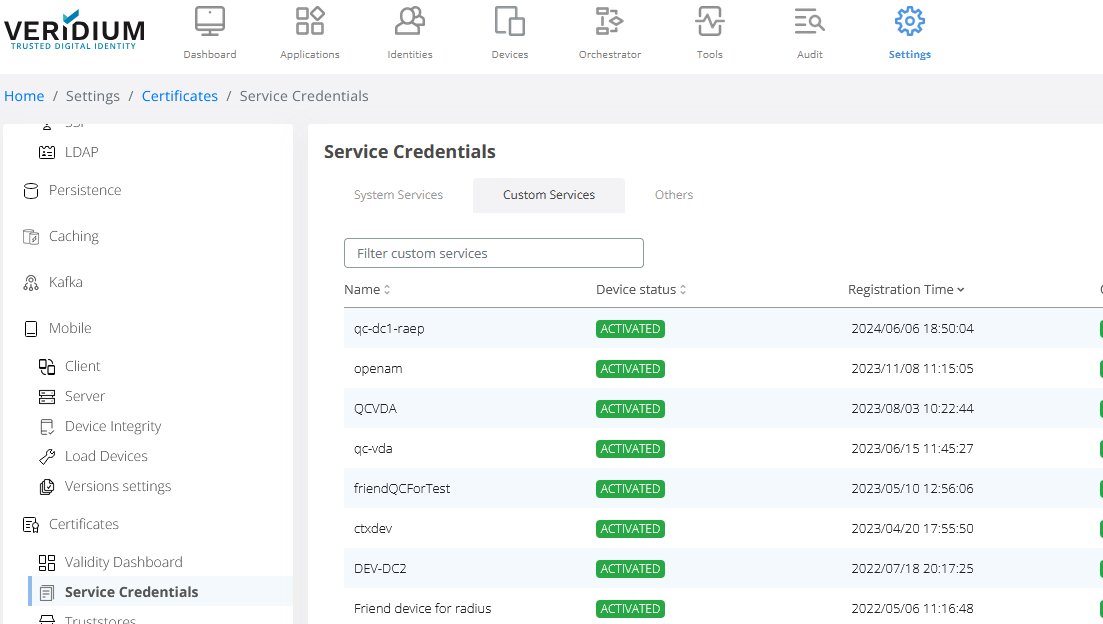
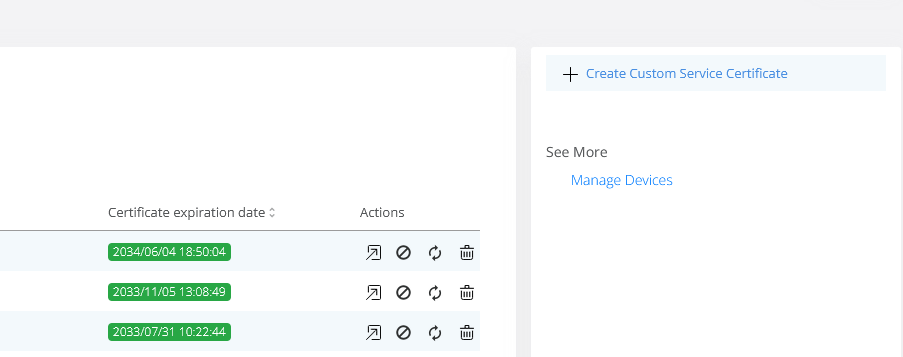
The first step requires importing a friend certificate for the VeridiumID server which will be integrated with the plugin. For this, go to Veridium dashboard, click on Settings, then scroll down to the Certificates section, click on Service Credentials and then on Custom Services:
-
Click on Create Custom Service Certificate:
-
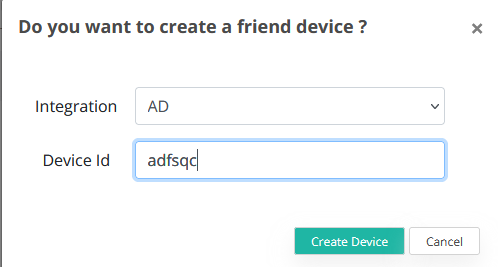
Type in a name for the ADFS friend certificate and then click on Create Device:
-
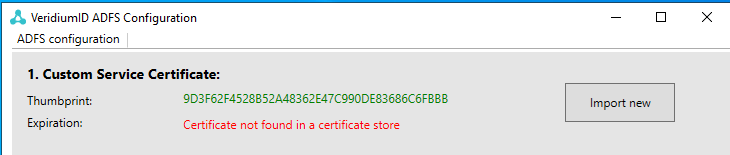
Copy the certificate to the ADFS machine, then return to VeridiumID ADFS Configuration and click on Import new:
-
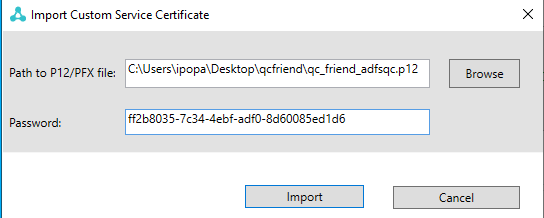
Browse to the location where you saved the certificate, select it then type in the password and click Import:
-
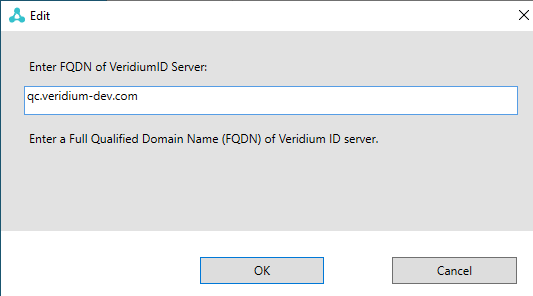
Next click on VeridiumID FQDN:

-
Type in the FQDN of the VeridiumID server you want to use and then click on OK:
-
Type in the VFACE Script URL. This can be obtained by concatenating the Shibboleth url and “/idp/custom/vface/vface-web.iife.js“:

-
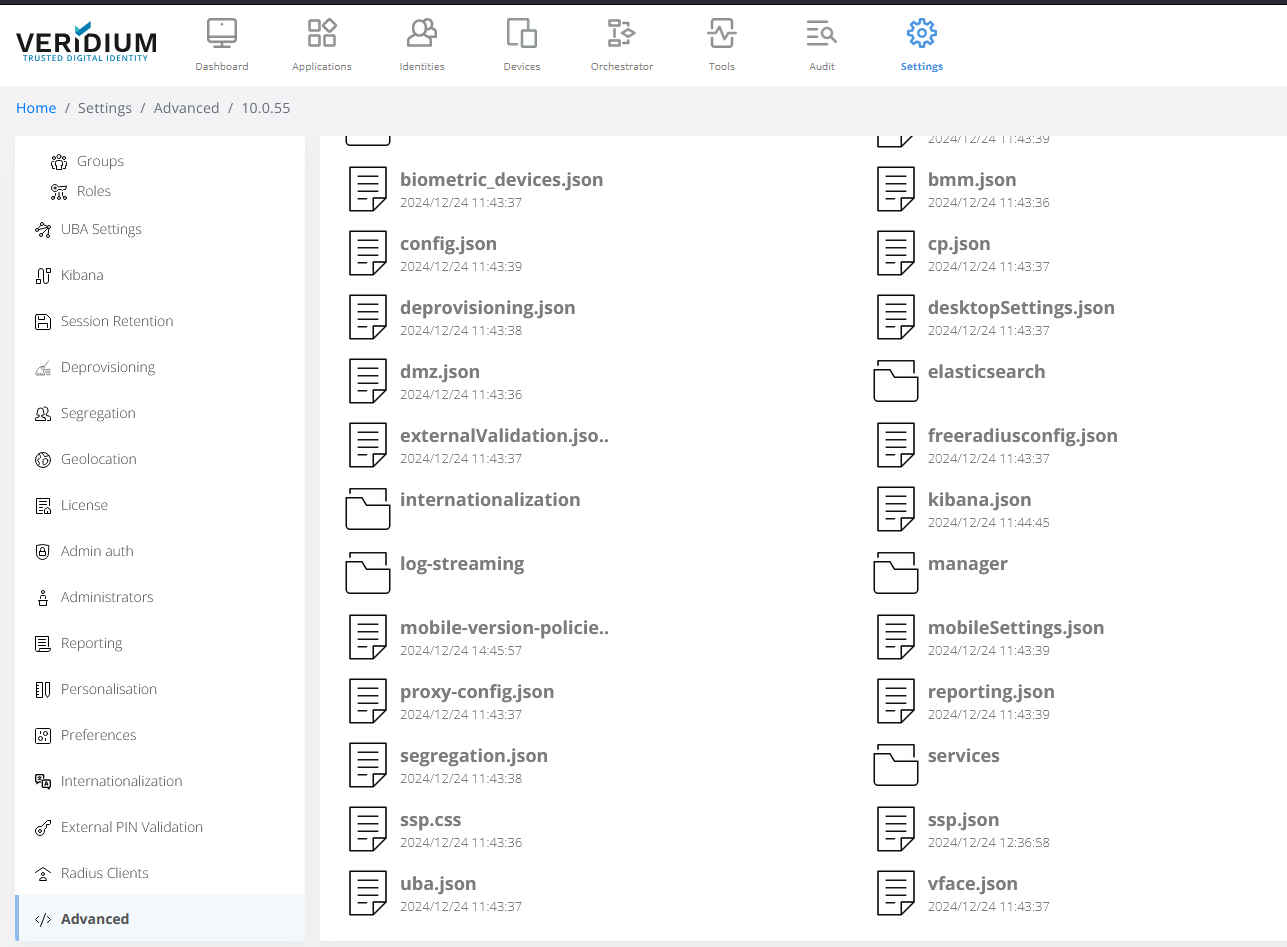
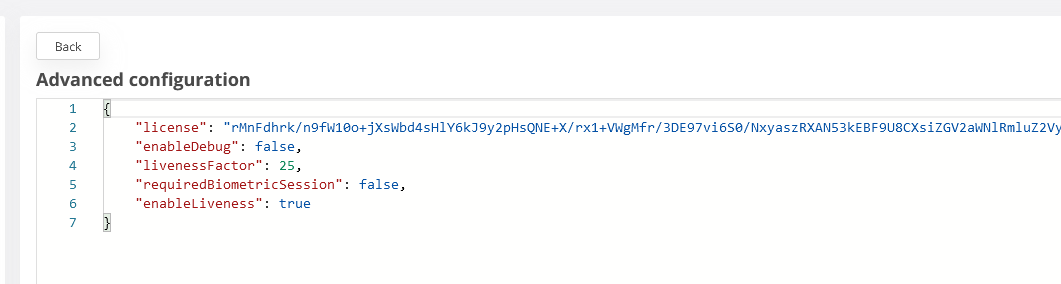
Next go to Veridium Manager and extract the vface license. For this, click on Settings, then Advanced, scroll down and select vface.json:
-
Copy the value from the license tag:
-
Go back to the VeridiumID ADFS Configuration and paste the copied value in the VFACE license key field:

-
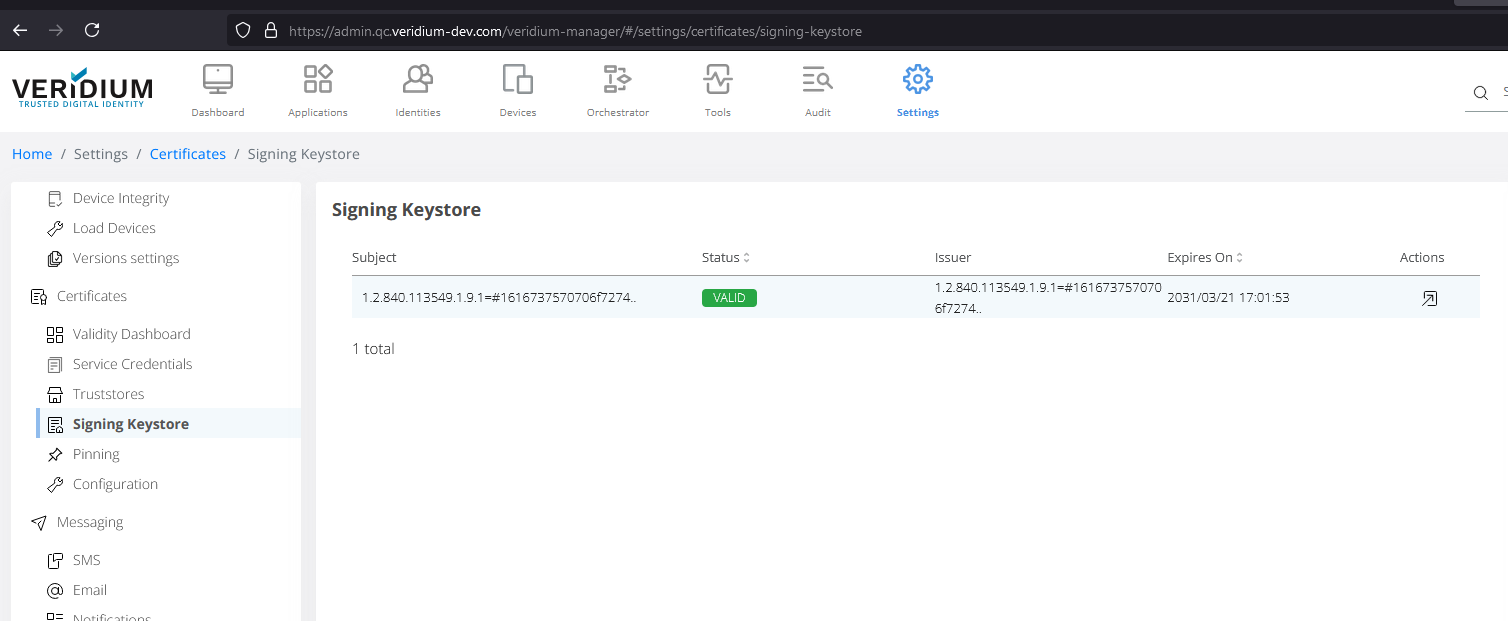
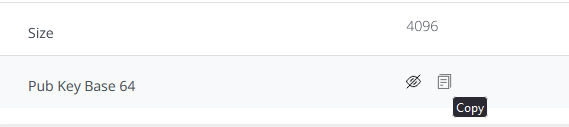
Next you need to retrive the signing keystore from the VeridiumID server. For this, go back to Veridium Manager, click on Settings, then scroll down to the Certificates section, click on Signing Keystore and double click the item on the right side:
-
Scroll down and click on the Copy button next to Pub Key Base 64:
-
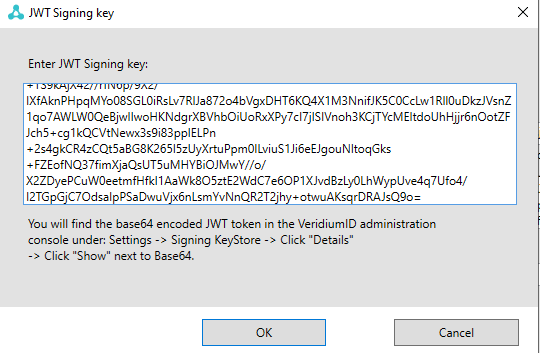
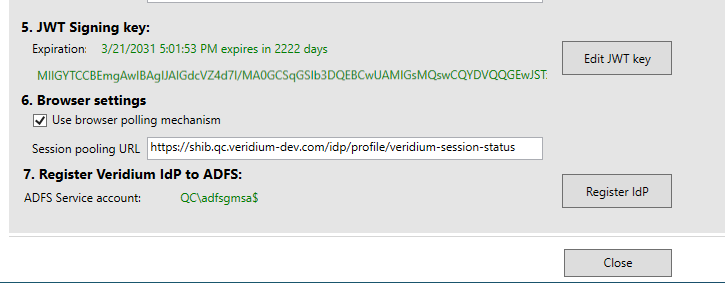
Return to the VeridiumID ADFS Configuration and click on Edit JWT key:

-
Paste the JWT Signing key value and click on OK:
-
Adjust the Session pooling URL to match your idp:

-
Click on Register IdP button to apply the settings:

Install ClaimsXray to visualize the claims
-
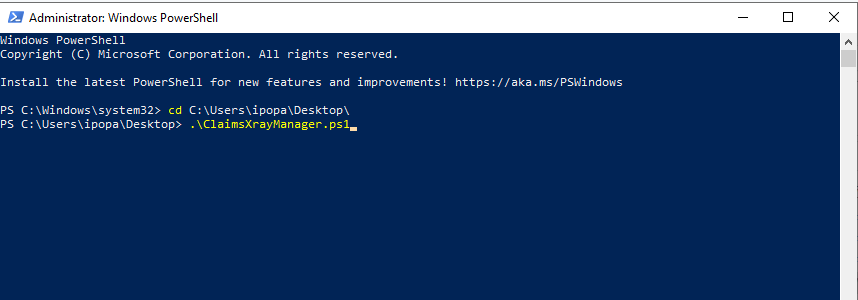
Install ClaimsXray by using the attached Powershell script. Execute it from an elevated Powershell window
-
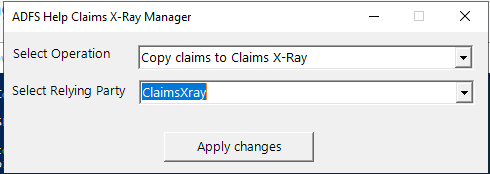
Select the following options and click on Apply changes:
-
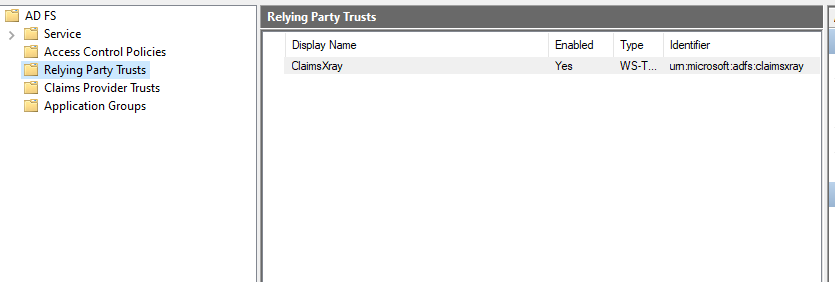
This will create the ClaimsXray relying party trust, as can be seen by going to Relying Party Trusts container:
-
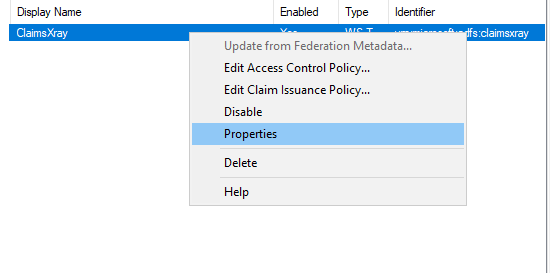
The default ClaimsXray endpoints are no longer available, so you need to change them. For this, right-click the relying party and select Properties:
-
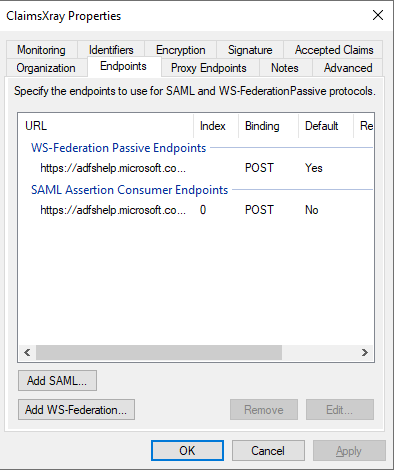
In the next window, click on Endpoints tab, replace WS-Federation Passive Endpoints and SAML Assertion Consumer Endpoints with https://claimsxray.net/api/sso and then click on Apply and Ok:
-
In order to test you need to enable idpinitiatedsignon page. For this, open an elevated Powershell window and execute the following command:
Set-AdfsProperties -EnableIdpInitiatedSignonPage $true -
Next you must enable Veridium as authentication method in ADFS service configuration. For this, click on Authentication Methods, then click on the Edit button next to Additional Authentication Methods:

-
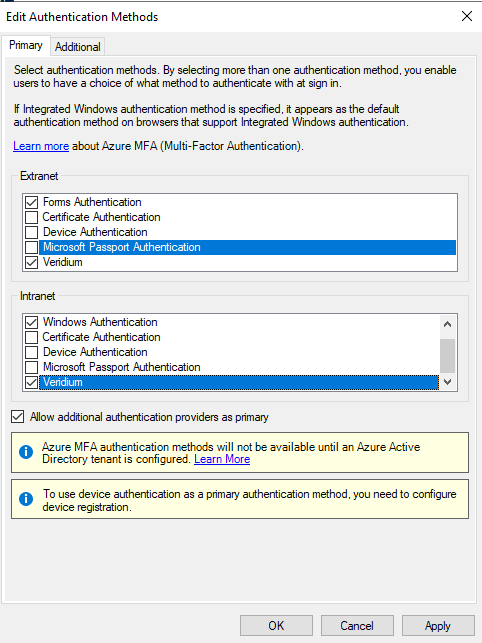
In the next window select Veridium and then click on Apply:
-
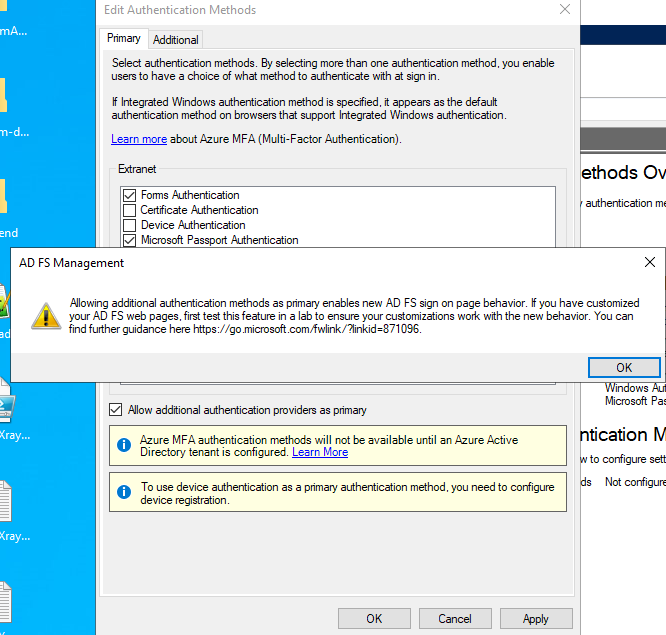
Click on Primary, then select Allow additional authentication providers as primary, then click on OK in AD FS Management window:
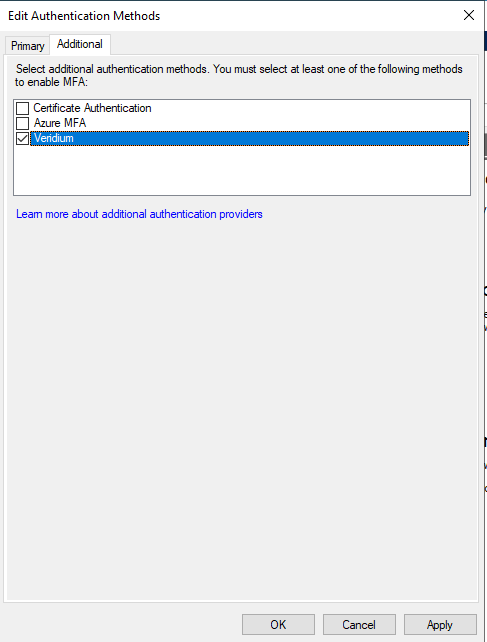
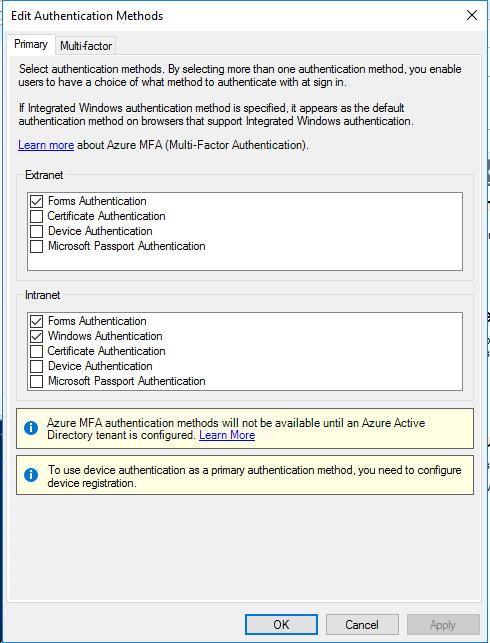
Note: In Windows Server 2016, the Allow additional authentication providers as primary option is not available. The Edit Authentication Methods window looks like this:
Veridium is listed under the Multi-factor tab:
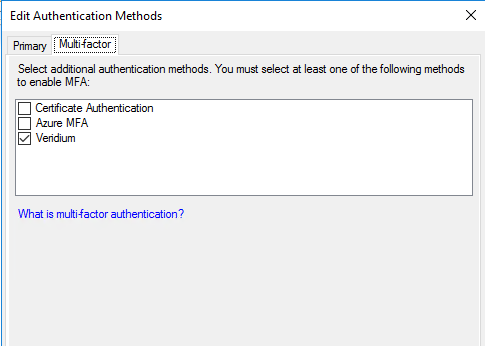
Therefore, Veridium can be used only as a second factor with, for example, Forms authentication as first factor.
-
Click on Apply and OK, then re-open the Edit Authentication Methods window.
-
Veridium should be visible as an authentication method and you have to enable it:
-
Click on Apply and OK to save.
-
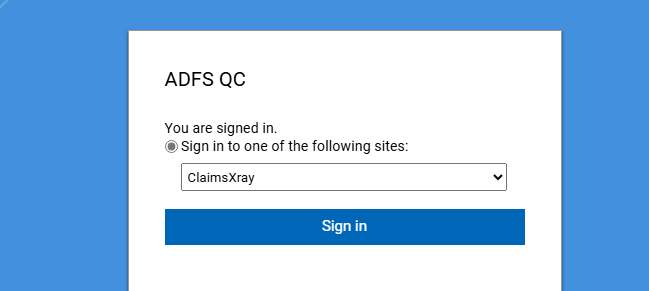
Now you can test the authentication by accessing the idp initiated signon page. The url is like this: https://<adfs-fqdn>/adfs/ls/idpinitiatedsignon. Select Sign in to one of the following sites and then click on Sign In:
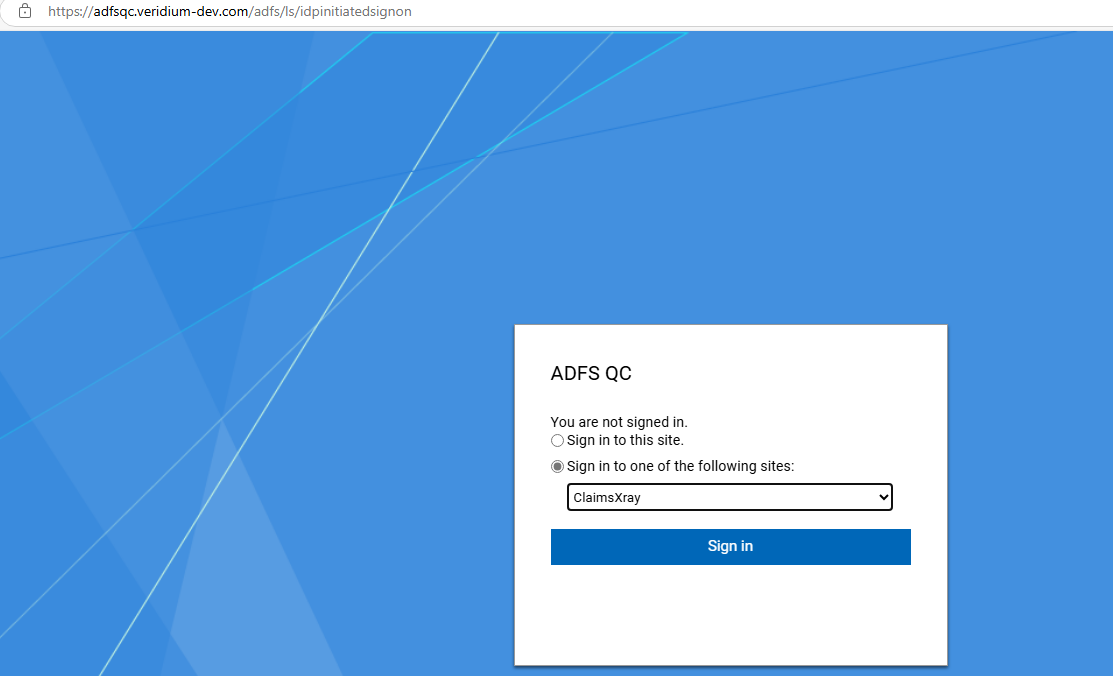
-
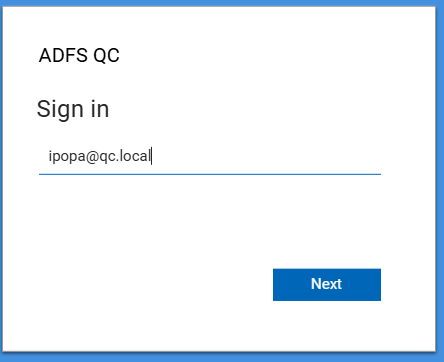
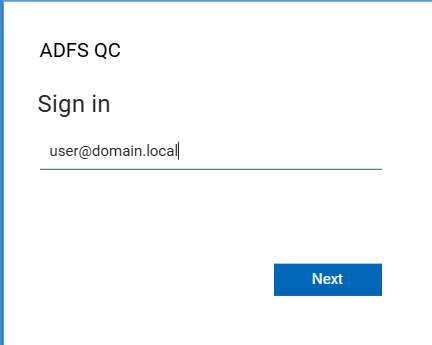
Type in your username and the click Next:
-
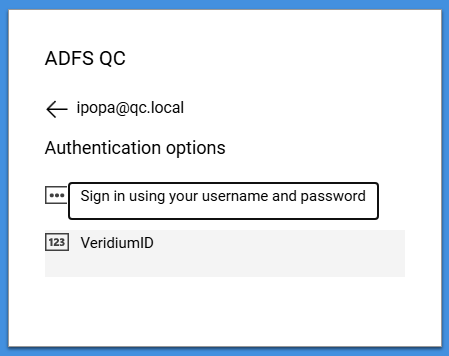
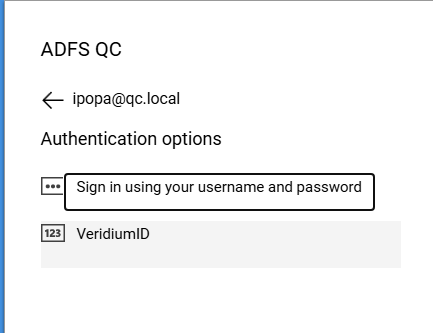
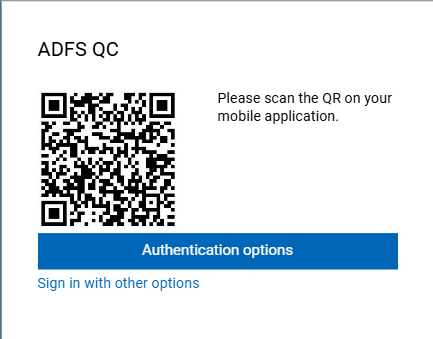
Click on VeridiumID to login using the VeridiumID ADFS plugin:
-
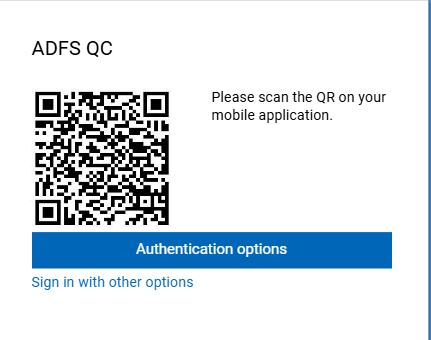
Authenticate using the method of your choice:
-
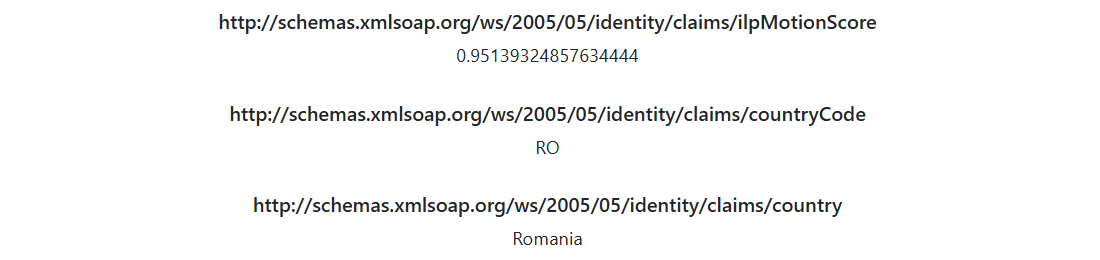
After the authentication is complete, you should see a ClaimsXray page like this:
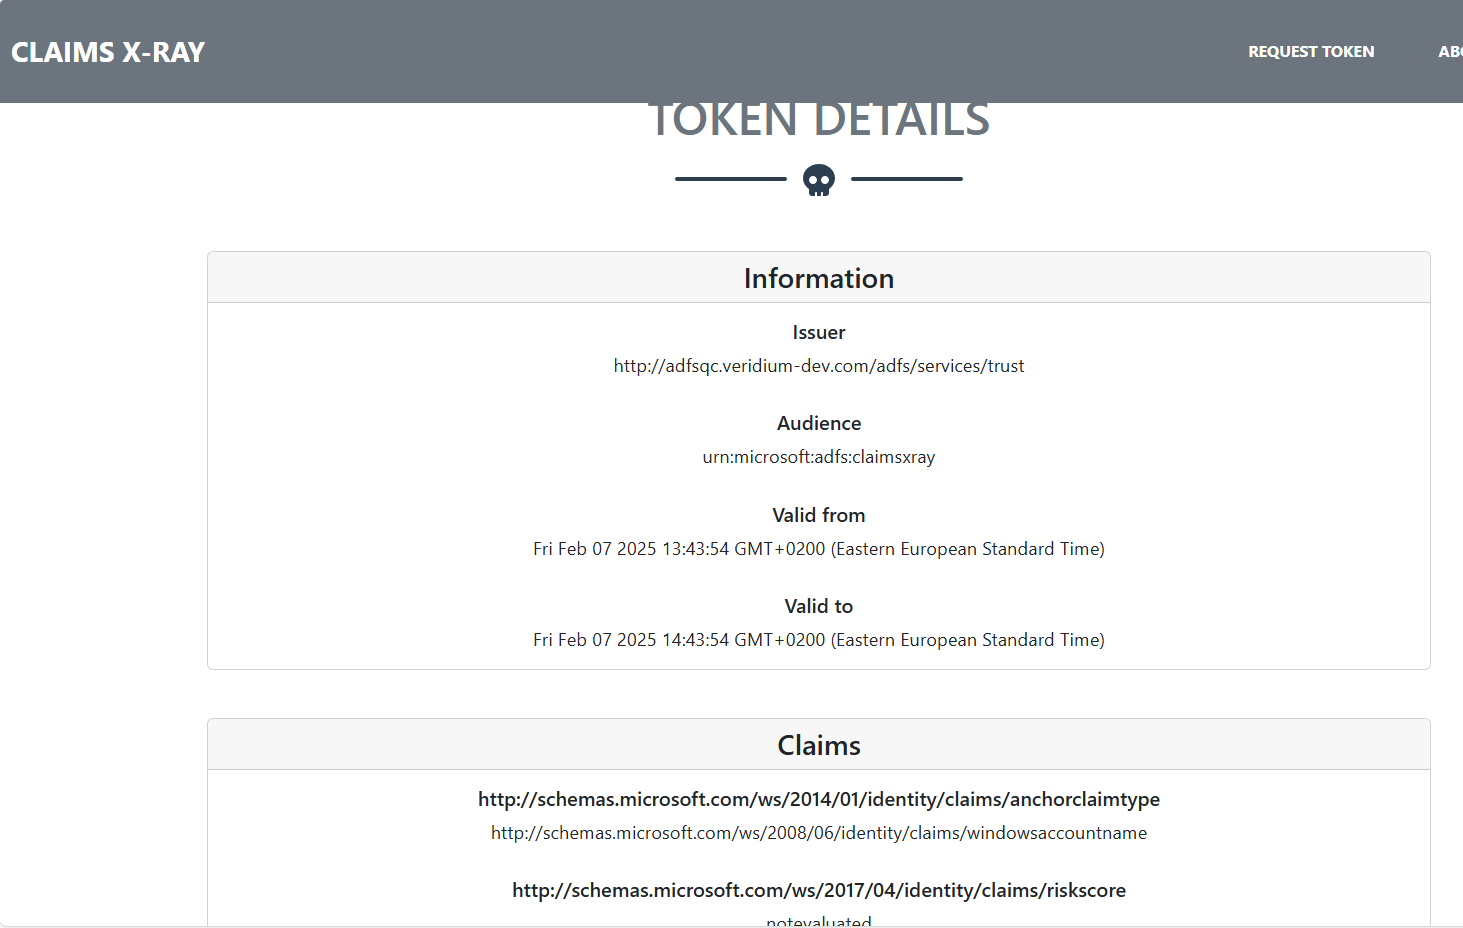
Create custom claims
-
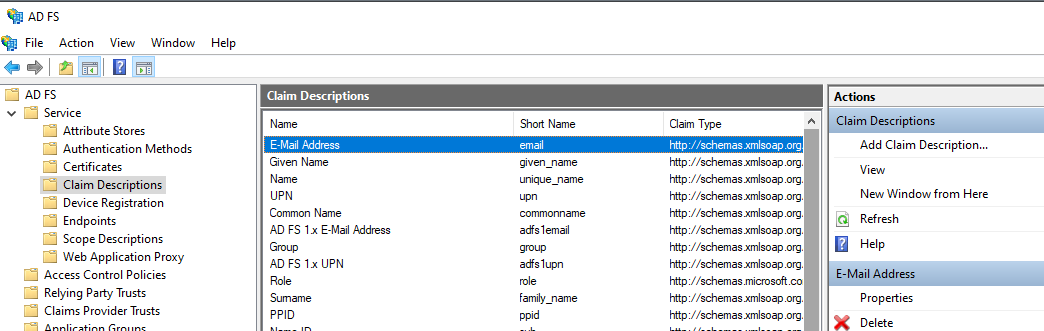
With ClaimsXray you can view all the sent claims along with the custom ones. In order to define the actual custom claims, in the ADFS configuration interface click on Claims Descriptions, then Add Claim Description:
NOTE: You can find the custom claims definition in
C:\Program Files\VeridiumID\VeridiumAdfs\lib\VeridiumIdP.dll.config, under CustomClaim<x>_Name/Value keys:

-
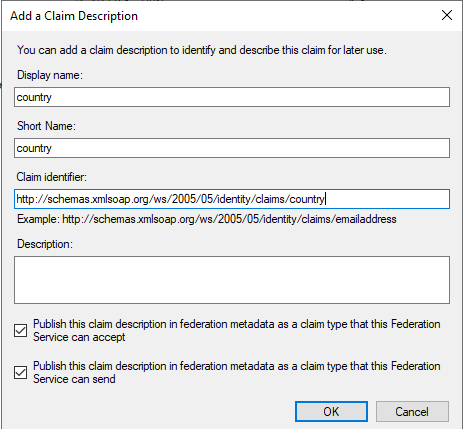
In the next window type in country for Display Name and Short Name, then http://schemas.xmlsoap.org/ws/2005/05/identity/claims/country for Claim identifier and select the two publishing options below then click on OK:
-
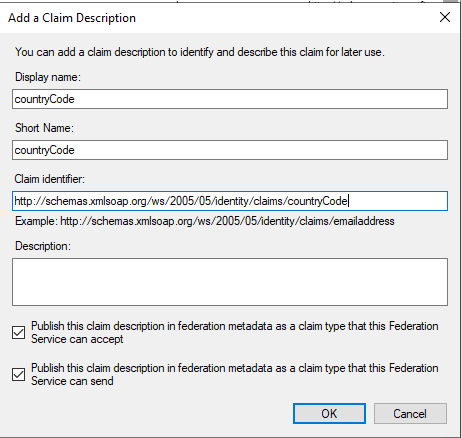
Repeat the steps for countryCode claim: type in countryCode for Display Name and Short Name, then http://schemas.xmlsoap.org/ws/2005/05/identity/claims/countryCode for Claim identifier and select the two publishing options below then click on OK:
-
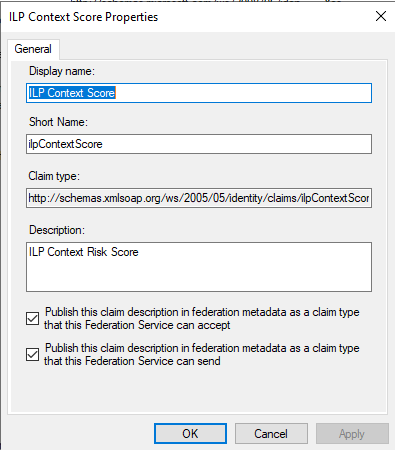
Same for ILPContextScore claim: type in ILP Context Score for Display Name and ILPContextScore for Short Name, then http://schemas.xmlsoap.org/ws/2005/05/identity/claims/ilpContextScore for Claim identifier and select the two publishing options below then click on OK:
-
Repeat also for ILPMotionScore claim: type in ILP Motion Score for Display Name and ILPMotionScore for Short Name, then http://schemas.xmlsoap.org/ws/2005/05/identity/claims/ilpMotionScore for Claim identifier and select the two publishing options below then click on OK:
Add claim rules for the Active Directory Claims Provider Trust
-
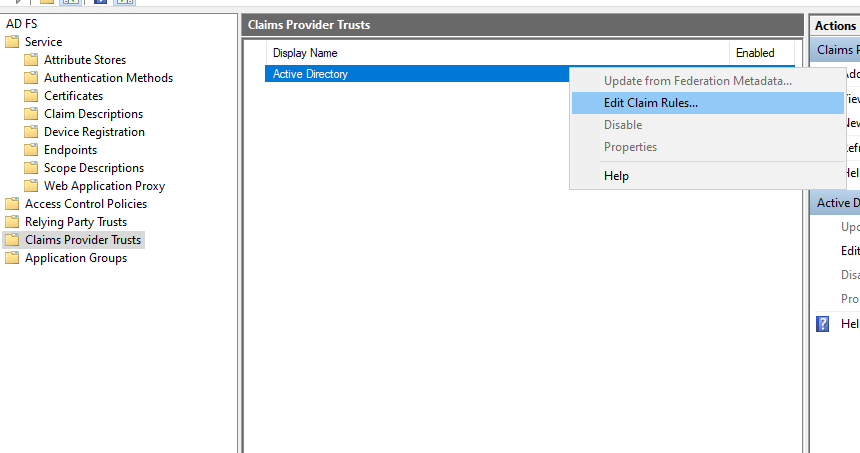
After adding the custom claims descriptions, you need to add claim rules for the Active Directory Claims Providers Trust. For this, you must click on Claims Providers Trusts, then right-click on Active Directory and select Edit Claim Rules:
-
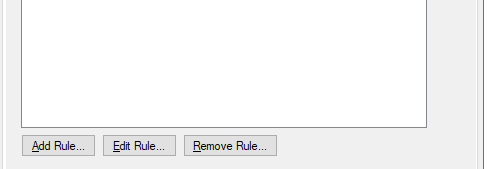
In the next window click on Add Rule:
-
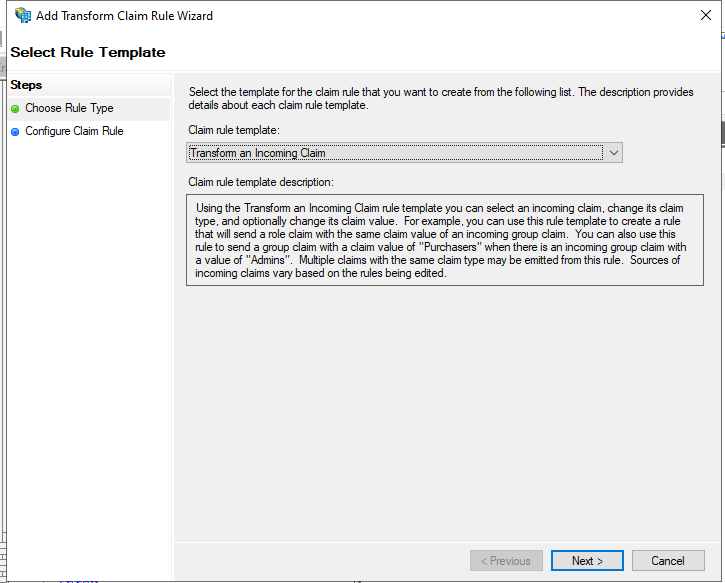
In the next window, select Transform an Incoming Claim then click Next:
-
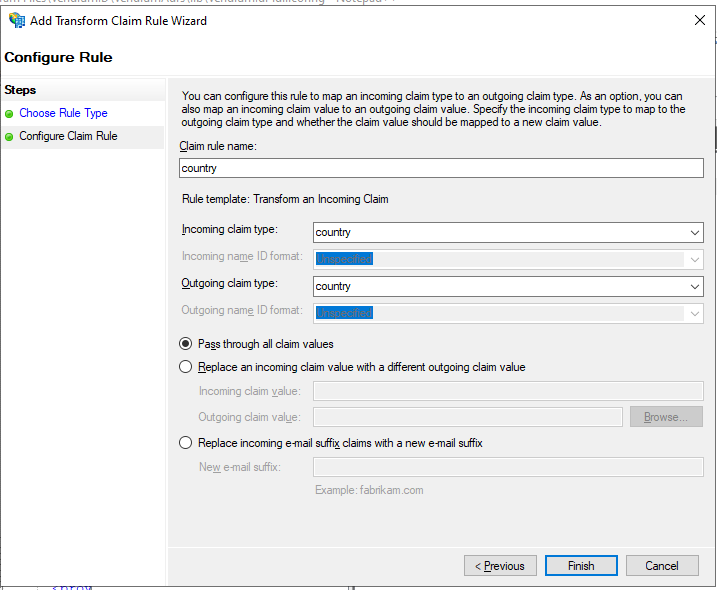
Type in country in the Claim rule name field, then select country from the Incoming and Outgoing claim type drop-down list, then select Pass through all claim values and click on Finish:
-
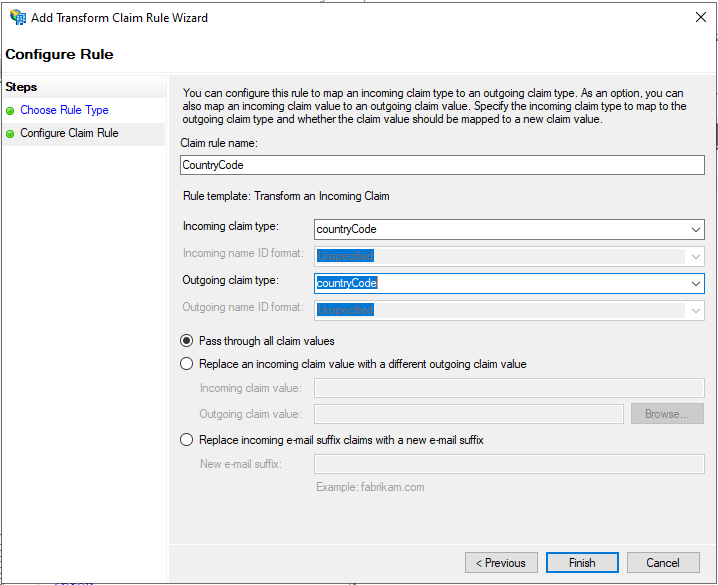
Repeat steps 3 and 4 in order to configure a rule for the CountryCode claim as follows:
-
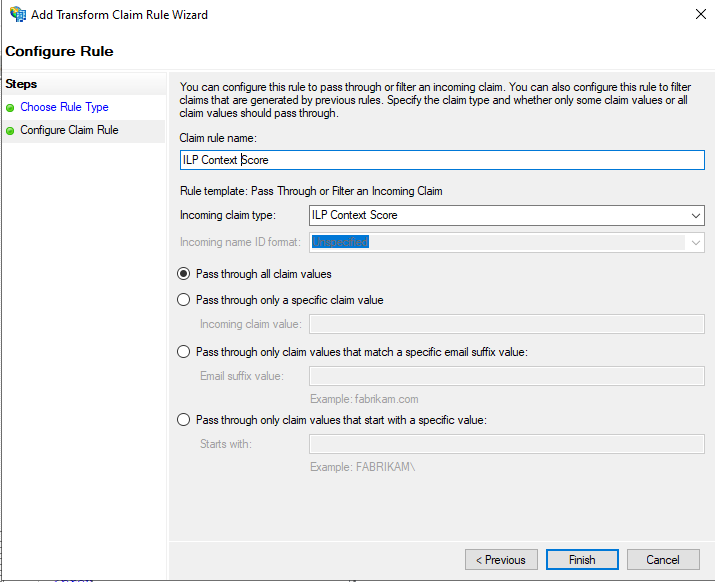
Create a new rule by selecting the Pass Through or Filter an Incoming Claim template, then click Next:

-
Set the name to ILP Context Score, then select ILP Context Score in the Incoming claim type field, make sure Pass through all claim values is selected and then click on Finish:
-
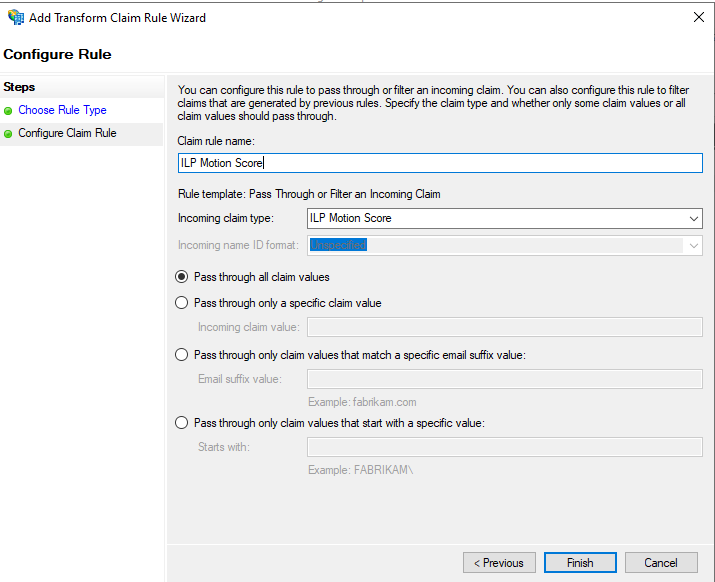
Repeat steps 6 and 7 in order to configure a rule for the claim as follows:
Add custom claims to the Veridium ADFS plugin config
-
The Veridium ADFS plugin configuration file is located in the install path under the lib folder - e.g. C:\Program Files\VeridiumID\VeridiumAdfs\lib and it is called VeridiumIDP.dll.config. Edit this file and scroll until you find the CustomClaims section. You will find two custom claims already defined here:

You can add the two extra claims defined in the previous section by appending
<add key="CustomClaim3_Name" value="http://schemas.xmlsoap.org/ws/2005/05/identity/claims/ilpContextScore" />
    <add key="CustomClaim3_Value" value="uba_context.score" />
    <add key="CustomClaim4_Name" value="http://schemas.xmlsoap.org/ws/2005/05/identity/claims/ilpMotionScore" />
    <add key="CustomClaim4_Value" value="uba_motion.score" />
after the existing claims. In order for the claims to be processed, you need to change the value of the CustomClaimsCount key to 4 (or how many you need). In the end, the configuration should look like this:

-
Save the file and then open the VeridiumID ADFS Config tool. Click on the Register IdP button to apply the custom claims configuration:
-
Test the configuration by accessing the idpinitiatedsignon page, that is https://<adfs fqdn>/adfs/ls/idpinitiatedsignon. Select Sign in to one of the following sites: then select ClaimsXray from the drop-down list and click on Sign In:
-
In the next window enter a valid username and click Next:
-
Click on VeridiumID to authenticate using the Veridium ADFS plugin:
-
Authenticate using one of the presented options:
-
After the authentication completes, you should be able to see, among other claims, the custom ones previously defined: