The purpose of this document is to provide a procedure for configuring Netscaler as a layer 7 load balancer in front of two Veridium RAEP servers.
Layer7 SSL implementation:
|
Service |
incoming/outgoing port (based on client implementation) |
URL based |
SSL offload |
Assign Client CA / Add Headers |
Sticky session |
Exposure |
|---|---|---|---|---|---|---|
|
RAEP |
443 |
/BopsEnroll or /RaWebApp |
Y |
no |
no |
Intranet |
Define the RAEP servers
-
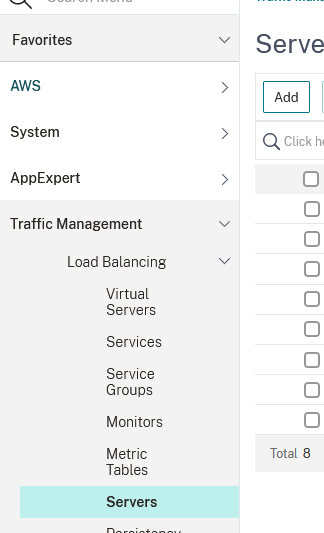
Go to Traffic Management → Load Balancing → Servers and click on Add:
-
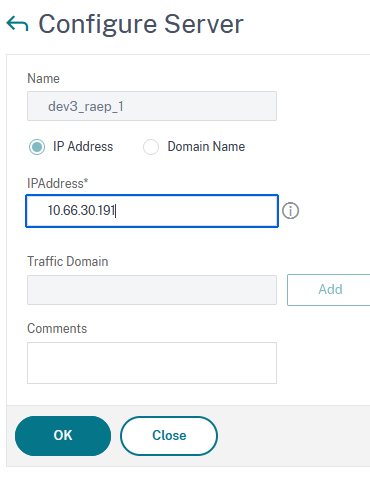
Type in a Name and an IPAddress and click OK to save:
-
Repeat the previous step for as many servers you want to add.
Define the services you want to add to the balancer
-
Go to Traffic Management → Load Balancing → Services and click on Add:

-
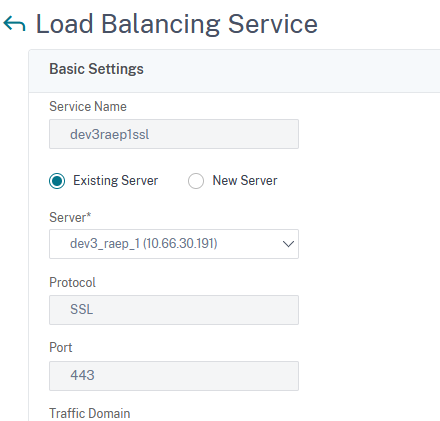
Type in a Service Name, select Existing Server and, from the drop-down list, select one of the servers you previously defined and click on OK:
-
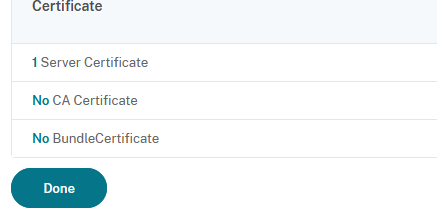
In the following window click on Done.
-
Repeat steps 2 and 3 for as many servers you have previously defined.
Define the Load Balancing Virtual Server
-
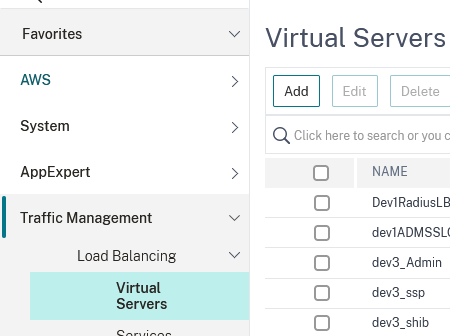
Go to Traffic Management → Load Balancing → Virtual Servers and click on Add:
-
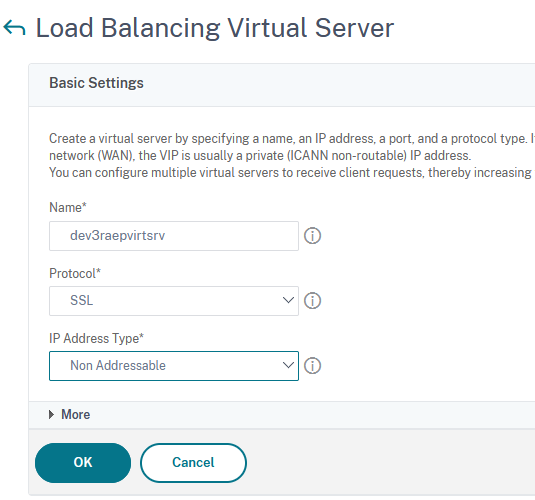
Type in a name, set the Protocol to SSL, and IP Address Type to Non Addressable and click on OK:
-
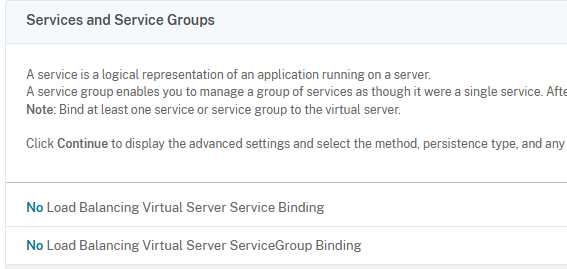
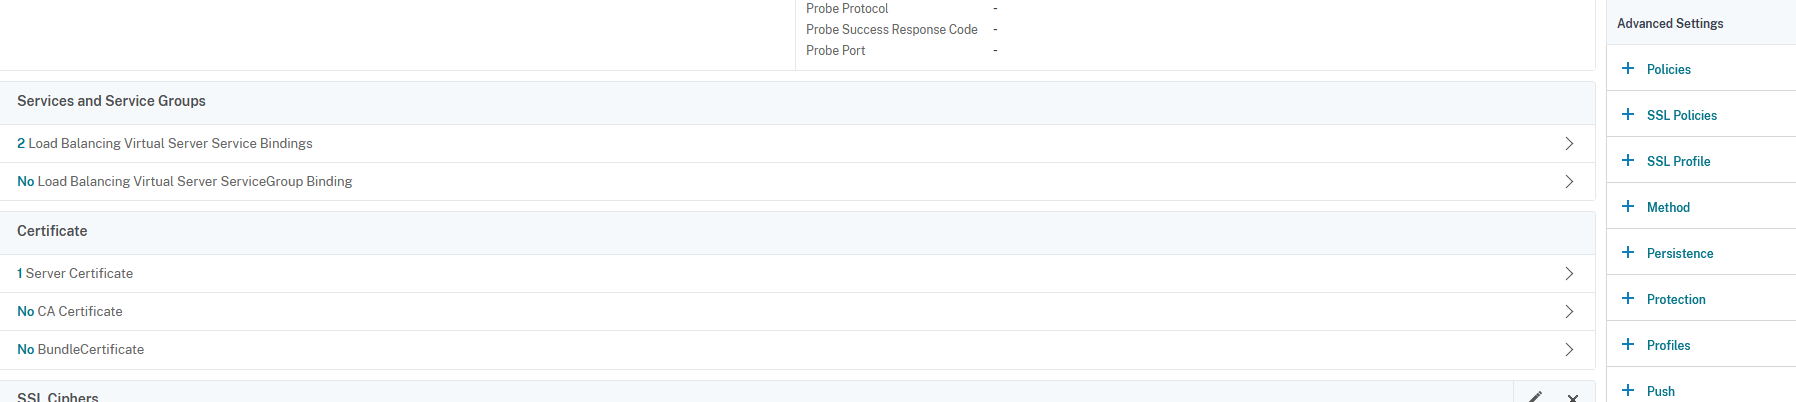
Next click on No Load Balancing Virtual Server Service Binding:
-
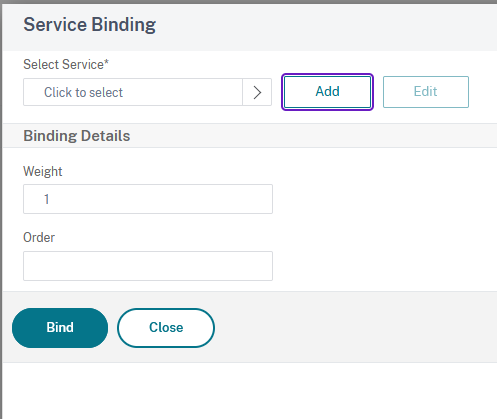
Click on Click to select:
-
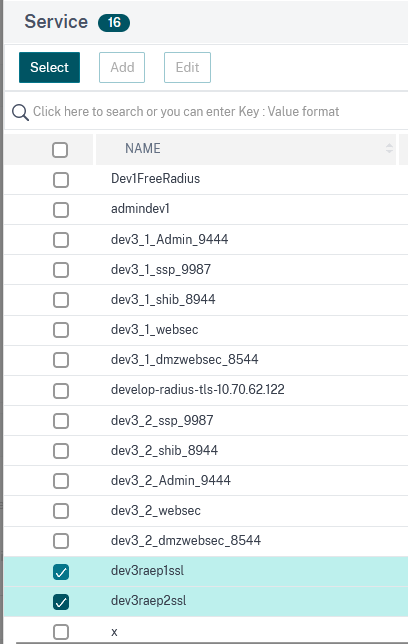
Tick the boxes next to the services you previously defined and click on Select:
-
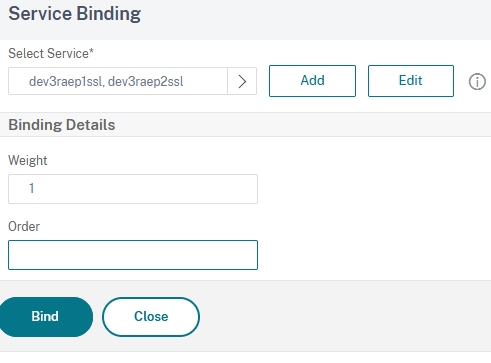
Click on Bind to bind the selected services to the virtual server:
-
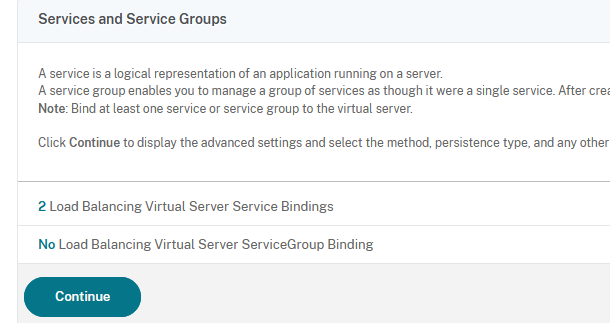
Click on Continue:
-
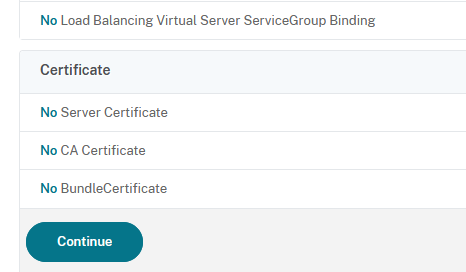
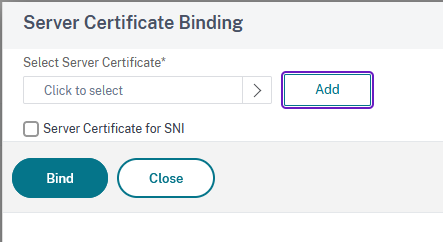
Next we need to bind a certificate to the server. Click on No Server Certificate:
-
Next, you can either add a new certificate by cliccking on Add or select and existing one, which is what we’ll do, by clicking on Click to select:
-
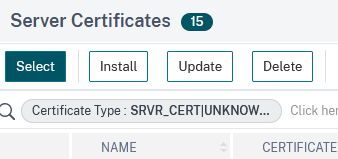
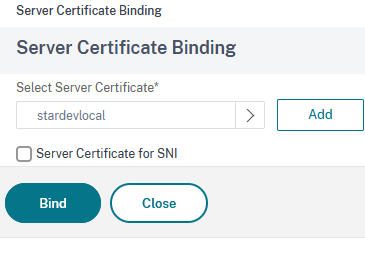
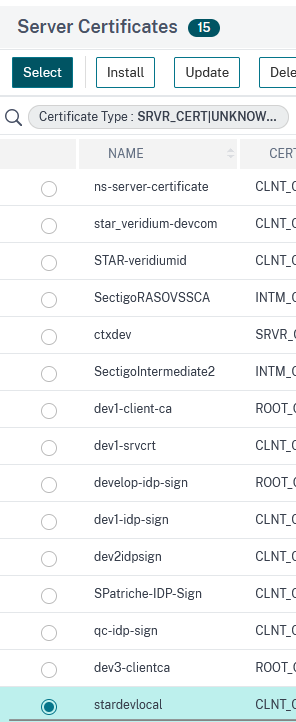
Tick the box next to the desired certificate then click on Select:
-
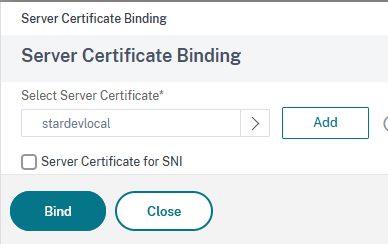
Click on Bind to finish binding the certificate:
-
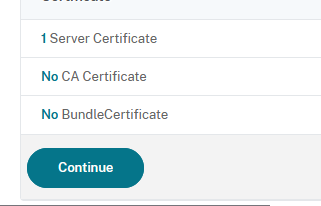
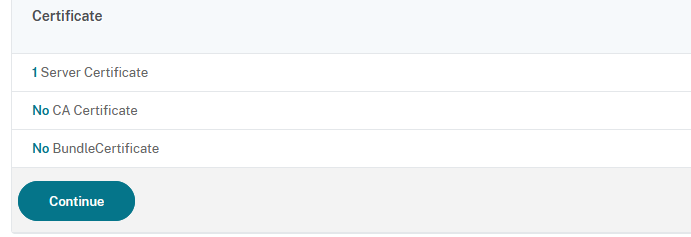
Click on Continue:
-
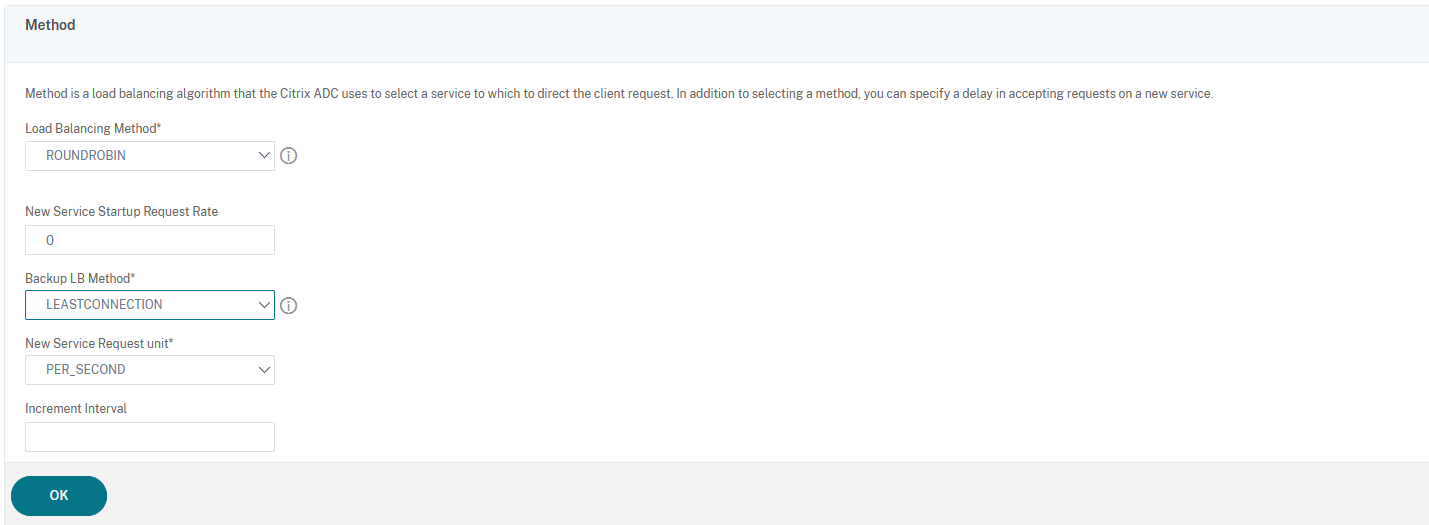
In the next window click on Method:
-
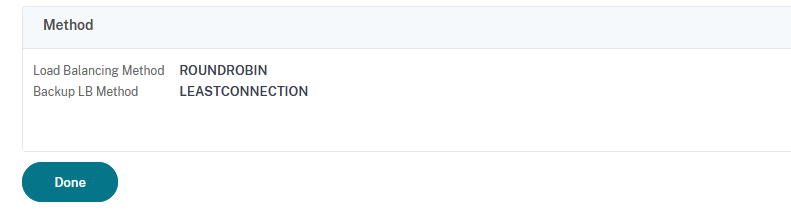
Select ROUNDROBIN as load balancing method and LEASTCONNECTION as backup load balancing method, then click on OK:
-
Click on Done to finish:
The Content Switching Part
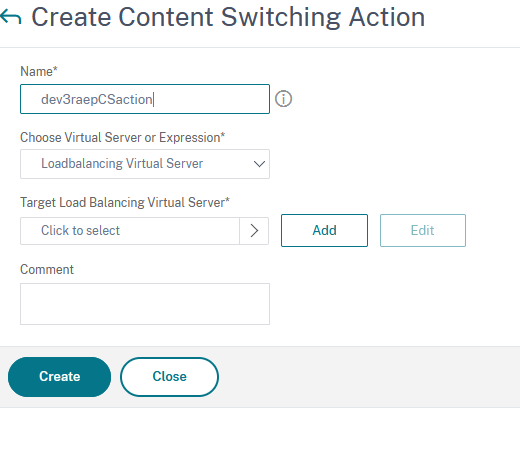
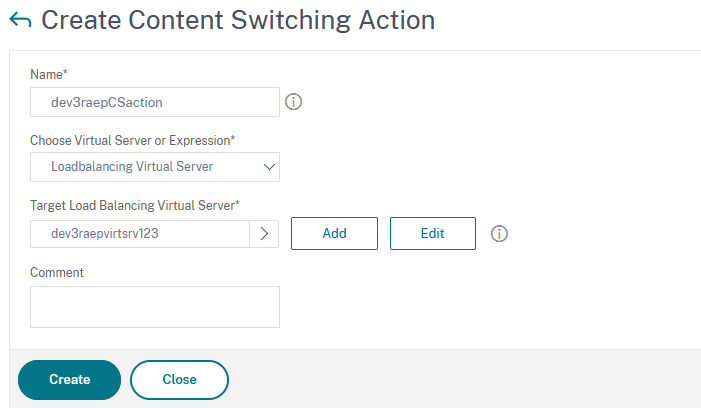
Define the action for the content switching policy
-
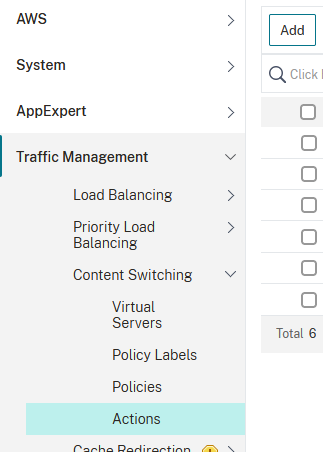
Go to Traffic Management → Content Switching → Actions and click on Add:
-
Type in a name, then click on Loadbalancing Virtual Server:
-
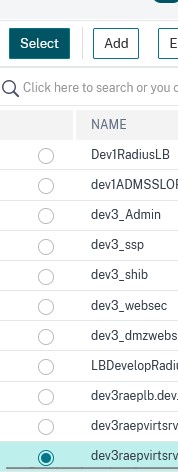
Tick the box next to the previously created virtual server and then click on Select:
-
Click on Create to finish the creation process:
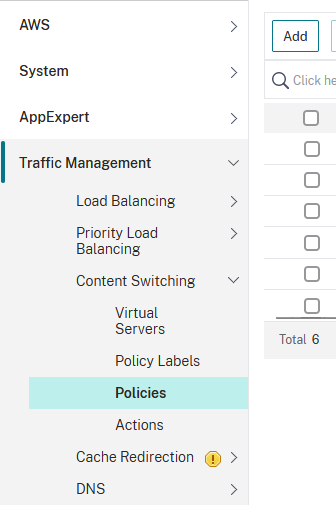
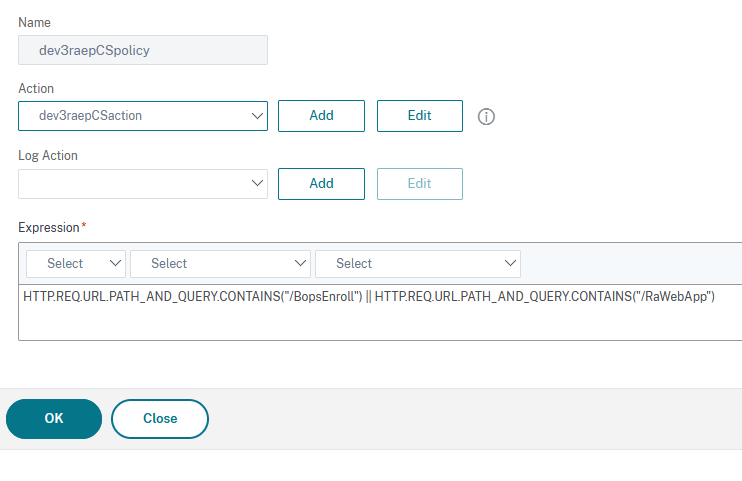
Define the content switching policy
-
Go to Traffic Management → Content switching → Policies and click on Add:
-
Type in a name, select the previously defined action from the drop-down list in the Action section and type HTTP.REQ.URL.PATH_AND_QUERY.CONTAINS("/BopsEnroll") || HTTP.REQ.URL.PATH_AND_QUERY.CONTAINS("/RaWebApp") in the Expression field:
-
Click on OK to finish.
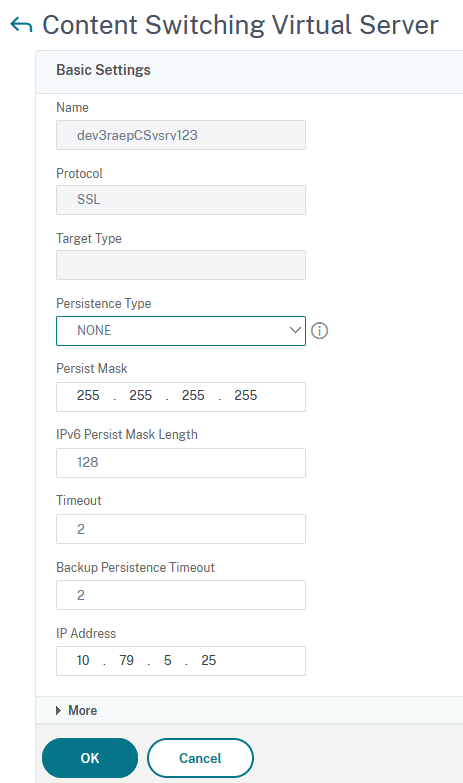
Define the Content Switching Virtual Server
-
Go to Traffic Management → Content Switching-> Virtual Servers and click on Add:
-
Type in a name, set the protocol to SSL, persistence type to NONE, IP Address Type to IP Address, fill in an ip address and set the port to 443:
-
Click on OK then to continue.
-
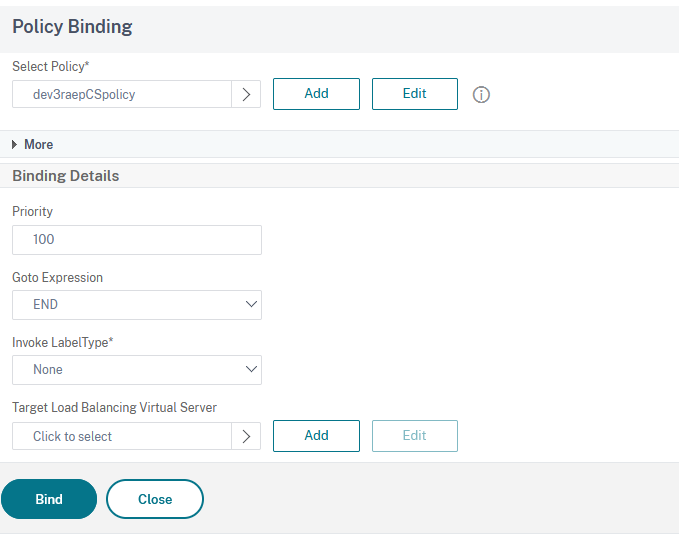
Next click on No Content Switching Policy Bound:

-
Click on Click to select:
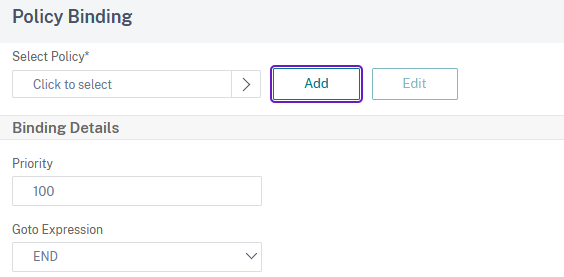
-
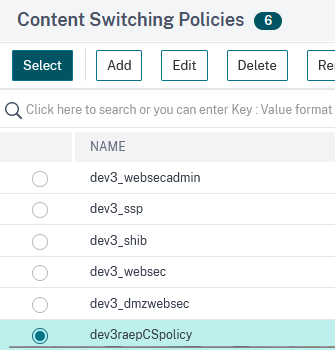
Tick the box next to the previously created content policy, then click on Select to choose it:
-
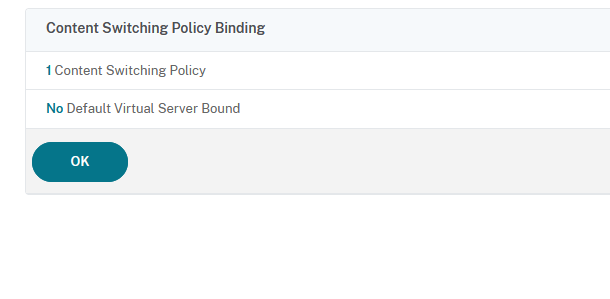
Click in Bind:
-
In the next window click on OK:
-
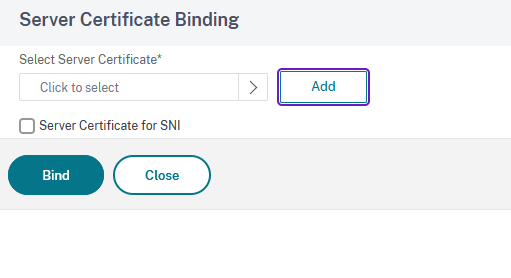
In the next window click on Certificate:

-
Click on No Server Certificate:

-
Tap on Click to select:
-
Choose the certificate you’ve used in the creation of Load balancing virtual server and then click on Select:
-
In the next window, click on Bind:
-
Next click on Continue:
-
Finally, click on Done: