Authentication, Authorization and Audit in Veridium Manager
Context
Certain user actions can be considered to have a greater impact than others and need a higher degree of security. Security access control establishes effective controls and insight into "Who has access to What".
Groups, roles and permissions
One of the most coherent methods to implement authorization is Role Based Access Control – RBAC, an industry standard used to implement user permissions as access rights to application resources.
Some of the characteristics include:
Many-to-many relationship among individual users and privileges/permissions
User/role relations that can be defined independent of role/privilege relations
Accommodates traditional but robust group-based access control.
Based on configurable Groups and Roles, the system is able to provide a standard mechanism to manage user permissions, which are the abstraction of operations(i.e. run report, block identity, renew administrator certificate) and objects (ex device, identity, administrator) from system and are treated as resources from security perspective. This allows a separation between business level and system (application) level.
At system initialization, a default set of groups, roles, permissions will be registered and, later on, any administrator with the right privileges can create additional groups and roles and change the permissions assignment to roles or roles assignment to groups.
Managing groups, roles and permissions can be done in Veridium Manager by accessing Settings / Groups and Roles section. Note however that the list of permissions is static because it is the main building block of the authorization mechanism and must be in relationship with specific embedded system operations.
.png?inst-v=c8ef4b3c-2c21-4439-8511-550c1edb1509)
Groups, roles and permissions management
Mostly, the permissions existing in the system revolve around 4 types of operations:
read resource
write resource
remove resource
all the above
The permissions are enforced on both frontend side in Veridium Manager, and on backend side on the API operations level.
Default permissions
The following table describes the logical sections in Veridium Manager web application along with the list of potential permissions that will be checked for authorization authenticated user.
Logical Section in Veridium Manager | List of permission options |
|---|---|
| 'Cross Application Administrators', 'Application Administrators', 'Members profiles administrators', 'Accounts administrators' |
| ‘Cross Application Administrators’ |
| 'Cross Application Administrators', 'Application Administrators', 'Technical Support', 'Members profiles administrators', 'Accounts administrators' |
| 'Cross Application Administrators', 'Application Administrators', 'Technical Support', 'Members profiles administrators', 'Accounts administrators' |
| 'Cross Application Administrators', 'Application Administrators' |
| 'Cross Application Administrators', 'Application Administrators', 'Members profiles administrators', 'Accounts administrators' |
| 'Cross Application Administrators', 'Application Administrators', 'System history', 'User can load reports', 'Technical Support' |
| 'Configuration settings administrators', 'Cross Application Administrators', 'System Administrators', 'Certificate Administrators', 'Mobile settings administrators', 'License administrators', 'Permissions administrators' |
| 'Cross Application Administrators', 'Application Administrators', 'Members profiles administrators', 'Accounts administrators' |
| 'Cross Application Administrators', 'Application Administrators', 'Members profiles administrators', 'Accounts administrators' |
Administrators management
During initial system setup, an administrator with the highest elevated permissions will be created. Afterwards, in order to manage existing administrators and provide access to more users, an existing administrator can go to Veridium Manager application, Settings / Administrators.
.png?inst-v=c8ef4b3c-2c21-4439-8511-550c1edb1509)
Managing administrators
Authenticating in Veridium Manager can be done in 2 distinct ways, that will be described in the section below.
Certificate authentication
The default mechanism is by using client certificates upon user creation.

Creating new administrator with client certificate
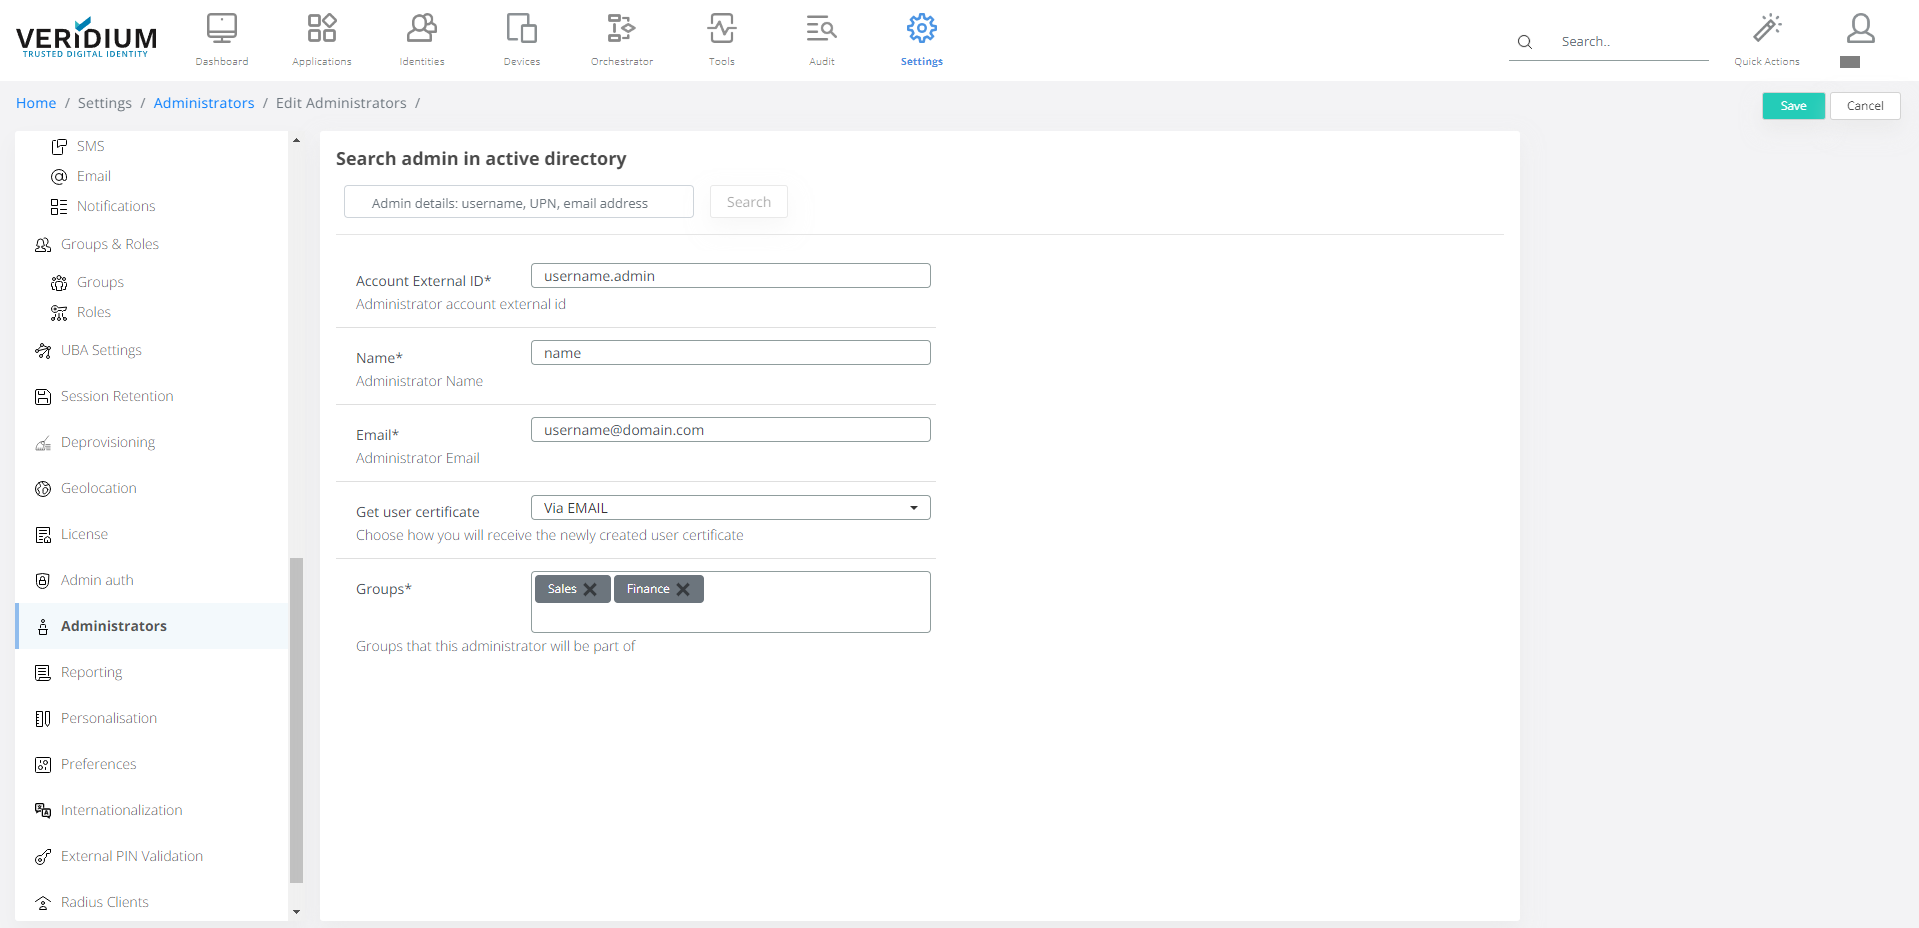
Go to Settings / Administrators
Click on Add Administrator on the right-side
A) Provide the requested input information
Account external ID is recommended to follow the username.admin format to better separate users that are both administrators and regular VeridiumID identities.
Name of the user that will logged on each operation that affects the system resources and that will be displayed on the top right corner
Email address used to receive the certificate upon creating or when renewing takes place
How to receive the client certificate: either by downloading to the current station or by sending it directly to the email address set previously
Groups assigned to this user. This is used to compute the roles and permissions that will used to provide authorization on specific operations
B) Or use the “Search admin in active directory” field
4. The new user must install the received client certificate and trust it on OS level to prevent multiple pop-ups when accessing Veridium Manager application.
SSO header authentication
Another mechanism in place for authenticating and authorization in Veridium Manager is by using an external Single Sign-On Service that will forward specific custom headers to the admin application in order to identify, validate and authorize the user. This is done via internal operations by querying the repository connected via an LDAP connection and further apply logic to compute the user assigned permissions.
.png?inst-v=c8ef4b3c-2c21-4439-8511-550c1edb1509)
Configuring SSO header authentication
By default, this mechanism is disabled upon initialization, but can be enabled and configured by going to Veridium Manager / Settings / Admin Auth and by checking the following configuration:
Active flag must be set to enabled
Custom Auth Configurations > Id > Header; this should match the one set in SSO service
Group Mapping; this will map external groups found in user repository (via LDAP connectivity) to the internal one on which specific roles and permissions are assigned
When accessing the Veridium Manager application, the system will lazy check the user identified via headers, automatically create an administrator entry if none exist, compute and apply the permissions based on the configure group mapping.
Note that for this scenario, the single point of administration for users becomes the user repository and not VeridiumID. That means in order to restrict access or change assigned permissions for a specific administrator, that specific entry should be directly managed in the user repository (i.e. changing the user groups or removing the user in Active Directory will have an immediate effect in identifying the user/computing permissions in Veridium Manager).
Audit
Action Logs
An action log entry is a record describing a specific sensitive operation made by an user with access to Veridium Manager application. This is mostly important to identify specific problems appeared when changes are made to the configuration and they affect the overall functionality of the system.
In general terms, details about each resource that is changed (via POST, PUT and DELETE HTTP methods) are stored in the repository along with the request parameters, IP address, date and time of the operation and, if possible, a status of the operation.
To see the latest entries, go to Veridium Manager / Audit / Action logs. Searching and sorting can be applied to the list of entries for a more powerful insight on system operations and administrators’ activity.
.png?inst-v=c8ef4b3c-2c21-4439-8511-550c1edb1509)
Monitor administrators activity
Administrators report
In order to download a CSV report on existing administrator, go to Audit / Reports and click on Administrators entry. Note that the resulted report will contain the users registered in the specific timeframe set on the top-right corner of the screen.
.png?inst-v=c8ef4b3c-2c21-4439-8511-550c1edb1509)
Generate administrators report
Identity details and Session details
There are new permissions that limit the access on veridium manager for Identity Details and Session details
View AD details→ this permission is used for Identity details Directory service info
The action will be disabled if the user does not have View AD details permission

View location→ this permission is used for Identity details and Session details for location data
Location column should not be visible if the user does not have the Location permission.

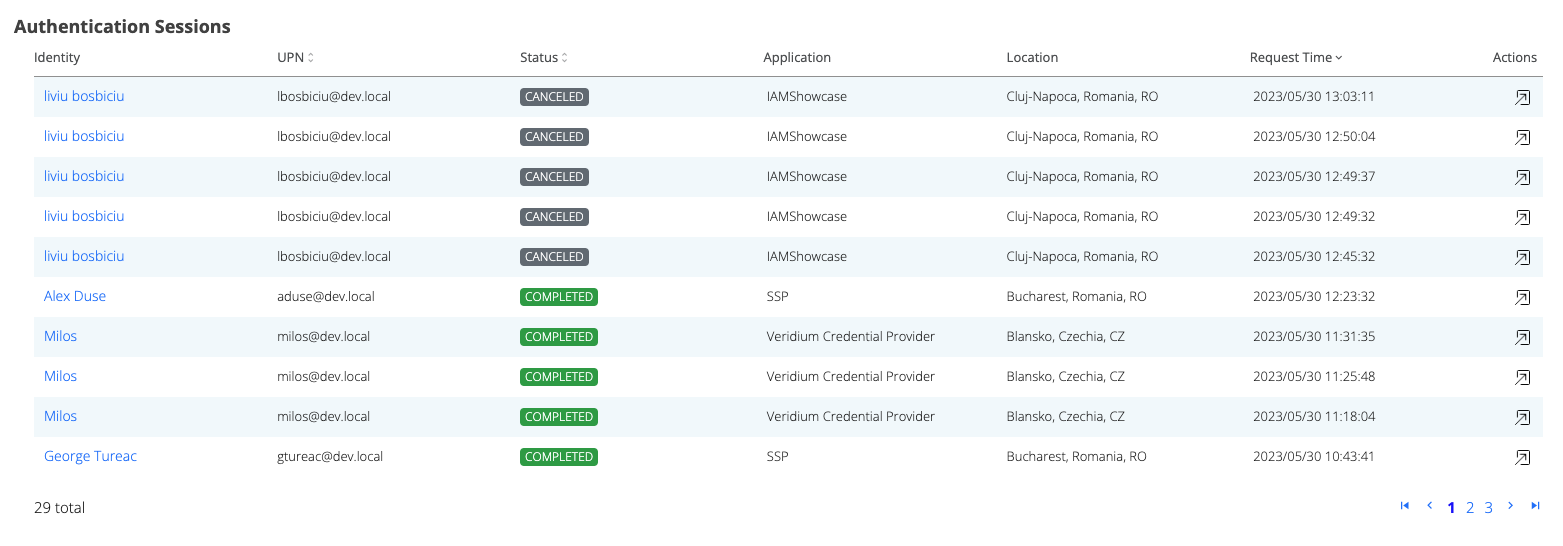
Also, In the audit → authentication session the Location column should not be visible.

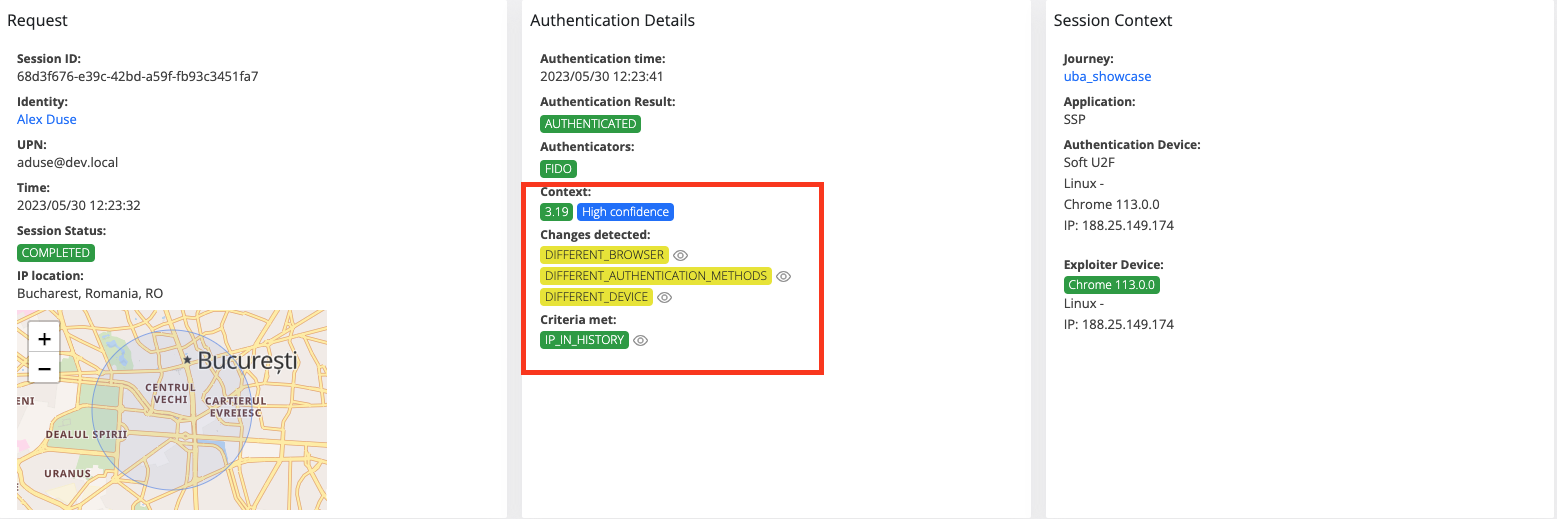
In session details, the map is not displayed and location should not be present in any Identity or Session responses. Moreover, the raw data will not contain information about the location.

View UBA info→ this permission is used for uba details. If the user does not have the permission, uba data should not be present in session details and in the Raw data.

View session details raw→ this permission is used for session details, if the user does not have the permission, the Raw button from session details will be disabled.

View history details→ this permission is used for history details in the session details. if the user does not have the permission, the history details will not be available.

As you can see, the user does not have permission for location, uba info and raw data. So, the map is not visible, the uba information is not present, and the raw data button is disabled.


